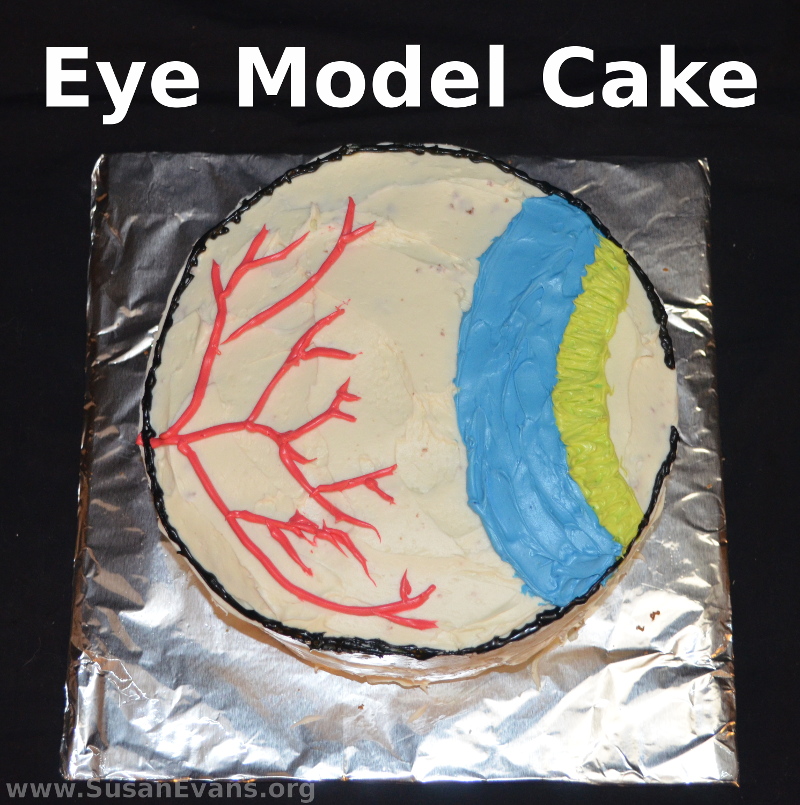
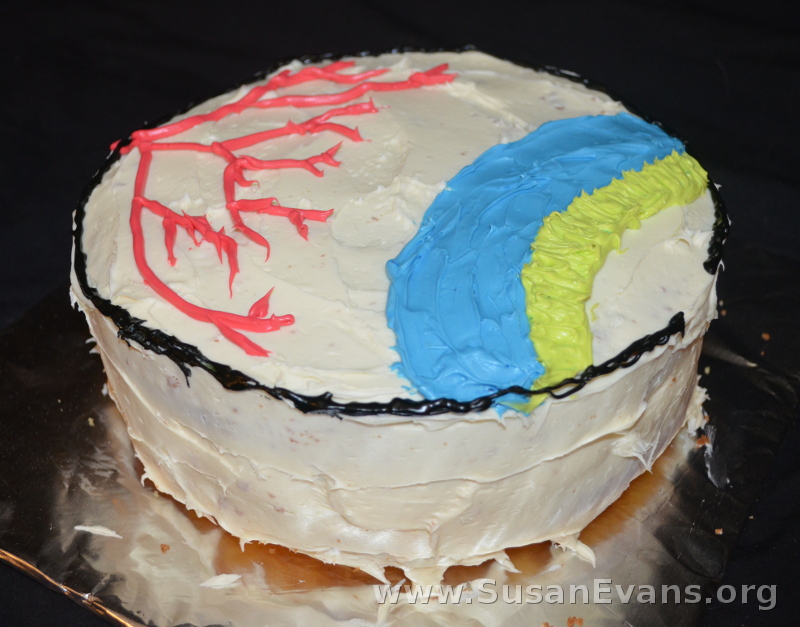
When you are studying the eye in human anatomy, why not make an eye model cake? First you will need to bake a circular cake with two baking tins. I recommend yellow cake with strawberry jelly between the two layers. (Don’t try to place jelly in the middle until the cake has completely cooled!)
How to Decorate an Eye Model Cake
- Frost the cake with white frosting.
- Open another bucket of vanilla frosting and divide it into four bowls, using food coloring to get the colors you want. (I only used three bowls: one for red frosting, one for blue, and one for green. I had a tube of black frosting left over from an Ugly Sweater Cookie Kit from Christmas, so I used that for the black.)
- Spread the blue frosting like a rainbow, and the green frosting next to it. The blue would represent the ciliary body, and the green the iris. Leave the lens white.
- Put the red frosting into a Ziplock bag and cut a hole in the corner. Make veins and arteries throughout the vitreous humor. You can use blue frosting, too, instead of just red frosting.
- Surround the entire cake with a black outline, except for the pupil, which is where the light comes into the eye.
You are now finished making your eye model cake. Have fun eating it!
Tags: anatomy, cakes, Homeschooling, human anatomy, science


I notice you use bucket frosting, does it react better in this case for layering? Thanks, I’ve always made my own so I am wondering
Depending on how cold your house is, you might need to add a tiny bit of milk to the tub frosting to help it to spread. I had to do this for a cake I made last weekend. Usually the vanilla tub frosting is the perfect consistency without modification. But the chocolate tub frosting seems to be thicker than homemade frosting.
Every time I read one of your posts I feel so inferior! Is there anything you CAN’T do?!
This was super easy! You could easily do it!