 This post contains affiliate links.
If you would like some Easter ideas, here is a video that will show you some fun and easy Easter crafts as well as ways to organize Easter from year to year. It’s helpful to keep all your Easter supplies in a clear pouch. You can get a durable pouch for free when you buy bed sheets or blankets. These are the items I keep in my Easter pouch:
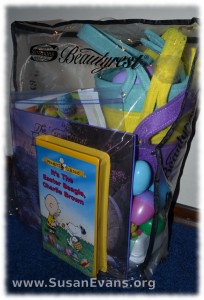
- The Very First Easter – A book that explains the true meaning of Easter with colorful illustrations of the resurrection of Christ.
- Plastic Easter eggs and stackable baskets for each child for the Easter egg hunt each year.
- Unused egg dye kits and wire egg holders left over from other kits so that each child has a wire egg holder to dye their Easter eggs.
- It’s the Easter Beagle, Charlie Brown (a classic cartoon)
- A plastic bag or decorated folder with clipped magazine pictures for Easter crafts you might want to do with your children in future years.
- Resurrection Eggs (from Family Life) – The items are made from metal, and each item illustrates something from the Easter story. Lead up to Easter by reading a short devotional each day for the 12 days leading up to Easter. (Well-done and not cheesy.)
Here are some easy Easter crafts to do with your children:
1. Colorful countdown egg carton
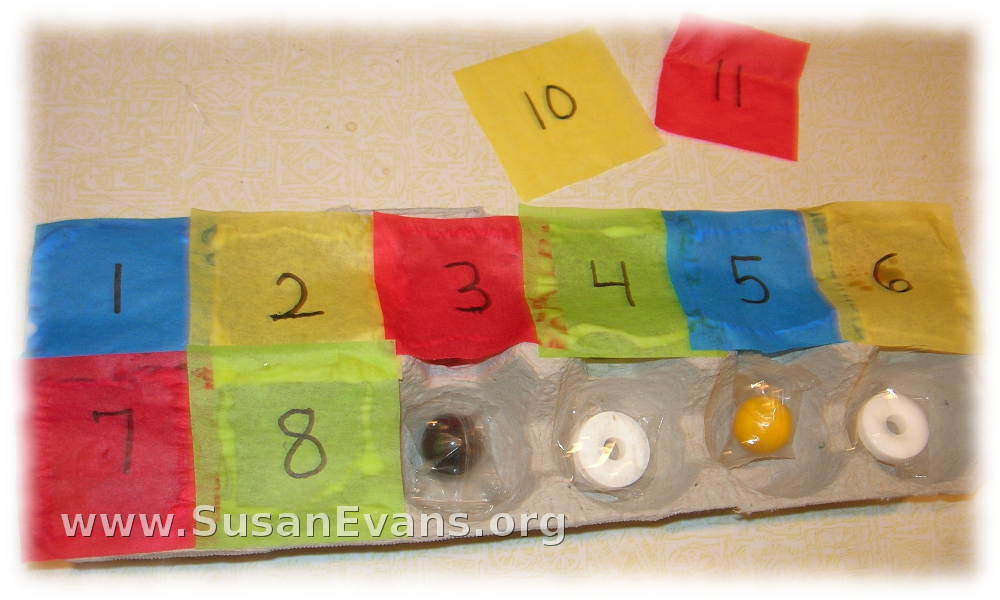
- Cut off the top part of a cardboard egg carton.
- Put candy or the Resurrection Egg items into each compartment.
- Glue colorful squares of tissue paper to seal each compartment. With a black marker, write the numbers 1-12 on each piece of tissue paper before you glue it in place. Allow it to dry overnight.
- For the 12 days before Easter, your kids can tear through one number of the tissue paper, getting the candy or item, looking forward to Easter. This is sort of like an Advent calendar, except it’s for Easter instead of Christmas.
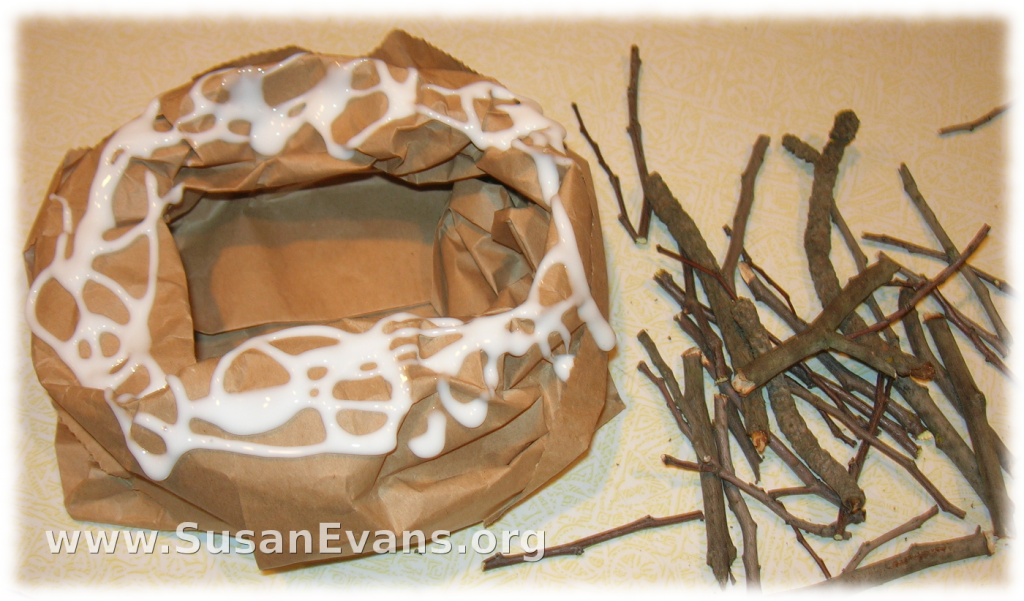
- Scrunch down a paper sack to make the nest.
- Pour glue over the top.
- Have your kids glue the small twigs onto the paper sack. Super cute nest, perfect for your glitter eggs.
3. Glitter eggs
- Get a cold boiled egg from your fridge. Put school glue on the outside of the egg. (Make sure the shell is still on the egg.)
- Place the egg into a plastic bag with confetti. Shake the egg to coat it completely.
- Let the beautiful glitter egg dry in the fridge.
- Place it into the cute twig nest the next day.
Have a great Easter!
Tags: crafts, Easter, Easter ideas, Easter organizing, Organization, spring


I know I seem high strung in this video, but I had pizza in the oven, and the oven was going to beep in 9 minutes. So I had less than 9 minutes to film. After dinner I was going straight to Zumba. (I know, you’re not supposed to exercise on a full stomach.) Easter is only days away, and I wanted the video up immediately. Plus, the sun was shining. That’s very Easter-ish. I did not want to film at night, because the ambiance would be wrong. Believe it or not, it was snowing one hour after I filmed this. Yes, snowing like Christmas in the middle of April. I’m not making this up. So that’s the story behind this video, in case you were wondering why I was moving so fast. (I think my hands are blurry when I make the nest!)
YOU are just darling. Now, now, dear gotta cut back on the coffee. Loved your ideas, even the “dorky” ones. You are awesome!
Thanks!