Archive for the ‘Homeschooling’ Category

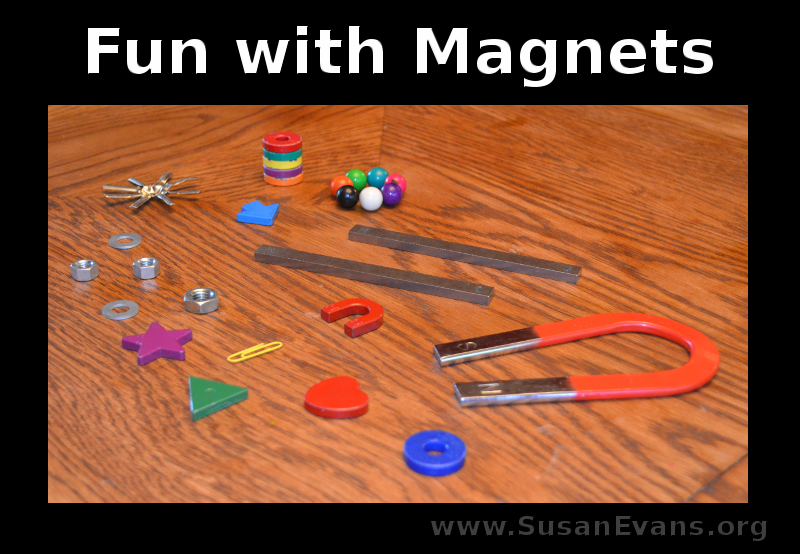
Fun with Magnets

Monday, October 10th, 2016

fun-with-magnets

Today we will have fun with magnets! We will see various objects picked up by magnets, including strings of paper clips. Rocks and minerals will be explored, as to whether they are magnetic. We will also be playing with iron filings.

Magnets have a north and south pole. Opposite poles attract (north/south), and like poles repel or push away from each other (north/north or south/south).

Pull together some objects to see whether a magnet will pick them up. Some might surprise you, like coins seem like they ought to be picked up, but they don’t have enough metal in them to be attracted to a magnet!
what-does-a-magnet-pick-upThis post contains affiliate links. I was compensated for my work in writing this post.

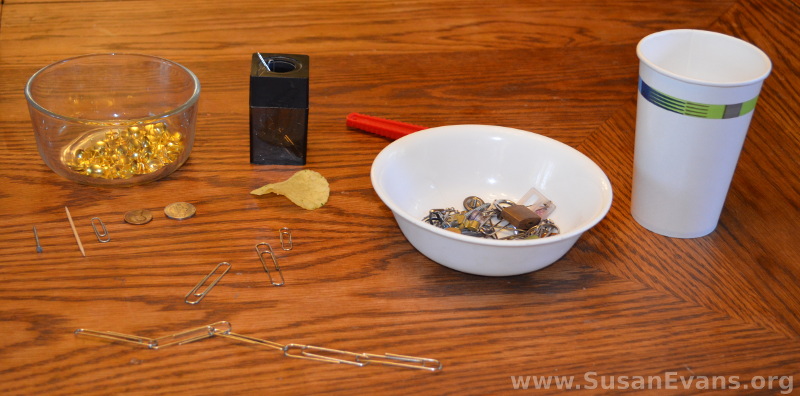
These are some of the objects that we attempted to pick up with the magnet: a nail, a toothpick, a paper cup, a penny, a nickel, brass thumb tacks, a paper clip, and a potato chip.
magnet-with-tacks

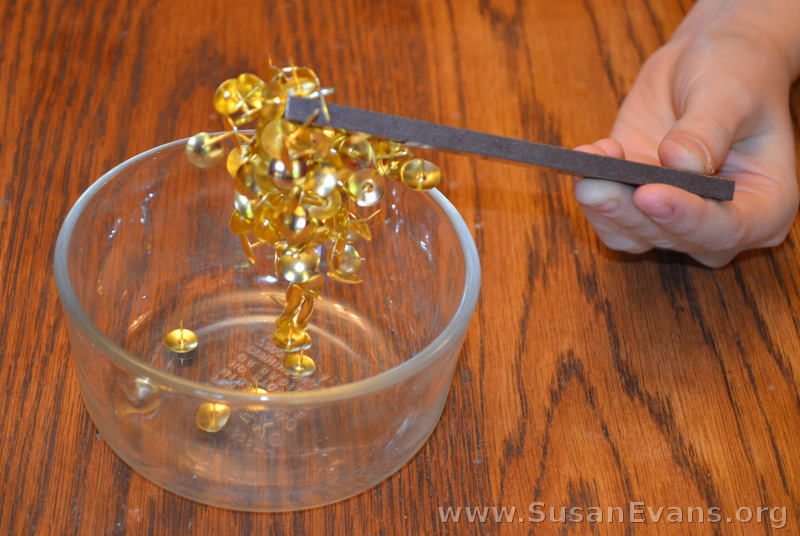
The brass thumb tacks were my favorite of the whole list of picked-up things because so many clung to the magnet! I also liked the fact that a long string of paper clips were picked up by a magnet as well.

Take a look at this experiment, which includes rocks and minerals and iron filings:

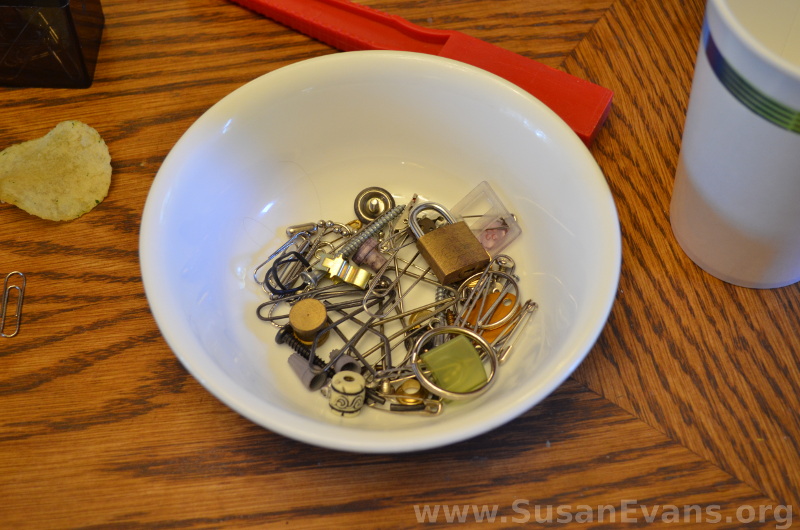
We dumped little odds and ends from a junk drawer into a bowl to see what we could pick up with a magnet. We noticed that the following things remained in the bowl and are therefore non-magnetic: plastic, wood, ceramic, buttons, and other synthetic items.

magnetism-junk

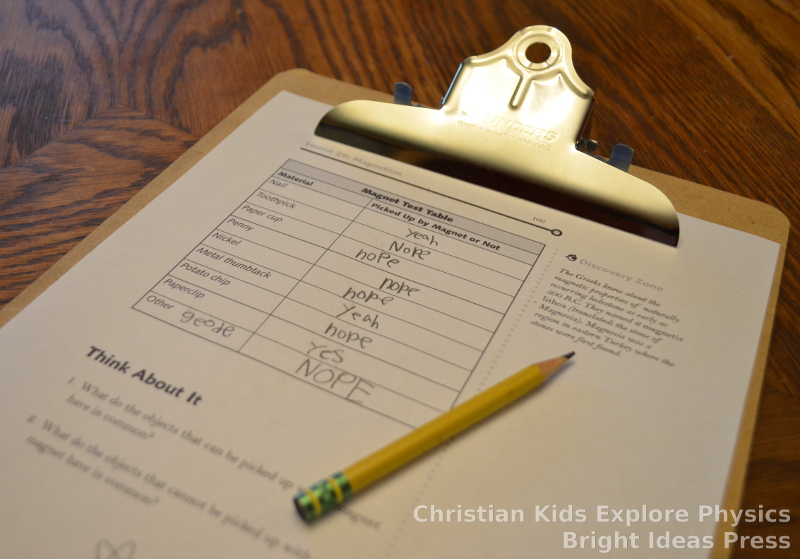
Here is the chart we filled in from Christian Kids Explore Physics by Bright Ideas Press. We were encouraged to think about why certain materials were picked up by a magnet and others not. Metal was the underlying reason why items were picked up because metal conducts electricity.

fun-with-magnets-chart

I hope you enjoyed all of our fun with magnets!
MC Escher Party

Friday, October 7th, 2016

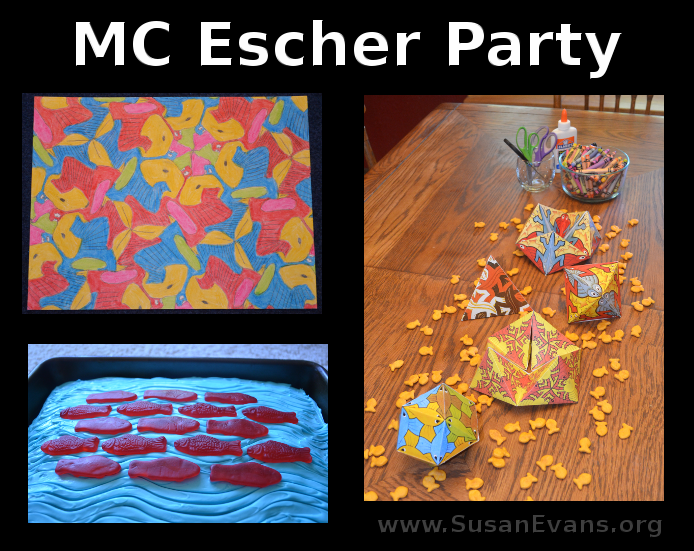
MC-Escher-Party

My 16-year-old son has always loved MC Escher, so this year we decided to throw him an MC Escher party for his birthday. MC Escher is a modern artist who depicts surreal scenes like stairs impossibly going up and down, or water flowing up and down at the same time. He uses a lot of salamanders and fish in his designs, and he makes tesselations (rotating shapes), which you will see below in our art projects.

MC Escher Party Invitation

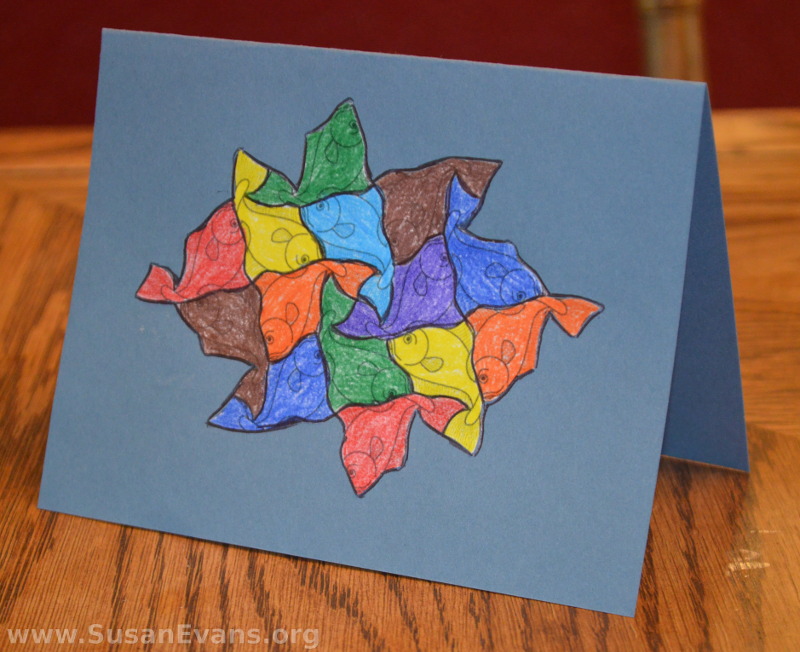
First we printed this coloring page, and we pasted the colored fish (we used colored pencils) onto light blue card stock paper. We outlined the fish to make them stand out, and we wrote the party information inside the card.

MC-Escher-invitation

MC Escher 3D Shapes

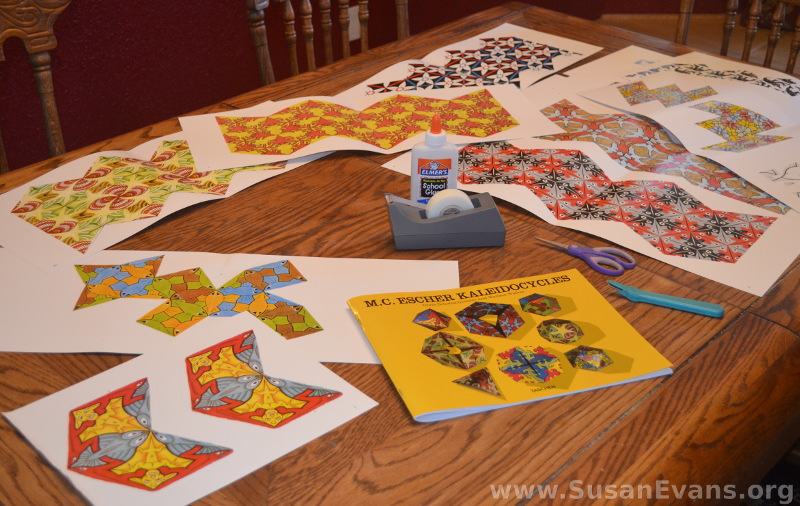
I found {aff} this book with perforated MC Escher 3D shapes. The pages are colorful and thick, and you fold each shape according to the instructions, gluing or taping the shapes together. The patterns on the shapes are from the artist’s famous paintings.

MC-Escher-shapes

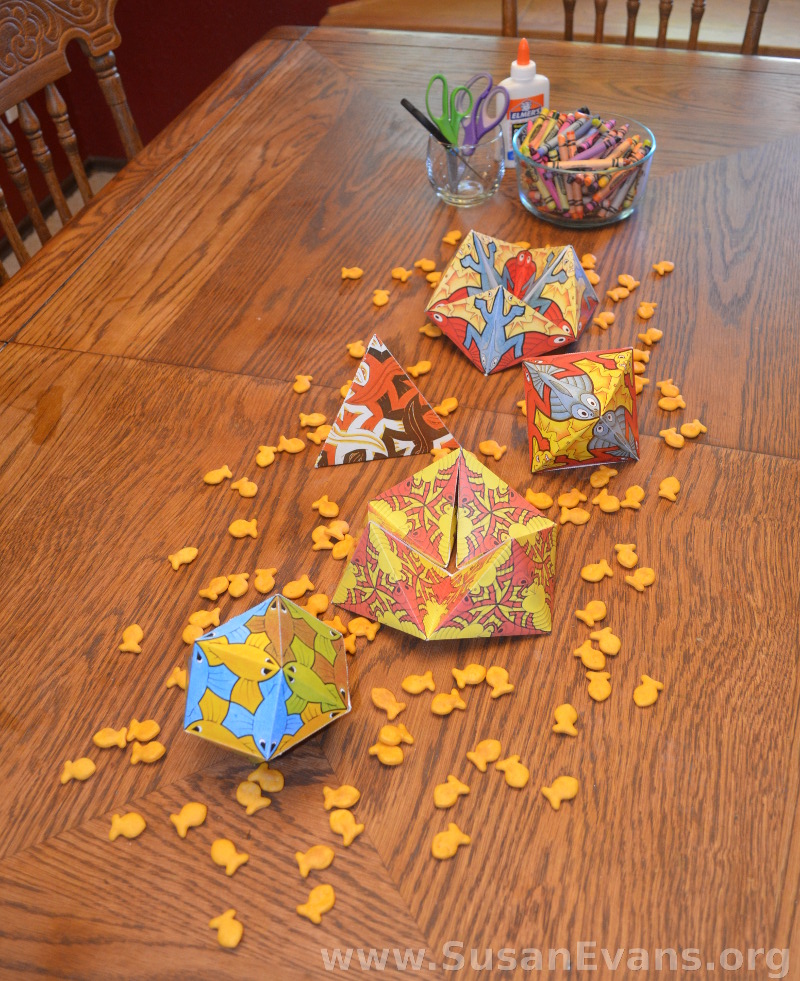
We used these 3D shapes to decorate the center of the table. I used little fish crackers as confetti. I also gathered the art supplies that we needed for our tesselations.

MC-Escher-3D-shapes

MC Escher Cake

I had to think long and hard about the cake, because the thought of making stairs go up and down on a cake seemed impossible. I toyed with many other ideas until I settled on this one. I found gummy fish at the store, and at that moment I knew what I wanted to do.

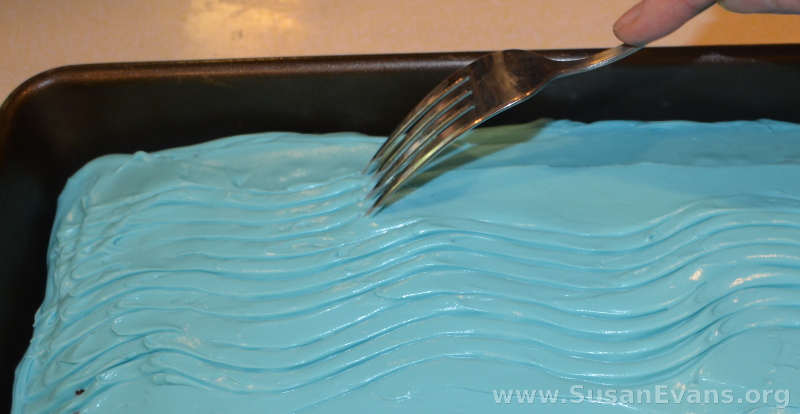
cake-waves

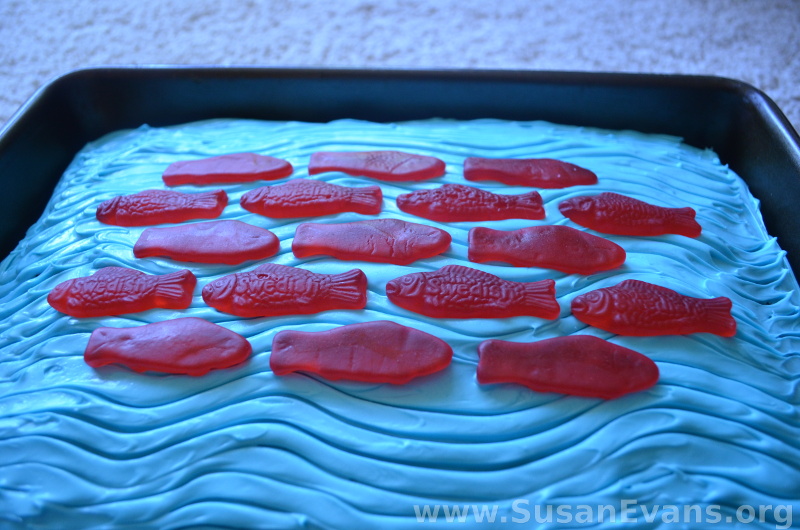
First I baked a rectangular chocolate cake, and I tinted the frosting blue. I used a fork to make waves. Then I placed the fish coming and going, as they would in an MC Escher painting. It came out great!

MC-Escher-cake

MC Escher Art Project

Here is a fun art project you can do with tessellation, where a shape is repeated over and over again, covering the entire paper:

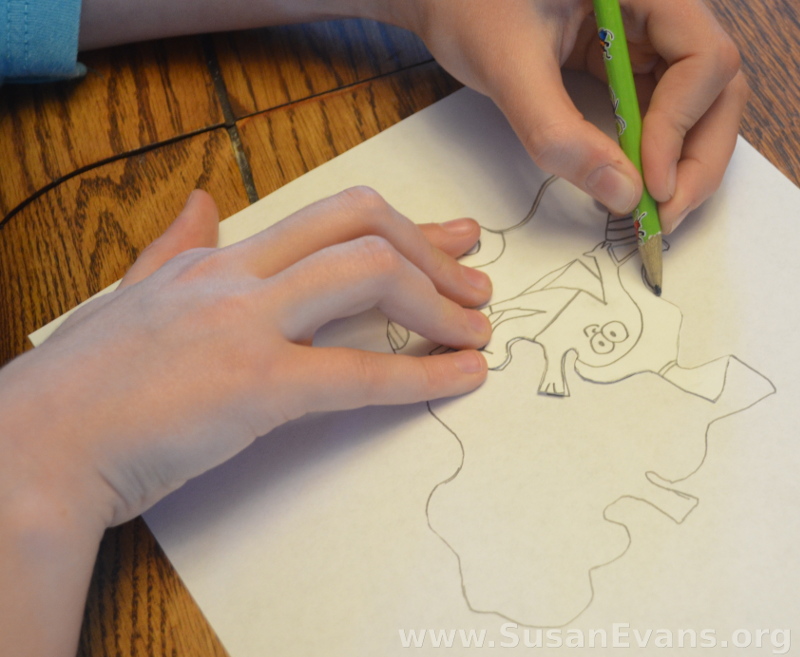
We made modified shapes based on an equilateral triangle. We rotated the shape, using it as a stencil over and over on our paper.

tesselation-drawing

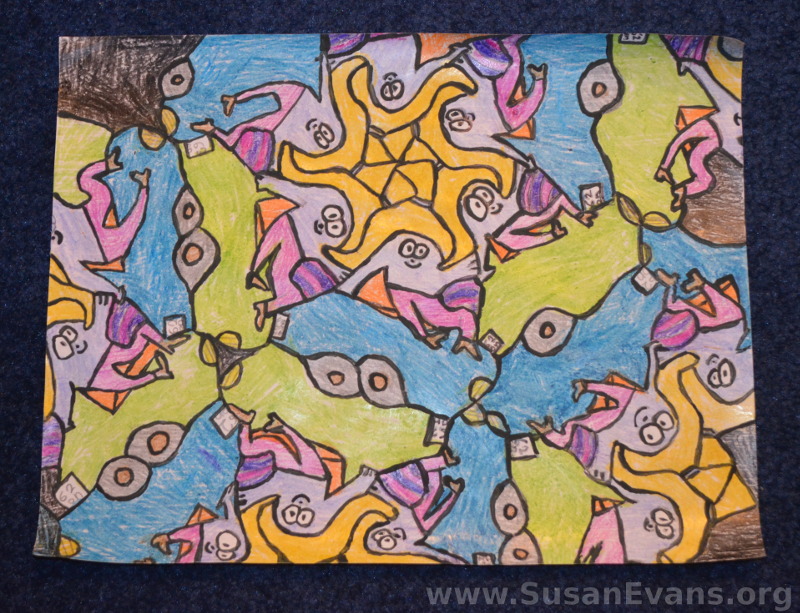
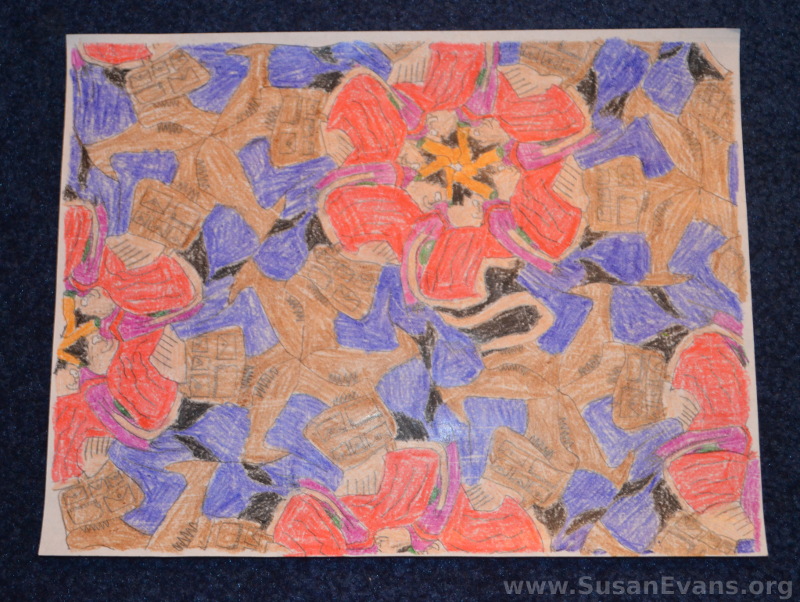
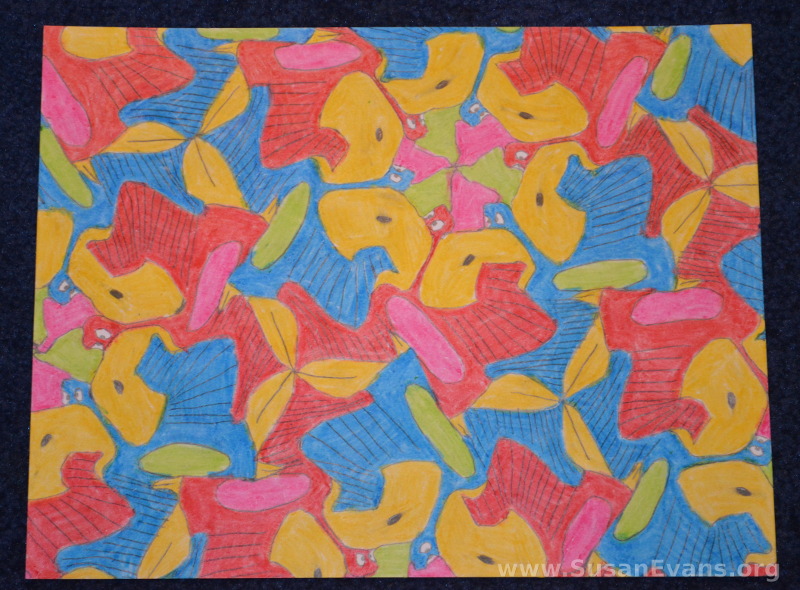
Here are some of the finished tesselations:

MC-Escher-tesselation

drawing-a-tesselation

MC-Escher-tesselations

Didn’t they come out great? My son thoroughly enjoyed his party!

How to Make a Flag Cake

Wednesday, October 5th, 2016

how-to-make-a-flag-cake

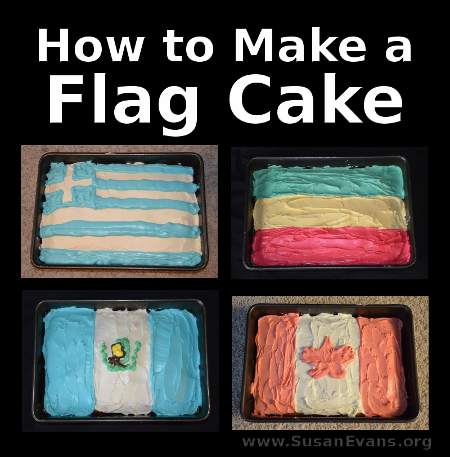
Today I’m going to show you how to make a flag cake. These cakes are super easy to make because they are rectangular-shaped. All you need to do is tint icing the correct colors of the flag, and arrange the top of the cake to look like a country’s flag.

Why would you want to decorate a cake as a specific flag? If someone is British, and it’s his birthday, and he happens to be living in the United States, you can make a flag of the United Kingdom to make him smile.

I baked a Canadian birthday cake for my Canadian mother. I made a Guatemalan cake for my dad, who was a missionary in Guatemala for 20 years. You can make a cake with Israel’s flag for Christians who love Israel.

You can also study a certain country with your children, and make a flag cake for that country, especially if you are homeschooling.

How to Make a Flag Cake (Basic Instructions)

  1. First you want to bake a cake in the shape of a rectangle. Cool the cake.
  2. Next you will want to grab a tub of vanilla icing. If there are two colors in the flag, you will want to divide the icing into two bowls. Some flags have two thirds of one color, and one third of another color. In this case, you will want to place two thirds of the icing in one bowl, and one third in another. Use food coloring to get to the desired shade of color.
  3. Decorate the top of the cake to look as close as possible to the real flag.

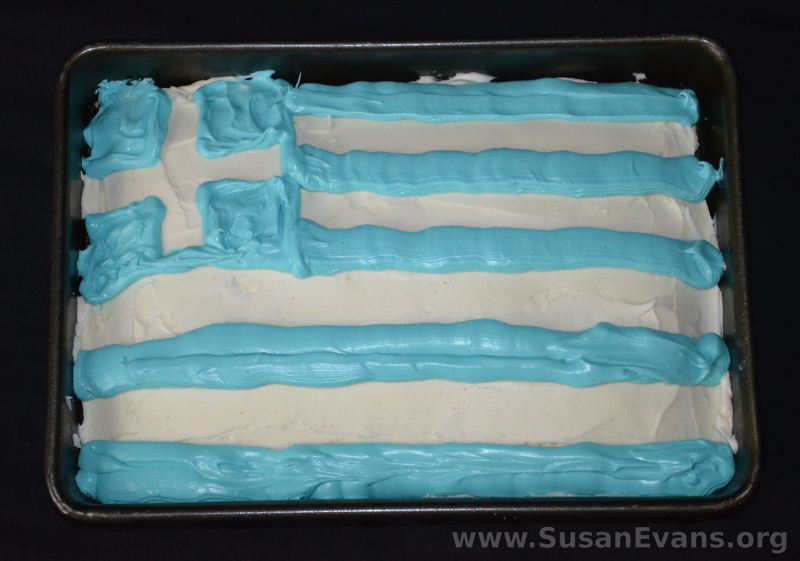
How to Make a Greek Flag Cake

  1. Grab two tubs of vanilla icing. Ice the Greek flag cake completely white.
  2. Scoop the second tub of icing into a bowl, and place drops of blue food coloring into it. Stir into the desired shade of blue.
  3. In the upper left corner, draw a box with blue icing. I scooped the blue icing into a Ziplock bag with the corner cut off. Then I colored four small squares in each corner of that square, with the result of a white cross left in that corner.
  4. Cut the hole larger now in the corner of the bag. Draw the thick blue lines across the remainder of the flag.

greek-flag-cake

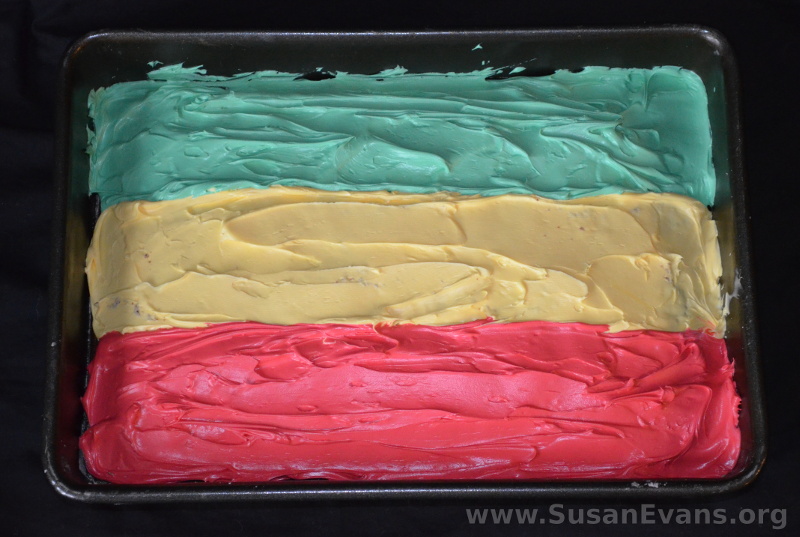
How to Make an Ethiopian Flag Cake

  1. Divide the icing into three bowls. Tint one bowl green, one bowl yellow, and one bowl red.
  2. Frost the cake in thirds. The top is green, the middle is yellow, the bottom is red.

Ethiopia-cake-1

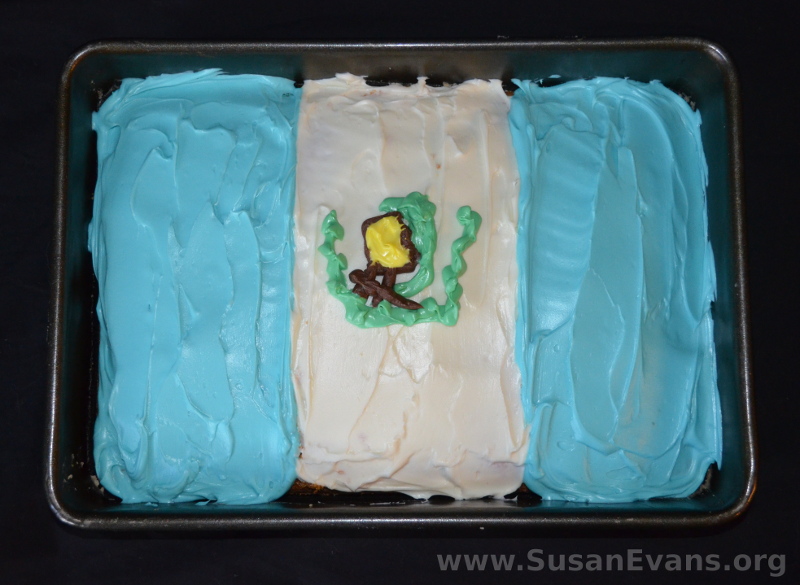
How to Make a Guatemalan Flag Cake

  1. I used two tubs of icing for this one. The first tub I tinted blue. I used this to frost the two sides of the cake.
  2. The second tub of frosting, I left white. I frosted the middle of the cake. I actually frosted the middle first, before frosting the two blue sides, because it’s easier to put blue on top of white than to put white on top of blue, if you make a mistake.
  3. With the remainder of the white frosting, I divided it into three bowls: green, yellow, and brown. I might have used chocolate frosting from a different project for the brown, because it looks too perfect to have been tinted with dye. By the way, when you are dying darker colors, always start with chocolate frosting because then you will need less dye.
  4. Put the green frosting in a Ziplock bag and snip off one corner. Make a U-shape to represent the leaves, and draw the quetzal bird in the middle. You could also use candy leaves if you can find them at a cake supply store. This would look better than the version I made.
  5. The yellow is the paper, and the brown outlines the paper that the bird is holding in the center of the flag. The other brown strokes are branches. Use Ziplock bags and snip off a tiny hole in each end for these two colors.

guatemala-flag-cake

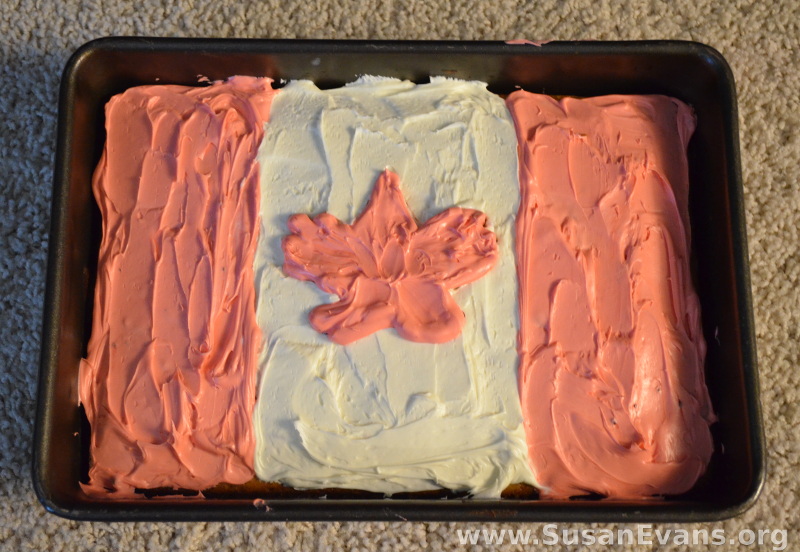
How to Make a Canadian Flag Cake

  1. Once again, I used two tubs of icing, even though I probably could have gotten away with one. I iced the cake white first.
  2. I dyed the other icing red, and used that on the two sides.
  3. I grabbed my maple leaf cookie cutter, and I pressed it into the middle of the cake. This gave me the outline I needed to fill in the maple leaf with red icing.

canada-flag-cake

Hopefully now you know how to make a flag cake. Enjoy your creations!

If you want more hands-on ideas for teaching geography, grab Living Geography: Travel the World from your Living Room.

Sound Collection

Monday, October 3rd, 2016

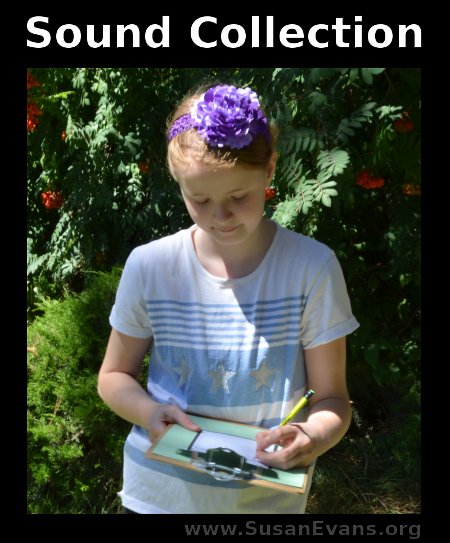
sound-collection

Today we will be exploring sound, and we will fill out a sound collection chart as we go on a hunt for sounds both inside the house and out in the backyard. We also go to a park and a pet store to collect even more sounds!

What is sound?

Sound is made up of vibrations that travel through the air that can be heard when they reach a person’s ear. There are such a wide variety of sounds around us, so we captured 15 sounds on video:

This post contains affiliate links. I was compensated for my work in writing this post.

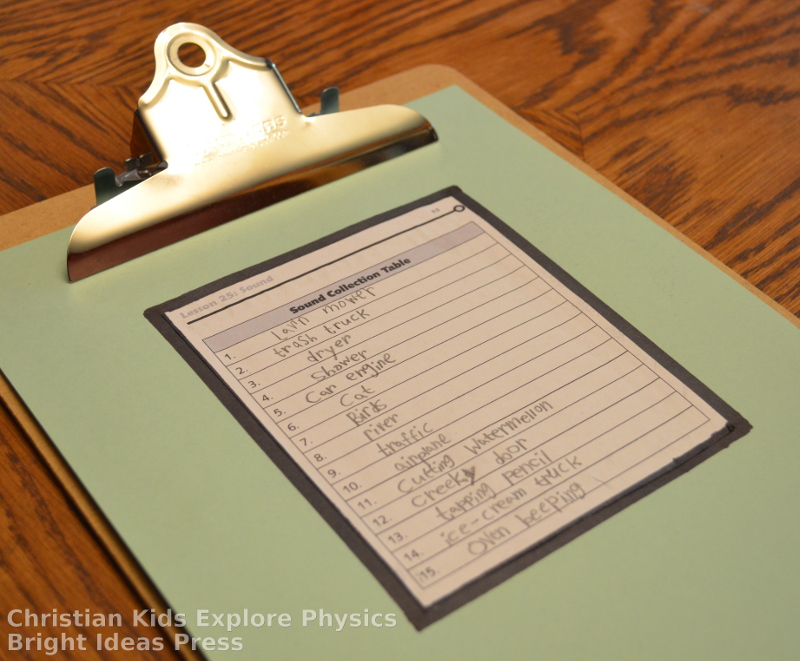
We printed out the sound collection chart from Christian Kids Explore Physics by Bright Ideas Press, and we clipped it to a clipboard. Then we explored the world around us, trying to find different sounds. These are the interesting sounds we found:

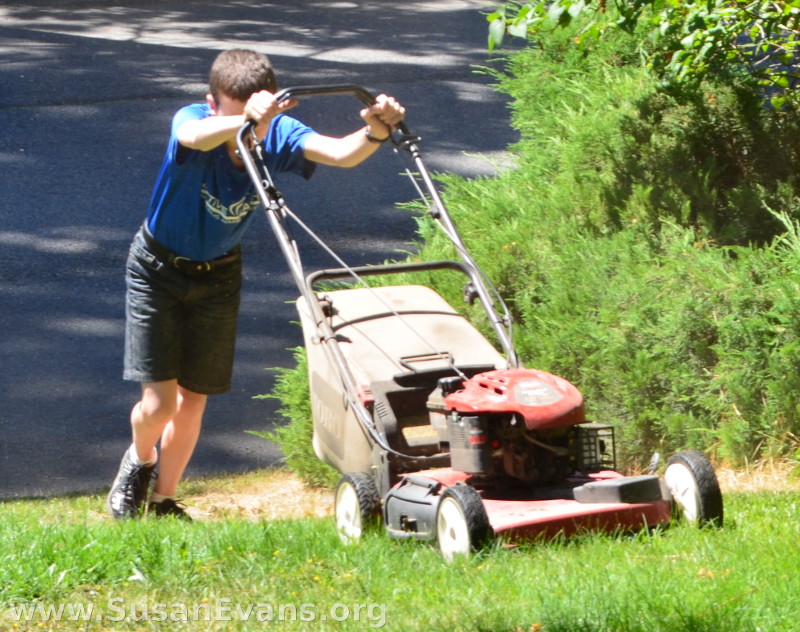
  1. lawn mower
  2. garbage truck
  3. clothes dryer
  4. shower
  5. car engine
  6. cat meow
  7. birds chirping
  8. river
  9. traffic
  10. airplane
  11. cutting watermelon
  12. creaky door
  13. tapping pencil
  14. ice-cream truck
  15. oven beeping

mowing-the-grass

The kids tried to find interesting sounds that were different from each other. After filming all the sounds in our backyard, we went to an arboretum to see if we could find more sounds from nature. But we ended up hearing the traffic next to the arboretum and an airplane flying overhead.

My husband drove us to a pet store because I kept telling him we needed more animal sounds. For people who live in a city, this is a good way to capture those animal sounds. A cat looked straight at me and meowed. Birds chirped like crazy in their cages. Each pet store is unique, and you will find plenty of sounds there.

sound-collection-chart

The man driving the garbage truck probably wondered why I was filming him from the front door. As you can see in the video, he gave a friendly wave! I didn’t even notice until I was editing the video!