Archive for the ‘Science’ Category

Changing the Coefficient of Friction

Monday, August 15th, 2016

changing-the-coefficient-of-friction

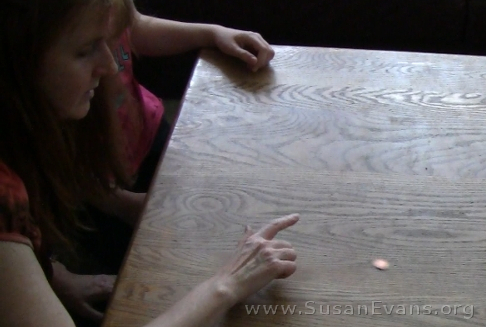
Today we are doing an experiment about changing the coefficient of friction. We will be swooshing a penny and a book across an unpolished table. Then we will polish the table and try it again.

Friction is resistance that keeps an object from moving forward. As you can see in the video, our coffee table has seen better days–it is battered and has lots of tiny grooves and dents. This provides a surface that is full of friction to cause a penny or book to slow down while being slid across a table.

How to do the friction experiment:
sliding-pennyThis post contains affiliate links. I was compensated for my work in writing this post.

This is how we conducted this friction experiment from Christian Kids Explore Physics by Bright Ideas Press:

Step 1: We slid a penny and a book across an unpolished table. We noticed that the penny got stuck as it didn’t want to slide across a table full of nicks and dings.

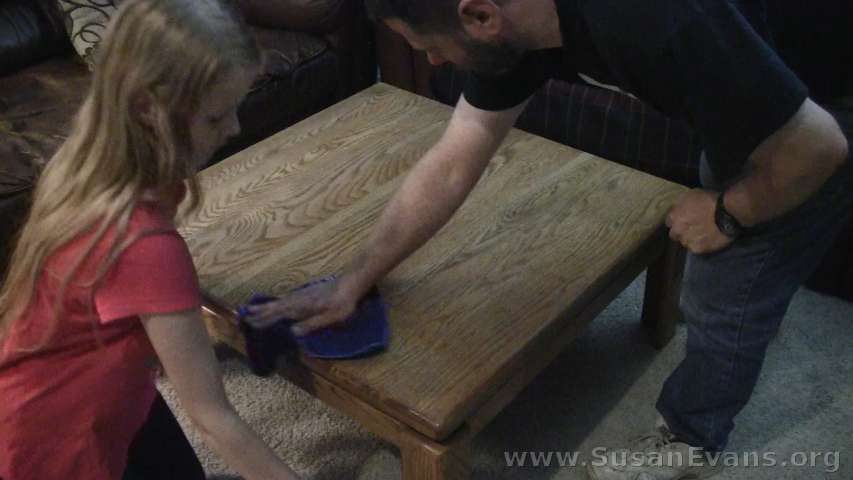
Step 2: We polished the table with furniture polish. Using a soft rag worked better than using a paper towel, as far as shining the table. The reason the table never looked visibly shiny is that there was no varnish left on the poor coffee table. Even then, the table became more slippery when polished.

waxing-table

Step 3: We slid the penny and the book across the polished table. This time we noticed that the penny had less friction as it slid across because there were fewer obstacles slowing it down.

My kids went next door to slide the penny on the neighbor’s waxed wooden floor. The penny slid around with way more speed! Even the neighbor’s dog had trouble walking on such a frictionless surface!

Then my husband polished one side of the coffee table and not the other, and there was a visible difference in speed when he flicked two wooden coins across the table. The polished side went noticeably faster and flew off the table!
Measuring the Magnitude of Force

Monday, August 8th, 2016

Measuring-the-magnitude-of-force

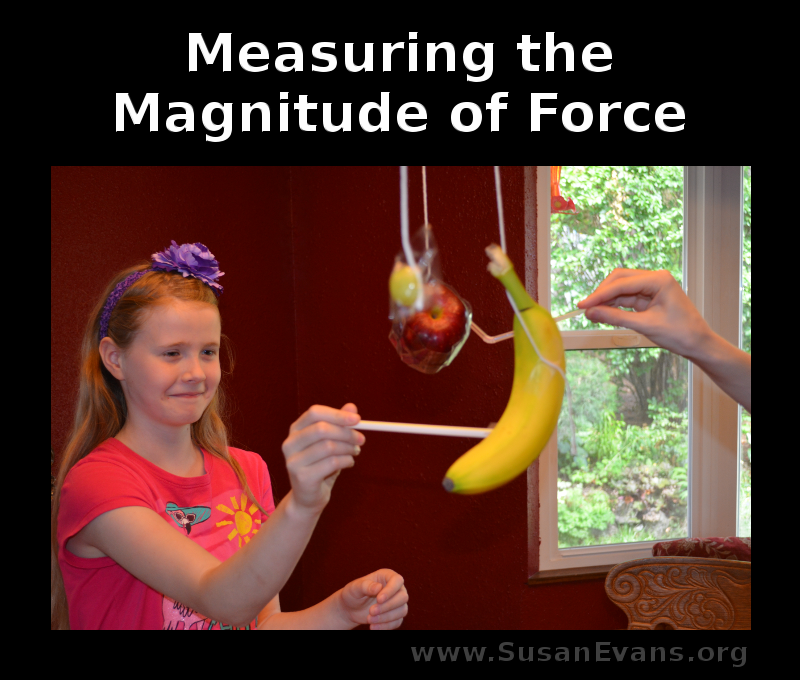
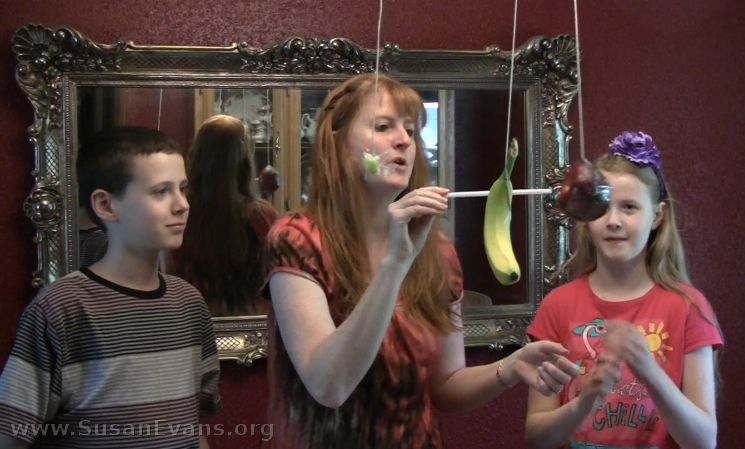
Today we are hanging some fruit from a chandelier and poking it with a straw–yes, we are measuring the magnitude of force!

Are you ready for a ridiculously fun experiment? You will need the following items: string, a chandelier or door knob, a bendy straw, tape, scissors, a grape, an apple, and a banana.

Here are the results of our experiment:

How to conduct the experiment:

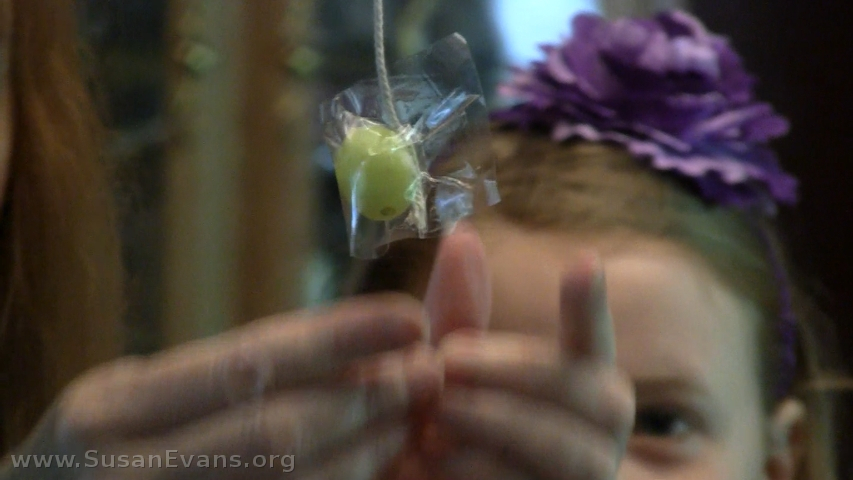
Step 1: Make sure the fruit is completely dry before attempting to tape the string to the fruit. We used packing tape, but apparently flimsy scotch tape also works. I was shocked to see the banana didn’t fall and splat with weak scotch tape holding it up.

Step 2: Tie the other end of the string to the chandelier or door knob.

taped-grapeThis post contains affiliate links. I was compensated for my work in writing this post.

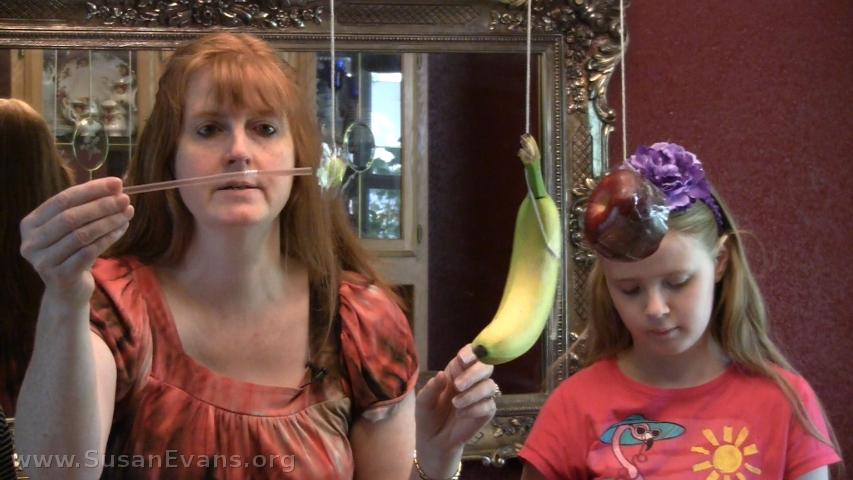
Step 3: Grab a bendy straw and push each piece of fruit. Notice that the grape does not bend the straw, but the apple and the banana require more force to move, so they bend the straw. The more mass an object has, the more force is required to move it.

laughing

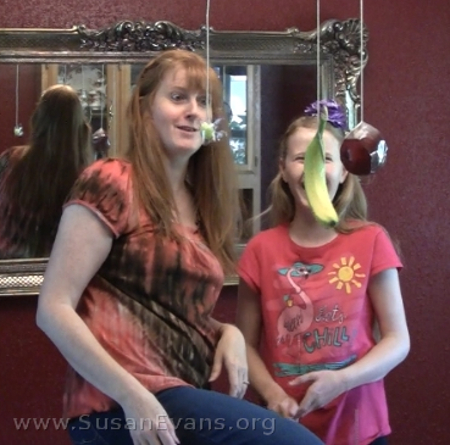
The photo above is the moment I discovered the weak tape was holding the banana up. It was quite hilarious, since I was expecting a splat.

physics-force-elementary

See how the grape requires almost no effort to move, since its mass is so small. On the other hand, the other two pieces of fruit require more force to accelerate. To accelerate something means to make it move forward or change its velocity. We accelerated the speed of the fruit in this experiment while determining the magnitude of force required to move each piece.

hanging-fruit

This fun experiment is from the book Christian Kids Explore Physics by Bright Ideas Press. Why not pick up your own copy today!

Finding Physics Around Us

Monday, August 1st, 2016

Finding-physics-around-us

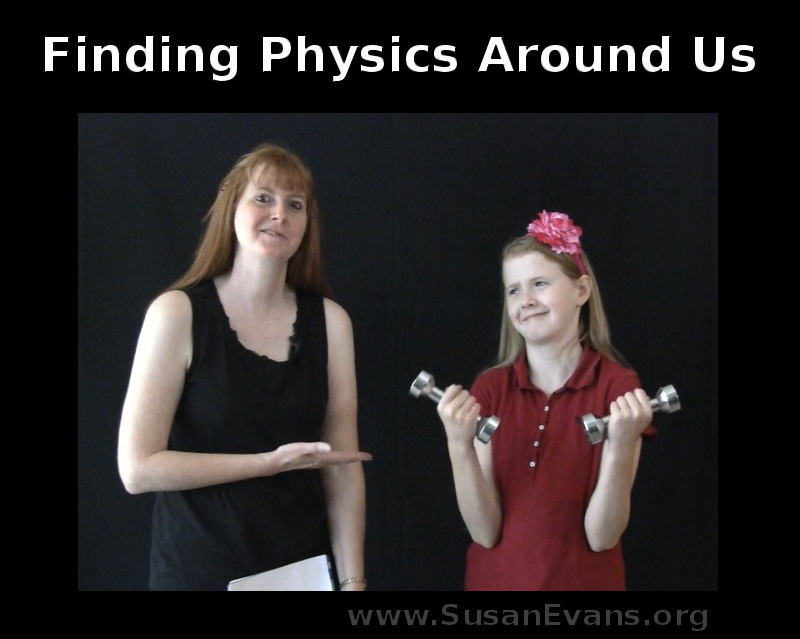
Today we are beginning a new series on Elementary Physics, and we will be finding physics around us. You might not be aware that physics is a part of our everyday lives, so we’ve grabbed our video camera and captured some physics on film!

This post contains affiliate links. I was compensated for my work in writing this post.

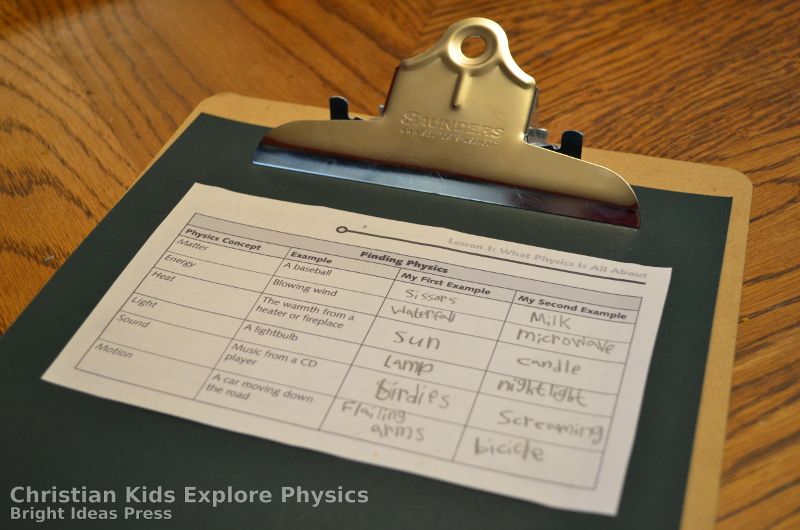
We printed out the “Finding Physics” chart from Christian Kids Explore Physics by Bright Ideas Press, and my daughter had fun filling out the chart as we walked around, looking for physics.

physics-chart

Finding Physics: What We Found

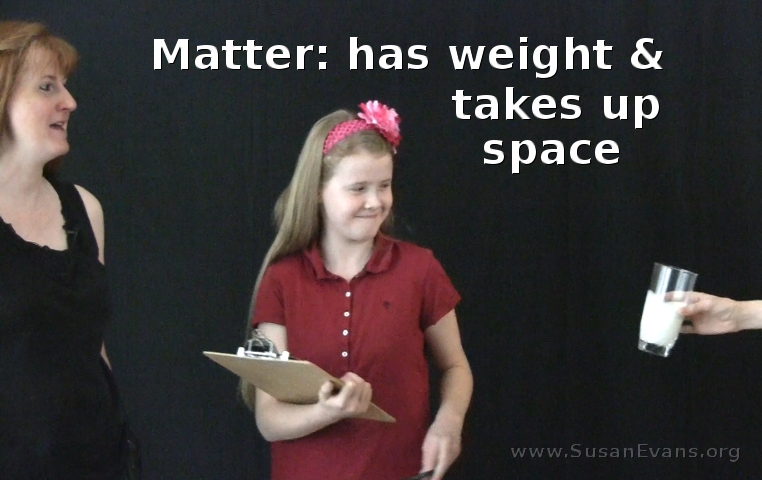
Matter has weight and takes up space. It’s basically anything we can see or touch. Examples we found are people, scissors, milk, and piƱatas. The wall, an ice cream cone, and dirt are also examples of matter.

matter-takes-up-space

Energy is the capacity to do work. Examples of energy are the wind, a waterfall, a bolt of lightning, or a microwave.

Heat is a form of energy that causes things to become warm. If you put a cat on your lap, the warmth of the cat will cause you to become hot. Sources of heat: the sun, fire, a furnace, a stove or oven, and even a cup of coffee.

Light enables us to see when it illuminates the area in front of us. Sources of light are the sun, a lamp, a night light, garden lights, traffic lights, and even your cell phone.

Sound is vibrations that travel through the air. We hear these vibrations when they reach our ear. Examples of sounds would be a screaming child, a lawn mower, the clicking of a keyboard, a radio, and birds chirping outside.

Motion is something that is moving. My daughter Rachel is constantly moving (unless she is asleep), so she is a great example of this phenomenon. Other examples of motion are cars, motorcycles, bicycles, a sporting event (although golf and baseball are pretty slow!), and a running hyena.

sun-source-of-light-heat

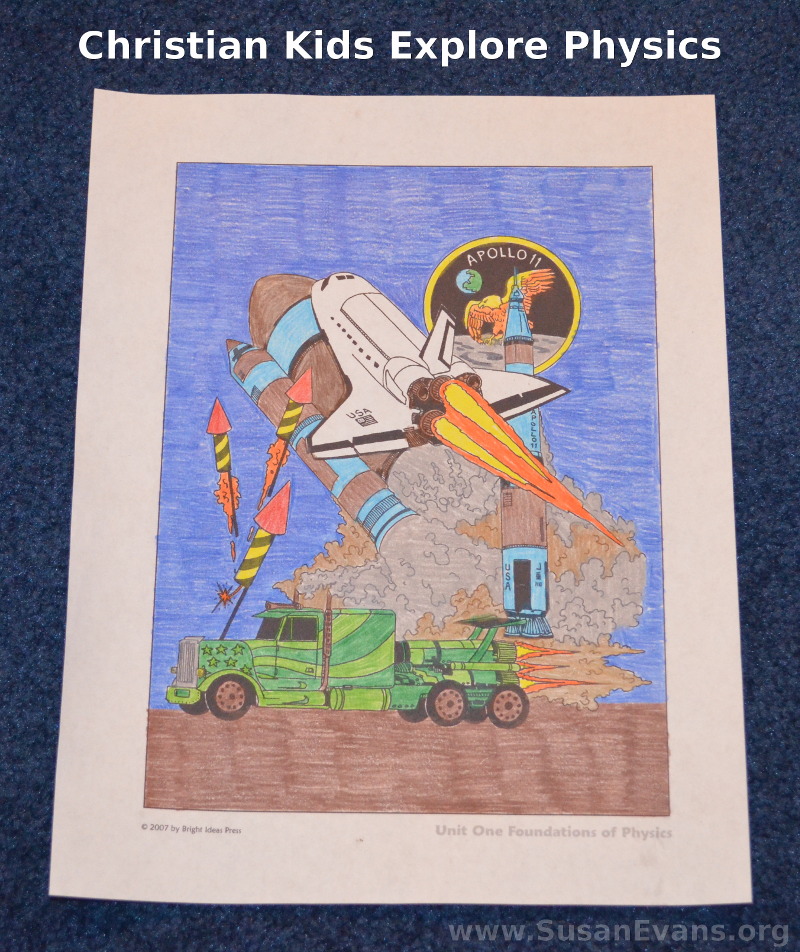
Here is a coloring page from the first unit: The Foundations of Physics. It shows how trucks, fireworks, and even rocket ships use physics to work:

physics-coloring-page

Now that you’ve seen physics in the world around us, why not stick around for the rest of the series? These are the topics that we will cover during the next few weeks:

  1. Finding Physics Around Us (this post)
  2. Measuring the Magnitude of Force
  3. Changing the Coefficient of Friction
  4. Turning Potential into Kinetic Energy
  5. The Speed of a Rotating Cookie
  6. Flying Projectiles & Plotting Trajectories
  7. Bowling with Momentum
  8. Prisms, Light, & Color
  9. Warming Things Up with Friction
  10. Sound Collection
  11. Fun with Magnets
  12. Make a Compass

Subscribe to make sure you don’t miss a single post!

Make Your Own Nest

Monday, March 21st, 2016

make-your-own-nest

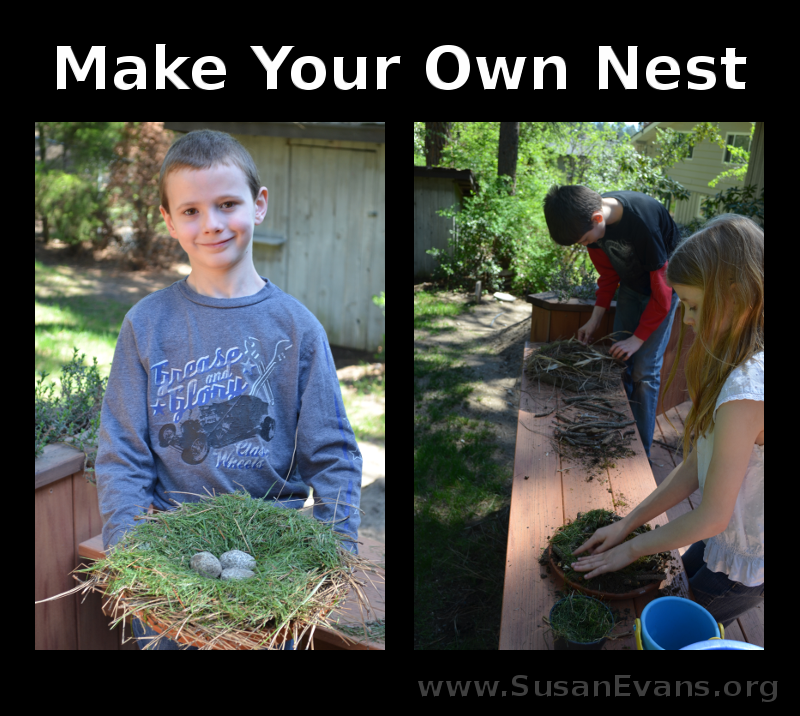
When you are learning about birds in the spring, a fun activity you can do with your kids is to make your own nest. Your kids can “fly” around the yard as if they were birds, searching for materials from which to build their nest.

You want to start with a base, or a place to build your nest. You can grab one of those pottery dishes that go under a large potted plant. Or grab a tray from your kitchen. Or you can just build your nest on the ground or in a tree.

nest

Materials you can gather to make your own nest:

  • twigs and sticks
  • dead leaves
  • moss and lichen
  • wheat stalks
  • dead grass
  • bark from trees
  • dead weeds
  • fluff from flowers
  • wet mud

How to put together your nest:

You will want to mix some dirt and water to create your glue. Birds sometimes use spider webs or other sticky plants to keep their nest together instead of mud, but many birds use mud.

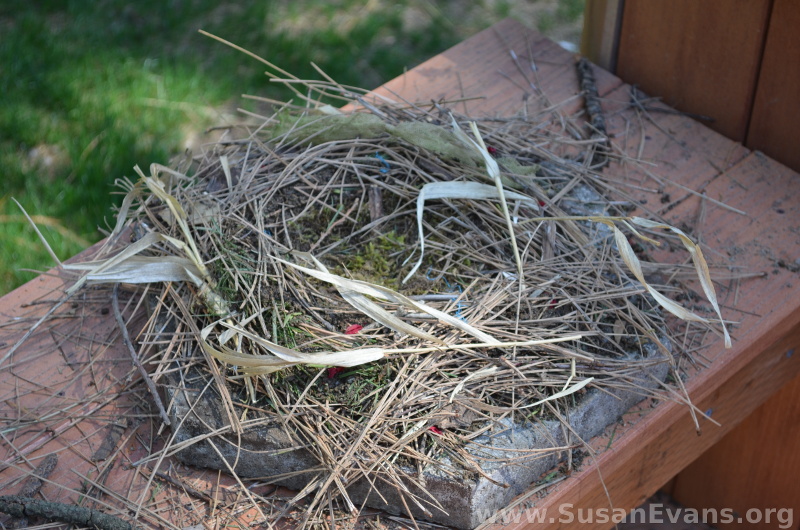
Start arranging your dry grass, leaves, pine needles, twigs and other debris into a nest shape. Use the mud to glue it all together. Make it nice and soft by adding moss and fluff to line the inside of the nest.

Now you can place some oval-shaped rocks into the nest to make it look like a bird laid eggs there.

More bird activities for a bird unit study:

I hope you enjoyed putting together your own nest. For more hands-on learning ideas, join the Unit Study Treasure Vault.