My kids decorated cookies to represent the country of Egypt. First I mixed up a batch of sugar cookies and put them in the fridge. The next day, I took half the dough and rolled it out. I cut out four rectangles using a knife. With a spatula, I tried to transfer the dough rectangles onto the cookie sheet. I said “tried” because a couple of them fell apart. (I’m not good at making pie crust either.) I smooshed them back together on the greased cookie sheet, with no one noticing. I baked them. They cooled.
Then I called the children over. They cheered and jumped up and down with glee. “Are we having this for lunch?” they asked.
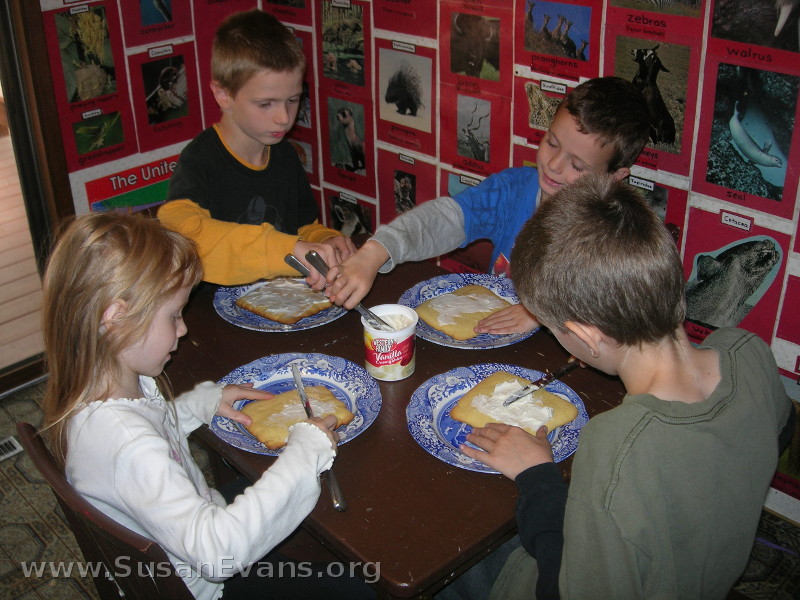
I didn’t answer. I told them to sit down. I handed each kid a butter knife, and I put the white icing in the middle of the table. The kids covered their cookies with icing as the base or “glue” that would hold everything else in place.
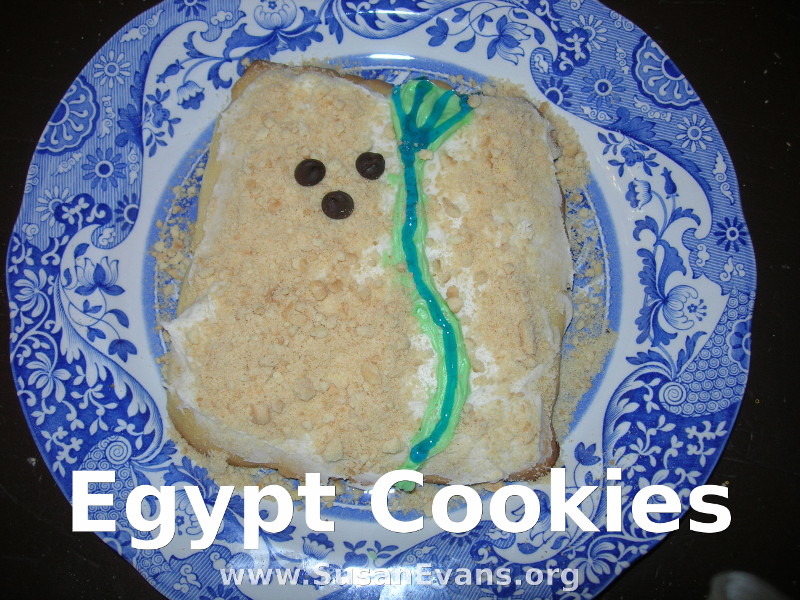
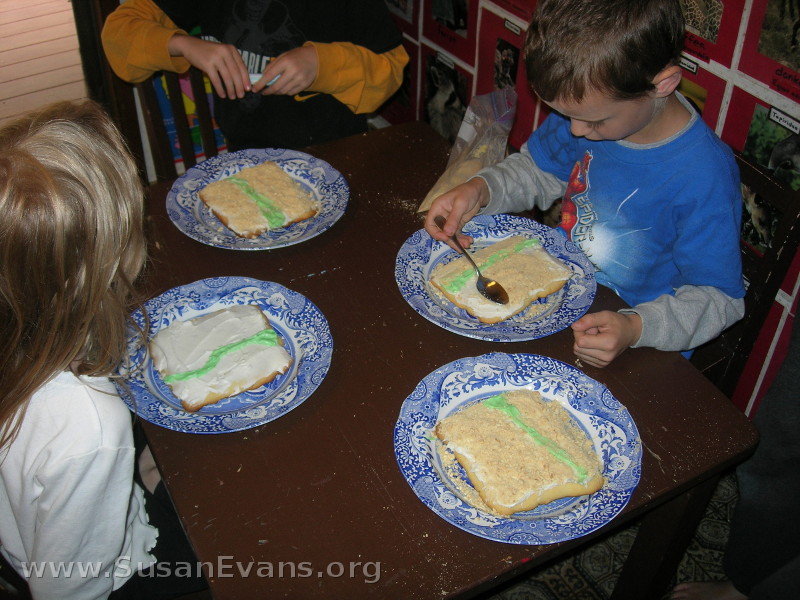
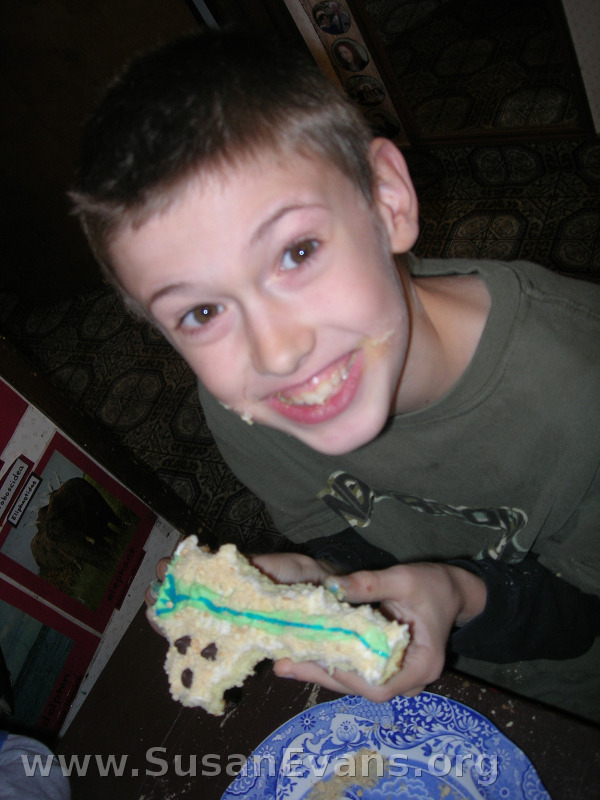
When no one needed white any more, I dyed the rest of the icing green. The children used their knives to make an upside-down triangle on the top of their cookie, representing the fertile Nile Delta. They made a fat line going down the rest of the cookie, about the thickness of the butter knife.
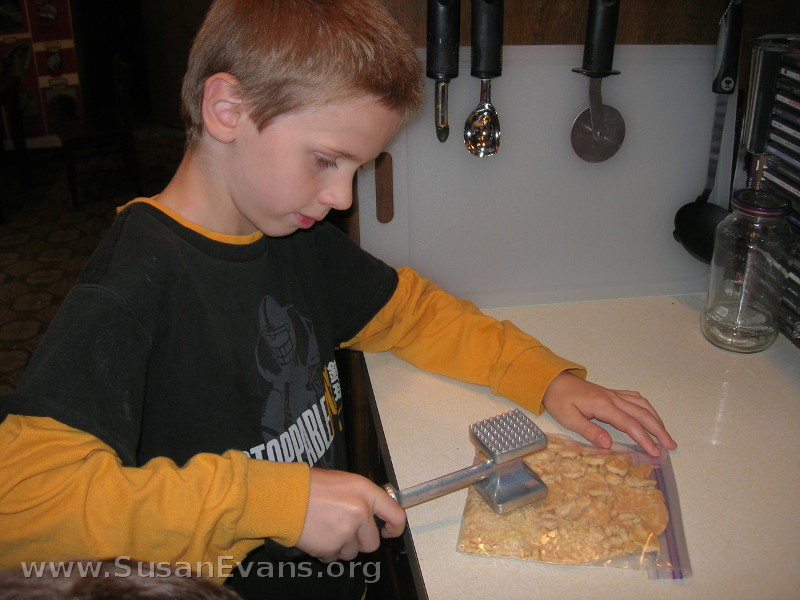
Normally to make sand on a cake, I crumble up generic graham crackers from Walmart, the ones that cost $1. But I was in Rosaurs, and their cheapest graham crackers were $4. So I bought generic lemon cookies. We scraped off the stuff in the middle of the cookie and put the bare cookies into a ziplock bag. We pounded the cookies to smithereens. (One of my sons used the wrong end of the mallet and punched lots of tiny holes in the bag, so watch which end you’re using. A hammer would work just as well. Use a nice, thick bag, not a cheap one.)
I snipped off the blue tube of icing – it’s called “writing gel”– and you can find it at your grocery store near the icing. Otherwise there’s no way for you to make the thin line that the Nile River needs to be. The kids squeezed it like a tube of toothpaste down their cookie.
We added three chocolate chips for the three great pyramids. And voila! Edible Egypt! I fed my children vegetables, fruit, and protein before they ate the enormous cookie. What a delicious history class! The kids ate their homework, and no one got in trouble.
Tags: Ancient Egypt, Ancient Egypt Unit Study, cookies, Egypt, geography, history, Homeschooling, map



Great idea! We are using Story of the World and just finished Ancient Egypt. I would not have thought to do this. This is why blogging is sooo great for homeschool moms!!!! Thanks for the great idea!
You’re welcome. My kids loved making and eating these!
You could put some of the icing in a baggie, color it blue and snip a corner off the baggie to squeeze the frosting through for the Nile.
Just a thought!
Good idea. The icing gel is so easy to use, but many people have no money whatsoever, so tinting some icing blue would work.
Susan,
Thanks for the great idea! The cookie turned out great and we added other details also. We plan to do Italy using pizza dough and toppings too.
Making Italy with pizza sounds fabulous!
Very cool activity. We ended up going for something else when we got to the section on the Nile in our history curriculum, but I shared a link to your activity on my blog post for that chapter cause I thought it looked so much fun. http://imaginativehomeschool.blogspot.com/2016/10/story-of-wolrd-chap-2-two-kingdoms.html
I love all the activities you listed. Glad you liked our Egypt cookies!