Elementary Physics Series

October 19th, 2016

elementary-physics

This post contains affiliate links. I was compensated for my work in writing this post.

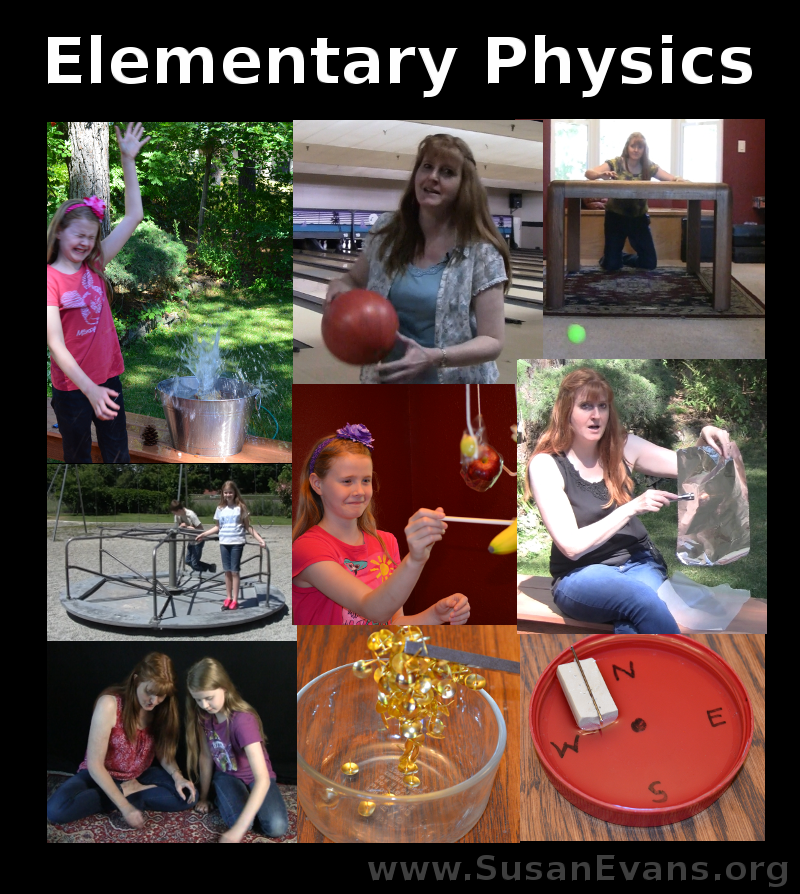
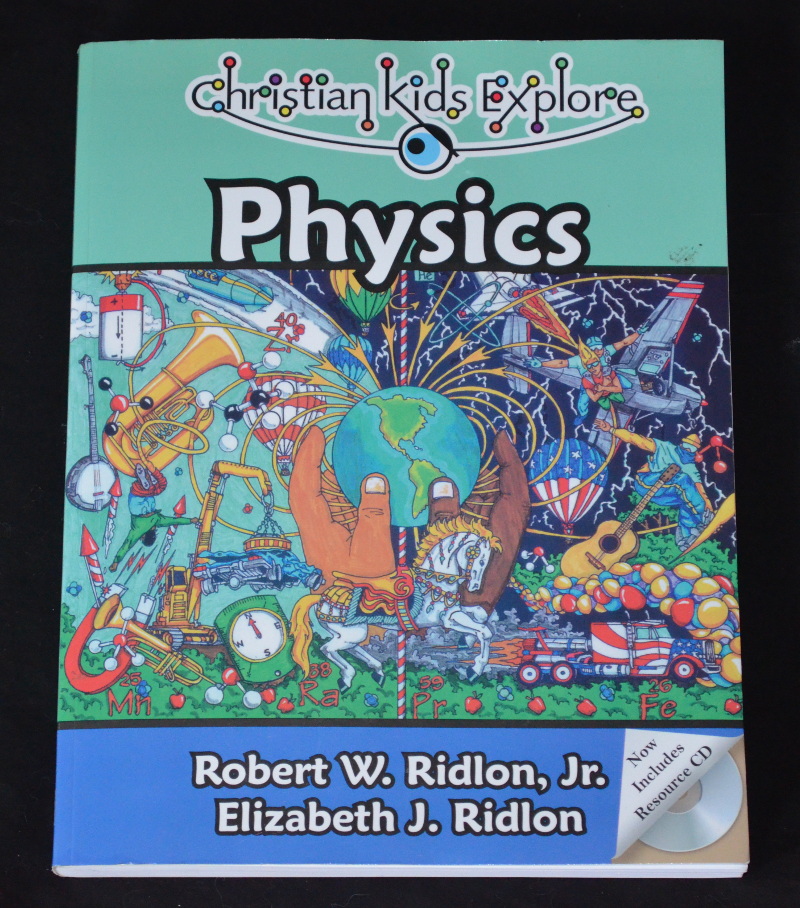
We had a great time learning about Elementary Physics, using the book Christian Kids Explore Physics by Bright Ideas Press. Here is a quick index of the different experiments we performed for you on video, to help you as you study this subject.

The first unit of this book is called “The Foundations of Physics.” It describes what physics is all about; how to measure distance, time, temperature, and weight; and it familiarizes us with famous physicists. Here is a demonstration of how we see physics all around us:

The second unit is “Matter.” If you have taken Elementary Chemistry, you can skip these chapters, which are a review of chemistry. If you have not taken Christian Kids Explore Chemistry, here are the experiments from this physics book that you will need:

The third unit is “Mechanics,” where we learned about force, gravity, work, friction, and energy. Here are the video demonstrations we performed to learn about mechanics:

The fourth unit is “Matter in Motion,” where we learned all about motion:

The fourth unit is “Energy in Motion,” where we learned about electromagnetic energy, light, color, heat, and sound:

The last unit is “Electricity and Magnetism.” Here are a couple of experiments that we did for this unit, in order to understand electricity and magnetism:

These fun experiments are from the book Christian Kids Explore Physics by Bright Ideas Press. We really enjoyed studying physics in such a hands-on way. Why not study physics with your own kids by grabbing a copy of this book?
christian-kids-explore-physics

How to Make a Compass

October 17th, 2016

make-a-compass

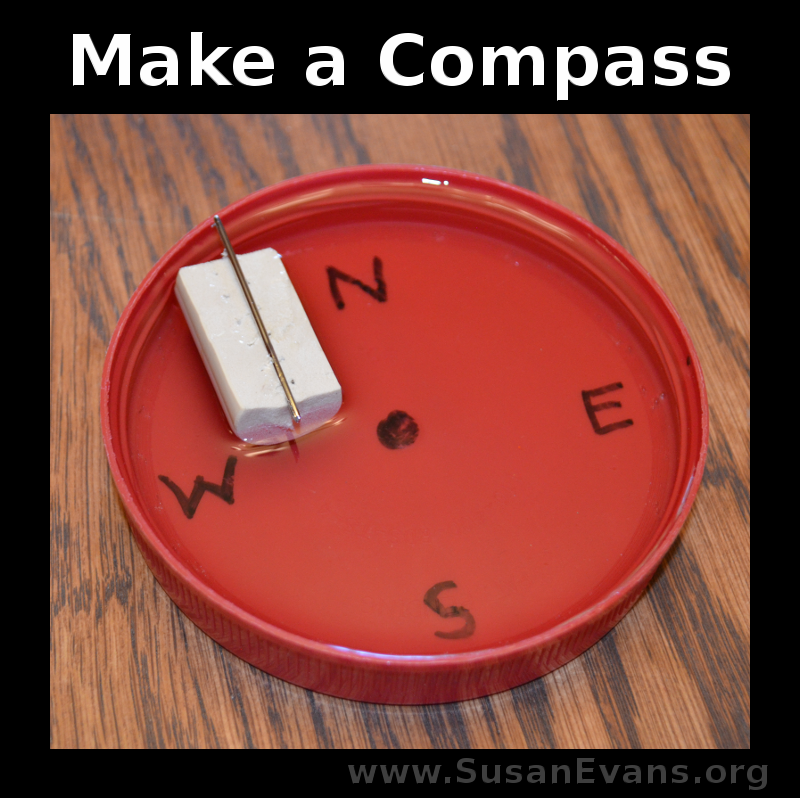
Today we will make a compass with a lid, a cork, a needle, and a magnet. This is a simple yet fun experiment to understand magnetism.

First you will want to get a bowl or a lid. I used a peanut butter jar lid because it is large, deep, and plastic. It’s also a great red color. I grabbed a black Sharpie marker and wrote N for north, S for south, E for east, and W for west. I drew a dot in the middle.

Fill the lid with cold water.

Cut a cork in half. Make a groove down the center of the cork like I show you in the video demonstration. If you don’t have a cork, you can use butter or margarine to coat the needle so that it will float.

Now grab a bar magnet and stroke the needle ten times in one direction, using the north pole of the magnet. Insert the needle into the groove of the cork.

Place the needle and cork into the water, and you will notice that it will point to the north pole. Even if you turn the bowl, it will still continue to point in the same direction. And if you pull the needle out of the water and put it backwards, it will spin to align itself to the north pole!

How to Make a Compass (Demonstration)

Take a look at this experiment on video:

This post contains affiliate links. I was compensated for my work in writing this post.

We have loved all the hands-on activities in our book Christian Kids Explore Physics by Bright Ideas Press. Why not pick up a copy of the book and try some of the experiments? Physics has never been so easy to learn!

Bookshelf Cake

October 14th, 2016

bookshelf-cake

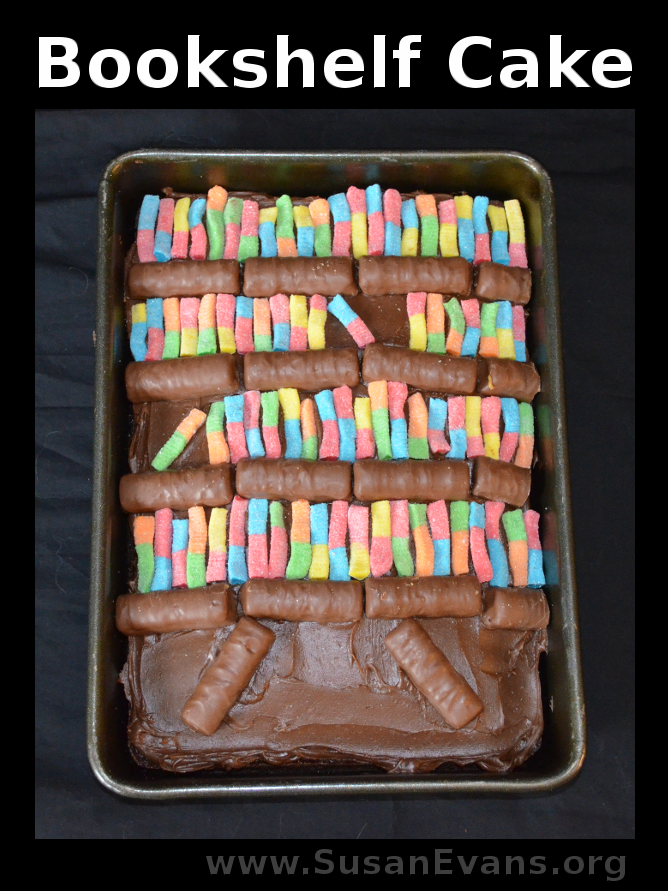
This bookshelf cake is perfect for book lovers and librarians. Anyone who enjoys reading books would appreciate this themed cake for his or her birthday.

First you will want to bake a rectangular cake, preferably chocolate. Next you will want to frost the cake with chocolate frosting. Most bookshelves are wooden, so brown is the perfect color for the background of your bookshelf.

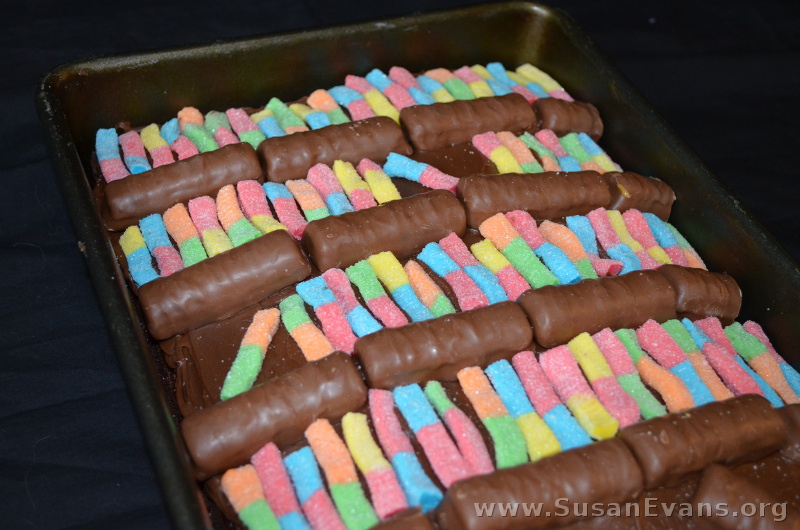
Now comes the fun part. Buy candy to represent the shelving and the books on the shelves. I spent a full week trying to find candy that would look like books. I finally settled on sour worms. We cut off the rounded tops and bottoms of each sour worm to make the books look more realistic, since the tops and bottoms of books are squared off. I used Twix chocolate for the brown shelving, and I created four shelves on which to place the sour worm books.

I obviously placed the Twix down first, and then I placed the books on each shelf. I tilted a couple of books to make the bookshelf look more realistic. I also slanted two Twix at the bottom of the shelf to represent the feet of the bookshelf.

Didn’t it come out great?

library-cake

British Teacup Cake

October 12th, 2016

british-teacup-cake

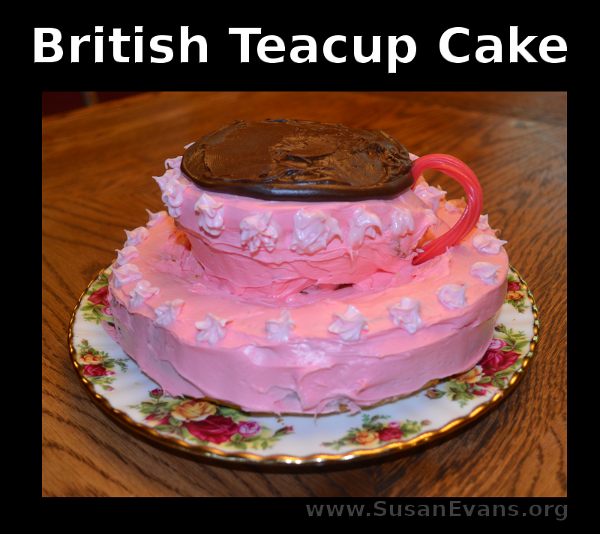
To make this fashionable British teacup cake, you will need one cake mix, two containers of cherry frosting, one container of chocolate frosting, and a strip of licorice. You will also need a round cake pan and a glass oven-safe deep bowl.

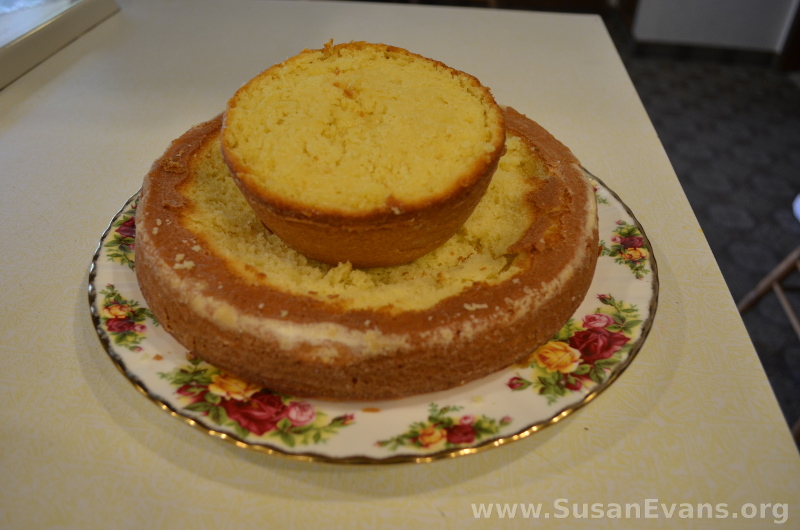
You can see in the picture below that I placed half the cake batter in a regular round cake pan. I put the other half in a deep bowl that was the perfect size and shape for the cup. It was a pyrex glass oven-safe dish. It was rounded and almost pointy on the bottom.

I dug out some cake from the “saucer” part, so that the teacup could rest inside the “saucer.”

cake

I smoothed the top of the “cup” by leveling it with a knife. I suppose if you want the cup to be hollow, you could dig out some of the cake in the “cup.” I wanted it to be full of tea, so I just left it.

cake-of-a-teacup

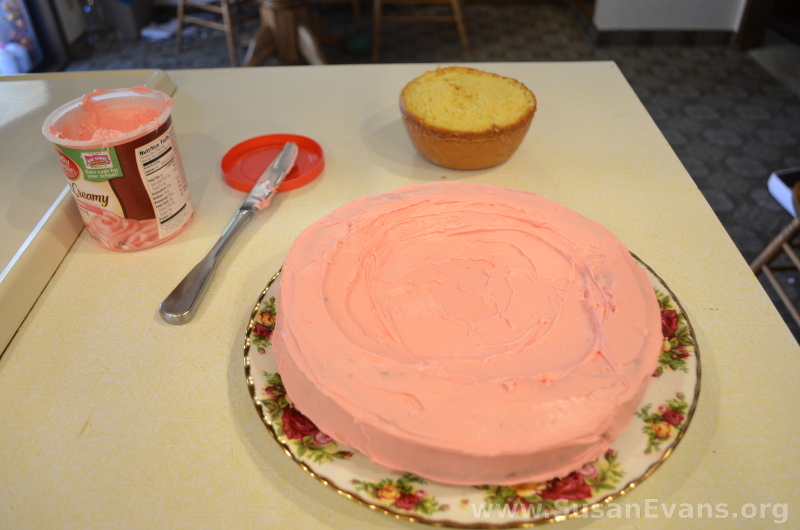
I removed the cup part and frosted the saucer part first. I used cherry frosting.

frosted-cake

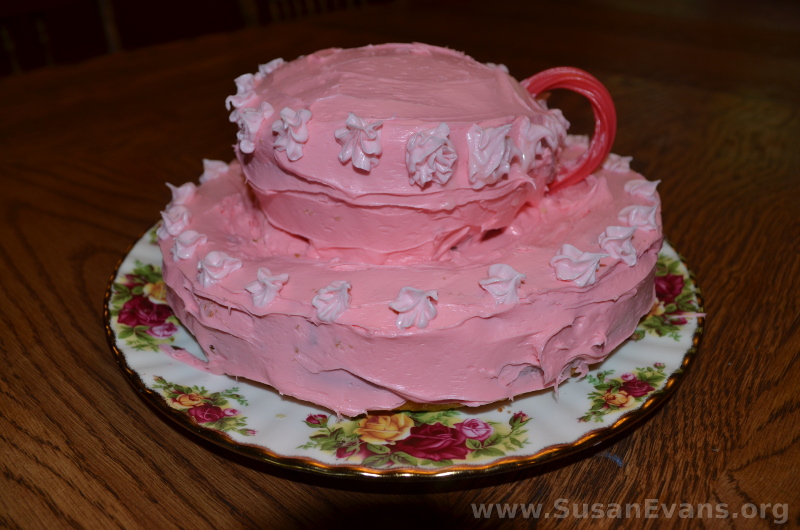
You will need two containers of frosting because it would be nearly impossible to cover the cup after having covered the saucer with frosting so thoroughly. You can decorate further by adding flowers. You can even buy candy flowers to make it look more professional than mine. In this case I used a spray icing that created the flowers, but if you bought vanilla frosting and tinted it pink, you could create a lighter pink for the flowers without spending money on the spray can.

cup-of-tea-cake

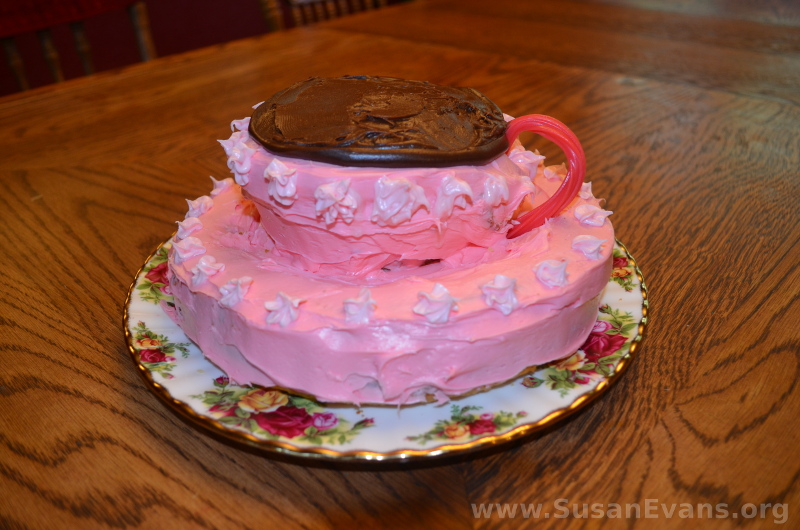
For the finishing touches, frost the top of the cup with chocolate frosting to fill the cup with tea. Then add a handle to the teacup with a strip of licorice.

teacup-cake

There you have it: your finished British teacup cake! If you liked making this cake, you will love my England Unit Study.