Posts Tagged ‘art’

Decoupage a Breakfast Tray (with video tutorial!)

Monday, February 13th, 2017

decoupage-a-breakfast-tray

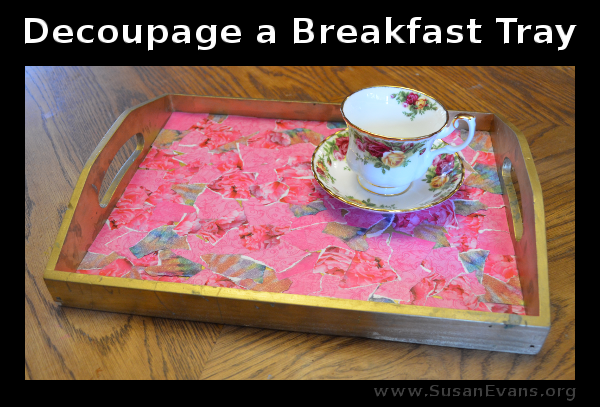
You can decoupage a breakfast tray to match the decor in your room! These trays are perfect gifts for friends and family because you can personalize them. For example, you can decoupage a camouflage tray for a man who likes the outdoors, and you can create a flowery tray for a woman who loves to throw tea parties! People who like blues can make a blue tray, and those who love greens can make a green tray. Librarians could receive a tray that has a scrapbooking paper with bookshelves full of books, and fishermen can get a tray with scrapbooking paper with fish on it!

Decoupage isn’t as hard as it sounds. All you do is tear pieces of paper, and then glue them on both sides and stick them down on the tray. You will definitely get your fingers sticky, but you can easily wash your hands when you are done.

decoupage-supplies

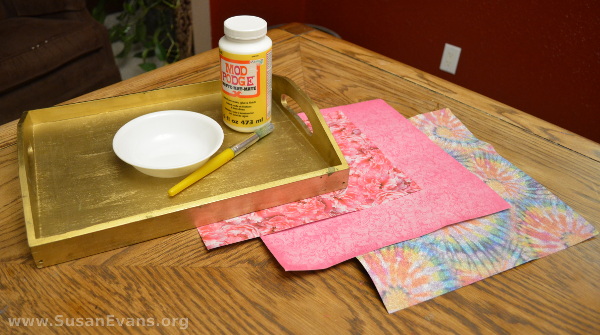
It’s better to use Mod Podge (which you can get at any craft supply store), but you can also use white school glue if that’s all you have. You will want a plastic bowl that you can throw away, into which you will pour the Mod Podge or school glue.

You will also need a wooden tray that you have spray painted gold. Get a cheap sponge brush or any other paintbrush that you don’t mind throwing in the trash when you are done. It’s too hard to wash the glue off the brush, and honestly I don’t think the brush would ever be the same afterwards anyway!

how-to-decoupage-tutorial

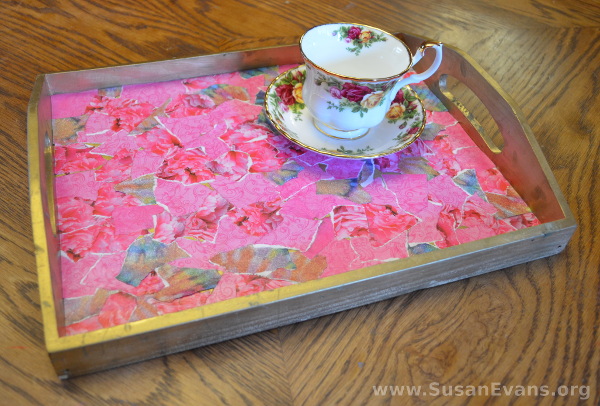
Start tearing paper in order to create this marbleized look. We used three different pieces of scrapbooking paper that contained similar colors but contrasting patterns. While tearing the pieces, place the edges and corners in a separate pile, because this will make it easier to decoupage the corners and edges of the tray, which we did first. After gluing pieces around the edges (like a puzzle!), fill in the middle. Bush one last coat over the whole tray when you are finished. Let it dry overnight, and your beautiful breakfast tray is ready to use!

Video Tutorial: Decoupage a Breakfast Tray

Watch my daughter and I was we decoupage this beautiful breakfast tray:

This tray would be perfect for serving breakfast in bed!
Decorate a Purse with Iron-on Patches

Monday, January 30th, 2017

decorate-a-purse-with-iron-on-patches

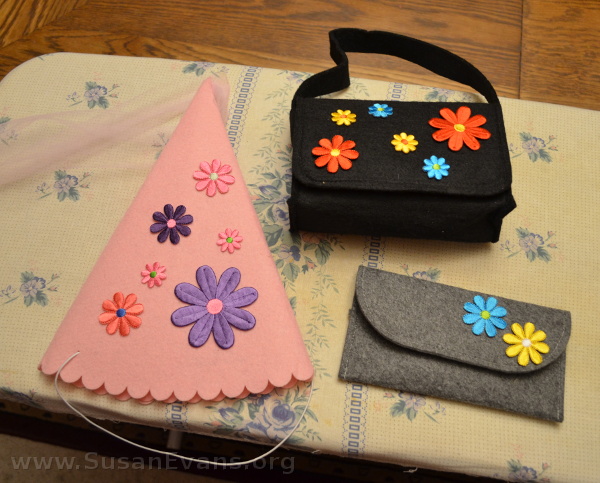
Today I’m going to show you how to decorate a purse with iron-on patches. This craft only takes a few seconds to make! Not only is it super easy, but it’s perfect for customizing gifts for friends and family to make them feel special.

If you have a friend who loves butterflies, get some iron-on patches of butterflies to put on the purse. If your friend likes cats, you can find cat patches. You can see a wide variety of patches in a craft supply or fabric store.

How to Decorate a Purse with Iron-on Patches

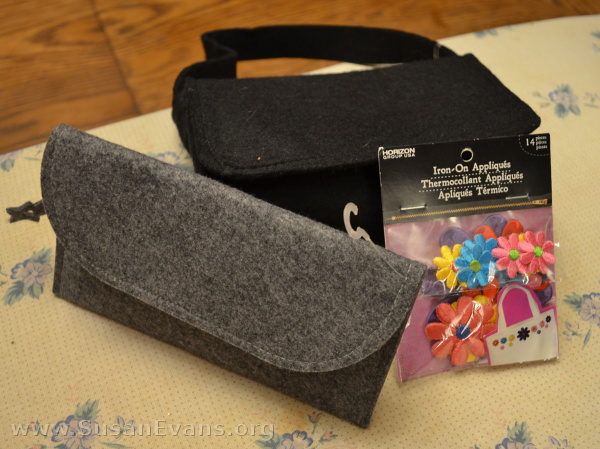
You will need the following items to create your unique purse:

  • An inexpensive felt purse
  • Iron-on patches
  • Iron
  • Ironing board

decorate-a-felt-purse

You can find an inexpensive felt purse in the same aisle of the craft supply store where you found the iron-on patches.

Go ahead and set up your ironing table and plug in your iron. You can turn the iron to a medium high setting. If you want to use a tea towel to place on top of the patch before you iron it, you can. I didn’t, and it turned out fine. I suppose if your iron was too hot or if you pressed it for too long, you would burn the patch and it would turn brown. I think this is why the instructions say to place a tea towel over the area.

iron-on-patches-tutorial

While you are waiting for the iron to get hot, open the package of patches and place them where you want them on the purse. (We also decorated a medieval hat, since we had plenty of flower patches in the one package.)

Press the iron on top of the patch for about 10 seconds. You’re done!

Yes, this craft takes 10 second to do (for each patch), so you will finish with the whole project (including heating up the iron) in less than five minutes.

Go ahead and give away your masterpieces as gifts to friends!

Video tutorial for decorating a purse with iron-on patches:

10 Creative Uses for Wrapping Paper

Friday, December 2nd, 2016

creative-uses-for-wrapping-paper

Have you ever had extra wrapping paper that you don’t want to store? Or maybe you saved your used gift wrap because you were given a large present, and the paper really wasn’t wrinkled. (Growing up as a missionary kid, we re-used gift wrap all the time!)

Why not use that extra gift wrap in some creative ways?

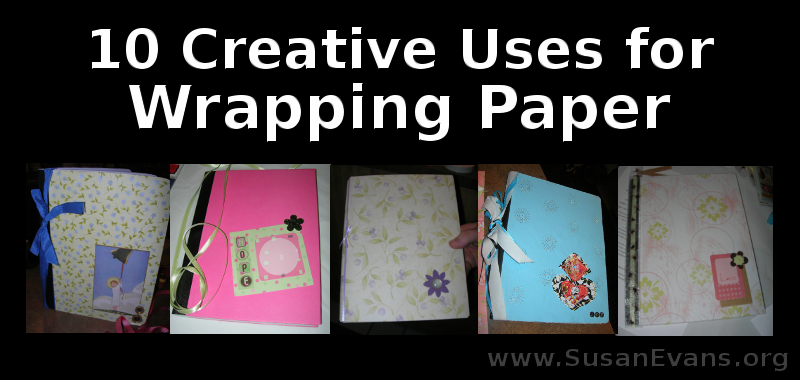
10 Creative Uses for Wrapping Paper

  1. Cover a book or a journal.
  2. Wallpaper a doll house.
  3. Make a greeting card.
  4. Cover a checkbook box as a drawer divider.
  5. Create a fun pencil holder.
  6. Use it as a matting in a picture frame.
  7. Make a reusable gift box by wrapping a shoebox inside and out.
  8. Wrap the outside of a larger box to store toys, photos, or momentoes. Match the gift wrap to the topic. For sports trophies, choose sports gift wrap for the lid and box.
  9. Glue patterns of wrapping paper on a gift bag. Use patriotic paper for a star shape in the middle of the bag, or flower wrapping paper in the shape of a flower.
  10. Create clothing for a paper bag puppet. You can make changes of clothes with the different wrapping paper, and put tabs on the edges (like paper doll clothes) to keep the clothing on the puppet.

There you have it! 10 creative uses for all the extra wrapping paper scraps that are lying around. Can you think of any other unique ways to use gift wrap? Share your ideas in the comments!

MC Escher Party

Friday, October 7th, 2016

MC-Escher-Party

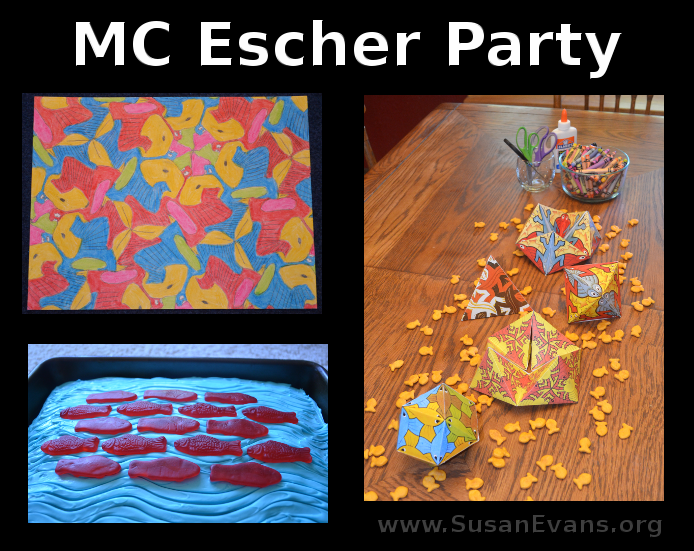
My 16-year-old son has always loved MC Escher, so this year we decided to throw him an MC Escher party for his birthday. MC Escher is a modern artist who depicts surreal scenes like stairs impossibly going up and down, or water flowing up and down at the same time. He uses a lot of salamanders and fish in his designs, and he makes tesselations (rotating shapes), which you will see below in our art projects.

MC Escher Party Invitation

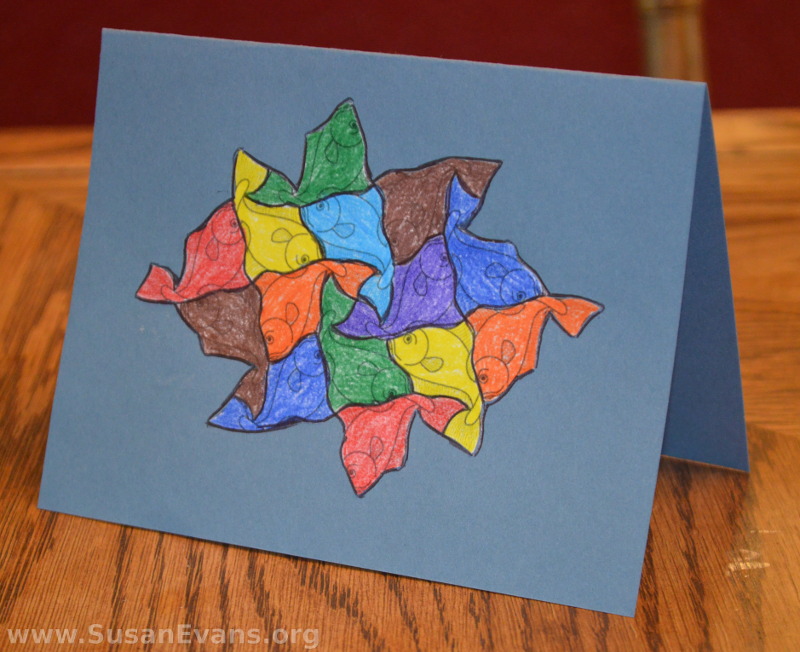
First we printed this coloring page, and we pasted the colored fish (we used colored pencils) onto light blue card stock paper. We outlined the fish to make them stand out, and we wrote the party information inside the card.

MC-Escher-invitation

MC Escher 3D Shapes

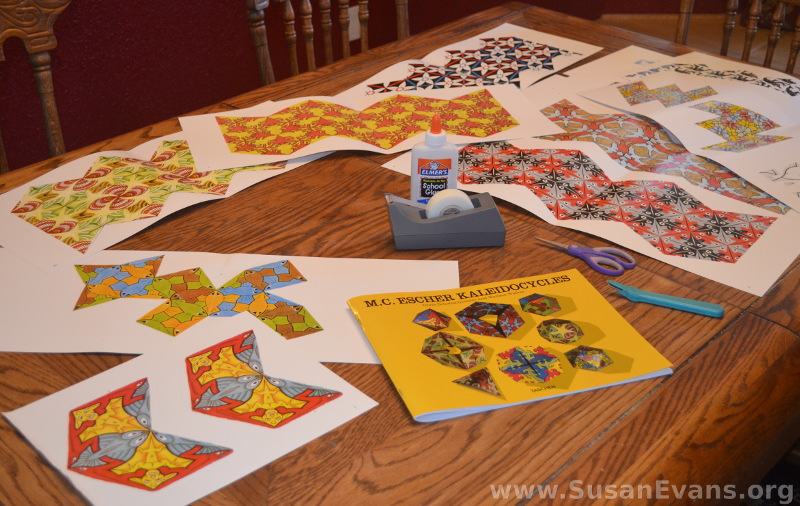
I found {aff} this book with perforated MC Escher 3D shapes. The pages are colorful and thick, and you fold each shape according to the instructions, gluing or taping the shapes together. The patterns on the shapes are from the artist’s famous paintings.

MC-Escher-shapes

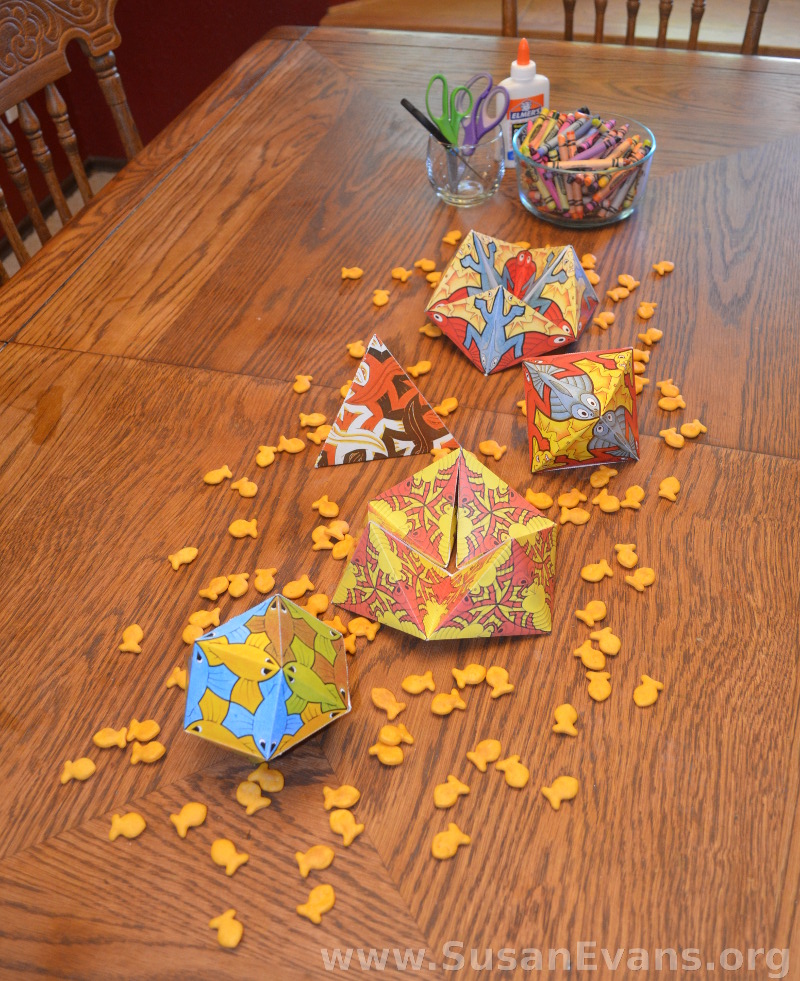
We used these 3D shapes to decorate the center of the table. I used little fish crackers as confetti. I also gathered the art supplies that we needed for our tesselations.

MC-Escher-3D-shapes

MC Escher Cake

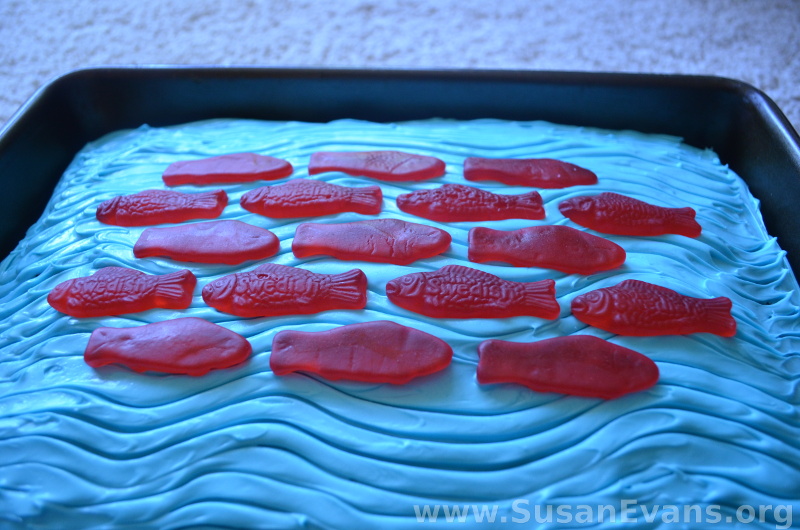
I had to think long and hard about the cake, because the thought of making stairs go up and down on a cake seemed impossible. I toyed with many other ideas until I settled on this one. I found gummy fish at the store, and at that moment I knew what I wanted to do.

cake-waves

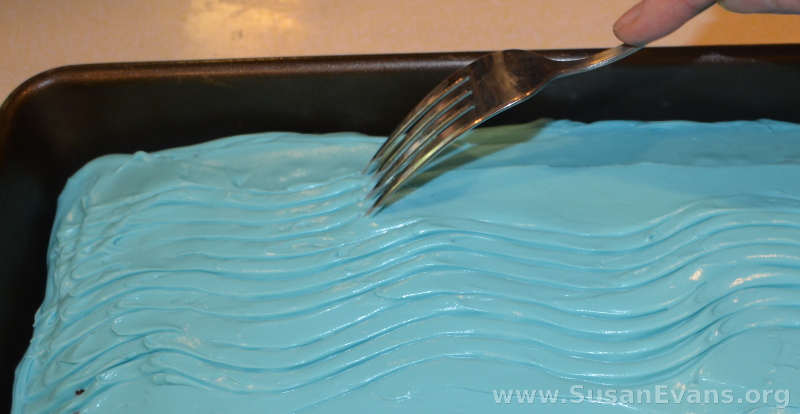
First I baked a rectangular chocolate cake, and I tinted the frosting blue. I used a fork to make waves. Then I placed the fish coming and going, as they would in an MC Escher painting. It came out great!

MC-Escher-cake

MC Escher Art Project

Here is a fun art project you can do with tessellation, where a shape is repeated over and over again, covering the entire paper:

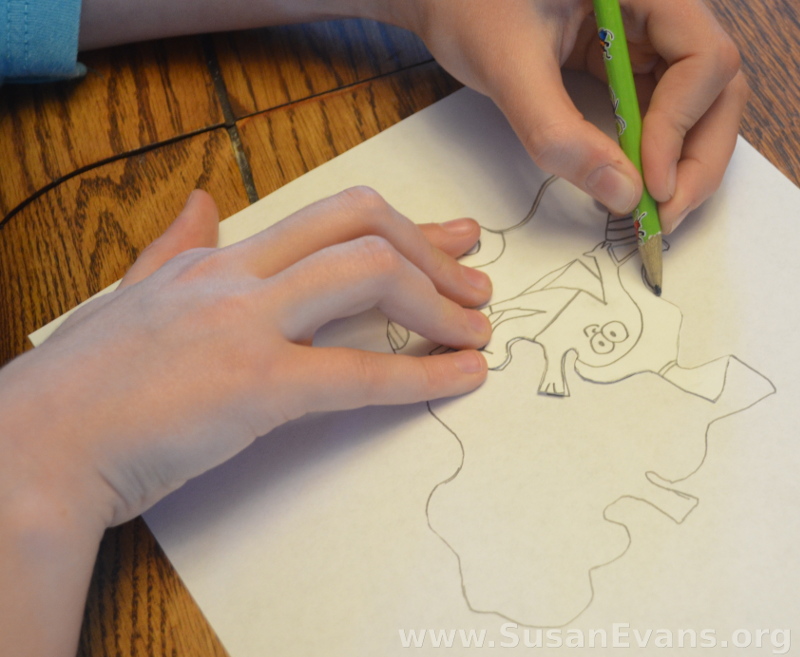
We made modified shapes based on an equilateral triangle. We rotated the shape, using it as a stencil over and over on our paper.

tesselation-drawing

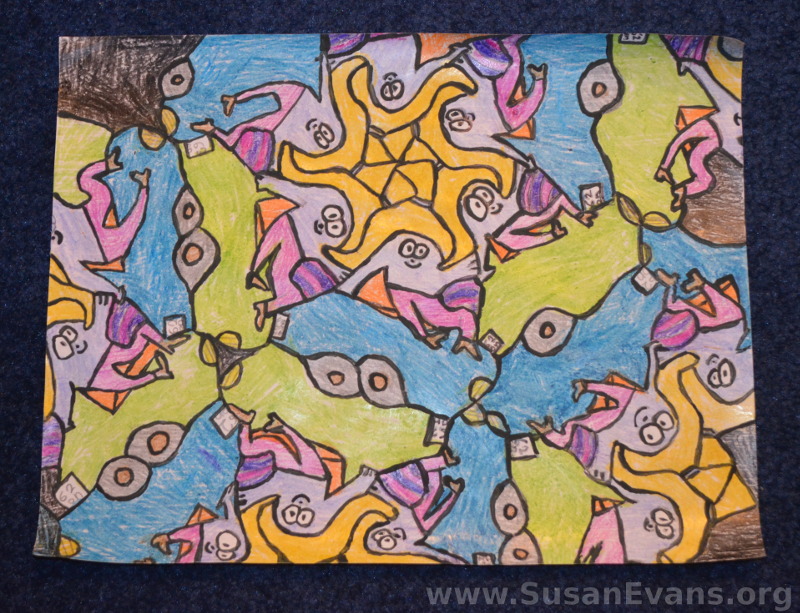
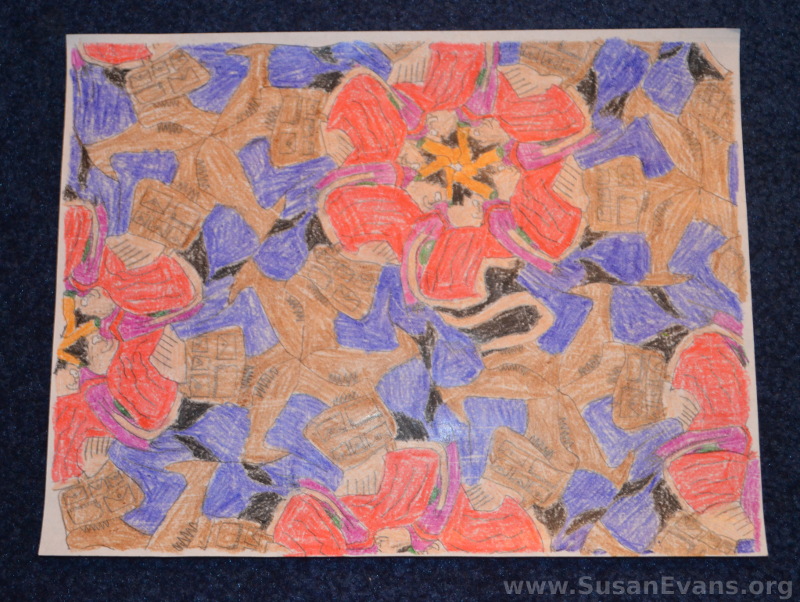
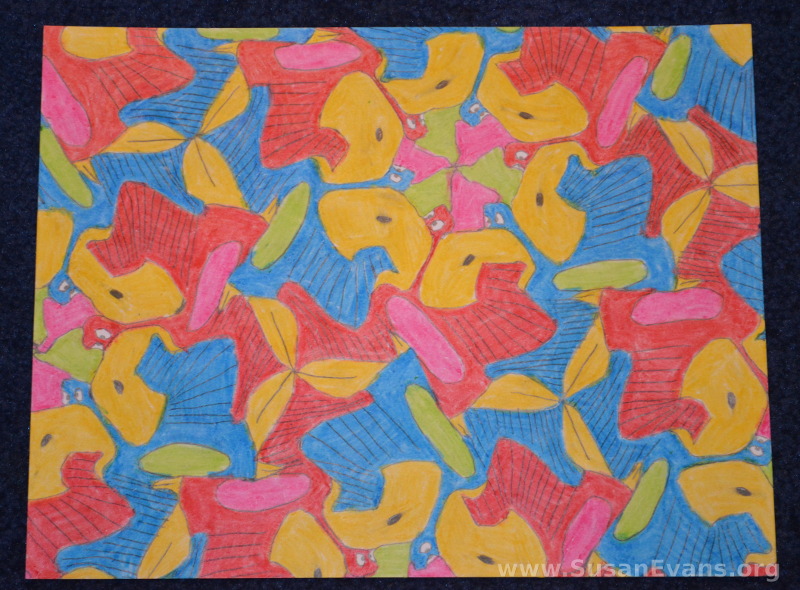
Here are some of the finished tesselations:

MC-Escher-tesselation

drawing-a-tesselation

MC-Escher-tesselations

Didn’t they come out great? My son thoroughly enjoyed his party!