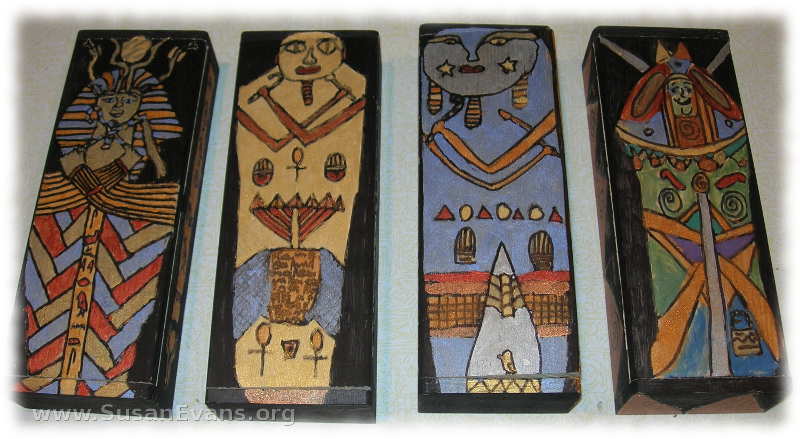
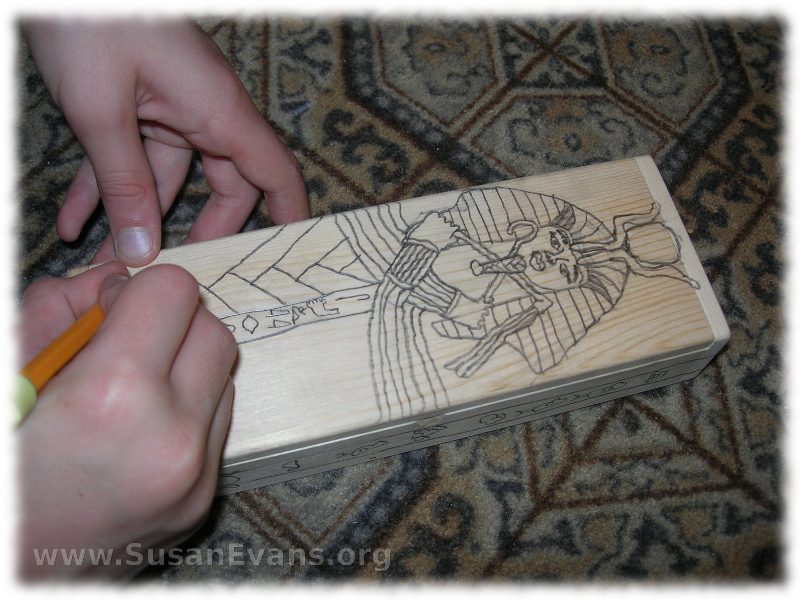
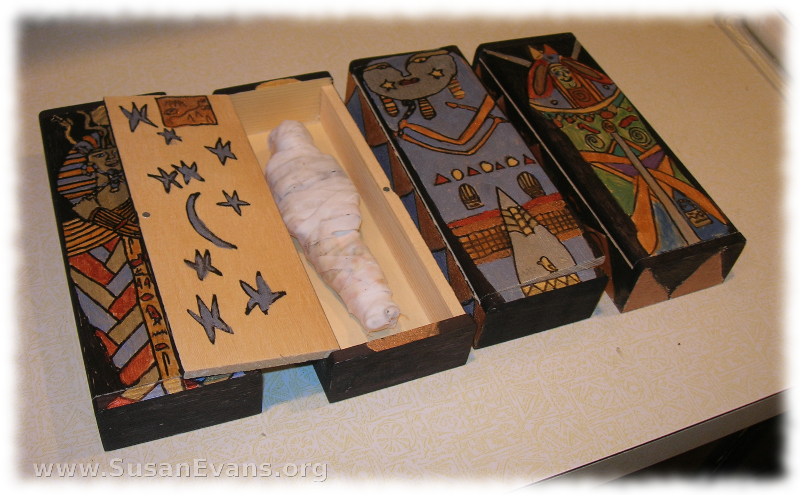
This sarcophagus craft is a unique idea I had as I was brainstorming how to teach my children about mummies and sarcophagi. First I grabbed a small hinged box, drew the design in pencil, outlined it, and filled it in with metallic paint. I looked for simple hinged boxes that were long enough for the mummies that we were making. I found long boxes at Hobby Lobby for $1.99. Each child drew the design with pencil first. Three of my children took less than an hour for this step. My 10-year-old took probably two hours total to draw all the details on his sarcophagus.
The next day, we outlined the pencil sketch with a black Sharpie marker. It didn’t take nearly as long as sketching the drawing. Most of my kids took about 15 minutes to outline it.
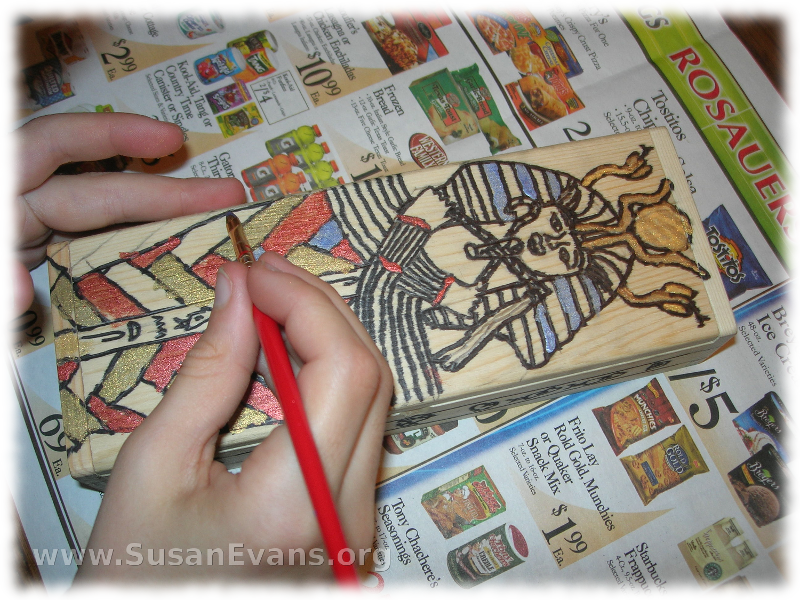
The next day, we started to paint it with metallic paints. The kids painted each day for about a week. In total, it probably took two hours to paint. My oldest son took longer, because he thought about putting contrasting colors next to each other, and he just thought more about what he was doing.
When the paint was dry, we took the Sharpie marker and outlined everything again, since the paint had gone over it, and it looked slightly sloppy. Any bare wood was colored in by the Sharpie marker.
My 5-year-old daughter would happily paint for 15 minutes each day, and then she would be fatigued, because there was a lot of detail on her sarcophagus. (She drew it free hand by looking at a coloring book page, the same one she used for her papyrus picture.) When she was more than halfway finished painting her box, she said, “I’m done with my sarcophagus!” I thought about it for a minute, then I modified the project. I gave her metallic Sharpie markers to finish the sarcophagus. She was very happy with this alteration, because she could control the marker much better than the paintbrush. Older students should use the metallic paint, because it looks better than the metallic markers. But for a younger child, this is an easy way to modify the project in order to complete it.


