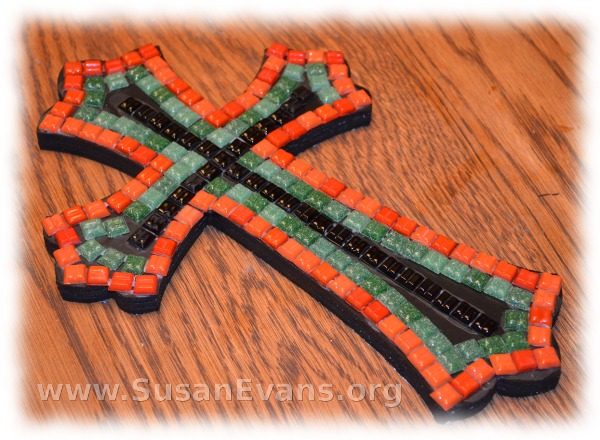
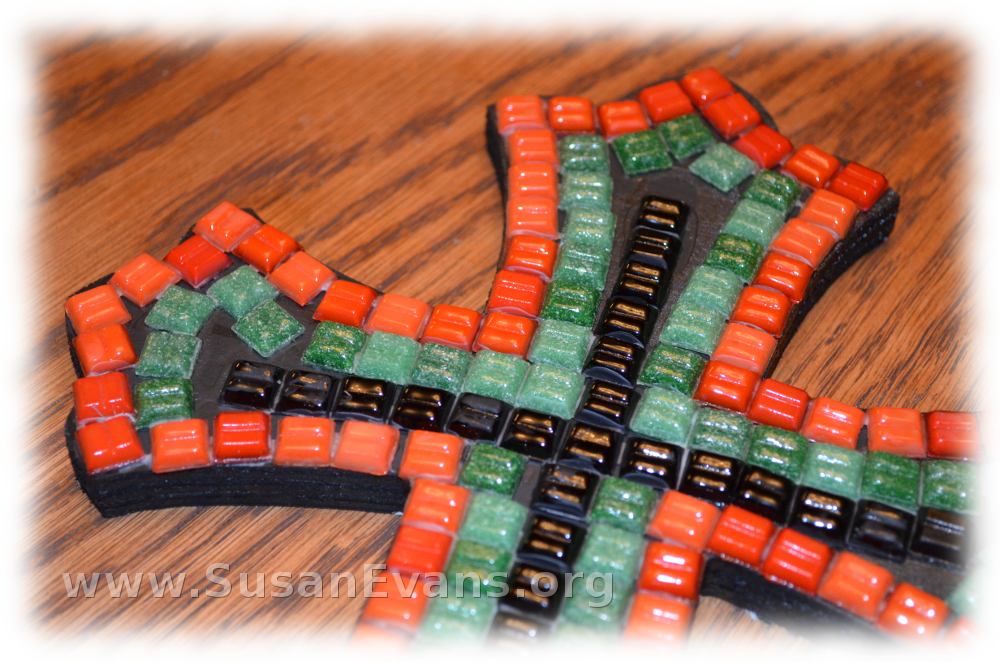
This beautiful cross mosaic is easy and fun to make. You will need the following supplies:
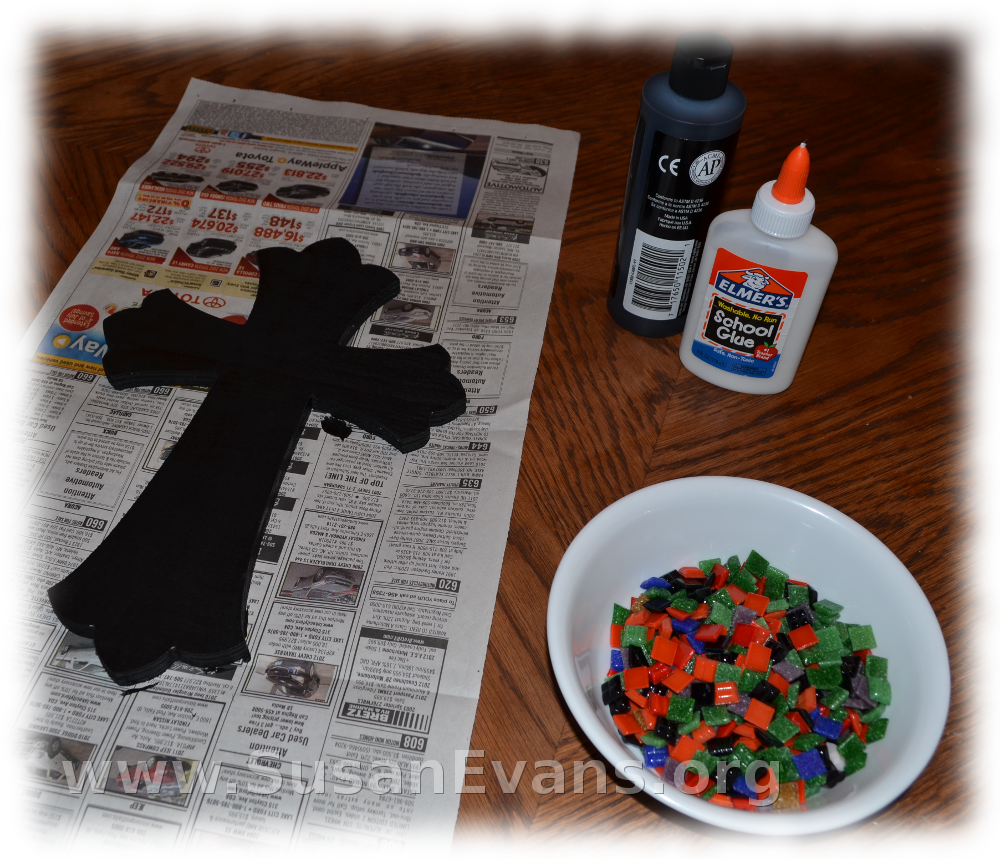
- wooden cross (buy at craft supply store)
- mosaic tiles
- black paint
- school glue
- paintbrush
- newspaper
First you will want to paint the cross black. Place newspaper under your cross to avoid getting paint on your table. Let the paint dry.
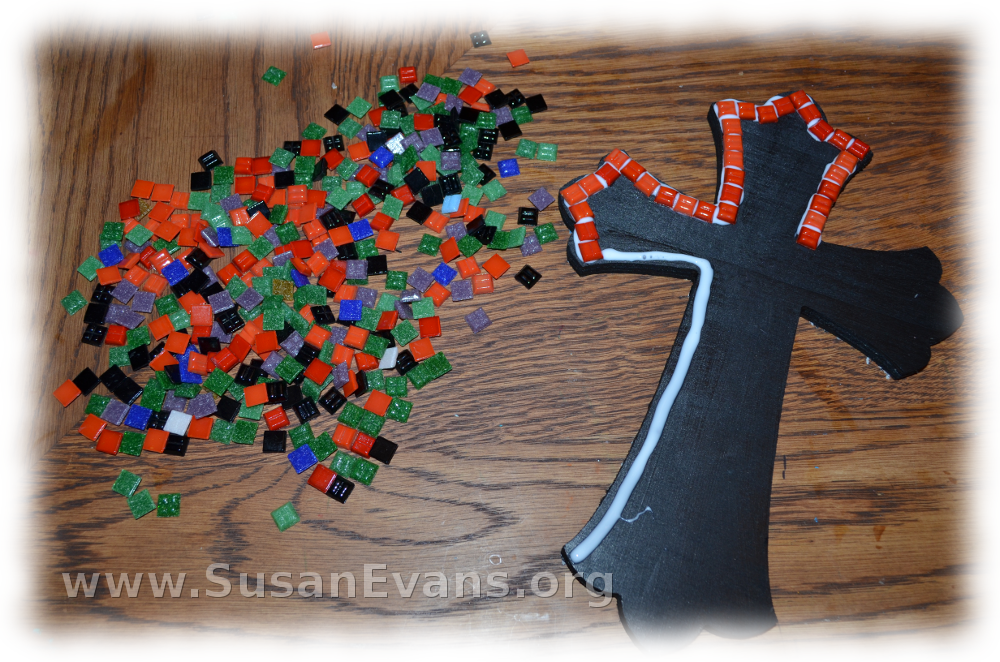
Next you will spill out your tiles. You might want to sort them by color. Get your school glue and make a line with the glue around the edge of the cross. Choose one color to outline the entire edge of the cross. Set the tile into the glue.
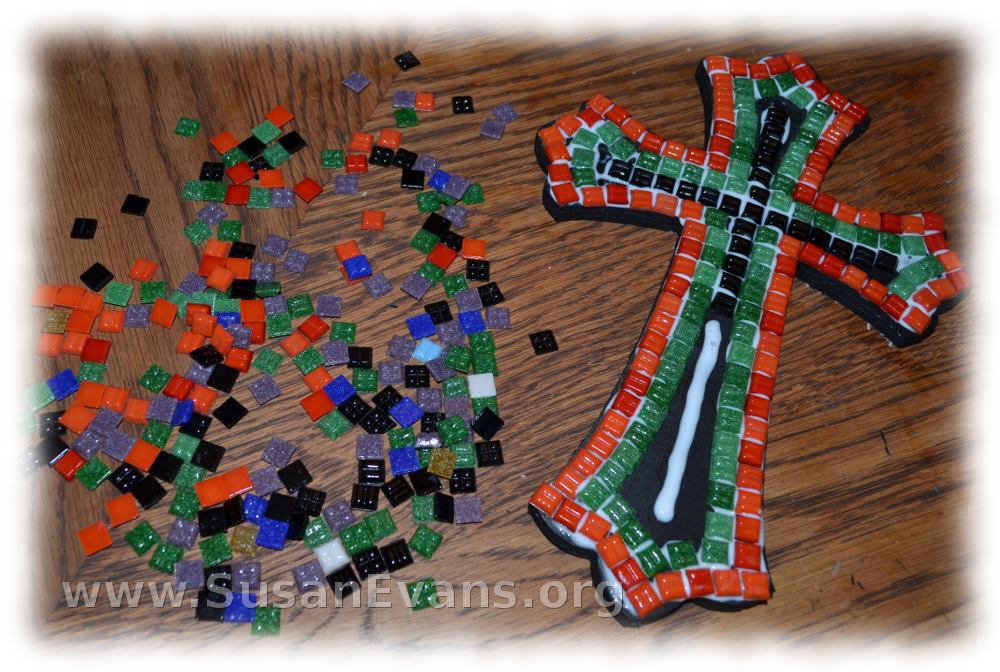
Without waiting for it to dry, make a second row of tiles inside the first row. Decide how you want to arrange your tiles based on how big your cross is. At this point I started gluing down the black cross in the center, since I realized that there was not enough space to put the green tiles all the way around the two arms of the cross. The black line of tiles was more important to me, so I glued that down at the same time I was gluing down the green tiles.
It took me less than half an hour to glue all the tiles, so the glue was wet enough to push the red tiles over slightly to fit in the green and black tiles. After a few hours, the glue dries clear. The cross mosaic is now finished and ready to hang on the wall.
