Posts Tagged ‘hands-on science’

Dry Ice Volcano Cake

Monday, September 4th, 2017

dry-ice-volcano-cake

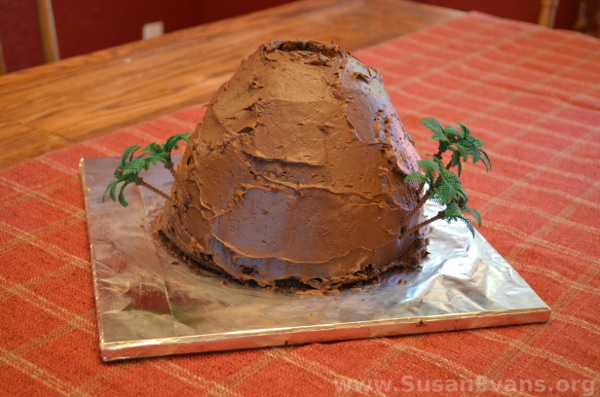
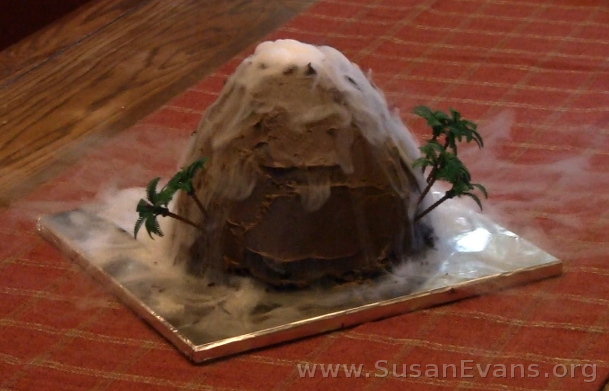
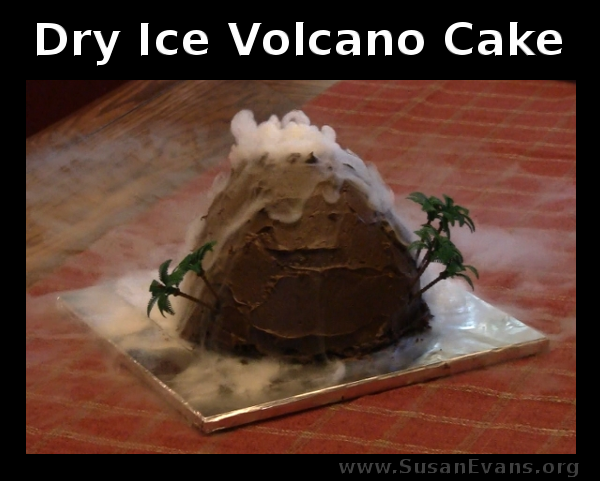
Look at this super cool dry ice volcano cake we had for my son’s natural disasters themed birthday party! I was brainstorming different ways to make a volcano cake, and I’ve never seen this done before, so I thought it would be fun to make. I wasn’t disappointed, and it was fairly easy to make!

Start by baking two cake boxes, for a total of four round cakes. Cool the cakes and place them in the fridge.

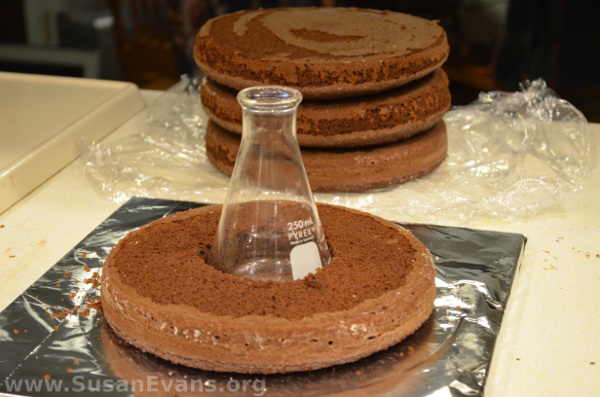
Put foil on a square piece of wood or cardboard, and tape the back. Up-end one round cake onto the center of the foil. Grab a chemistry flask and cut a circle with a knife around the edge of the flask. Remove the small circle of cake, and place the flask inside.

inside-volcano-cake

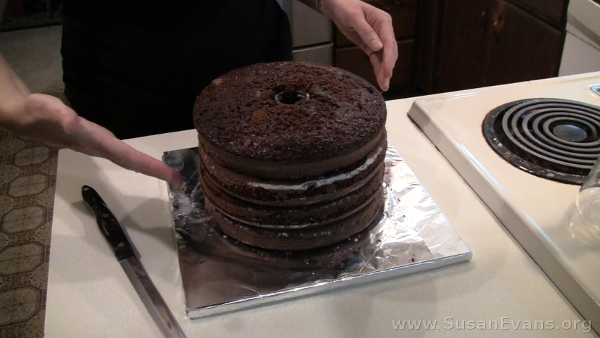
Cut circles into the other cakes, and slide them like stacking rings on top of the flask until the entire flask is hidden. If you have a taller flask, you will have to bake more cakes. This will result in a taller volcano.

chocolate-volcano

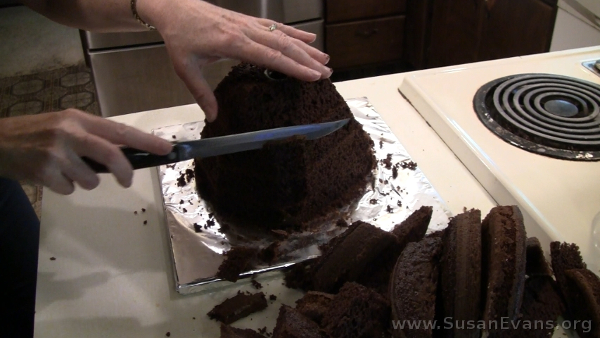
Place the entire stack in the fridge to cool. Then you are ready to sculpt the volcano. Look at the video demonstration to see how I shaped it:

You can do whatever you want with the scraps of chocolate cake that you cut off the volcano. At this point, you want to place the cake back into the fridge before frosting it.

carving-volcano-cake

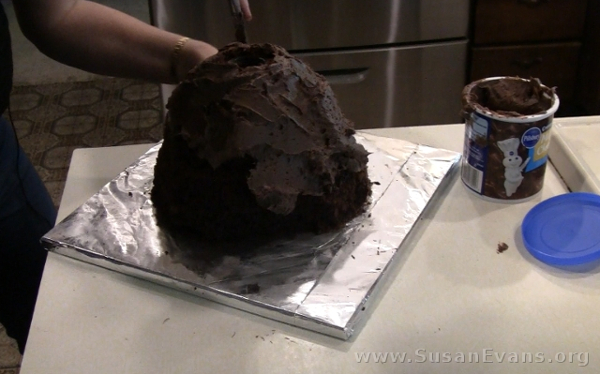
Frost the cake with chocolate frosting, spinning the cake to get the icing to be smooth. You can cover up any mistakes you made with the icing.

frosting-volcano-cake

Feel free to poke in plastic palm trees at the bottom of your volcano to add authenticity. This was my husband’s idea, since they were left over from a Hawaiian themed party we did for my daughter years ago. You can buy plastic palm trees at a party store.

make-a-volcano-cake

Pour hot water into the volcano. Plop dry ice chunks into the volcano. (You can buy dry ice at most grocery stores, and it’s inexpensive.) Now you will see the volcano smoking downward in an incredible way!

erupting-volcano-cake

Make sure to watch the video above to see how cool this dry ice volcano cake turned out!
How to Make a Compass

Monday, October 17th, 2016

make-a-compass

Today we will make a compass with a lid, a cork, a needle, and a magnet. This is a simple yet fun experiment to understand magnetism.

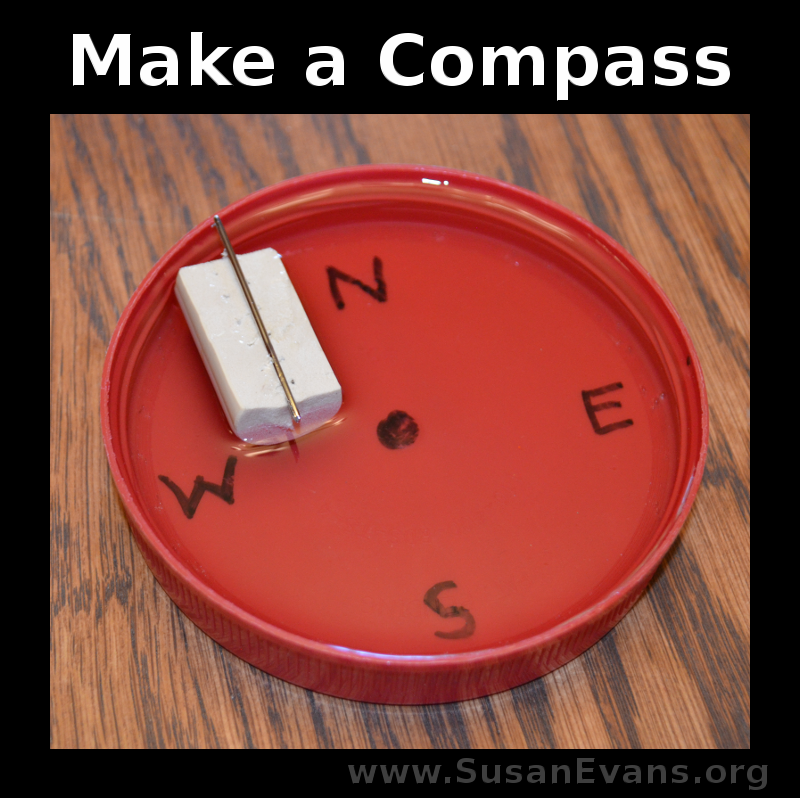
First you will want to get a bowl or a lid. I used a peanut butter jar lid because it is large, deep, and plastic. It’s also a great red color. I grabbed a black Sharpie marker and wrote N for north, S for south, E for east, and W for west. I drew a dot in the middle.

Fill the lid with cold water.

Cut a cork in half. Make a groove down the center of the cork like I show you in the video demonstration. If you don’t have a cork, you can use butter or margarine to coat the needle so that it will float.

Now grab a bar magnet and stroke the needle ten times in one direction, using the north pole of the magnet. Insert the needle into the groove of the cork.

Place the needle and cork into the water, and you will notice that it will point to the north pole. Even if you turn the bowl, it will still continue to point in the same direction. And if you pull the needle out of the water and put it backwards, it will spin to align itself to the north pole!

How to Make a Compass (Demonstration)

Take a look at this experiment on video:

This post contains affiliate links. I was compensated for my work in writing this post.

We have loved all the hands-on activities in our book Christian Kids Explore Physics by Bright Ideas Press. Why not pick up a copy of the book and try some of the experiments? Physics has never been so easy to learn!

Fun with Magnets

Monday, October 10th, 2016

fun-with-magnets

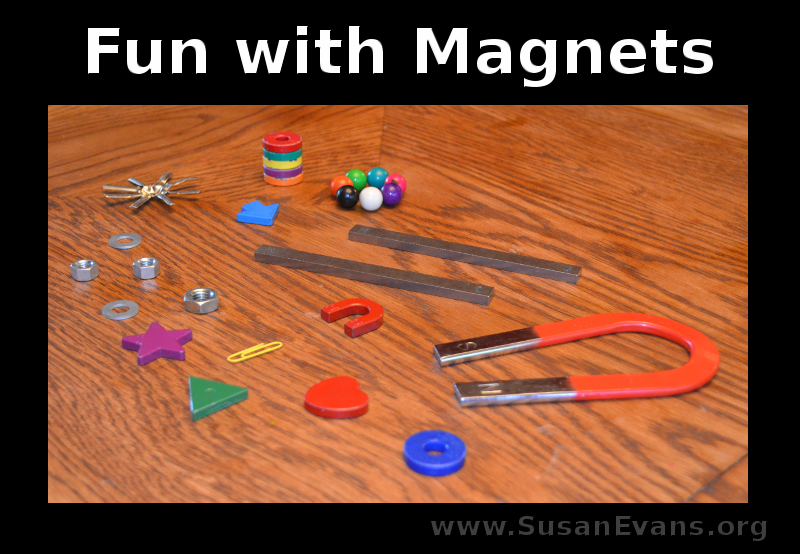
Today we will have fun with magnets! We will see various objects picked up by magnets, including strings of paper clips. Rocks and minerals will be explored, as to whether they are magnetic. We will also be playing with iron filings.

Magnets have a north and south pole. Opposite poles attract (north/south), and like poles repel or push away from each other (north/north or south/south).

Pull together some objects to see whether a magnet will pick them up. Some might surprise you, like coins seem like they ought to be picked up, but they don’t have enough metal in them to be attracted to a magnet!

what-does-a-magnet-pick-upThis post contains affiliate links. I was compensated for my work in writing this post.

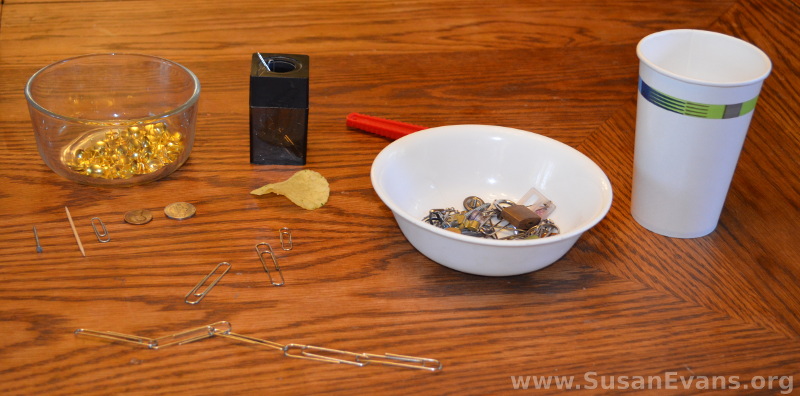
These are some of the objects that we attempted to pick up with the magnet: a nail, a toothpick, a paper cup, a penny, a nickel, brass thumb tacks, a paper clip, and a potato chip.

magnet-with-tacks

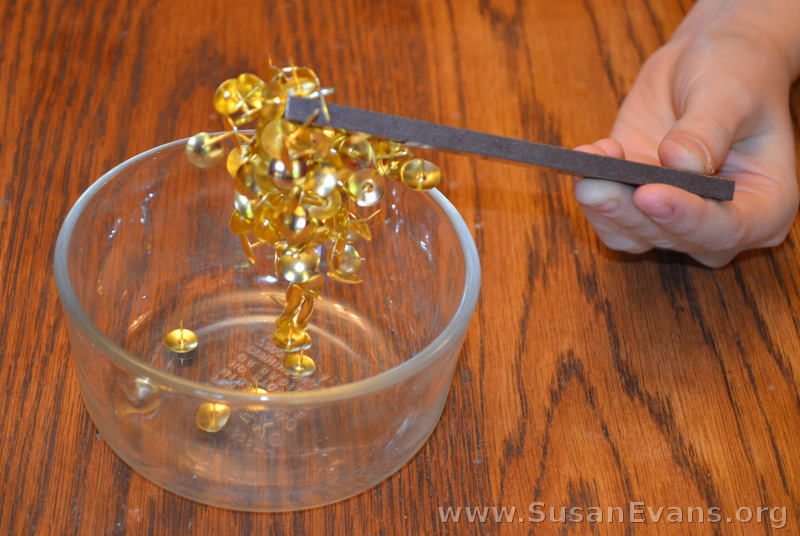
The brass thumb tacks were my favorite of the whole list of picked-up things because so many clung to the magnet! I also liked the fact that a long string of paper clips were picked up by a magnet as well.

Take a look at this experiment, which includes rocks and minerals and iron filings:

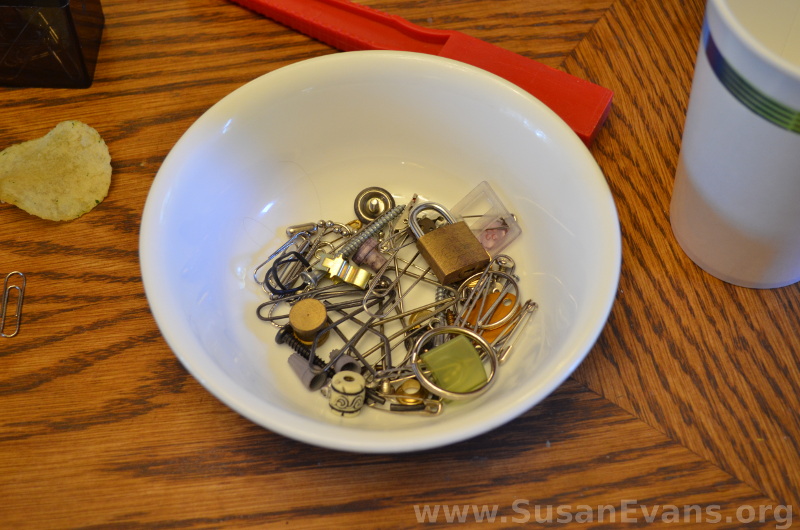
We dumped little odds and ends from a junk drawer into a bowl to see what we could pick up with a magnet. We noticed that the following things remained in the bowl and are therefore non-magnetic: plastic, wood, ceramic, buttons, and other synthetic items.

magnetism-junk

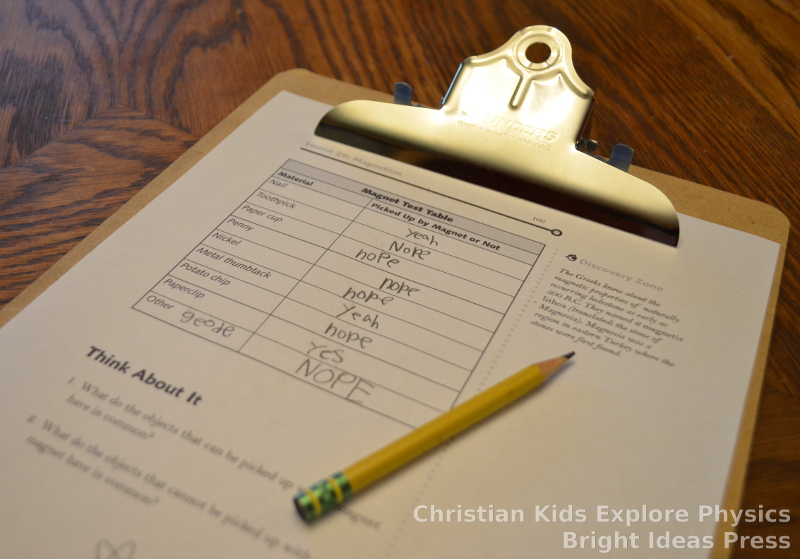
Here is the chart we filled in from Christian Kids Explore Physics by Bright Ideas Press. We were encouraged to think about why certain materials were picked up by a magnet and others not. Metal was the underlying reason why items were picked up because metal conducts electricity.

fun-with-magnets-chart

I hope you enjoyed all of our fun with magnets!

Sound Collection

Monday, October 3rd, 2016

sound-collection

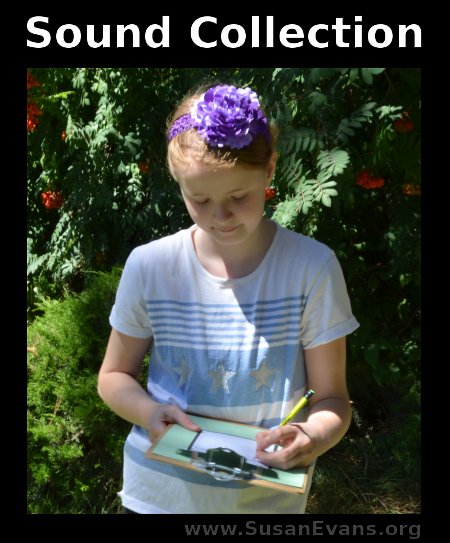
Today we will be exploring sound, and we will fill out a sound collection chart as we go on a hunt for sounds both inside the house and out in the backyard. We also go to a park and a pet store to collect even more sounds!

What is sound?

Sound is made up of vibrations that travel through the air that can be heard when they reach a person’s ear. There are such a wide variety of sounds around us, so we captured 15 sounds on video:

This post contains affiliate links. I was compensated for my work in writing this post.

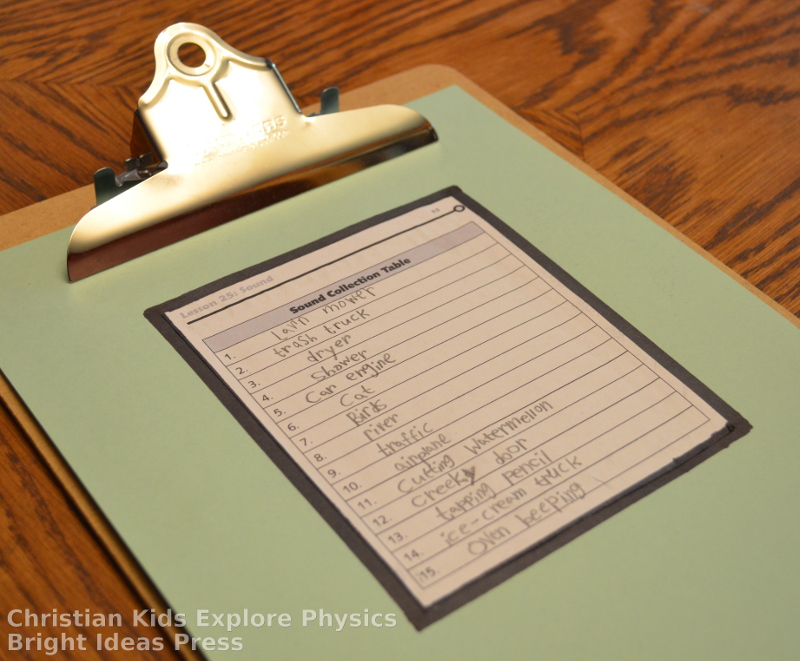
We printed out the sound collection chart from Christian Kids Explore Physics by Bright Ideas Press, and we clipped it to a clipboard. Then we explored the world around us, trying to find different sounds. These are the interesting sounds we found:

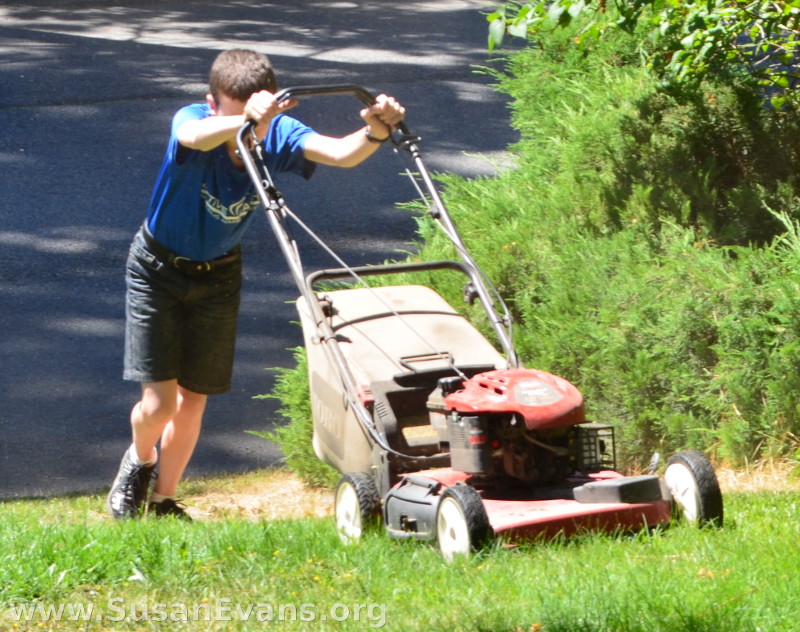
  1. lawn mower
  2. garbage truck
  3. clothes dryer
  4. shower
  5. car engine
  6. cat meow
  7. birds chirping
  8. river
  9. traffic
  10. airplane
  11. cutting watermelon
  12. creaky door
  13. tapping pencil
  14. ice-cream truck
  15. oven beeping

mowing-the-grass

The kids tried to find interesting sounds that were different from each other. After filming all the sounds in our backyard, we went to an arboretum to see if we could find more sounds from nature. But we ended up hearing the traffic next to the arboretum and an airplane flying overhead.

My husband drove us to a pet store because I kept telling him we needed more animal sounds. For people who live in a city, this is a good way to capture those animal sounds. A cat looked straight at me and meowed. Birds chirped like crazy in their cages. Each pet store is unique, and you will find plenty of sounds there.

sound-collection-chart

The man driving the garbage truck probably wondered why I was filming him from the front door. As you can see in the video, he gave a friendly wave! I didn’t even notice until I was editing the video!