Posts Tagged ‘history’

Drawing on Papyrus

Wednesday, September 22nd, 2010

drawing-on-papyrus

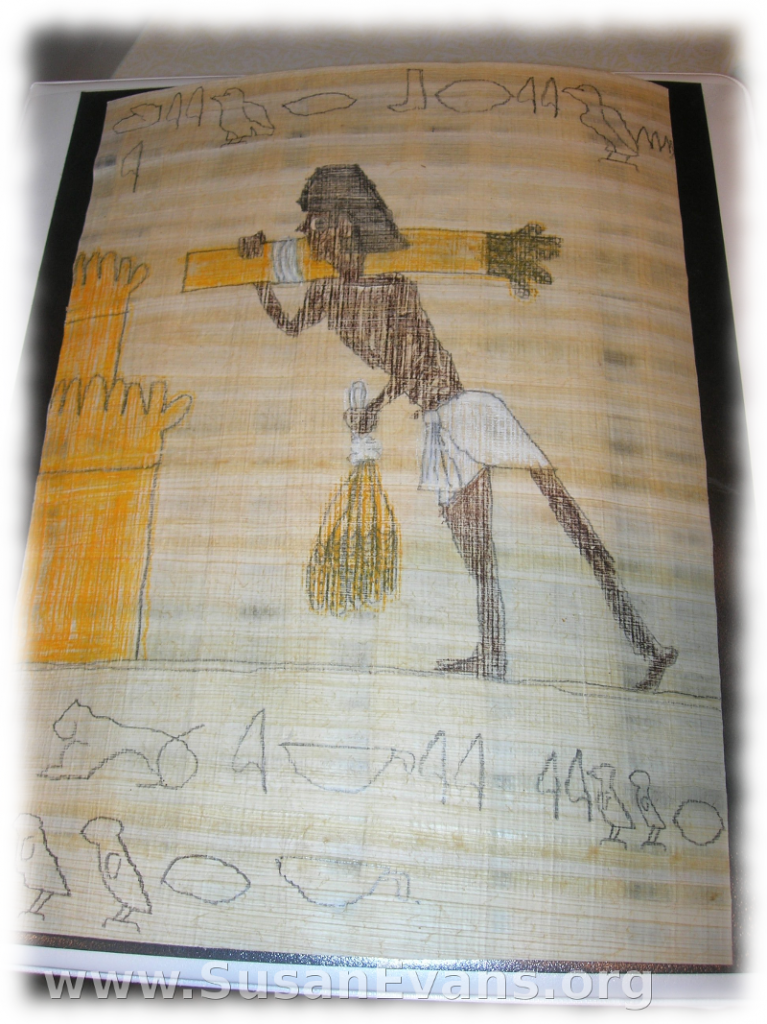
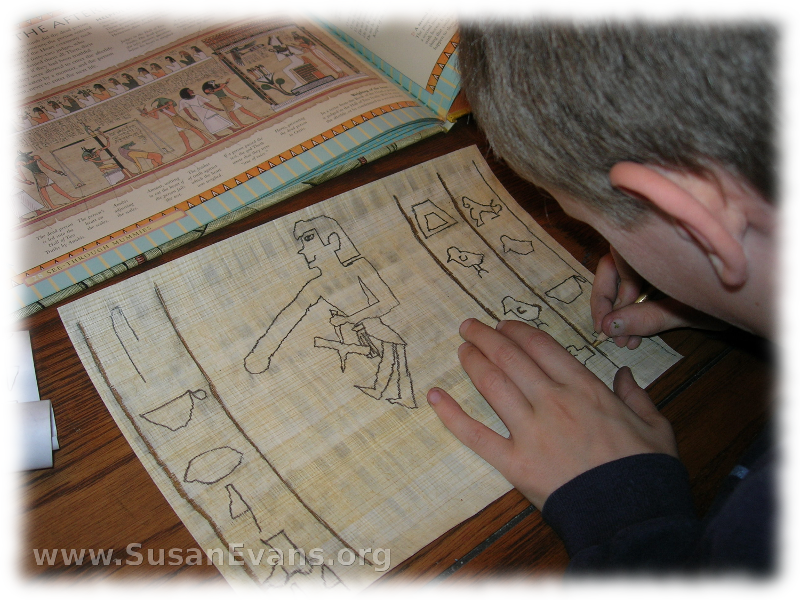
I bought some papyrus paper at a teacher supply store. I looked on the back, and the papyrus was actually made in Egypt. I gave one sheet to each child, along with a pencil. My 10-year-old son grabbed one of our Egypt books, opened it up for ideas, and drew a scribe along with some hieroglyphs. The children colored their drawings with colored pencils. (I use Prismacolor colored pencils because they glide on more smoothly, and there are some metallic colors.)
 

drawing-on-papyrus-2My 8-year-old son wanted something easy, so I showed him a coloring book of Ancient Egypt. Children find black and white sketches easier to draw than finished illustrations from books.

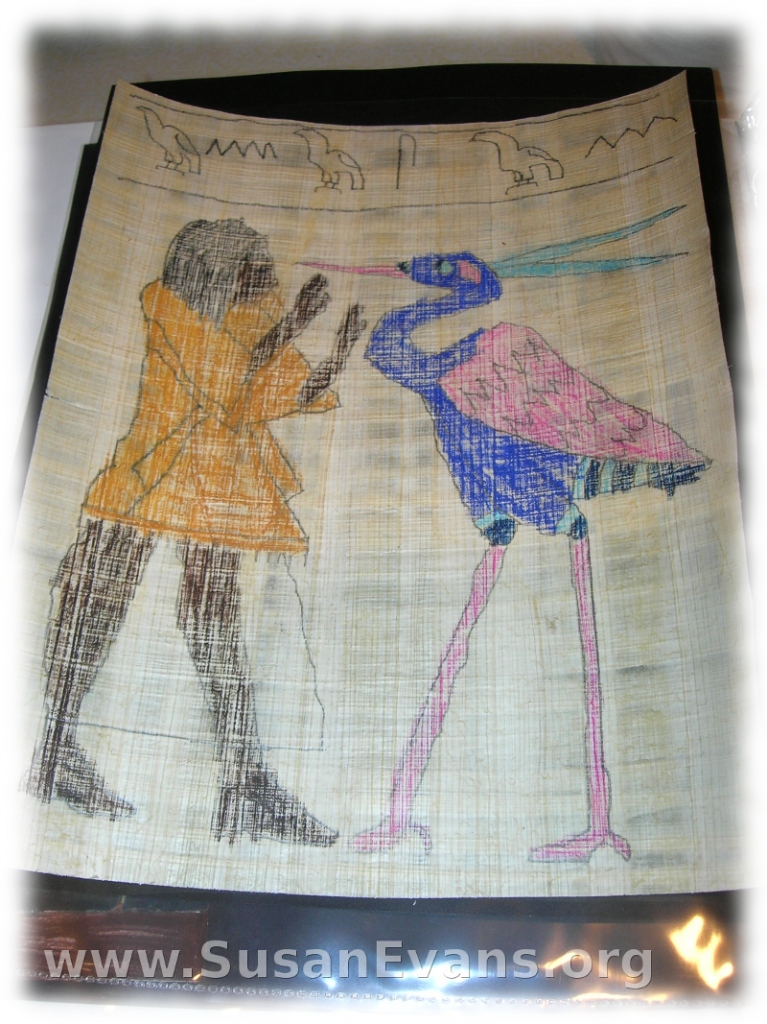
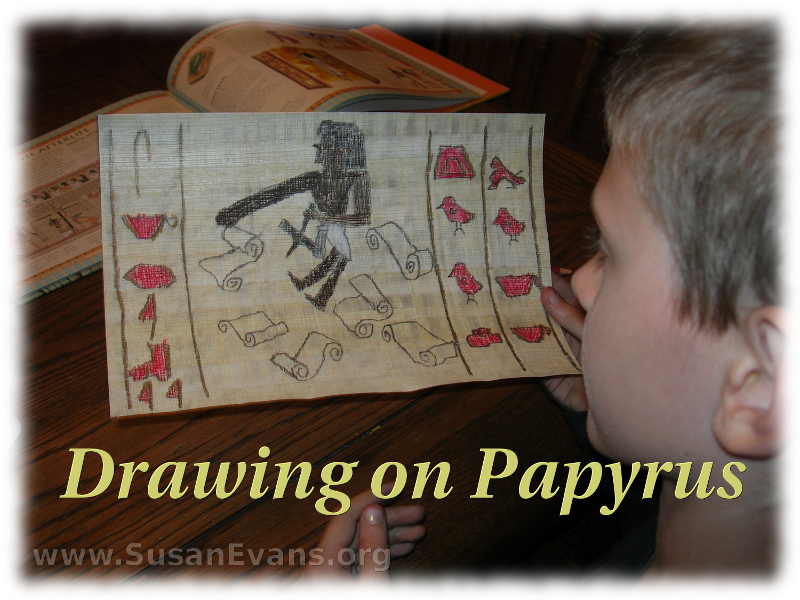
My 7-year-old designed his own picture based on a page from another book. He wrote a story in hieroglyphs. His picture is absolutely precious. It looks similar in style to all the other drawings he makes. He loves drawing, almost as much as my oldest son, Bryan.

drawing-on-papyrus-3

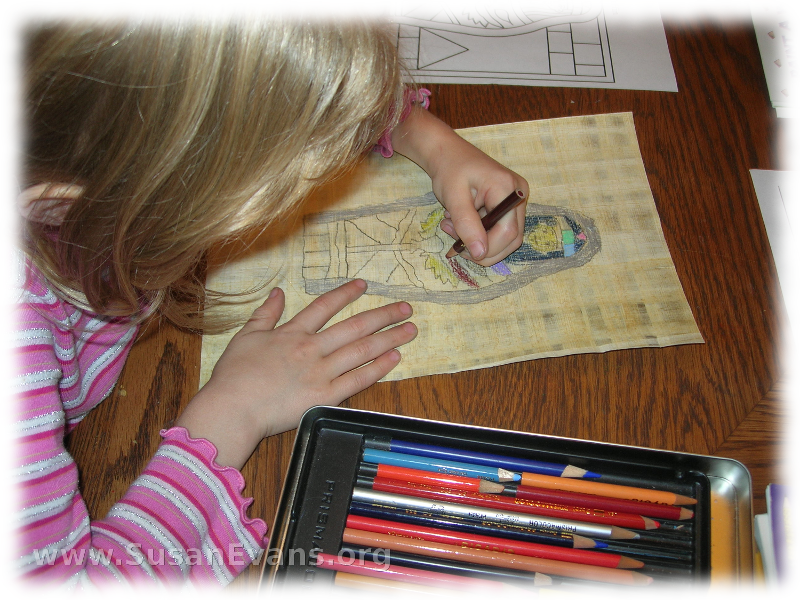
My 5-year-old girl took one look at the coloring book page that she had chosen, and she decided to trace it. Too bad that papyrus is so thick. We did this project after dinner one night, and my husband heard her scream and cry when she found out she couldn’t trace it. My husband took the coloring book, photocopied the one page she chose, taped it to the window, then taped the papyrus to the window. Luckily there was still enough light outside to trace the drawing. (The lights were off in the room where she was drawing, so that she could see through the papyrus.)

drawing-on-papyrus-5

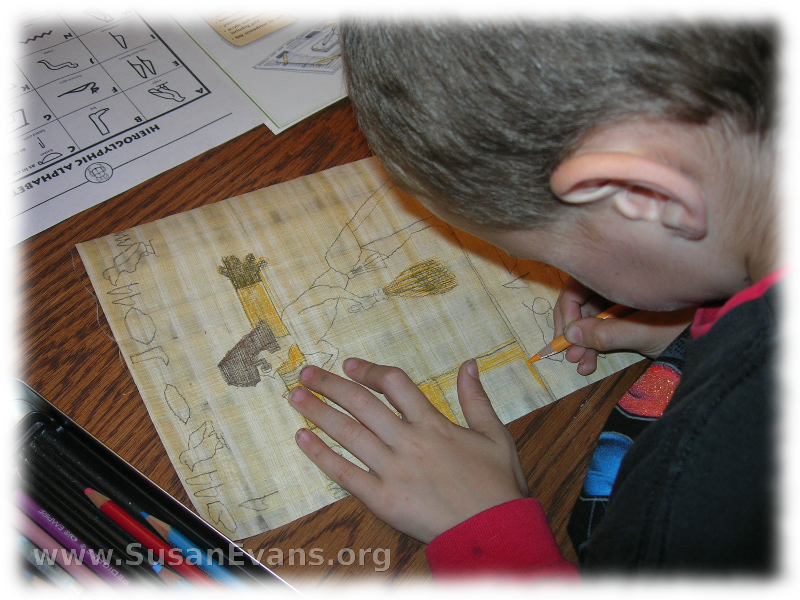
When she finished tracing it, she was so proud of her work. She colored it and added a few random hieroglyphs. (She didn’t realize that her brothers were writing real stories with their hieroglyphs, and she wanted to do what they were doing.)

We put their finished papyrus papers into their Egypt notebooks, sliding them into the sheet protector.
papyrus-picturepapyrus

Cuneiform on Clay

Friday, September 17th, 2010

cuneiform-on-clay

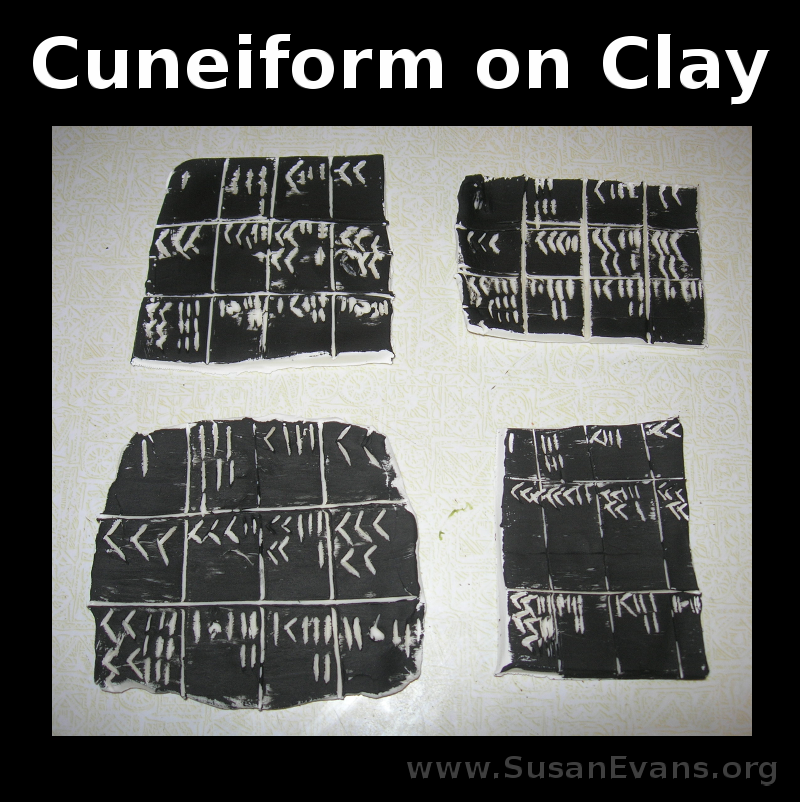
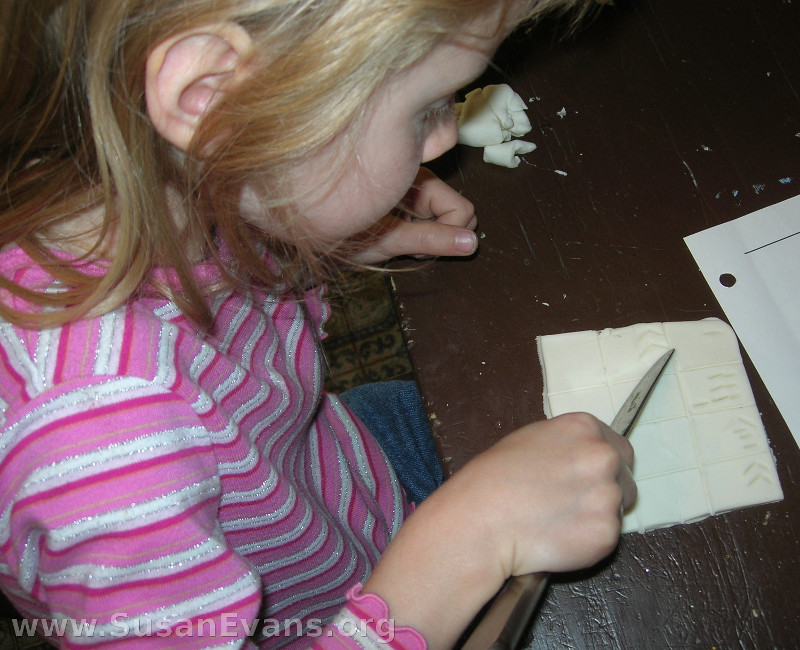
We studied the differences between hieroglyphs and the earlier form of writing called cuneiform, made by the Sumerians. I gave each child a lump of white clay and a table knife, and we made our own cuneiform on clay. I showed them examples of cuneiform, and they used the knife to cut into the clay.

cuneiform-hands-on-project

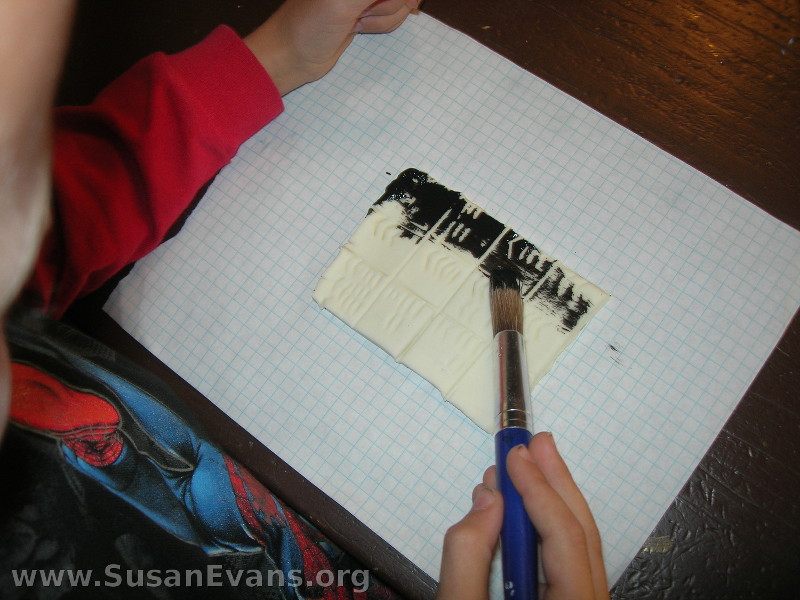
After they were finished, they dipped a paintbrush into black paint, holding the brush at an angle. The indentations remained white, while the rest of the clay was black. This was a complete accident, since my idea was to paint everything with black, then use a sponge to wipe off the black from the rest of the tablet, causing the writing to be black while the tablet was white. It came out wonderful the way it was, though!

hands-on-cuneiform

Hieroglyphs

Thursday, September 16th, 2010

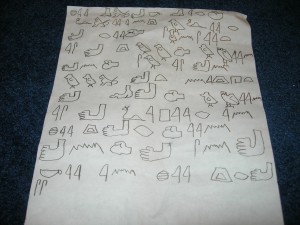
hieroglyphsMy children have enjoyed drawing hieroglyphs and rubber stamping them. (If you want to see the hieroglyph rubber stamps, look at my YouTube video on Ancient Egypt.) My 10-year-old son said that he was a scribe, and he wrote a full page of hieroglyphs in pencil, telling a story. He rolled up the sheet of paper, came over to me, and said, “Where is my Ancient Egypt costume?” I told him the one I made was too small; that it was his brother Stephen’s now. Maybe next week or the week after I’ll make him another one. (Besides, I’m still figuring out how to spread the fabric glue faster, because for my conference workshop next March, I’ll be doing a workshop entitled “Using Simple Costumes and Props to Teach the Bible.” In that conference workshop, my opening act is to make a simple Bible costume in five minutes with no sewing. I’m researching the fastest way to make it.)

Anyway, my son wanted to be an Egyptian scribe because, he said, his work contained all the wisdom of Ancient Egypt.

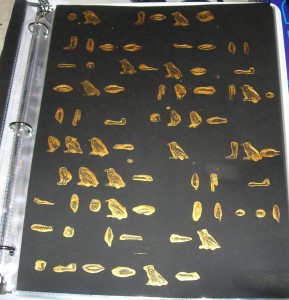
For rubber stamping the hierpglyphs, we dipped the rubber stamp (with one hieroglyph on it) into some gold paint. Then we stamped it on black paper. I’ve never seen that done before. I just made it up because it looked cool. To make it easier, put a very shallow puddle in a wide jar lid. Then when you dip it, it won’t be completely immersed in gold paint. (Yellowish-gold paint is the best color for this project.)

Bryan wrote the following message in hieroglyphs (he made this up out of his imagination): “The black bird flying over a red sunset is a good omen. A bad omen is a viper sitting in the garden.”

Stephen wrote: “A good omen is a flower at sunrise. A bad omen is a vulture around a pyramid.” He just made that up, too, based on Bryan’s sentence structure.

My daughter just rubber stamped the entire hieroglyph alphabet, and Nathaniel wrote a simple sentence and signed his name, all in hieroglyphs.

Later when we watched a video about Egypt, the kids were actually reading the hieroglyphs on the walls of Egyptian tombs! They recognized the different sounds, anyways. I thought that was neat.

Egypt Cookies

Monday, September 13th, 2010

Egypt-cookies

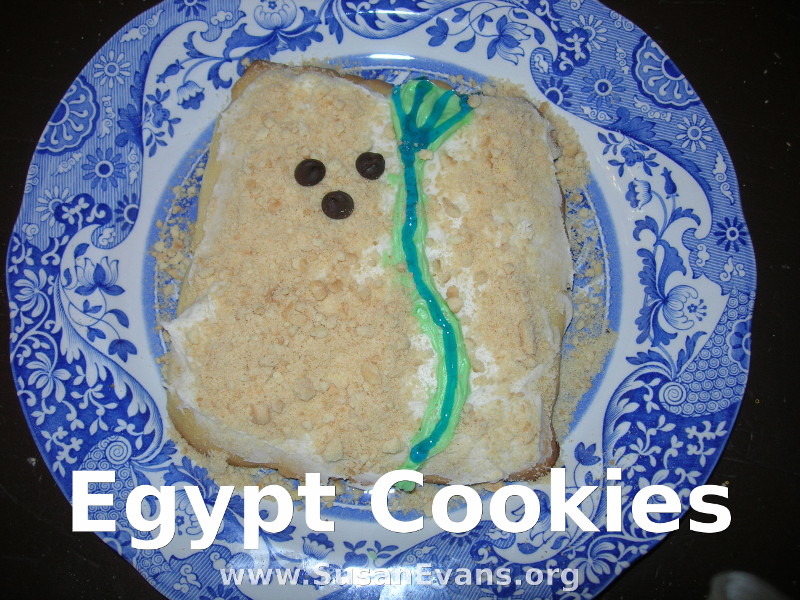
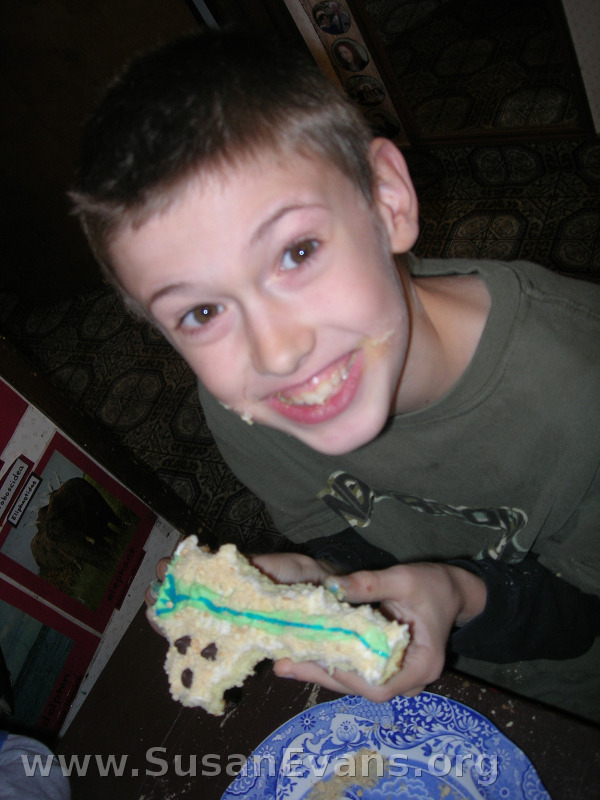
My kids decorated cookies to represent the country of Egypt. First I mixed up a batch of sugar cookies and put them in the fridge. The next day, I took half the dough and rolled it out. I cut out four rectangles using a knife. With a spatula, I tried to transfer the dough rectangles onto the cookie sheet. I said “tried” because a couple of them fell apart. (I’m not good at making pie crust either.) I smooshed them back together on the greased cookie sheet, with no one noticing. I baked them. They cooled.

cookies

Then I called the children over. They cheered and jumped up and down with glee. “Are we having this for lunch?” they asked.

frosting-cookies

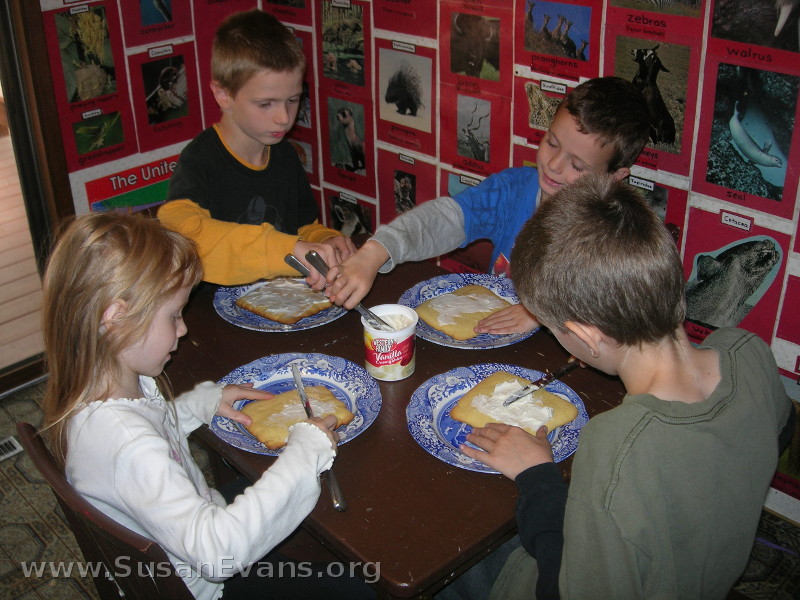
I didn’t answer. I told them to sit down. I handed each kid a butter knife, and I put the white icing in the middle of the table. The kids covered their cookies with icing as the base or “glue” that would hold everything else in place.

pounding-cookies

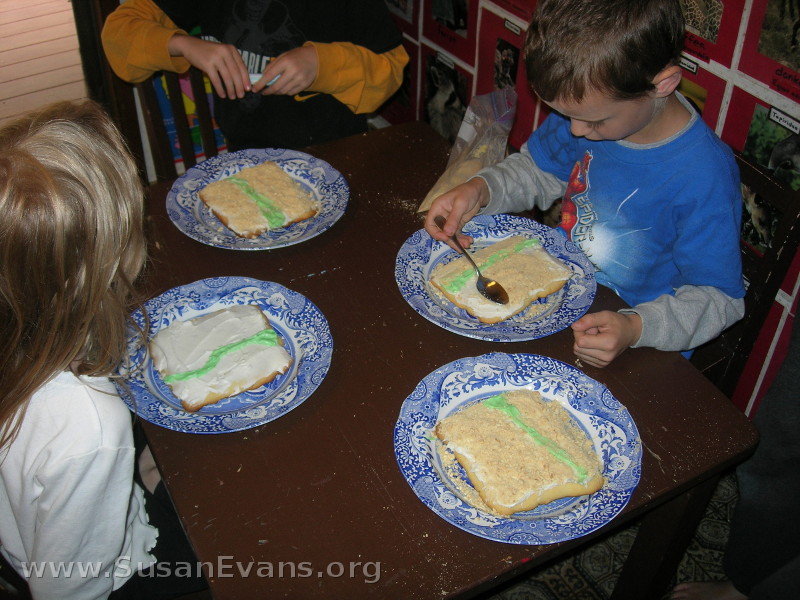
When no one needed white any more, I dyed the rest of the icing green. The children used their knives to make an upside-down triangle on the top of their cookie, representing the fertile Nile Delta. They made a fat line going down the rest of the cookie, about the thickness of the butter knife.

cookie-crumbs

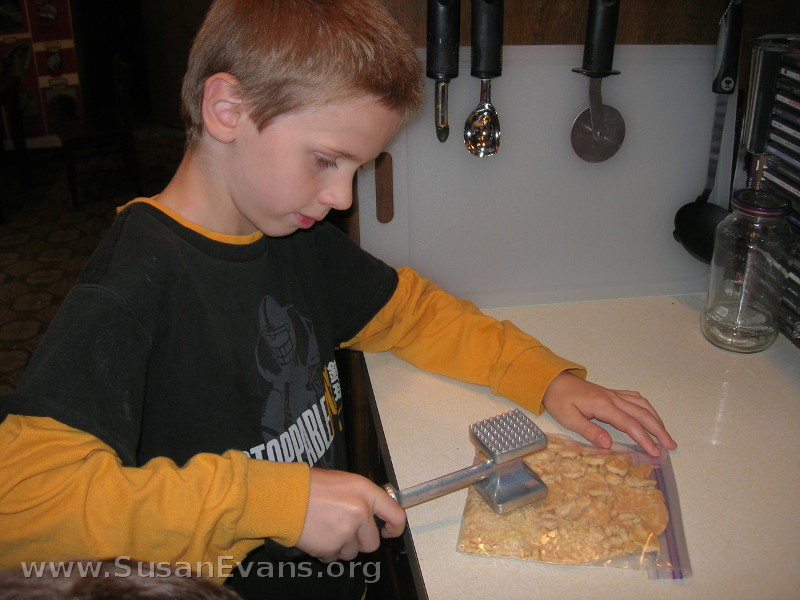
Normally to make sand on a cake, I crumble up generic graham crackers from Walmart, the ones that cost $1. But I was in Rosaurs, and their cheapest graham crackers were $4. So I bought generic lemon cookies. We scraped off the stuff in the middle of the cookie and put the bare cookies into a ziplock bag. We pounded the cookies to smithereens. (One of my sons used the wrong end of the mallet and punched lots of tiny holes in the bag, so watch which end you’re using. A hammer would work just as well. Use a nice, thick bag, not a cheap one.)

eat-cookie

I snipped off the blue tube of icing – it’s called “writing gel”– and you can find it at your grocery store near the icing. Otherwise there’s no way for you to make the thin line that the Nile River needs to be. The kids squeezed it like a tube of toothpaste down their cookie.

We added three chocolate chips for the three great pyramids. And voila! Edible Egypt! I fed my children vegetables, fruit, and protein before they ate the enormous cookie. What a delicious history class! The kids ate their homework, and no one got in trouble.