Posts Tagged ‘map’

Orange Globe

Wednesday, December 11th, 2013

orange-globe

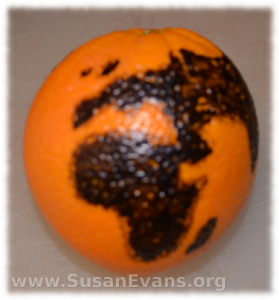
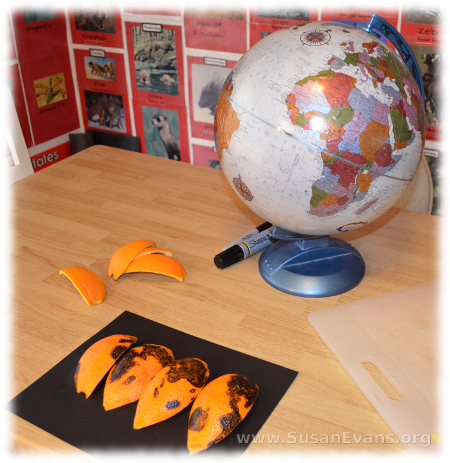
orange-globe-2When I was a little girl, I saw this orange globe activity in many books. Recently my daughter read about it in a McGuffey reader, and I decided to make this fun orange globe to understand why flat maps are distorted on the top and the bottom of the maps.

First you will need an orange, a black Sharpie marker, and a knife. Draw a globe on the orange, using a real globe or a picture of a globe to draw the outlines of the continents. Then fill in the continents so that they are solid black.

If you have more than one orange, you can show your children the equator by slicing the orange in half right at the middle. The top part of the orange is the Northern Hemisphere, and the bottom part of the orange is the Southern Hemisphere. You can talk about lines of latitude and longitude.

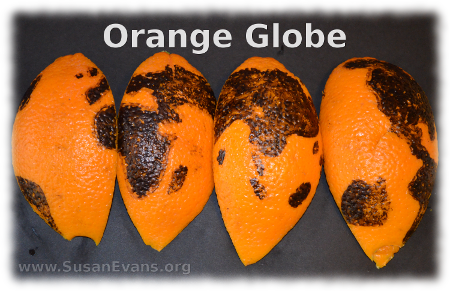
But if you only have one orange, you will want to cut it into quarters from top to bottom. Scoop the juicy orange out of the peel, being careful not to smudge the marker. Then flatten the pieces of orange on a piece of black card stock paper. Now you will be able to compare this to a flat map of the world. Your kids will laugh at how stretched out the flat maps are, compared to the orange segments.

orange-globe-3

Since the earth is round, a flat map must be distorted in order to show the globe. This is why globes are a more accurate representation of the continents than flat maps. However, flat maps are more useful for many practical reasons, including trying to find your flight at the airport, to find the most direct route to your destination. To see the entire earth at one time, we must make the map flat.

Here is a short video showing how to make this orange globe:

If you enjoyed making this orange globe, you will love Living Geography: Travel the World from your Living Room.
Egypt Cookies

Monday, September 13th, 2010

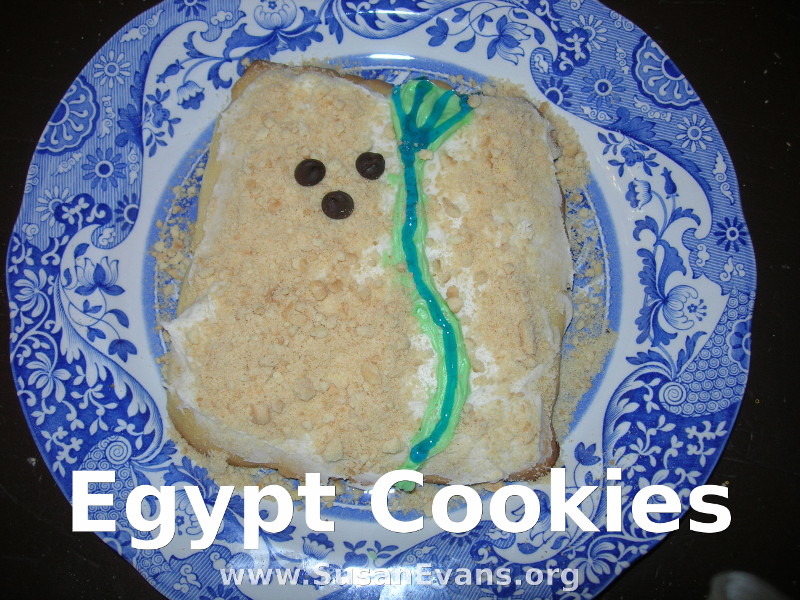
Egypt-cookies

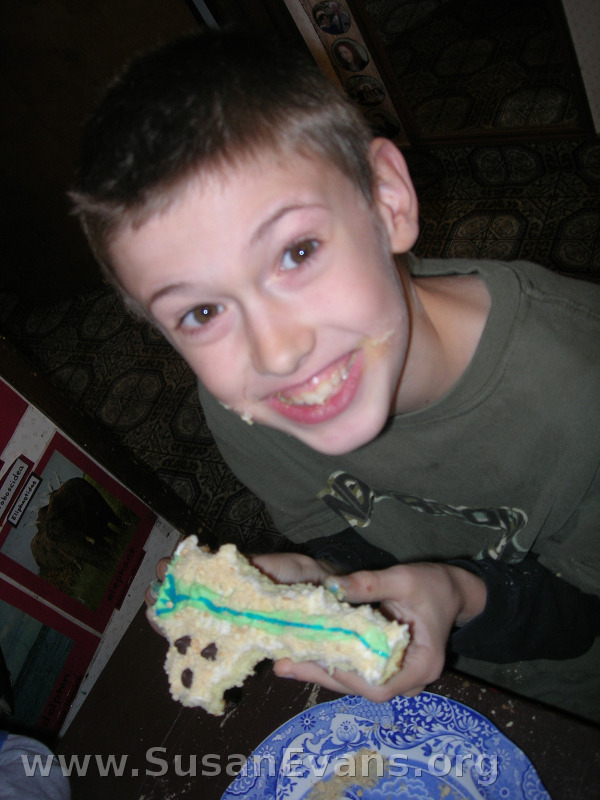
My kids decorated cookies to represent the country of Egypt. First I mixed up a batch of sugar cookies and put them in the fridge. The next day, I took half the dough and rolled it out. I cut out four rectangles using a knife. With a spatula, I tried to transfer the dough rectangles onto the cookie sheet. I said “tried” because a couple of them fell apart. (I’m not good at making pie crust either.) I smooshed them back together on the greased cookie sheet, with no one noticing. I baked them. They cooled.

cookies

Then I called the children over. They cheered and jumped up and down with glee. “Are we having this for lunch?” they asked.

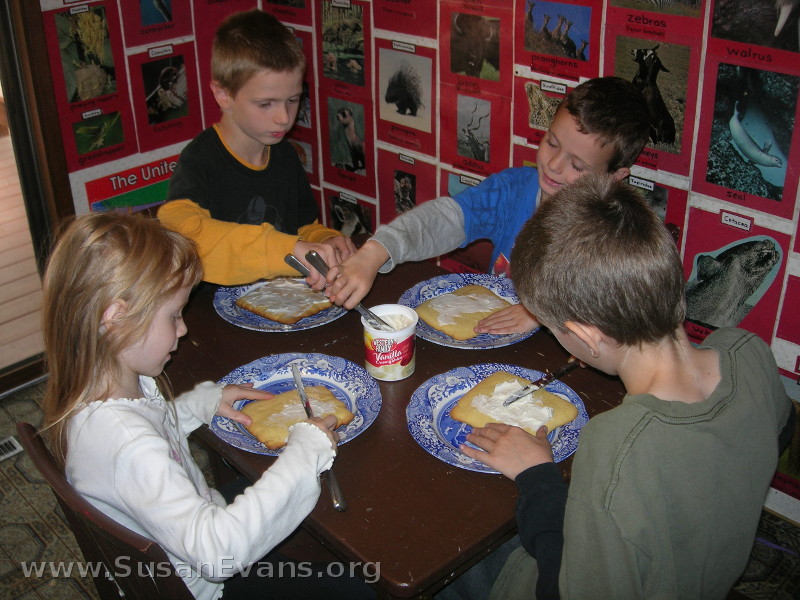
frosting-cookies

I didn’t answer. I told them to sit down. I handed each kid a butter knife, and I put the white icing in the middle of the table. The kids covered their cookies with icing as the base or “glue” that would hold everything else in place.

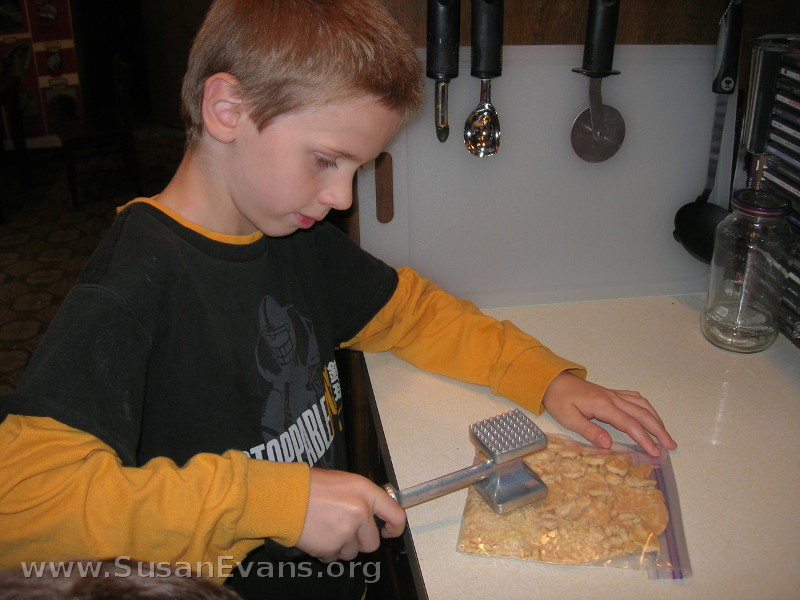
pounding-cookies

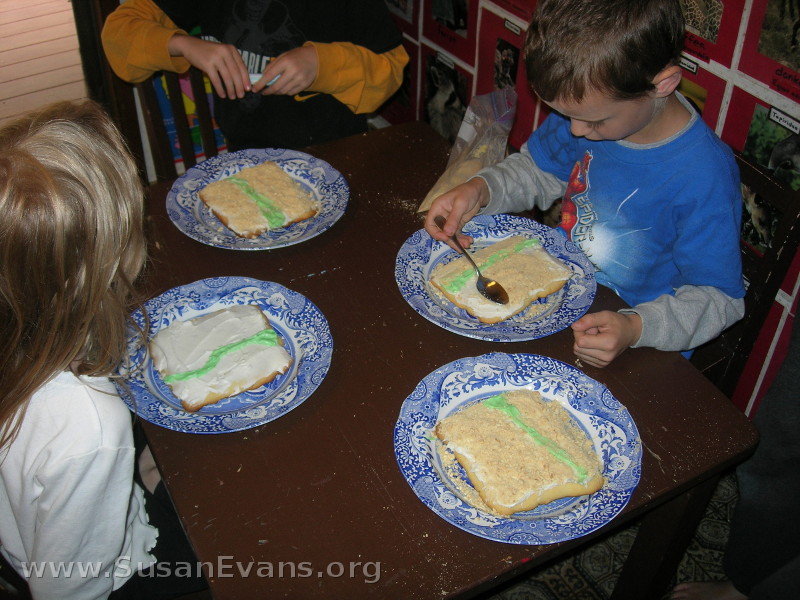
When no one needed white any more, I dyed the rest of the icing green. The children used their knives to make an upside-down triangle on the top of their cookie, representing the fertile Nile Delta. They made a fat line going down the rest of the cookie, about the thickness of the butter knife.

cookie-crumbs

Normally to make sand on a cake, I crumble up generic graham crackers from Walmart, the ones that cost $1. But I was in Rosaurs, and their cheapest graham crackers were $4. So I bought generic lemon cookies. We scraped off the stuff in the middle of the cookie and put the bare cookies into a ziplock bag. We pounded the cookies to smithereens. (One of my sons used the wrong end of the mallet and punched lots of tiny holes in the bag, so watch which end you’re using. A hammer would work just as well. Use a nice, thick bag, not a cheap one.)

eat-cookie

I snipped off the blue tube of icing – it’s called “writing gel”– and you can find it at your grocery store near the icing. Otherwise there’s no way for you to make the thin line that the Nile River needs to be. The kids squeezed it like a tube of toothpaste down their cookie.

We added three chocolate chips for the three great pyramids. And voila! Edible Egypt! I fed my children vegetables, fruit, and protein before they ate the enormous cookie. What a delicious history class! The kids ate their homework, and no one got in trouble.

Map of Egypt

Saturday, September 11th, 2010

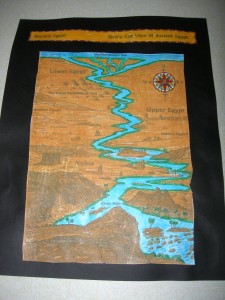
map-of-EgyptWhenever you study a country, you ought to color a map of it, no matter what age you are. It helps you to remember the shape of the country, the rivers, and whatever else is on the map, like the major cities. I love this particular map of Egypt because it has some cartoon-like cultural stuff on it. Kids love it, and they can see where the pyramids are located, where Abu Simbel is (I walked around there!), and where Upper and Lower Egypt are (in opposite locations than you would think).

We colored the Nile River blue first. Then we put green along the river, because I’ve been on the Nile River, and it’s green right next to the water, where there are palm trees. The rest of the land is sand dunes. So the children colored the rest of the land light brown or yellow to represent the sand. Having a strong grasp of how Egypt looked, the kids were ready to make Egypt cookies.