What does a typical homeschool day look like? This video shows you exactly what we did during one school day while doing a unit study on Ancient Egypt.
First thing in the morning, the kids wake up and start doing their math. My oldest two kids switched from Saxon to Teaching Textbooks. That has cut their time in half because they do a workbook, so they don’t have to write out all of their math problems. Plus, it’s self-correcting. It’s expensive, though.
They’re in separate rooms to work on their math. My younger two children are working on Horizon math. They usually get their math done before breakfast, which is really nice.
As you can see, we use headphones so that if one of our kids wakes up earlier than the others, it doesn’t affect the other kids waking up.
Here we are eating breakfast. We listen to Scripture while we’re eating breakfast. (Audio of the book of Exodus playing in the background, which relates to our unit study on Ancient Egypt.)
Here’s my 5-year-old. She’s reading from a McGuffey book. My 7-year-old and my 5-year-old read to me after they finish their math and after they eat breakfast (with Bible).
My 8-year-old son is practicing guitar.
So we’ve done math first thing in the morning. Then we did Bible as we were eating breakfast. Then we did reading. Now we have our writing. This is my 5-year-old’s writing about mummies after studying mummies for about a week and doing a lot of hands-on activities about mummies. And this is my 7-year-old’s writing about mummies. My 8-year-old hasn’t decorated his page yet. This is from our notebooks on Ancient Egypt, which the kids were able to decorate. We also have my 10-year-old, who has just finished putting on some stickers to write the title of his writing assignment about mummies. He has decorated his page. So he’s just finished with his writing assignment.
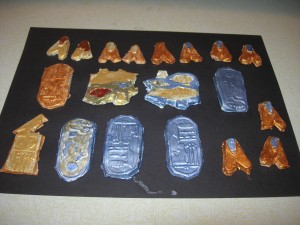
 We just read from Story of the World and Pyramid by David Macauley. We’ve also been talking about tombs, and now we’re making some treasure. We have a treasure chest, and in that treasure chest, we are going to put some treasure. We made some treasure out of clay, and we are painting it with metallic colors now. Those treasures we’ll end up putting in the treasure chest. We looked at the treasure of King Tut and his tomb. The pharaohs had tombs that were made for them as well as pyramids. So we’re changing our treasure chest into an Egyptian treasure chest because it looked just like the treasures we saw in the book about King Tut. Look at all the lovely treasures in King Tut’s tomb. We are thinking about what we want to put into our treasure chest. That is our history class today. I read the lesson while the kids are eating lunch so that it’s nice and quiet.
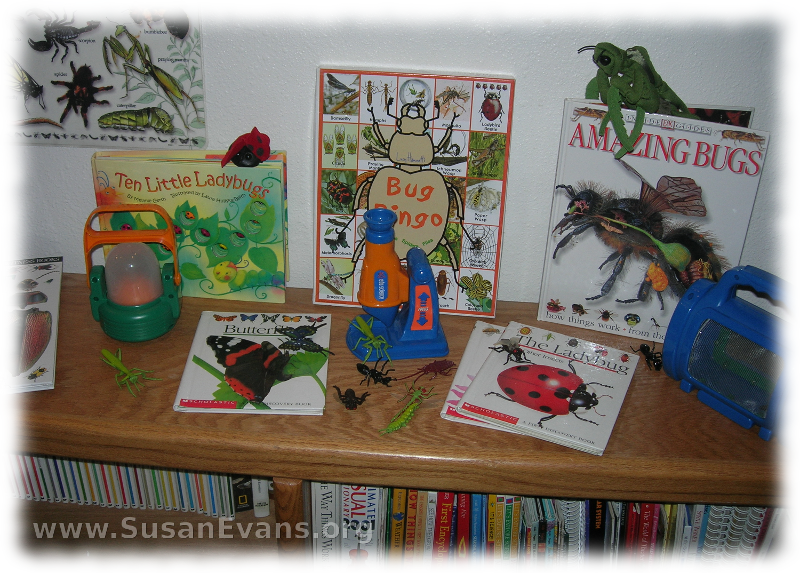
During their free time, my kids often work on their electronics kits. It’s just something they enjoy doing. They look at the instructions and do it on their own. Right now we’re doing Ancient Egypt only. We are not doing any science. Over the summer we did a nature journal, and we studied insects. So you don’t have to do both science and history at the same time.
Right now it’s after lunch. This is reading time. This is my oldest son, and he’s reading a book. He also reads the Bible, and he colors in one square for each chapter that he reads. He just finished Exodus. So he reads during this hour and a half. That’s when he does his assigned reading. We’re finished with our homeschool day by noon.


