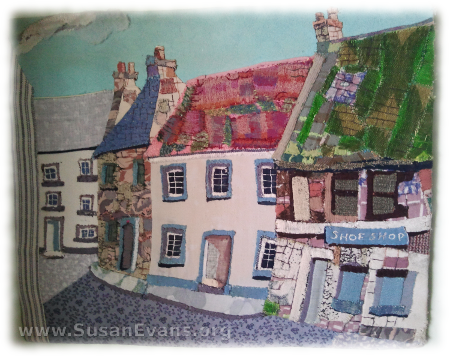
 You can create textured art by finding a diversity of cloths and making a picture to frame and hang on your wall. I saw this hanging on the wall of a dear friend, and I loved the idea!
If you want to create a village like this, start with the background cloth. Then add the houses and the street. You can go ahead and use fabric glue to put together the town. You might want to think through your color scheme so that the colors will blend harmoniously and not clash. Conversely, you might want to use only bold colors or pastel colors.
After getting the main shapes in place, you will want to add details. Make the doors and windows, and add even more embellishments until you have exquisite detail. If you add fuzzy moss to the rooftops, you can choose fabric that will create this illusion. Shiny fabrics can work well for metals, and velvet looks soft and mossy. You could also add lace if you are making a frilly picture.
Add any other details, like clouds in the sky, or stars and a moon. If you want shapes of animals and people to populate your village, go ahead and add them. Otherwise a beautiful town in the sunshine can be a charming piece of textured art, hanging on your living room wall.
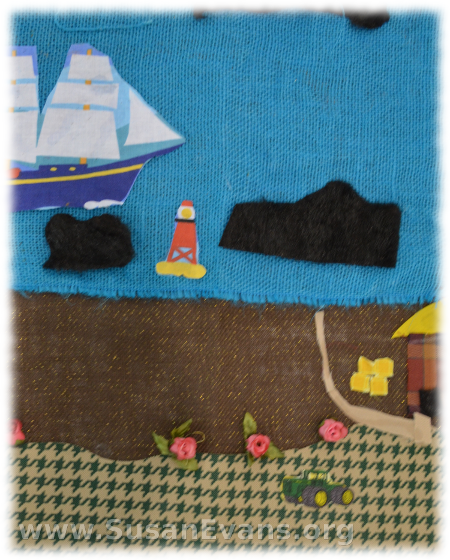
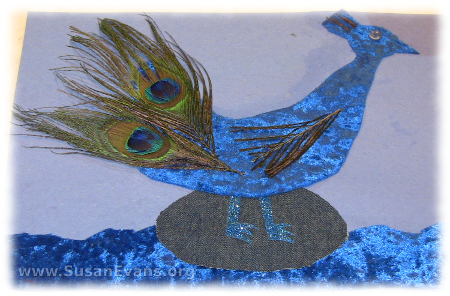
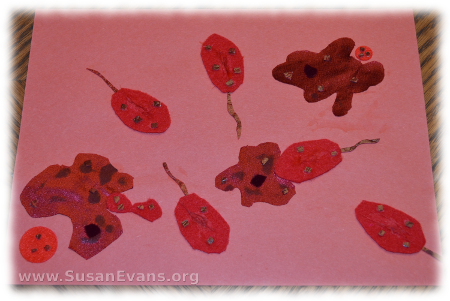
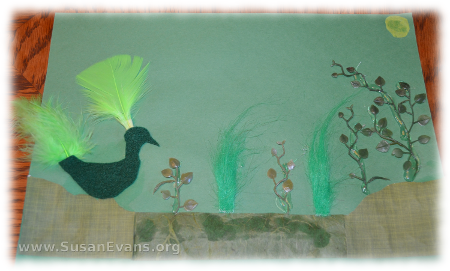
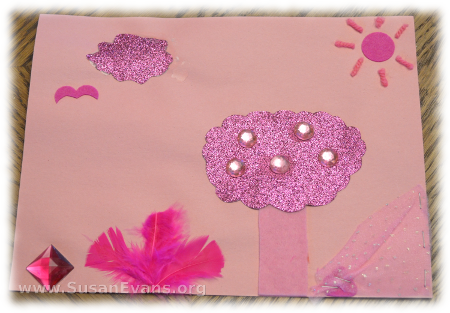
You can simplify this activity for your children by giving them one color for their textured art. For example, one of my sons loves green, so I dumped lots of green bits of materials on the table. I gave him a piece of green construction paper as a backdrop, and he had scissors and glue to create a work of art in green. My other children chose blue, pink, and red. As you can see, my son who wants to be a microbiologist has designed a red textured art piece that shows amoebas eating bacteria!
Tags: art, Homeschooling, textured art


Pretty! My kids would love to raid my school room, but it’s “off limits” right now, until after Christmas.
That was supposed to say SEWING room!
My kids loved this activity. It made them instantly successful.