Archive for the ‘Early Childhood’ Category

Tubes and Connectors

Friday, September 3rd, 2010

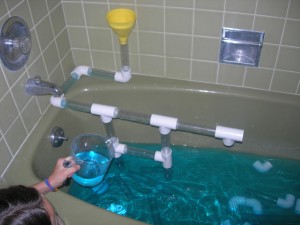
tubes-and-connectorsMy children always enjoyed playing with tubes and connectors in the bath tub. They would join the tubes and connectors in many different ways, and they would put a funnel in the top to make it easier to put water into the contraption. If you tint the water blue or some other color (you can buy something that looks like pills at Toys R Us or Walmart in the children’s bath section), the children can see the water rushing through the clear tubing. If you have two possible ways for the water to go, you can ask your children which way they think the water will go. Sometimes it goes both ways equally, but often it will go down only one tube. You can talk about gravity and see what happens if you tilt the whole contraption.

One really fun experiment you can do is to combine two different colors to see what new color emerges. Put one color of water down one tubetubes-and-connectors-2, and another color down another tube at the same time, and see what color comes out at the bottom. If you have no money for those color pills, you can use food coloring from your kitchen, and I would do it outside, making it land in a wide bucket. Your kids should wear old clothes, because food coloring can stain your clothes.
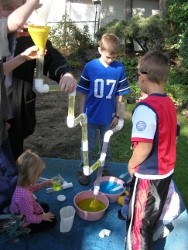
You can have a great time even if you just use clear water. My children built and designed many contraptions, and they never built the same thing twice. It was an open-ended activity that was educational as well as fun.

If you like this idea, you will love my audio workshop entitled “Bath Time Fun: 49 Ideas for Homeschoolers,” available on my website.

I’m giving away one copy of the Bath Time Fun workshop. Enter the drawing below:
a Rafflecopter giveaway

Growing Indoor Grass

Thursday, September 2nd, 2010

growing-indoor-grass

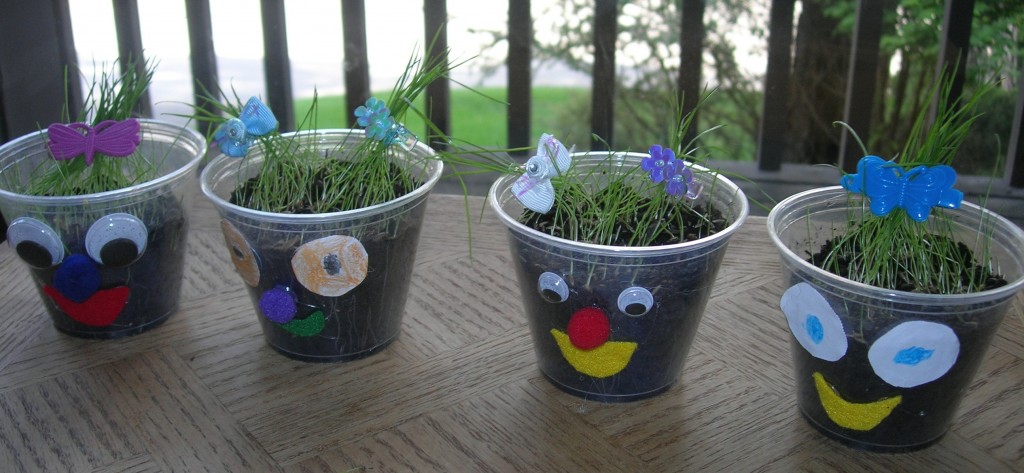
One activity that my young children enjoyed was growing indoor grass in a plastic cup. I saw the idea in lots of different places, including Family Fun Magazine. Even though we did this activity in the spring, it might be fun to grow the grass in the winter as a centerpiece for my dining room table, just to see some greenery at that time of year. If I grew it in a shallow container, I could make a scene, depending on what I added to the grass. Candles, plastic animals, army men… the list is endless as to the scenes you could create!

Older children could create scenes from different countries or habitats, or a battle from the Civil War. Or they could design a scene on the grass that would make someone feel like they were in a spa, with different levels of candles stabbed into the dirt.

If you want to make the fun grass heads in the picture above, start with some clear plastic cups. The children decorated these according to their personalities. I decided to hot glue their decorations onto the cup to make sure they didn’t fall off, but your kids could use white school glue. Each child shoveled soil into the cup, then sprinkled grass seed. They sprayed the seeds with a spray bottle of water. We placed the cups on a table next to a sunny window.

Grass grows fairly quickly, so we didn’t have to wait very long. Soon the grass was tall enough to decorate the “hair,” so to speak. We put hair clips into the grass heads, and they looked really silly. This is a perfect activity for young children.

Squeeze Paint

Wednesday, September 1st, 2010

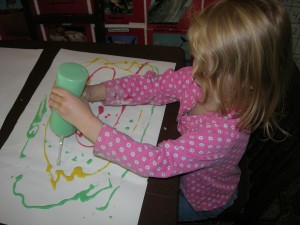
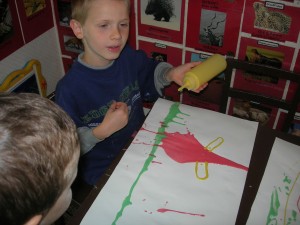
squeeze-paint-2Young children can have a ball squeezing a design onto a large piece of paper if you put your favorite kind of paint into squeeze bottles. Squeeze paint is so fun! I bought my clear plastic squeeze bottles at the local supermarket for 99 cents each. (Normally you would put ketchup or mustard into them.)

Make sure your children are using paint clothes, or at least a smock, since this activity is messy. If you start with green paint along the bottom, you can pick up the paper and have the green paint drip down (upward on the paper) to make some grass. Or you could put blue on the bottom and shake it around for waves on the ocean. Toddlers can just quirt it free-form, since it is mostly the squirting that is fun. I squeeze-paint-1warn you: none of these pictures is worth keeping. You simply can’t control the drips with enough accuracy to make a good painting. Some of the older children got frustrated. My seven-year-old accidentally made a huge splotch and was upset until I told him he had a monster creature, and why not make some feet and arms? Suddenly he cheered up, and the huge, ugly blotch turned out to be fun after all.

Frog Craft

Tuesday, August 31st, 2010

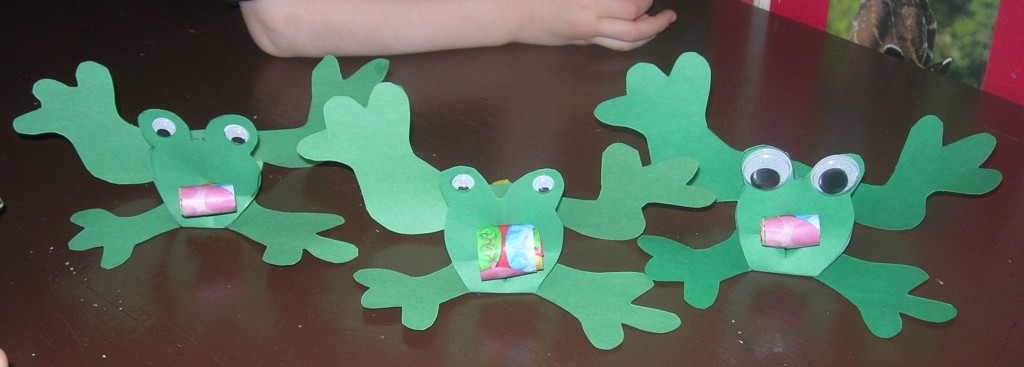
frog-craftIf you have young children and you are studying frogs, this is a simple and fun frog craft to make. I found it in a Family Fun Magazine. Instead of using green craft foam, I just used green construction paper. The magazine used to have a template online, but they deleted it. So, looking at the design above, you could draw that shape on a piece of green construction paper. Have your kids cut it out.

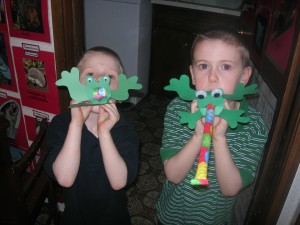
We bent back the head, glued on some google eyes, and cut an “X” where the mouth goes. Then we shoved the party blower through an “X” in the middle of the body and through the mouth. It took about ten minutes. (I have no idea why they say it takes an hour.)

Of course, the frog craft party blowers don’t last very long, but they sure were fun while they lasted. The kids kept blowing the party favors in each other’s faces, and they had a great time! (If you buy a lot of party blowers, you can change them out when they’re covered in spit!)

If you want more ideas for fun Early Childhood art projects, click here.

frog-craft-2