Archive for the ‘Art’ Category

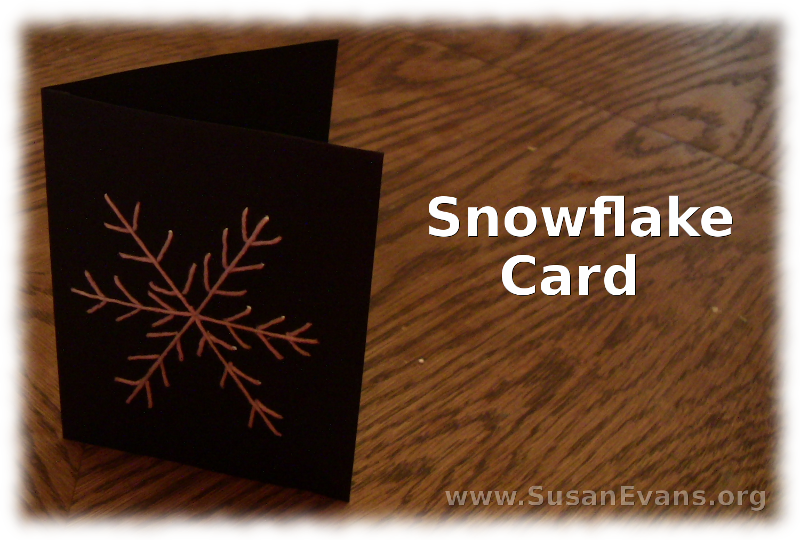
Snowflake Card

Tuesday, December 18th, 2012

snowflake-card

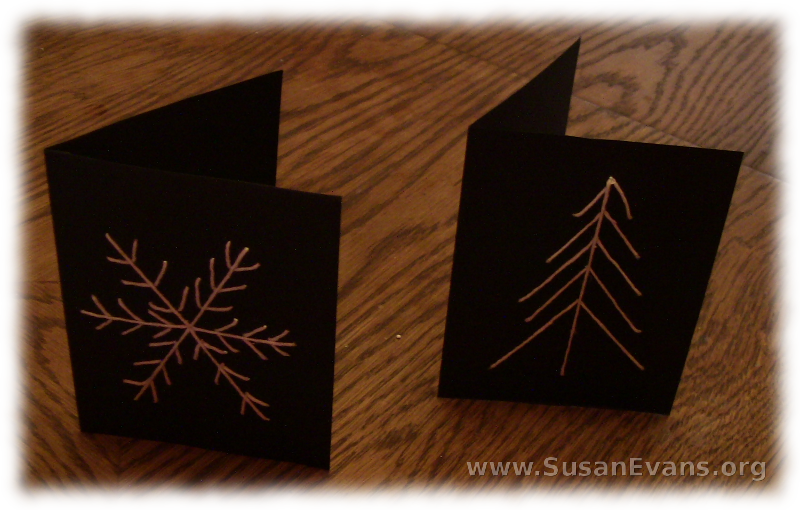
My daughter and I made an easy snowflake card. You will need the following materials:

  • black card stock paper
  • white string
  • scissors
  • blunt needle
  • pencil
  • ruler
  • thumb tack

How to Make a Snowflake Card with Yarn

Step 1: Cut the black card stock paper in half and fold it. Now open up the card, and on the left side, draw a snowflake in pencil with a ruler.

Step 2: Grab the thumb tack and poke a hole at the beginning and end of each line. It’s like you’re making a dot-to-dot picture.

Step 3: Thread the needle with white string. Tie a knot in the end and begin sewing the card, making sure that the front of the card is producing the design you want.

Step 4: When you are finished, you can use a silver pen to write a message to someone before putting the snowflake card in an envelope.

snowflake-craft-with-yarn

You can make any design on a card, as long as the lines are straight. You could draw a cool gnarly tree with bare branches in the dark moonlight. My 7-year-old daughter designed a simple pine tree. It only took her about 5 minutes to sew and was quite easy!

Linked to Snow Day Activities:
SnowDay

Turkey Candle

Wednesday, November 14th, 2012

turkey-candle

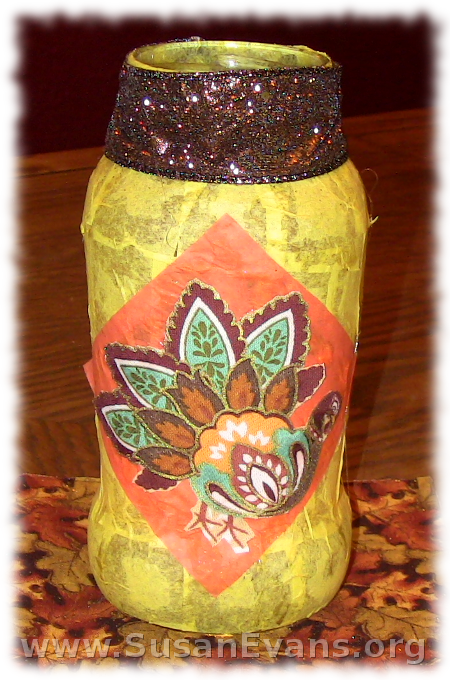
To make this easy turkey candle, you will need the following supplies:

  • yellow and orange tissue paper
  • brown ribbon
  • a picture of a turkey
  • white school glue
  • hot glue
  • glass jar
  • tea light candle

How to put the craft together:

  1. Cut the yellow tissue paper into squares. Glue the squares all over the jar until the jar is completely covered.
  2. Glue the picture of the turkey onto a square of orange paper. I found the turkey on a scrap of fabric I had. You can also buy a turkey sticker or clip out a turkey picture out of a magazine. Glue the turkey paper onto the jar.
  3. With hot glue, attach the ribbon to the top of the jar. I used sparkly brown ribbon.
  4. Place a tea light into the jar. Light the candle, and enjoy your beautiful Thanksgiving turkey candle!

To find more fun craft ideas for Thanksgiving, check out Pilgrim Unit Study.

Autumn Stained Glass Leaves

Friday, November 9th, 2012


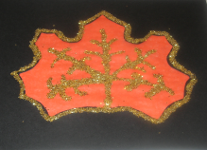
My daughter and I created these fun autumn stained glass leaves! Here is the tutorial for how to make this simple yet beautiful craft:

Materials you will need:

  • black card stock paper
  • colorful tissue paper
  • scissors
  • tape
  • white school glue
  • gold glitter

How to Make Autumn Stained Glass Leaves

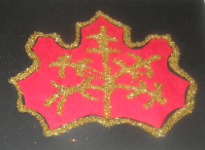
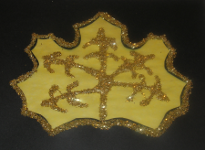
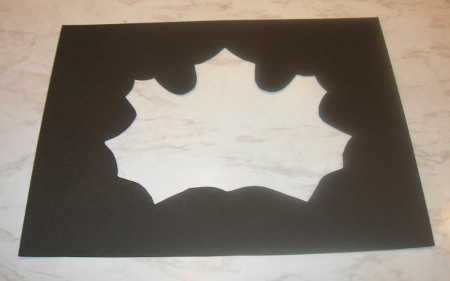
To make these autumn stained glass leaves, start with black card stock paper. Draw a maple leaf in pencil. (It is easier if you fold the paper in half so that the sides are symmetrical.) Poke your scissors through the center of the leaf, cutting out the inside.

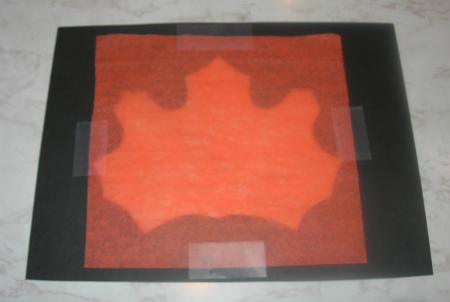
On the back of the black card stock paper, tape a piece of tissue paper on all four sides. You can choose orange, red, yellow, brown, or green.

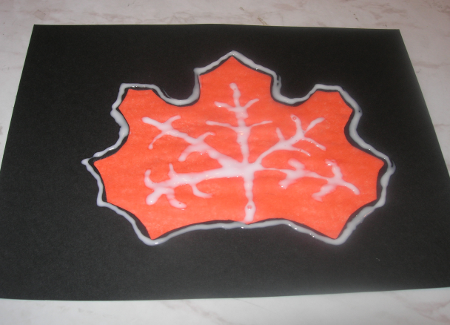
Turn the paper right-side up. With white school glue, draw the veins of the leaf. Then outline the leaf on the black edge of the card stock paper.

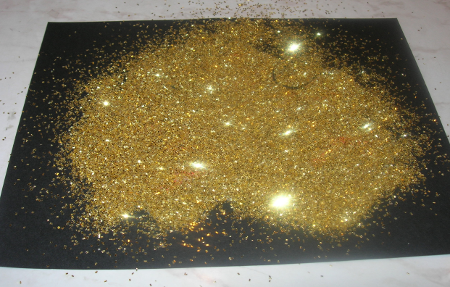
Shake gold glitter all over the leaf. it should completely cover the glue.

Pick up the paper and allow all the excess glitter to fall off. Your autumn stained glass leaves are finished. Allow them to dry before taping them to a window.


Grain Art

Tuesday, November 6th, 2012

grain-art

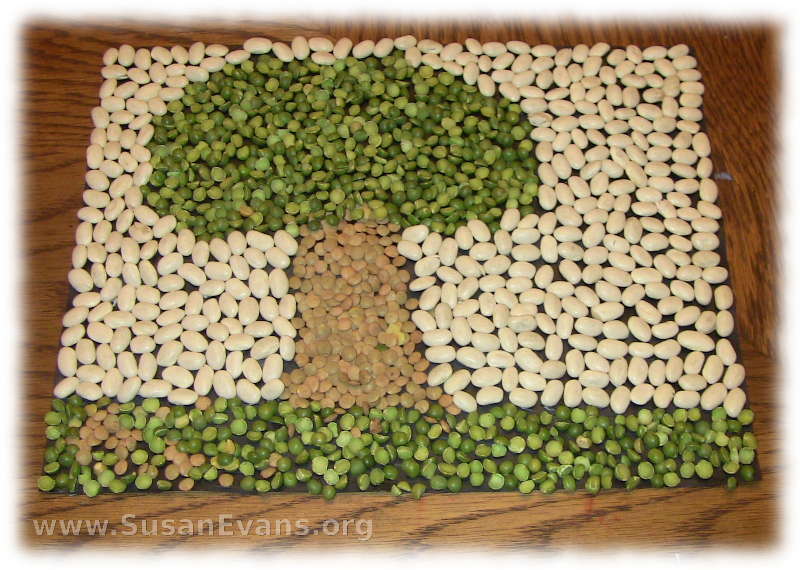
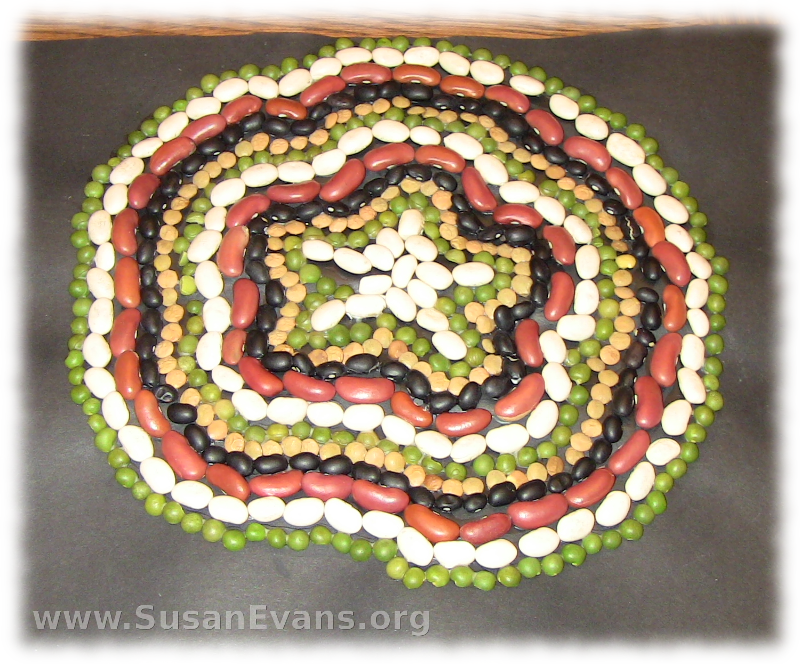
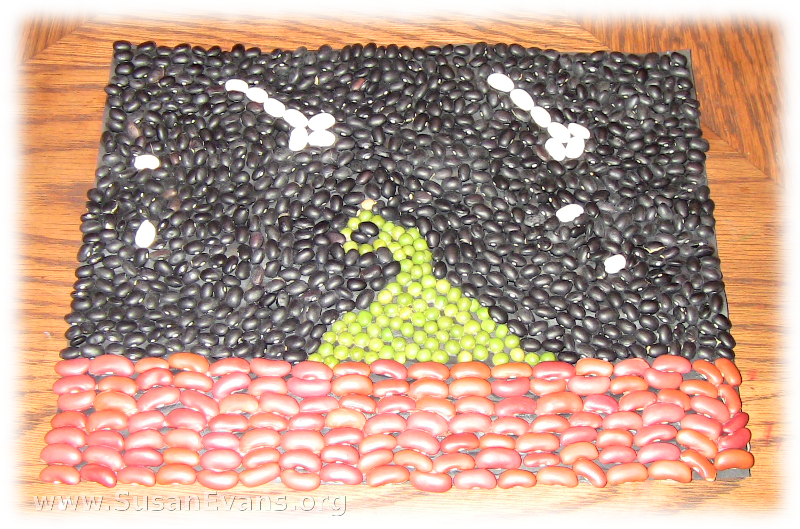
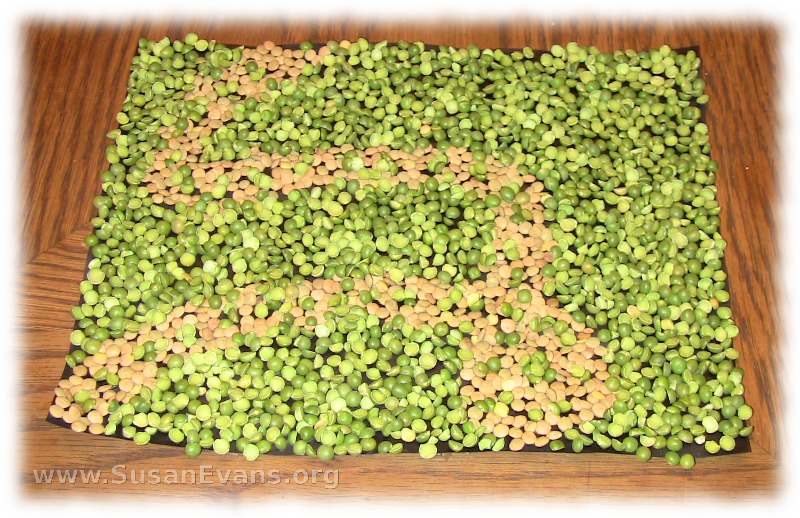
Grain art is a fun activity to do in the autumn. It has an interesting texture and reminds us of harvest time. I bought dry grains in as many colors as I could find at the grocery store in cheap sealed bags:

  • green dried peas
  • black beans
  • red kidney beans
  • white beans
  • yellow lentils

We started with black card stock paper as the backdrop. If you want, you can sketch a design in pencil first, filling in one area at a time with glue. Then you glue down each grain. It goes faster if you dump the grain on top of the paper, then lift the paper up. It looks neater and more orderly if you place each grain one by one, but this might be tedious for younger children. It depends what kind of look you want.

grain-art-3

You can do symmetrical patterns or a design representing an actual object. My daughter made a star in the center of her paper, spiraling outwards with alternate grains. One of my children chose to make a tree. Another son titled his grain art, “Green Blob with Asteroids.” My oldest son made a spiral ladder leading to nowhere. As you can see, everyone has freedom for their personalities to shine through this art activity!

grain-art-2

grain-art-4