Posts Tagged ‘winter’

Snow-Themed Hands-on Activities

Friday, December 11th, 2020

snow-themed-hands-on-activities

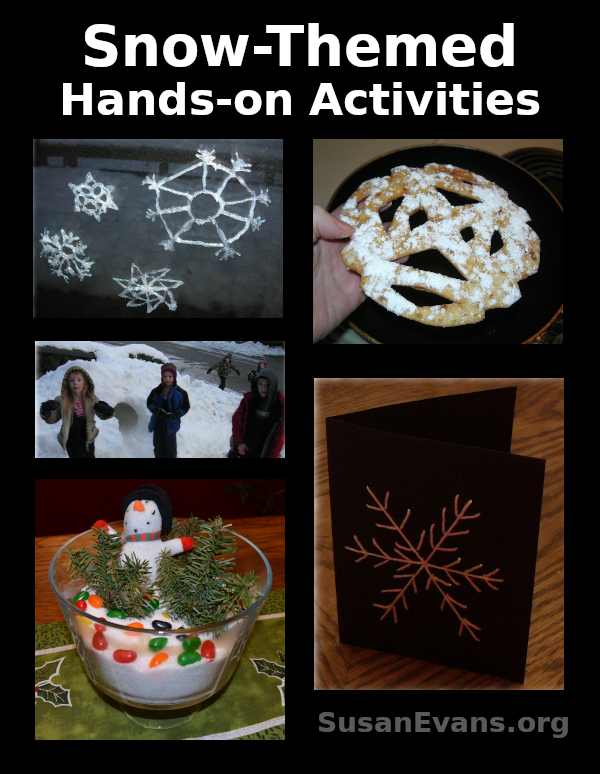
I recently gave a workshop on snow-themed hands-on activities, explaining how to cook snowflake funnel cakes, how to make snowflakes that cling to glass, how to build a successful snow cave, and how to create snow scenes for a centerpiece for your dining room table.

Snow-Themed Hands-on Activities

Here is the workshop with snow-related fun this winter season:

The workshop began with a demonstration of how to make paper snowflakes. This is important in making snowflake funnel cakes because in the same way that you cut out snowflakes on paper, you can cut out snowflakes using flour tortillas.

Cut a piece of paper into a circle, and fold the circle at least twice. With scissors, cut out designs as illustrated in the video. Then unfold the paper to see your unique snowflake. You can glue glitter to your snowflakes or hang them from the ceiling.

Snowflake Funnel Cake

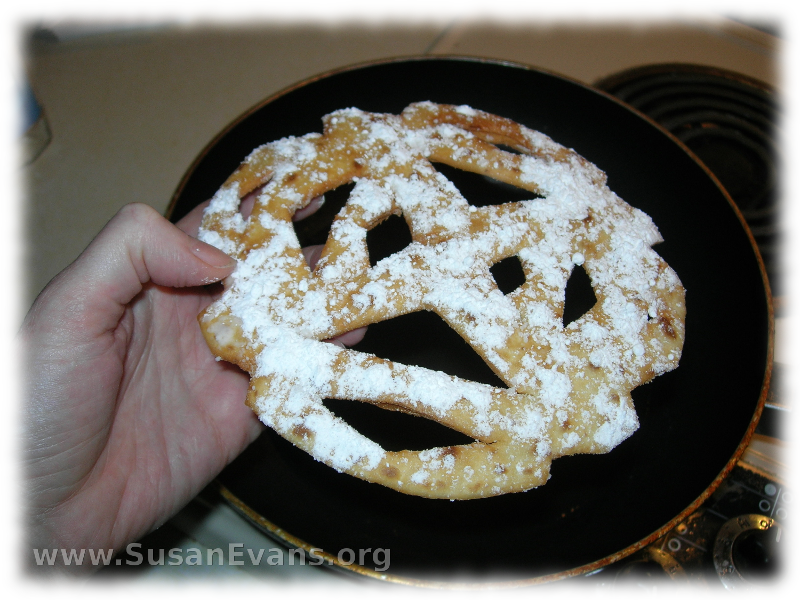
In the same way, grab a fajita tortilla and fold it twice. Using the kitchen shears, cut designs into the tortilla’s folds. Then open the tortilla.

snowflake-funnel-cake

Heat about an inch of oil in a pan, and deep fry the snowflake tortilla on both sides until golden brown. Remove the tortilla with tongs and place it on a plate with a paper towel on it. The paper towel will absorb some of the oil. Sprinkle powdered sugar over the tortilla snowflake. Enjoy eating your snowflake funnel cake!

How to Make Snowflakes that Cling to Glass

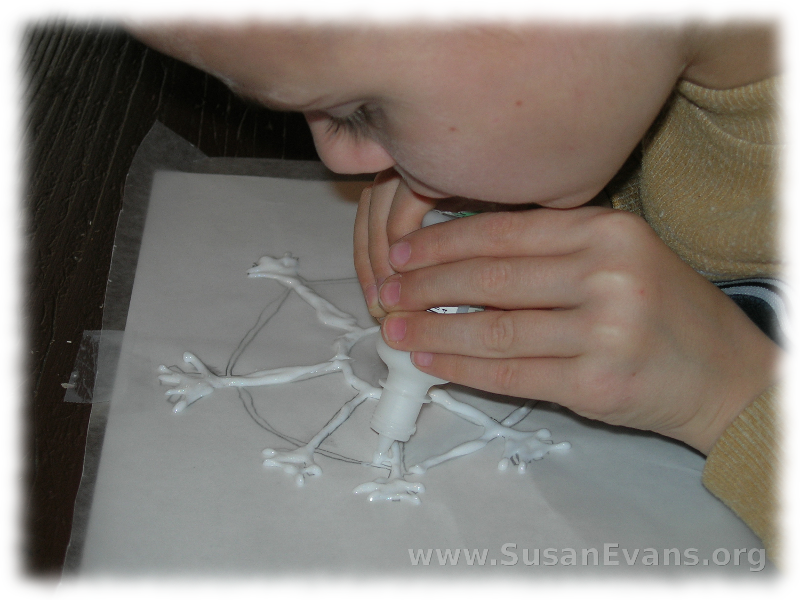
To make snowflakes that cling to glass, you will need dimensional fabric paint (or regular white school glue), wax paper, and a paper and pencil.

tracing-snowflake-glue

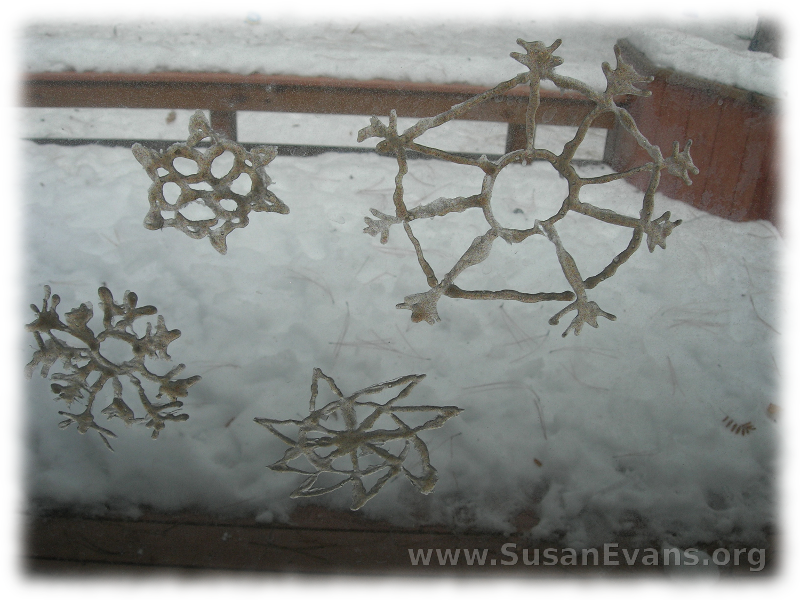
First, draw a snowflake on a piece of paper. If you prefer, you can find a design online, and print it out. Place wax paper on top of it, and tape it down. Have your child trace the design with the dimensional fabric paint (or white school glue). Make sure that there are no thin lines. All lines should be thick so that when you peel the cling snowflake off the wax paper the next day, it will stay together.

snowflakes-that-cling-to-glass

It works much better with the dimensional fabric paint, since it is thicker and more solid, but it can also work with the white school glue. Make sure to dry the snowflake overnight before trying to peel it off the wax paper. You can stick it to a window or a mirror.

How to Build a Snow Cave

snow-cave

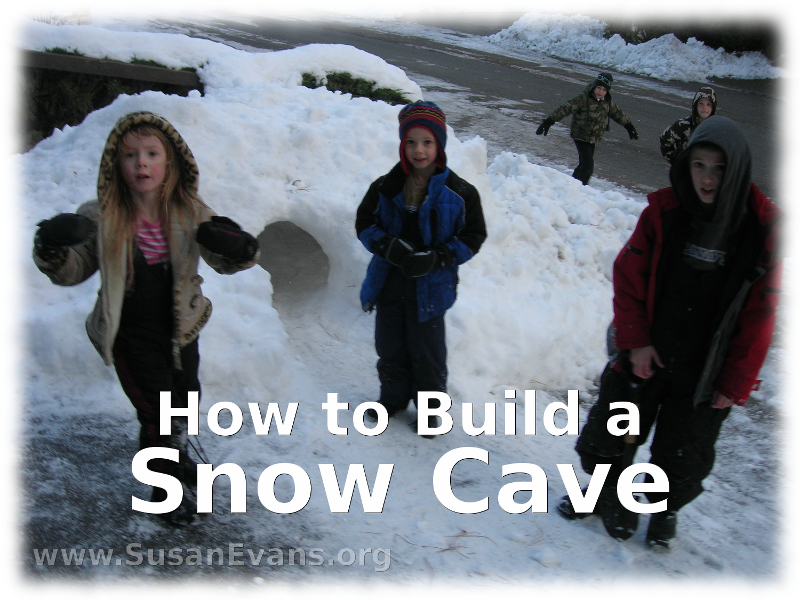
To make a strong snow cave that will not collapse, start by building a mountain of snow. Have the kids climb on top of the hill of snow to compact it down. Then start digging an entrance to the cave. You can make several rooms depending on how big your mountain of snow is. It’s particularly fun to play in the snow cave at night with a flashlight. For more information on building a cave out of snow (and a video of the finished snow cave my kids built), go to: How to Build a Snow Cave.

Snow Scene Centerpiece

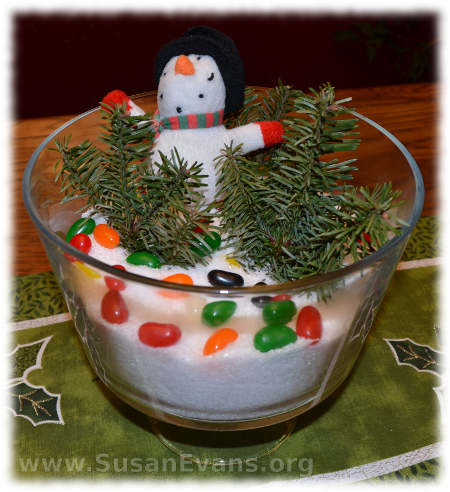
In the video I describe how to make a snow scene centerpiece. You get a glass container and dump rock salt in it. Grab some greenery and some winter decorations (or a nativity scene), and arrange it on the “snow” in your scene. Take a look at one of my creations: Snow Scene Centerpiece.

Bonus: How to Make a Snowflake Card with Yarn

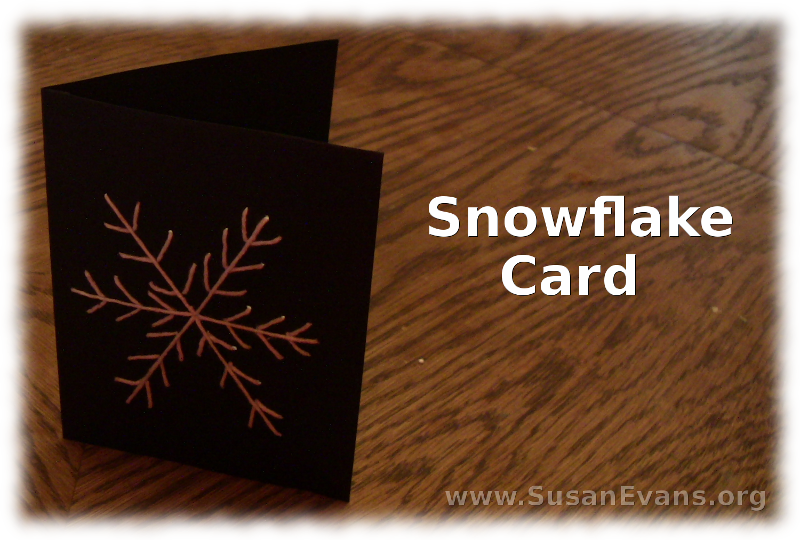
I’ve added a bonus snowflake hands-on activity for you: snowflake cards. I did not discuss this craft in my workshop above, but I give a step-by-step tutorial here: Snowflake Card.

snowflake-card

You will need black card stock paper, white string or yarn, and a thumb tack. Draw a snowflake with pencil on the black paper, and use the thumb tack to punch holes along the lines. Then sew the snowflake onto the card. You can use a thick needle, or just push the string through by hand. It looks gorgeous as a Christmas card!
Unique Box of Holiday Treats

Thursday, December 6th, 2018

box-of-holiday-treats

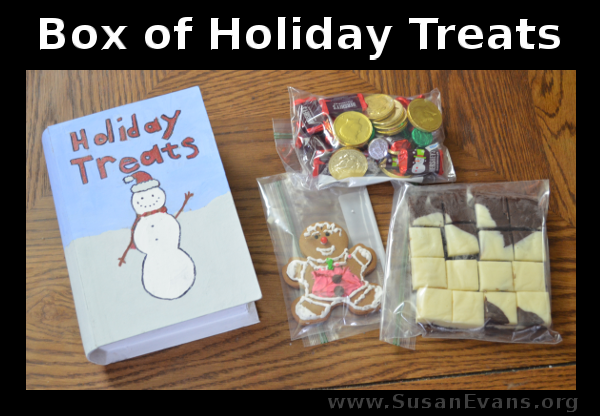
My daughter sent a unique box of holiday treats to her aunt last Christmas because she wanted her aunt to feel special. We bought an inexpensive box that looked like a book, and we painted it. (It looks brown like a cardboard box before it is painted.) You can get a box like this at any craft supply store.

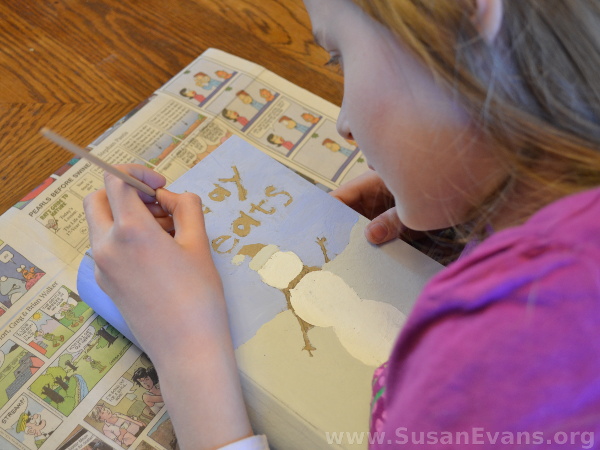
You can use tempera paint or acrylic paint, whatever you have on hand. First my daughter drew the design with pencil on the box. Then she painted it. She had to paint the back of the box on a different day so that the paint on the front would be dry.

Since it was Christmastime, she decided to draw a cute snowman standing in the snow. She used white for the snow and light blue for the sky, highlighting the words and accessories with red paint.

box-treat-craft

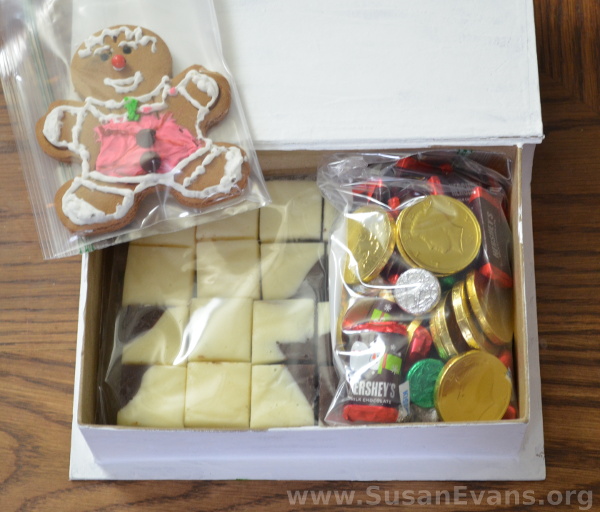
After the box was finished, we made some marble fudge (with white and dark chocolate swirled together) and decorated a gingerbread man. Lastly, we added a bag of candy, including chocolate gold coins, Hershey kisses, and mini chocolate bars.

Christmas-treats

When the package arrived at her aunt’s house, she was pleasantly surprised, and she most definitely felt loved!

Deluxe Gingerbread Houses

Monday, December 15th, 2014

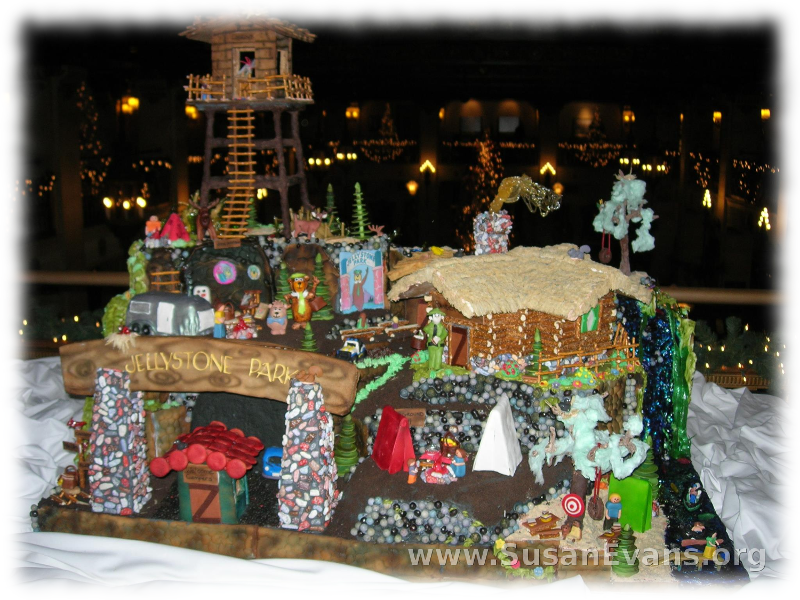
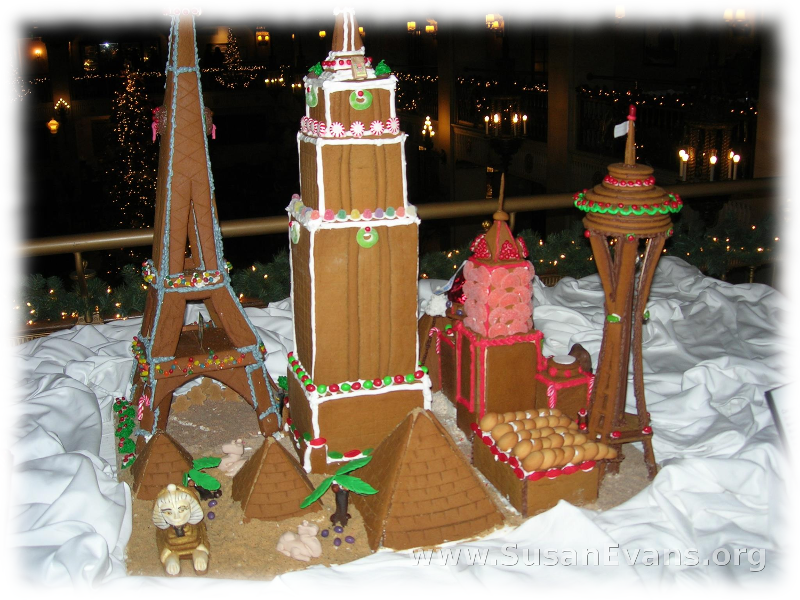
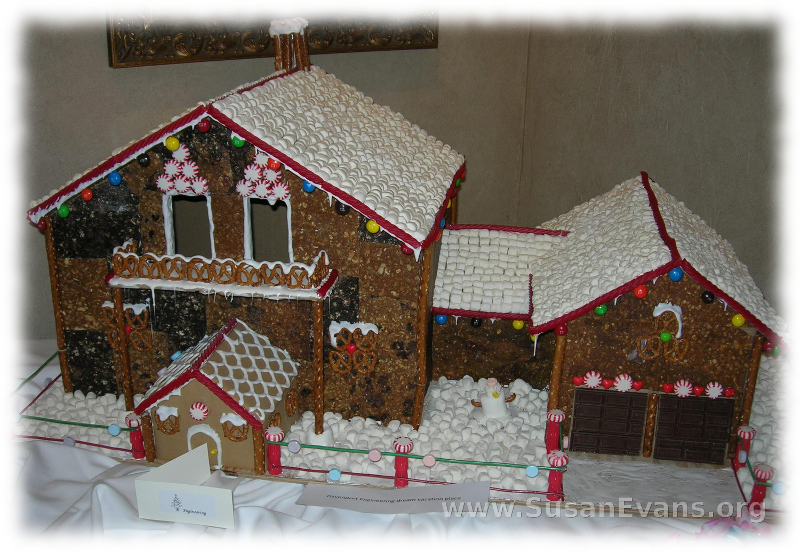
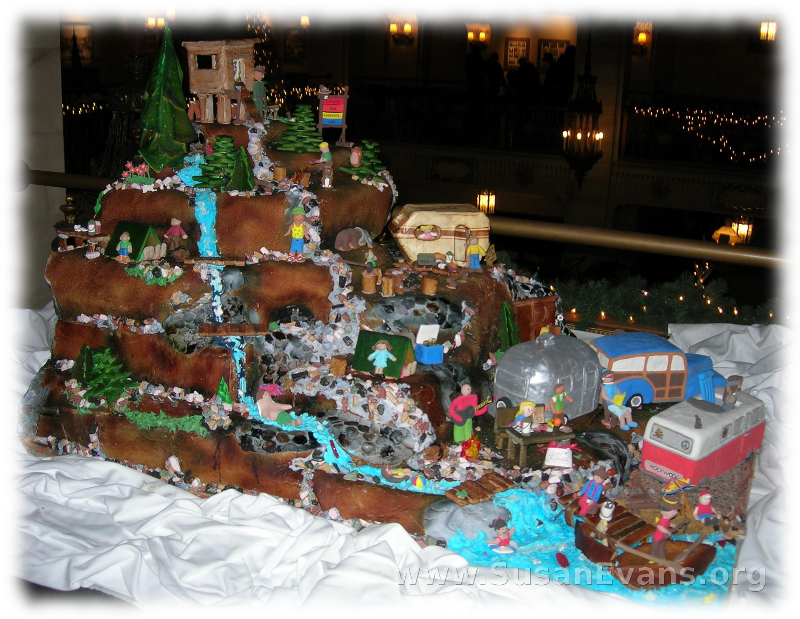
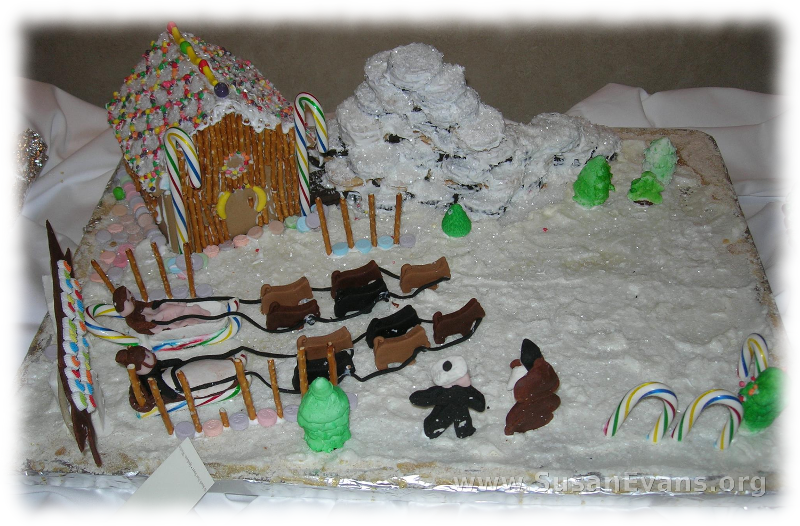
deluxe-gingerbread-housesLook at these deluxe gingerbread houses! It’s incredible what people can build out of gingerbread, frosting, pretzels, and candy. Every year there is a gingerbread house competition at the Davenport Hotel in downtown Spokane, WA, and every year I’m impressed.

If you look at the first picture, there is a treehouse structure with a pretzel rope ladder. There must be some form of candy that looks like rocks, because it was used to build a lot of this scene. The sign says “Jellystone Park,” and Yogi Bear is included in the scene. A pretzel cabin and a camping area with tents rounds out the scene.

deluxe-gingerbread-houses-2This one is obviously about famous landmarks. They used mainly plain gingerbread, with frosting and candy embellishments. The sand at the bottom of the pyramids is undoubtedly crushed graham crackers.

gingerbread-houseThis is a nice gingerbread house. The roof is covered with mini-marshmallows, as well as the snowy ground. Chocolate garage doors, pretzel embellishments, and a shoelace licorice candy fence surrounds the scene.

gingerbread-waterfallThis waterfall scene is so extravagant that its ingredients are out of my league. I think fondant was used, and I hear it is difficult to work with. Nevertheless, it is a gorgeous scene!

gingerbread-snow-sceneOkay, this one is more manageable by real humans. The snowy scene incudes two dog sleds with dogs, a regular gingerbread house with pretzels for logs, and white frosting covering the ground and Oreo cookies for a hill in the background.

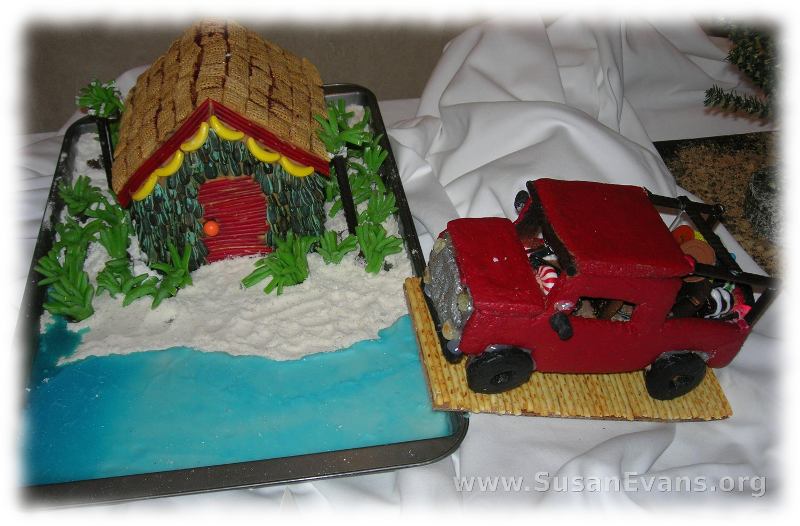
gingerbread-pickup-truckThis scene is fun. It has a pick-up truck driving up a ramp to the cabin. Even though there is snow on the ground, there is greenery around the house, probably shaped out of fondant. It looks like the basic structure of the pick-up truck is made out of graham crackers, covered by fondant.

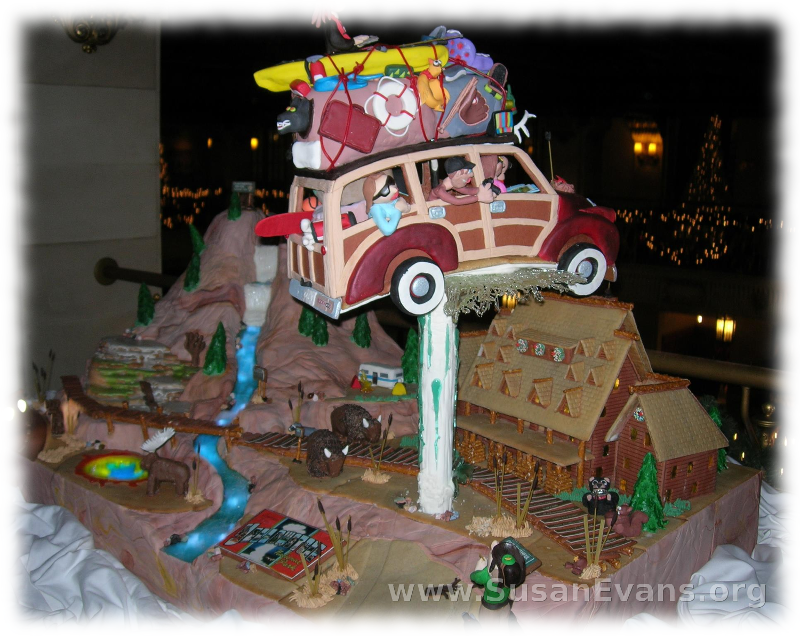
gingerbread-carHere is another scene that is ridiculously complicated and impossible for mere humans like us to attempt. I’m sure the creator of this one is an expert with fondant because the car that is in the air is a masterpiece of perfection!

If you want some humorous tips on building gingerbread houses:

If you want to see how I failed at building a simple gingerbread house:


Snow Scene Centerpiece

Monday, December 16th, 2013

snow-scene-centerpiece

Make a beautiful snow scene centerpiece for your table in less than five minutes. All you need is rock salt (or Epsom salt), a branch of greenery, some Christmas ornaments, and a large glass bowl.

Dump the rock salt into a large clear bowl in the center of your table. Rock salt looks more beautiful, but Epsom salt is more useful, since you can re-use the Epsom salt in your bath after December is over.

Place some greenery into the white salt. You will need to break off small bits of a branch of an evergreen tree, or you can use shears to cut it. I stuck pieces of greenery into the “snow” so that they would look like trees in a forest. But you can also lay them flat in a beautiful way.

Look at the decorations on your tree, and see if you want to showcase one ornament, or if you want to choose several ornaments. A village house would look pretty in the snow. Arrange the ornaments in your bowl. I added jelly beans for color. You could add red berries or a red garland for a similar effect. Just mess with the scene until it looks pretty.

Enjoy your finished snow scene centerpiece! For more fun winter activities, click here.