Archive for the ‘Bible’ Category

A Farmer Sows Seeds

Thursday, October 24th, 2013

a-farmer-sows-seeds

Here is a visual Bible craft to illustrate the story of when a farmer sows seeds. You will find the story in Luke 8:4-15. A farmer sows seeds into four different types of soil: beside the road, among rocks, surrounded by thorns, and in good soil. The seed represents the Word of God. What happens to each seed, and what does each seed represent in our lives, according to Jesus?

  • Beside the road: The seed is trampled, and birds eat it up. These people hear the Word of God, but the devil comes and takes it away, so that they don’t believe and are not saved.
  • Among rocks: The seed withers away because it has no water. These people hear and receive the Word of God with joy, but they have no firm root. They shrivel away when temptation comes.
  • Surrounded by thorns: The seed grows up among thorns, and the thorns choke the young plants. These people are choked by worries, riches, and pleasures, so they never mature.
  • In good soil: The seed grows and produces a crop 100 times as great. These people have held fast to the Word and bear fruit with perseverance.

a-farmer-sows-seeds-2

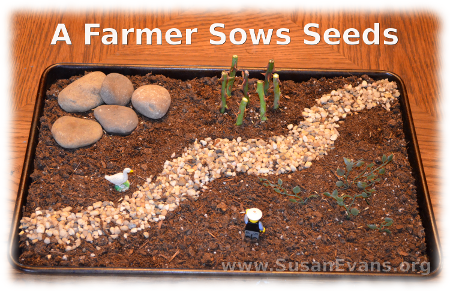
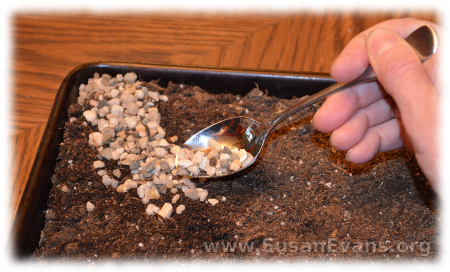
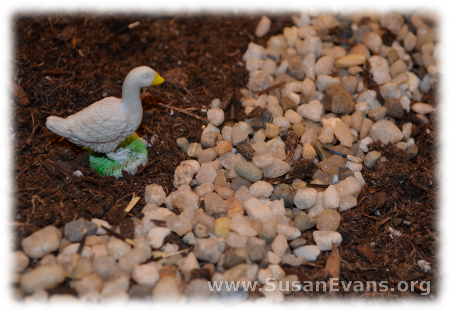
To make this “A Farmer Sows Seeds” craft, you will start with pouring soil on a cookie sheet. Spread pebbles like a winding road across your cookie sheet. I used a spoon to control where the pebbles were going. Place a bird along the side of the road. Then sprinkle some seeds on the road.

a-farmer-sows-seeds-4

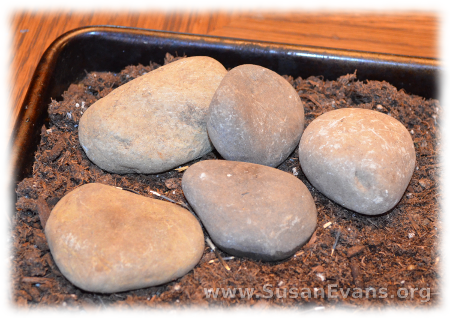
Place some larger rocks in one corner of the cookie sheet. Sprinkle some seeds there.

a-farmer-sows-seeds-3

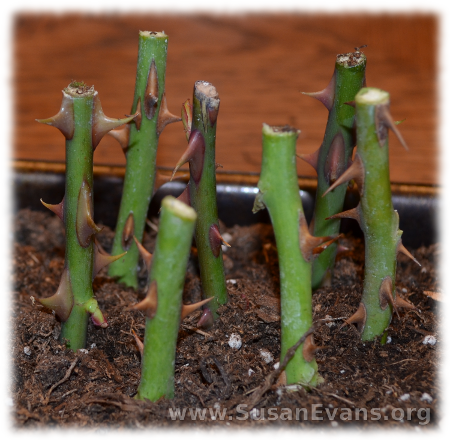
Clip some thorns from your rose bushes outside, and put a small piece of clay on the bottom of each one so they will stand up when you dig a hole and attach the thorn stems directly to the cookie sheet. If you have a deeper cookie sheet, you do not need clay because the stems will stab nicely into the deeper soil. Toss some seeds into the thorns area.

a-farmer-sows-seeds-5

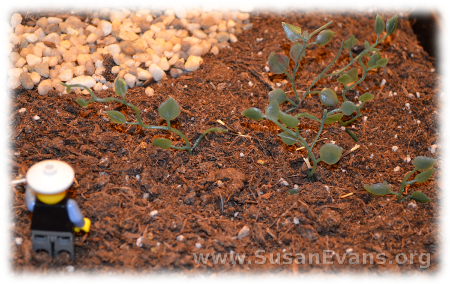
Now get some real or plastic plants that are green, and place them into the good soil. Sprinkle seeds there. The farmer should be placed into the soil as well. We used a Lego man, and my son stuffed some seeds into his hand.

a-farmer-sows-seeds-6

After making the craft, you can tell your kids the story, and this visual reminder will help them to remember the story. Hopefully they will take the story to heart and make sure the soil of their hearts receive the Word of God and persevere in growing closer to God each day!

Sign up below for a free printable e-book of this Bible crafts series!

If you enjoyed making this Bible craft of “A Farmer Sows Seeds”, you will love Using Simple Costumes and Props to Teach the Bible. You receive this 2-hour video for free when you sign up for the Unit Study Treasure Vault, which has an enormous Bible section!
Homemade Nativity Scene (Easy & Beautiful!)

Wednesday, October 23rd, 2013

homemade-nativity-scene

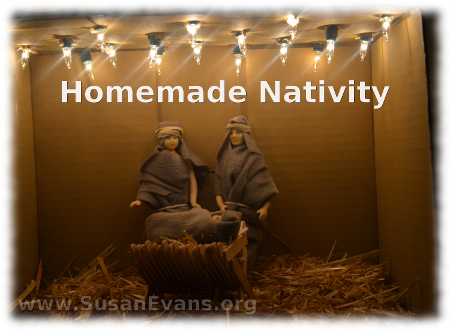
When celebrating the birth of Christ, you can make a homemade nativity scene with your kids. This will focus their minds on the true meaning of Christmas. In this tutorial I will show you how to easily make a beautiful scene with figures of baby Jesus, Mary, and Joseph surrounded by an earthy, twinkling barn environment.

How to Make a Nativity Scene

For this homemade nativity scene, you will need the following items:

  • cardboard box (large shoebox)
  • white Christmas lights
  • drill
  • light brown paint with paint brush
  • mom, dad, and baby dolls
  • popsicle sticks
  • white Elmer’s glue
  • straw (or dry grass)
  • cloth
  • hot glue
  • 2 rubber bands
  • string

Cut the flaps or remove the top from the box. Paint the box light brown. Let dry overnight. Get a drill, and use a large drill bit (9/32) to drill holes in the top of the box. Space the holes apart according to the amount of space between your Christmas lights.

Assemble a manger out of popsicle sticks. My son made a “V” out of popsicle stick halves, and then glued an “X” on either side, with a horizontal bar to finish it off on each end.

Hot glue some cloth onto the dolls, making their clothes look more authentic for Bible times. Use a string for a belt for Joseph and Mary. Place a square of cloth on their heads, tied with a rubber band.

Put straw or dried grass inside the manger and on the bottom of the box. Assemble the figures inside the box. Turn on the Christmas lights, and enjoy your homemade nativity scene!

Video tutorial on how to make a handmade nativity scene:

Sign up below for a free printable e-book of this Bible crafts series!

If you liked making this homemade nativity scene, you will love Using Simple Costumes and Props to Teach the Bible. You receive this 2-hour video for free when you sign up for the Unit Study Treasure Vault, which has an enormous Bible section!
Roman Coins Craft

Monday, October 21st, 2013

Roman-coins-craft

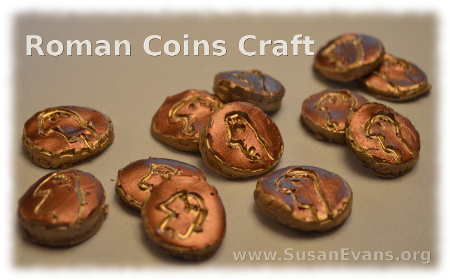
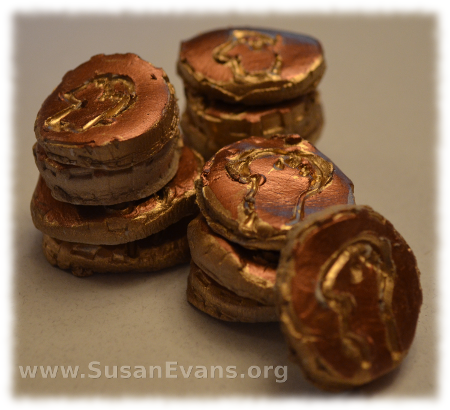
If you are studying Ancient Rome or the time when Christ walked the earth, you can make this Roman coins craft with your children.

You will need the following items:

  • white self-hardening clay
  • wax paper or plastic placemat
  • rolling pin
  • toothpick, butter knife, or sculpting tool
  • lid of a bottle
  • metal spatula
  • gold spray paint
  • newspaper
  • a copper leafing pen

Roman-coins-craft-3

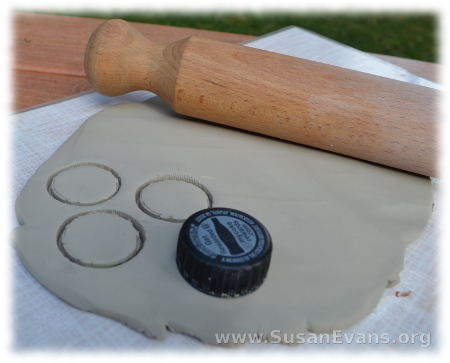
Start by rolling the white self-hardening clay out with a rolling pin. It helps if you have wax paper or a plastic placemat under it. With a bottle cap, stamp out some coins. If you want larger coins and smaller coins, you could use 2 or 3 different sizes of lids. Just look in your refrigerator, and take a lid off something.

Roman-coins-craft-4

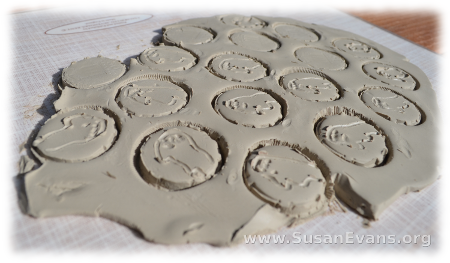
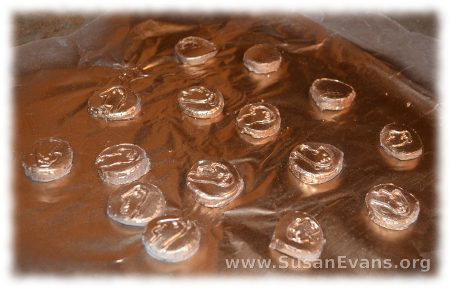
Grab a toothpick, a butter knife, or a sculpting tool and carve a picture of Caesar on your coins. Using a metal spatula, remove each coin and place on wax paper to dry for 2 days.

Roman-coins-craft-5

Spray paint the coins a gold color. Let dry for a day. With the copper leafing pen (which I bought at Fred Meyer for a couple of dollars), color the top of the coin, so that the grooves are lighter than the top of the coin. Let it dry. You are now finished with your coins, and you can play with them.

Roman-coins-craft-2

You can use this Roman coins craft to illustrate many Scriptures referring to coins:

  • The widow who put in 2 mites to the coin collection at the Temple, and Jesus said that she had given more than anyone else because she gave everything she had.
  • The woman who lost a coin and swept her entire house to find it, and was overjoyed when it was found. That’s how the angels rejoice when a person is saved.
  • Any number of times that Jesus talked about money. The love of money is the root of all evil, and the rich young ruler couldn’t be saved because he loved money more than Jesus.

If you liked this Roman coins craft, you will love Using Simple Costumes and Props to Teach the Bible. You receive this 2-hour video for free when you sign up for the Unit Study Treasure Vault, which has an enormous Bible section that you will love!

Clay Oil Lamp Craft

Sunday, October 20th, 2013

clay-oil-lamp-craft

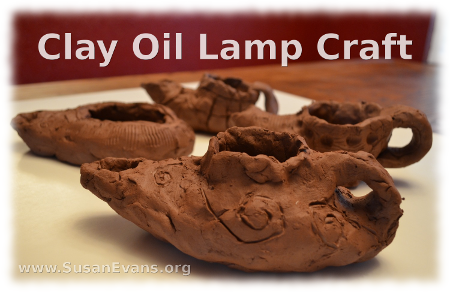
This clay oil lamp craft is fun to make with your kids when you are studying Bible times, especially any stories that include lamps or lights, like the parable of the ten bridesmaids who were mostly not prepared for their bridegrooms. We should be prepared for the Lord’s coming, confessing our sin and abiding in the Spirit. We should also not hide our light, but let it shine to the world, not being ashamed of the gospel.

clay-oil-lamp-craft-2

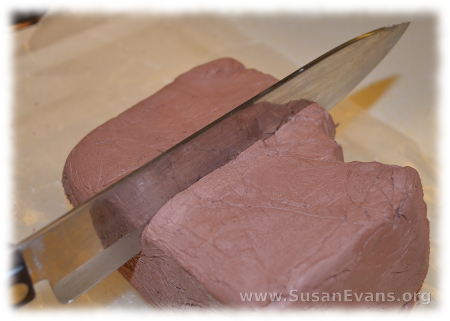
To make this craft, you will need terra cotta self-hardening clay. Cut the clay with a butcher knife to the desired size. Give each child a brick of clay, realizing that it doubles in size when you are forming an empty lantern. I like to put wax paper on the cutting board before cutting the clay, for easy clean-up.

clay-oli-lamp-craft-3

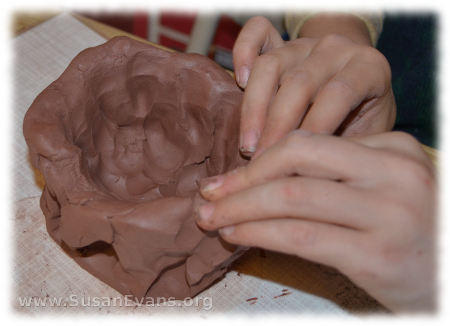
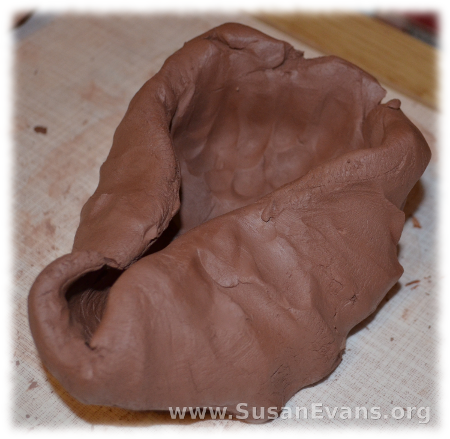
Next you will want to shape the block of clay into a bowl. Do this with your fingers. Make sure you have a plastic placemat under your work so that you don’t get clay on the table. You can also use wax paper.

clay-oli-lamp-craft-5

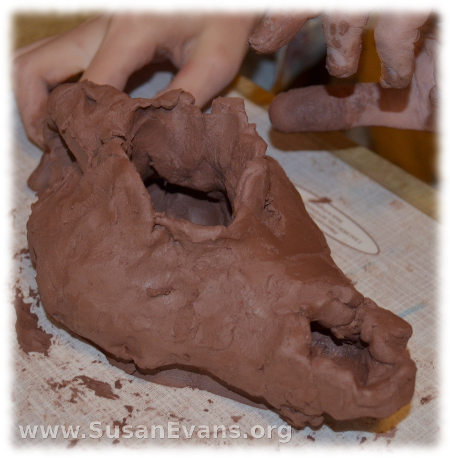
Squish the bowl into the shape of a Bible-time lantern. This means you will have a spout that is smaller, and a larger area in the back. Then join the clay together at the partition, and continue shaping it. If you want a handle, you can roll a fat snake by grabbing some extra clay and rolling it back and forth on the table with your hands. Connect it to the back of the clay oil lamp craft.

clay-oli-lamp-craft-6

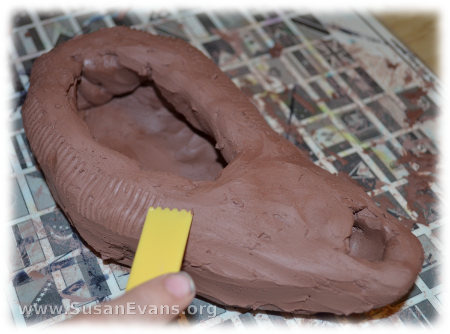
Now you will want to add embellishments. You can use a toothpick or any craft sculpting tools you have lying around. You could also use a table knife. Carve a pattern in the clay oil lamp craft. Make sure that before you add the decorations, you have smoothed down the clay to make it as non-lumpy as possible.

clay-oil-lamp-craft-7

Now your clay oil lamp craft is complete! You will need to let it dry for a few days. If you actually want to light oil with a wick, you will need to use real clay (not self-hardening), and fire it in a kiln. This is much more expensive, but I suppose you could get a group rate to fire your lanterns in a local kiln. Otherwise you would have to brainstorm how to seal the self-hardening clay in another way, or place a small glass jar inside it with oil and a wick.

Sign up below for a free printable e-book of this Bible crafts series!

If you enjoyed making this clay oil lamp craft, you will love Using Simple Costumes and Props to Teach the Bible. You receive this 2-hour video for free when you sign up for the Unit Study Treasure Vault, which has an enormous Bible section that you will love!