Archive for the ‘History’ Category

LEGO Castle

Monday, April 20th, 2015

LEGO-castle

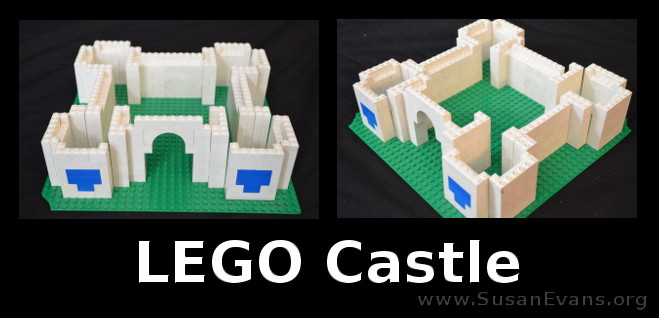
My 11-year-old son Nathaniel built a castle out of regular LEGOs. You really don’t need to get an expensive castle kit; if you have regular LEGO bricks, you can build a LEGO castle of any shape and size as you study the Middle Ages.

lego-castle-base

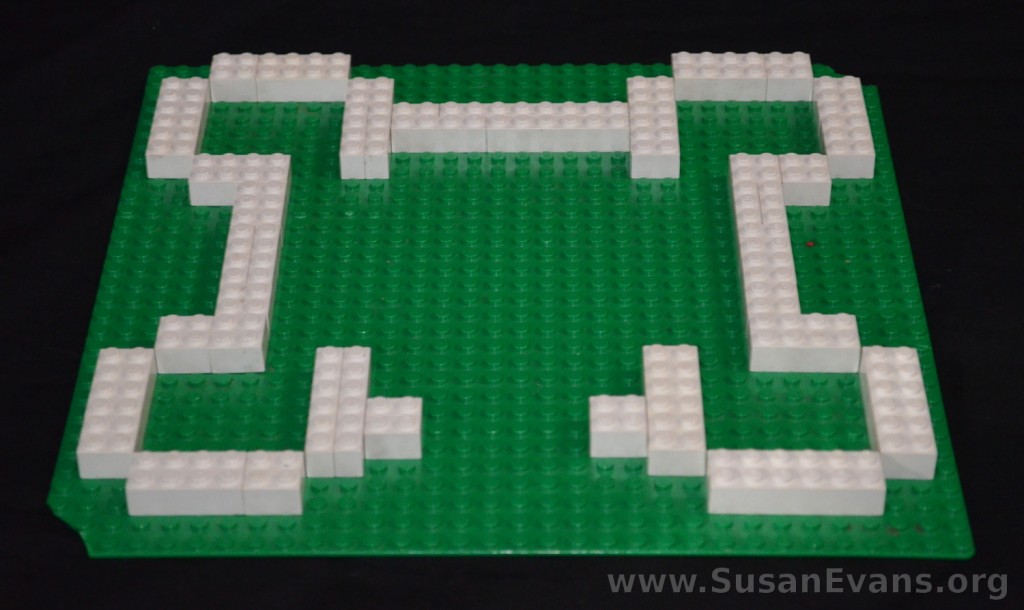
Start with a green base. Find all the white LEGO pieces and dump them in a pile so that you don’t have to keep looking for more pieces while you build. Decide what shape you want the castle to be, and outline it on the LEGO base. Make sure you leave space for the entrance. For our castle, we have four castle keeps, one at each corner.

build-a-lego-castle

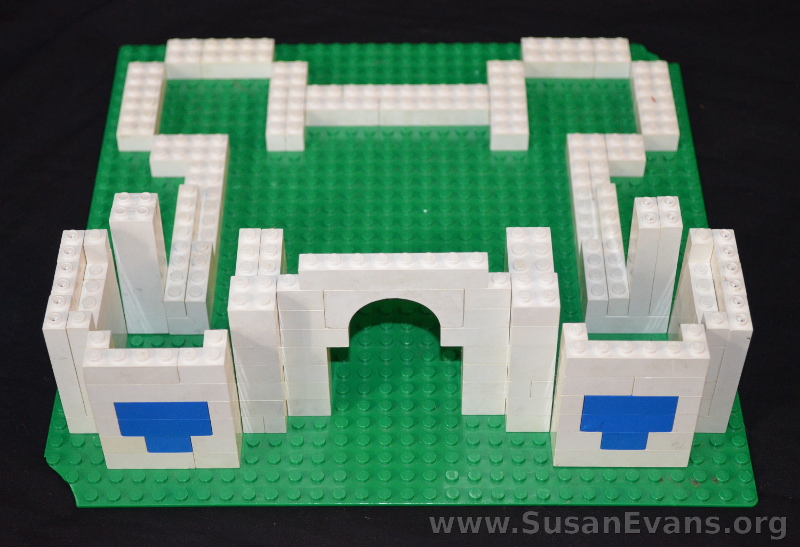
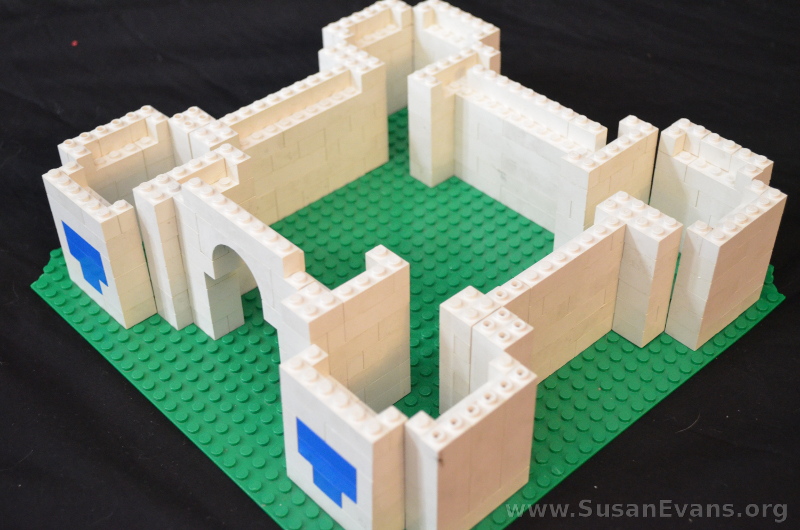
Start building up the walls, interlocking the LEGOs and staggering them so that the structure is sound. If you put a LEGO brick connecting two LEGO bricks, the structure is less likely to break apart. You can insert a design on the front with a different color, either in a shield shape or any other shape. The entrance can be made either as a rectangle or an arch. My son decided to make an arch with pillars on either side.

LEGO-castle-2

Keep building up the structure until you run out of white LEGOs. Then enjoy your LEGO castle!

For more hands-on activities for the Middle Ages, take a look at my Medieval Unit Study Pinterest board.


LEGO Ancient Egypt

Monday, March 30th, 2015

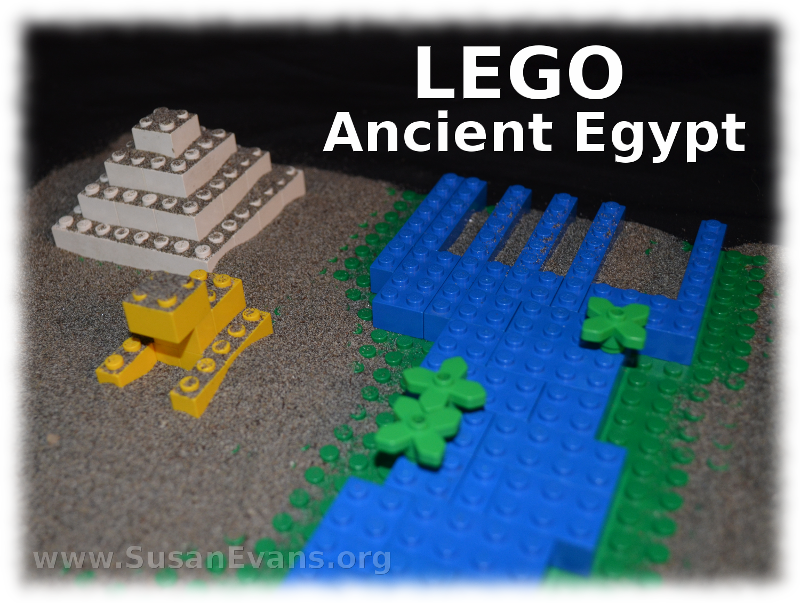
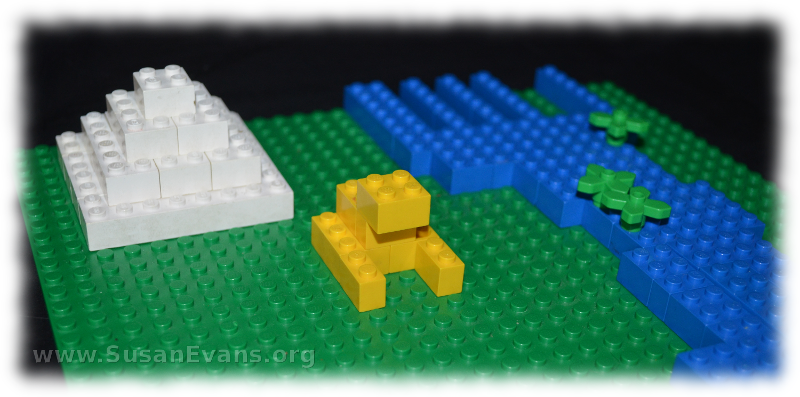
lego-ancient-egyptMy daughter constructed a LEGO Ancient Egypt, with the Nile River flowing over the hot sand overlooking a pyramid and the Sphinx. We used regular LEGO bricks, so anyone can do this.

You start with a LEGO base. Create the Nile River by collecting blue LEGOs and making the river flow from one end of the base to the other. Don’t forget to form the Nile River Delta on the north side of the base. A delta is a place where a river splits up into rivulets. You can place some palm trees along the river if you have them.

lego-egyptNext you will want to make a pyramid. We chose white LEGOs, building them up into a step-like pyramid. If you want to make three smaller pyramids, you could do that instead of making the larger one.

The Sphinx was made out of yellow LEGOs, with two thin yellow LEGOs as the legs. Two regular LEGOs form the body, with a half LEGO for the head. Simple.

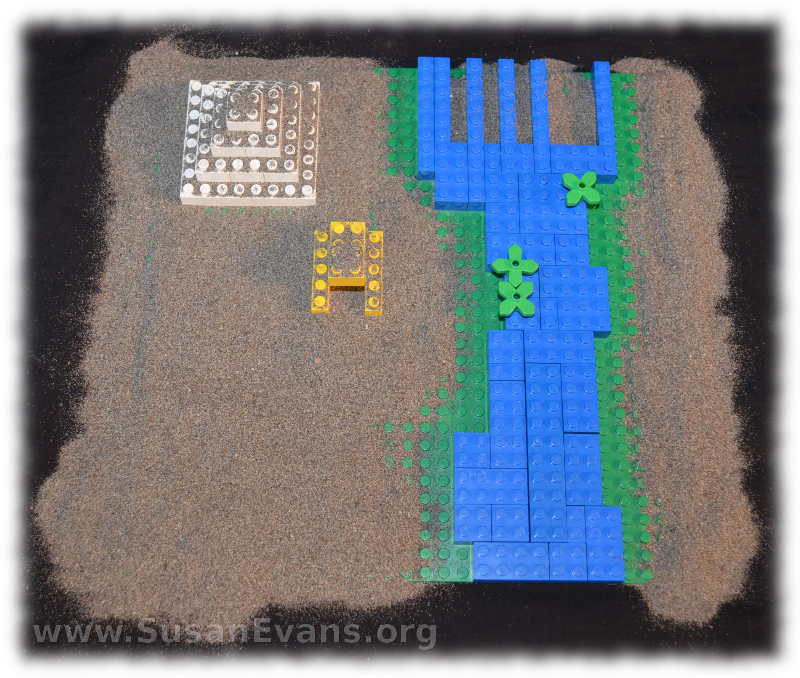
lego-ancient-egypt-2Now pour sand over the whole thing, making sure to leave a little bit of green on either side of the Nile River, because the land next to the river is green compared to the desert further from the river.

If you look at the LEGO Ancient Egypt from the top, you will notice that it looks like a map. You can have your children draw a map of the scene for practice in map-making skills.

Here are some more Ancient Egypt Unit Study ideas:

LEGO White House

Monday, February 9th, 2015

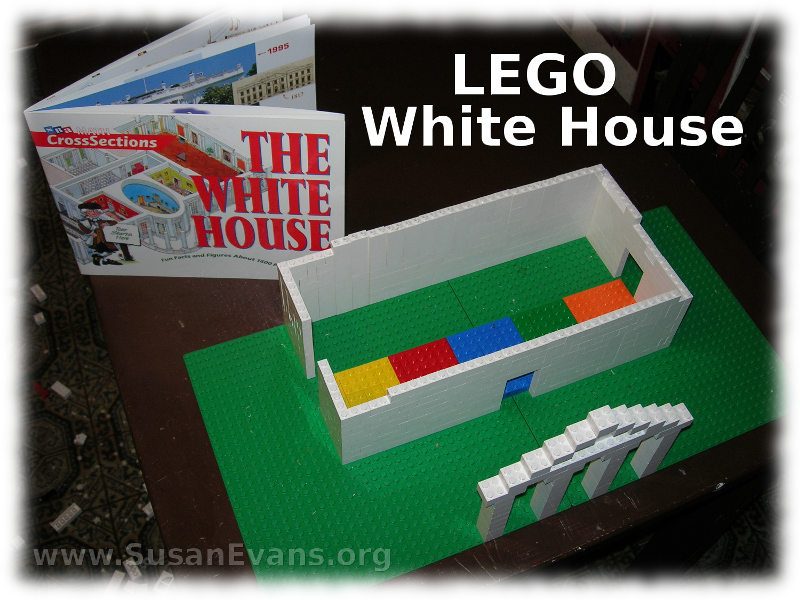
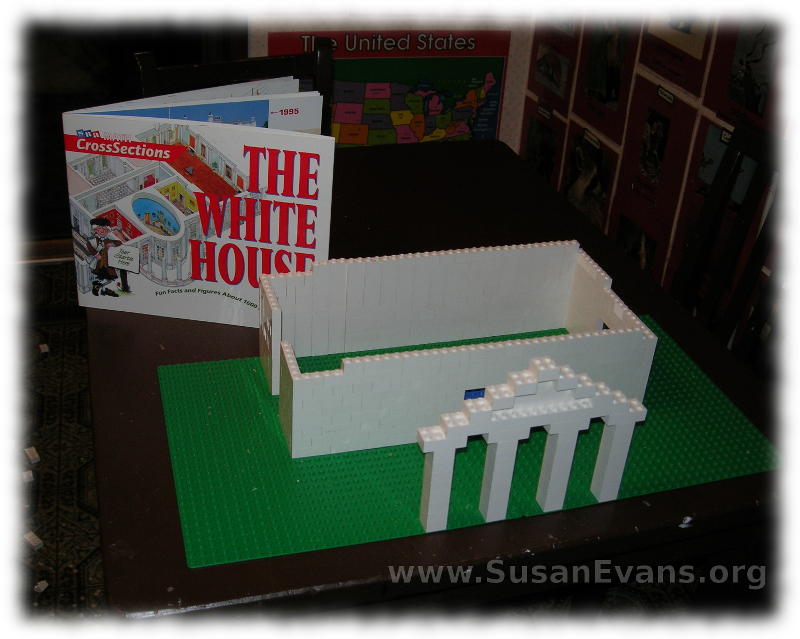
lego-white-houseMy kids made a LEGO White House when we studied the Presidents of the United States. We made it out of regular LEGO’s. First we read a book about the White House, where all the Presidents have resided since John Adams.Then one of my sons wanted to make a model of it with LEGO’s.

We looked at the outer shape of the White House. Using white LEGO bricks, we made four columns and then a triangle shape at the top for the front of the White House. This area is separated from the main residence, as you can see from the top picture.

lego-white-house-2We made a rectangular building out of white bricks, with a door on the front and the two sides. Then we studied the different rooms in the White House, and so we covered the floor of the White House with different-colored bricks for each room. The Red Room, for example, was red. In this way, we were able to make a replica of a White House out of LEGO’s.

If you enjoyed this post on how to make a LEGO White House, you might like the LEGO Bacteria and the LEGO Tower of Babel!

Timelines for Homeschool

Monday, January 13th, 2014

timelines-for-homeschool

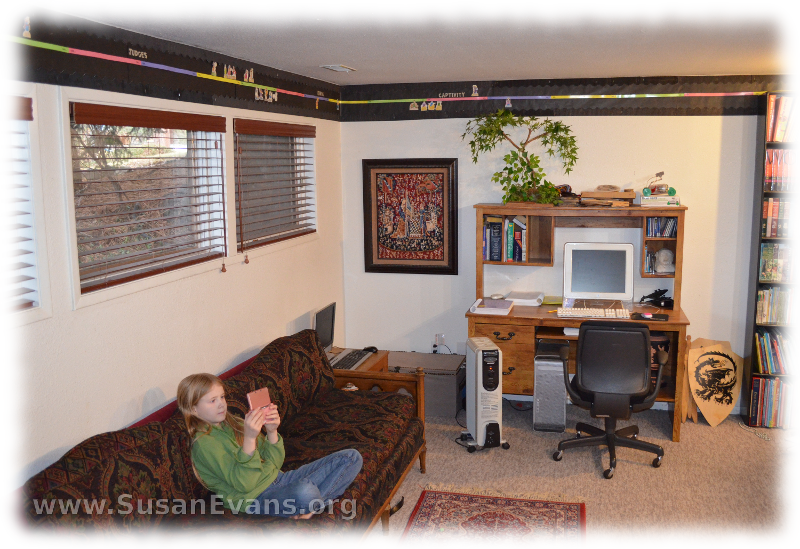
I was asked to be a panelist for an upcoming Google+ Hangout: History Timelines for Homeschool. (The show airs live Tuesday, January 14th, 2014, at 2pm Central time.) I thought I would snap a picture of my main timeline downsairs that I’ve used over the years. On the hangout I will also be showing an accordion-style timeline that I’m using for our Bible Notebooks this year. I will also show a timeline from our Ancient History notebook, which is not accordion style; the figures were glued to black card stock paper punched by a 3-ring hole punch. These two timelines are perfect alrernatives if you do not have the wall  space for a timeline. For this article, I will focus on wall timelines, which are my favorite.

What can you gain by displaying a timeline in your home, and adding figures as you study them in history?

Your children will begin to gain perspective on time. You can step back and see how all the pieces fit together. You can map out in your mind, for example, that certain events occurred before Christ, and other events occurred after Christ. You can begin to conceptualize the rise and fall of empires and nations. You will be able to talk more intelligently about history. You have something in your mind on which you can hang events.

Use black paper as a background for your timeline.

I have a definite opinion of how wall timelines should be done to make them look great, like a natural and elegant part of your home. Use black paper as a background for your timeline. Black is elegant and beautiful and causes everything else on it to pop. That’s why, when you wear a beautiful necklace, you usually will wear a black dress to showcase the jewelry. It’s the same way with timelines. The great thing about black is that you can make anything look good. Even if all you have is young children who scribble outside the lines, if you cut out their artwork and put it on black, it will look fabulous.

Border the paper with black teacher bulletin board trim. This will cause the timeline to disappear into the wall, and your attention is not drawn to it.

There are no rough edges on the top or bottom paper if it’s bordered. It also looks polished and finished as a display. I use staples to put the trim up, but you can use sticky tack. Black flat thumb tacks would work also, because they would be camouflaged into the timeline.

I like to circle a large room once, along the top of the wall.

The only drawback of having it so high up is that your kids can’t see it as closely. Instead, it causes them to step back and have perspective on time, which is the whole point of having a timeline.So for me, it works better to have it along the top of the wall, where the rest of the room can have regular home decor. The room looks like a home instead of a classroom. Besides, they’ve already seen each figure up close as you study that person or event, and all they need is a small visual reminder of how that figure fits in to the rest of history.

I hope you enjoyed my tips on how to make timelines look fabulous on your wall. More fun ideas for using timelines for homeschool will be covered in the Bright Ideas Press Google + Hangout tomorrow, January 14th, 2014, at 2pm Central time. Join us!

If you missed the show, here is the replay: