Archive for the ‘History’ Category

Mound Cutaway with Strata

Monday, May 2nd, 2016

mound-cutaway-with-strata

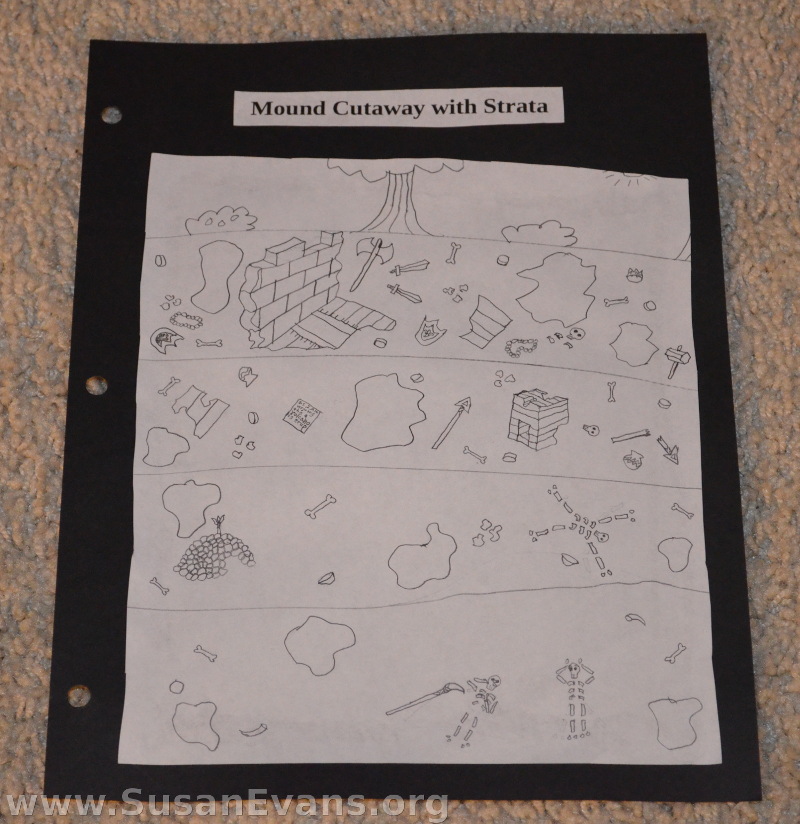
When studying ancient history, you can start by having your kids draw a mound cutaway with strata. Talk about archaeology, and how each layer represents different periods of time that you can excavate to discover the artifacts or items that were used in each culture. Usually the older civilizations are on the bottom, with the newer civilizations on top.

Of course, floods and volcanic eruptions mess up this theory because lots of layers are laid down pretty fast, and all during the same time period. Answers in Genesis has found modern items in the lower levels of dirt.

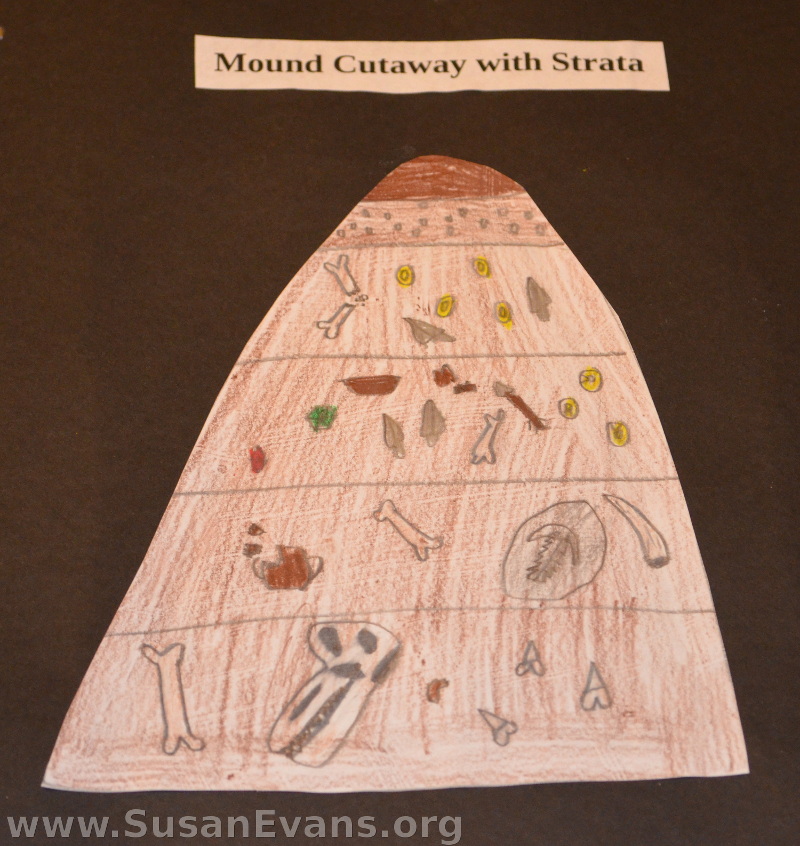
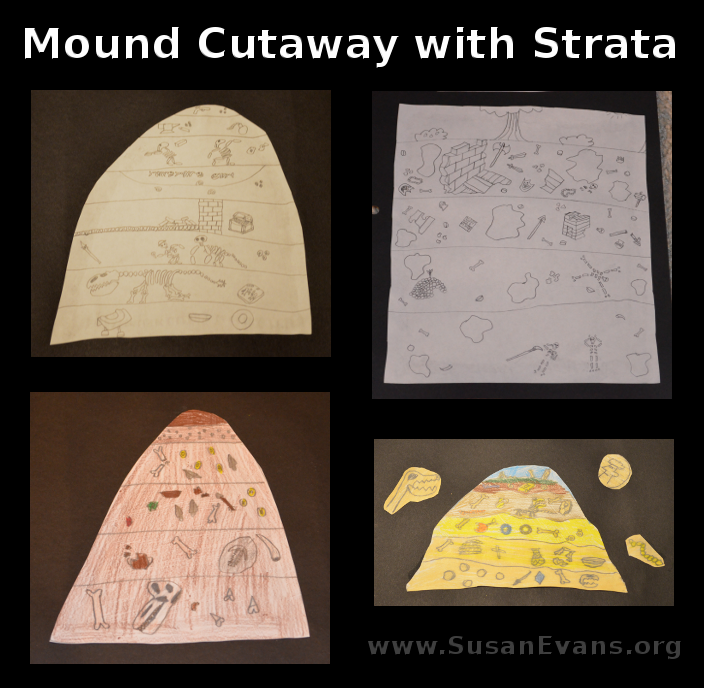
Each of my kids created a drawing of a mound cutaway with strata:

geologic column

As you can see, there are fossils of various kinds in the different layers. There are also remnants of houses, pottery, jewelry, and weapons. My son drew a tree and some bushes at the top of the picture.

mound-cutaway

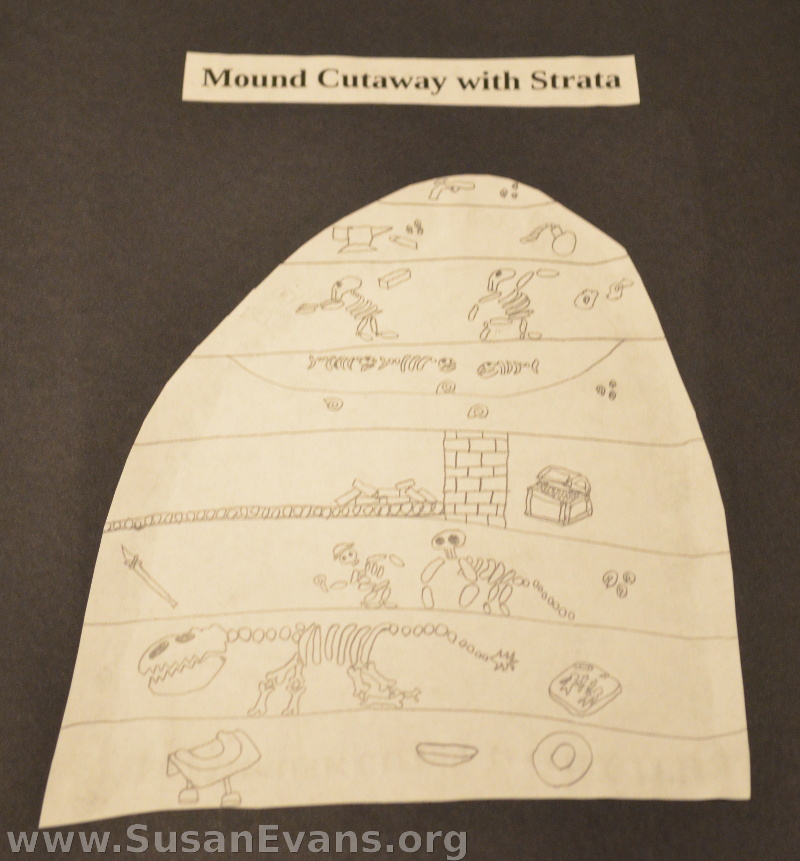
This cutaway is more of a mound. Dirt is at the top, so you wouldn’t notice that there were hidden civilizations under your feet. Seashells are found in various layers, along with fossils and bones. A dinosaur head is down in the oldest layer.

strata

These strata layers of rock are comical. The third layer from the bottom contains a man being chased by a dinosaur. Apparently a flood or volcanic eruption buried them rapidly so they are caught in the act. Once again, in a higher level of rocks, a man is throwing an object at another man, and somehow the flood waters buried both of them at the same time, freezing their actions for all eternity. An unfinished building is in one of the layers, along with buried pirate treasure.

elementary-geologic-column

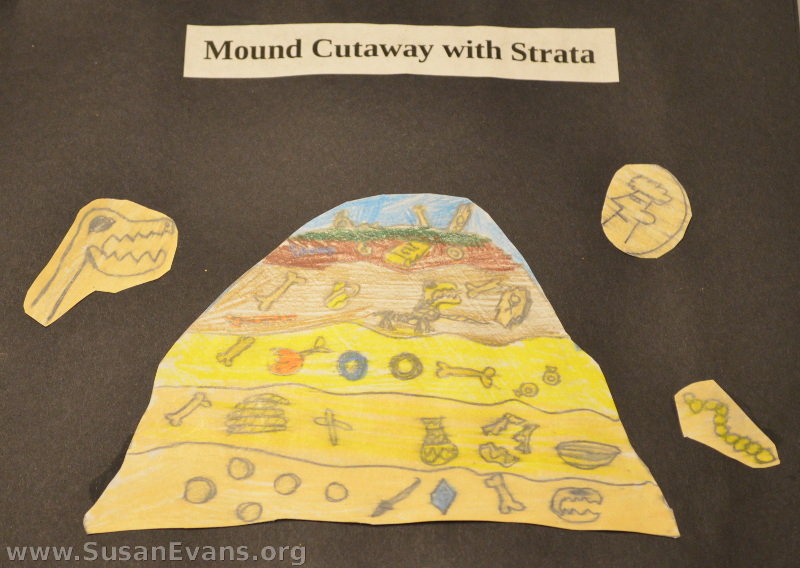
My daughter drew some fun layers of strata that included bones, coins, pottery, jewelry, and weapons. She highlighted some of the archaeological finds by drawing enlarged pictures and gluing them to the black card stock paper for her history notebook.

The kids had fun deciding what to place in each of their layers of rock while drawing their mound cutaway with strata.
Shield Cake

Monday, April 11th, 2016

shield-cake

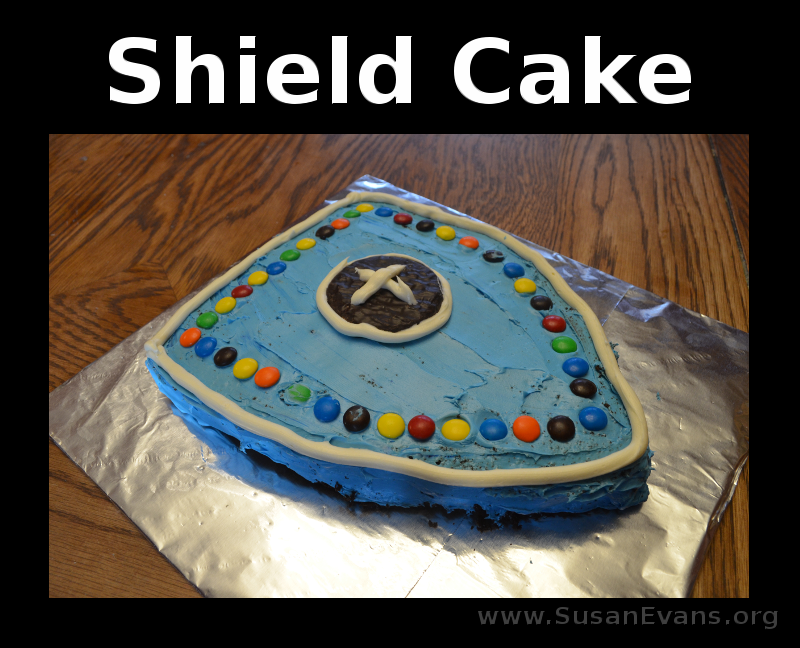
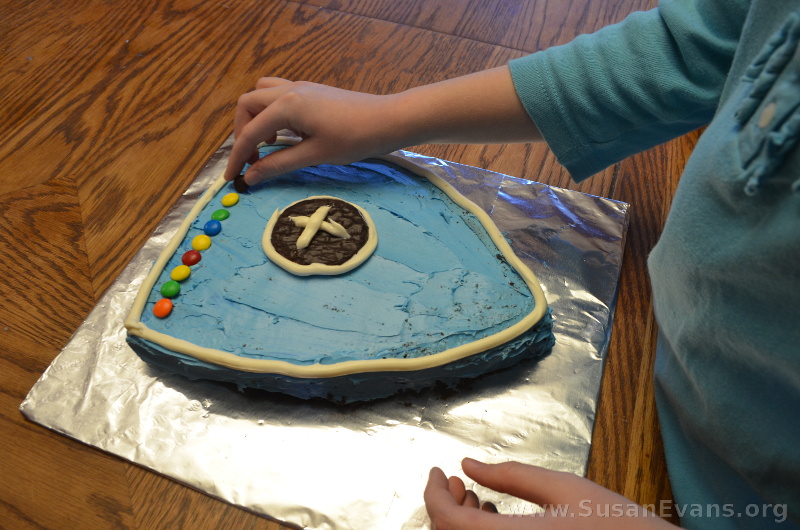
Instead of cooking a medieval feast as a culminating activity for a medieval unit study, why not bake this simple shield cake? You can have fun creating a coat of arms with candy on the top of the cake.

Begin by baking a rectangular cake, preferably chocolate. Cut one end of the cake into a triangular point. Then tape some foil to a piece of cardboard that is larger than the cake. Upend the cake onto the prepared foil.

Grab two tubs of white frosting, and tint one of them to be the background color for the shield. You can choose any color you want. Frost the entire cake, including the sides.

decorating-shield-cake

Now comes the fun part. Divide the second tub of frosting into different bowls, tinting them whatever colors you want to create your coat of arms, dragon, cross, or any other shape. Place the tinted frosting in a plastic Ziplock bag and snip off the corner. Draw whatever you want with the tinted frosting.

We used white frosting to frame the outline of the shield. We also outlined a Peppermint Patty and drew a cross in the center of it. You can now use whatever candy you want to embellish your shield cake. We used colorful M&M’s to go around the entire cake.

Now enjoy eating your medieval shield cake!

Hammurabi’s Code of Laws Craft

Monday, January 25th, 2016

code-of-laws-of-hammurabi

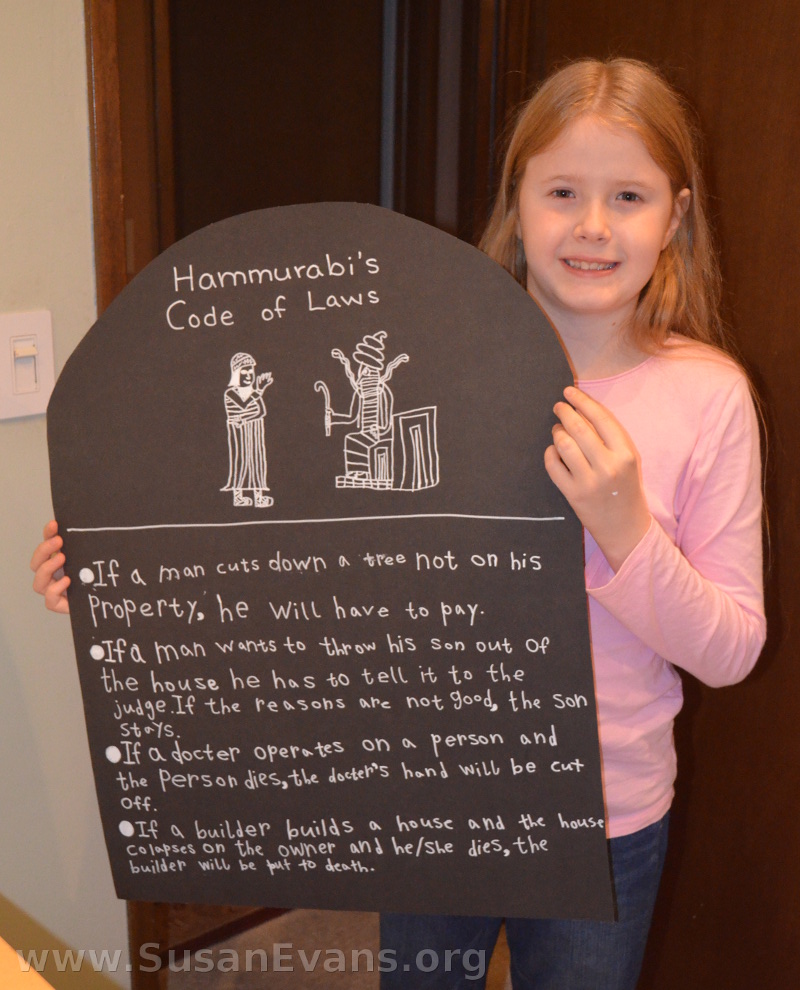
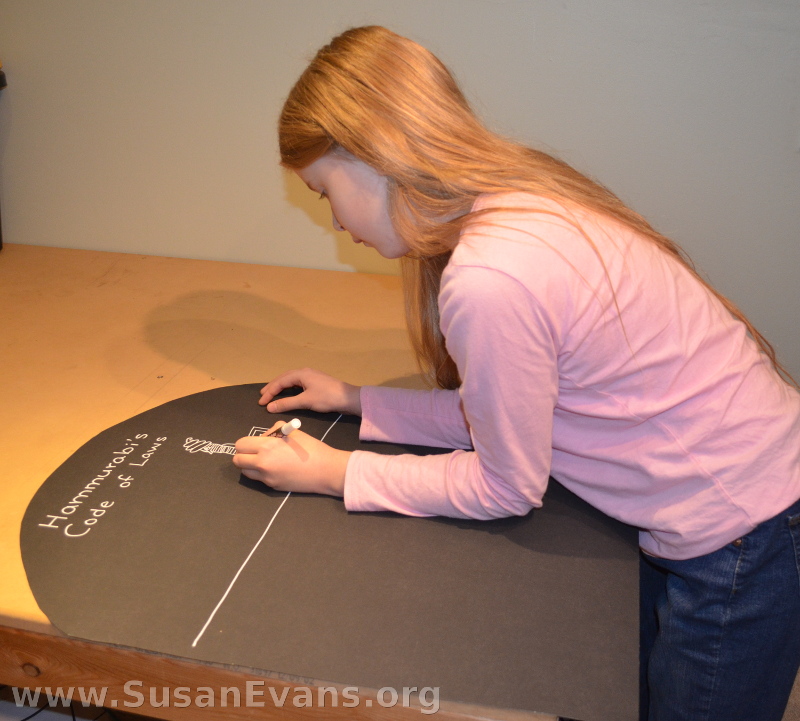
My daughter made a “Hammurabi’s Code of Laws” craft by creating a slab of stone with a black poster board. She wrote a summary in her own words of some of the laws of Hammurabi, many of which were quite weird. She used a chalk pen, and she wrote in her best handwriting.

Hammurabi

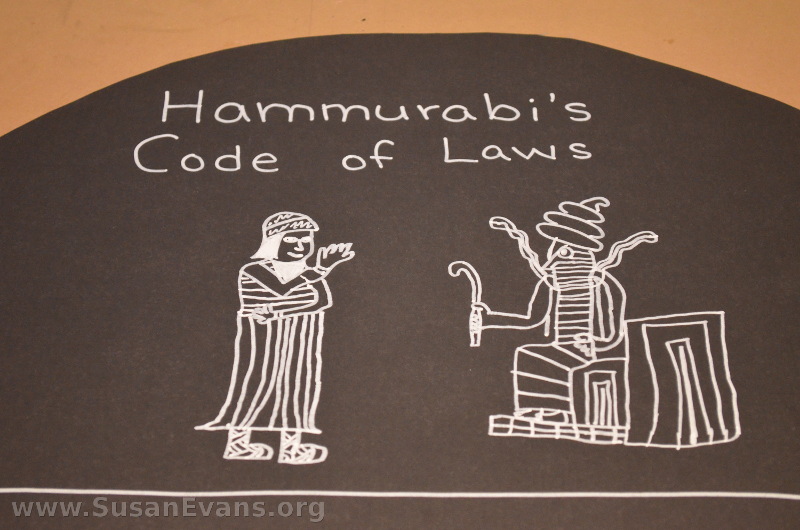
You will want to start by cutting a black poster board into a slab of rock by rounding the top portion with a pair of scissors. Write the title across the top, then try to emulate the etchings at the top of the original Code of Hammurabi. My 10-year-old daughter did a great job drawing these pictures! There is a figure sitting on a throne, and the man at the foot of the throne is Hammurabi, who is getting the law from one of the gods the people worshiped in those days. Hammurabi wanted his laws to be authoritative, so he said that the gods had given him these laws.

hammurabi's-code-of-laws

Here are some of the laws:

  • If a man cuts down a tree not on his property, he will have to pay.
  • If a man wants to throw his son out of the house, he has to tell it to the judge. If the reasons are not good, the son stays.
  • If a doctor operates on a person and the person dies, the doctor’s hand will be cut off.
  • If a builder builds a house and the house collapses on the owner and he or she dies, the builder will be put to death.

Here is an alternate activity on black cork board instead of poster board, where the child creates her own code of laws for her home. (Notice also that she drew a little girl instead of Hammurabi on the stone slab):

If you would like your kids to write summaries on colorful pages, here are some free Hammurabi notebooking and coloring pages:

For more hands-on activities for history, join the Unit Study Treasure Vault!

LEGO Covered Wagon

Monday, October 5th, 2015

LEGO-covered-wagon

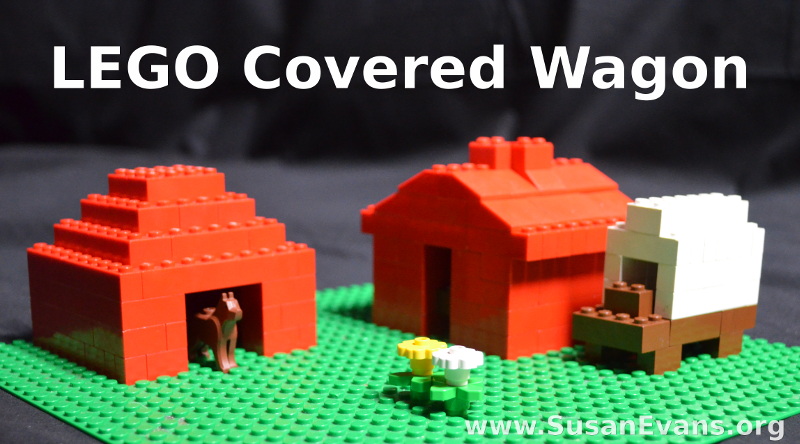
My son made a LEGO covered wagon out of regular LEGO bricks. This is a fun hands-on activity you can do with your kids when you are studying the Wild West. You can also combine it with a literature study of Little House on the Prairie.

My son made some log cabins out of red LEGO bricks attached to a green base. He stuck a horse into the barn, and he placed a chimney on the house. Next to the house is where he placed the covered wagon.

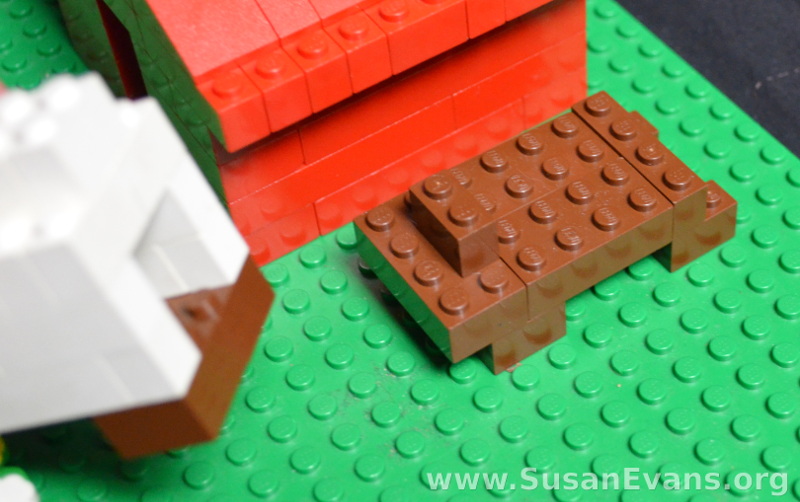
lego-covered-wagon-baseHe started building the covered wagon by grabbing some brown LEGO bricks and placing four “wheels” on the bottom. Those wheels were really LEGO bricks with 2 bumps. Then he built the main platform on top of the wheels. This was in the shape of a rectangle. He placed a front seat on the covered wagon. It was another LEGO with 2 bumps.

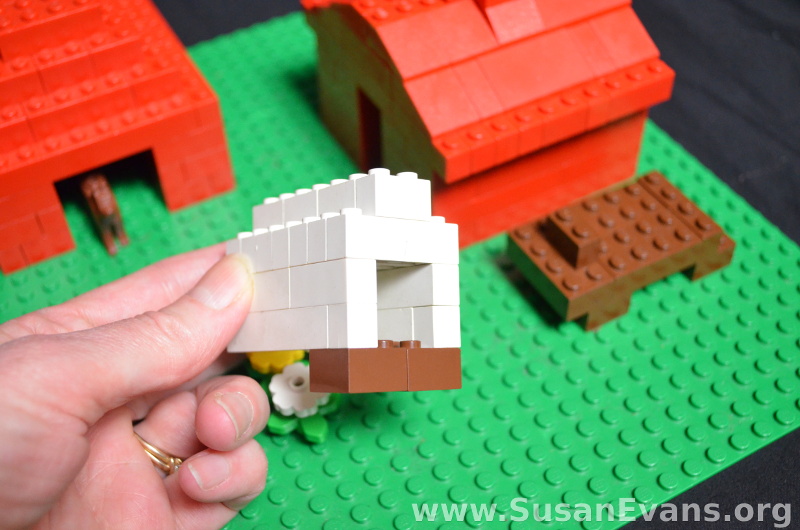
lego-covered-wagon-topThe top part of the LEGO covered wagon was built out of white LEGOs in the shape of an upside-down “U,” with a row of 2-prong LEGOs along the top. Brown LEGOs attach the white canvas top to the bottom of the covered wagon.

Now your LEGO covered wagon is complete, and you can begin having Wild West adventures with your fun Wild West LEGO scene!