Posts Tagged ‘paper craft’

101 Paper Crafts

Monday, March 7th, 2016

101-Paper-Crafts

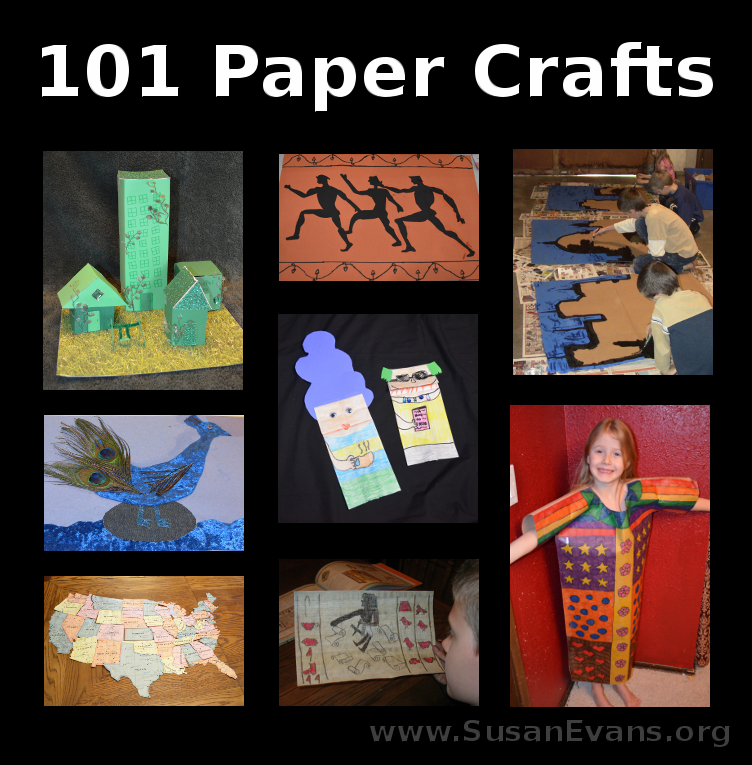
My daughter is constantly making things out of paper, so I thought I would showcase some of her creativity. We have also done murals and been involved in activities at Vacation Bible School that can give you more ideas for crafts to make with paper.

We have done crafts for different time periods, countries, creative writing, art, science topics, and even Bible stories. I’ve divided our paper crafts into these categories:

History Paper Crafts

Science Paper Crafts

Geography Paper Crafts

Bible Paper Crafts

Creative Writing Paper Crafts

Art Paper Crafts

Christmas Paper Crafts

Hammurabi’s Code of Laws Craft

Monday, January 25th, 2016

code-of-laws-of-hammurabi

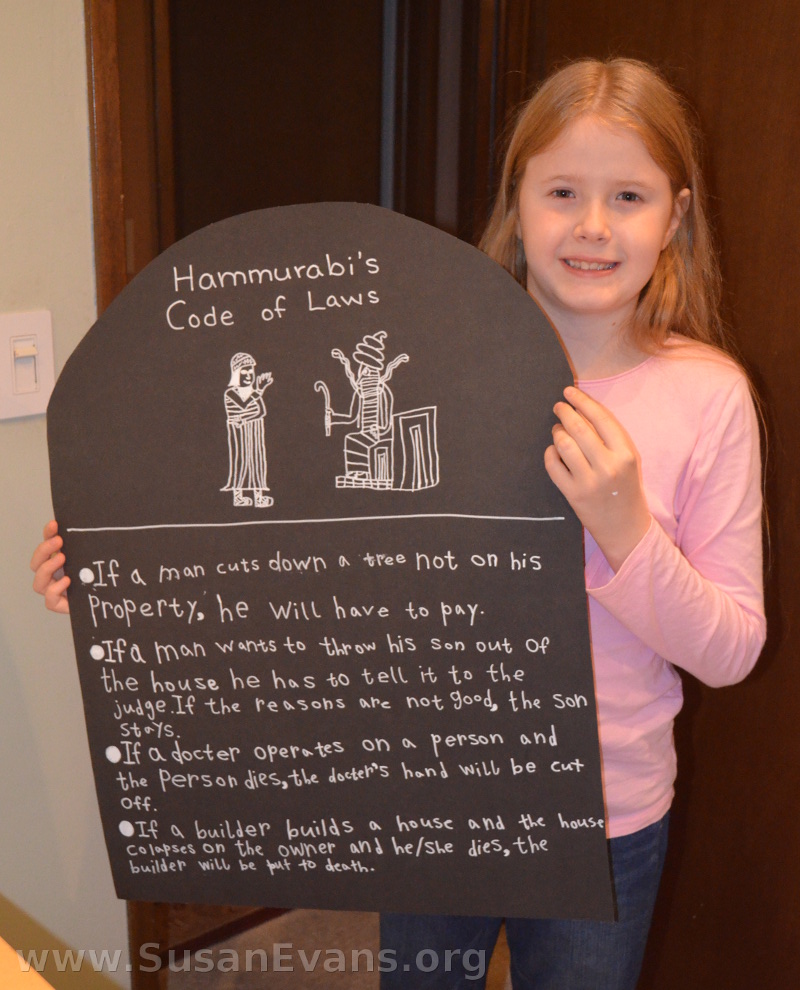
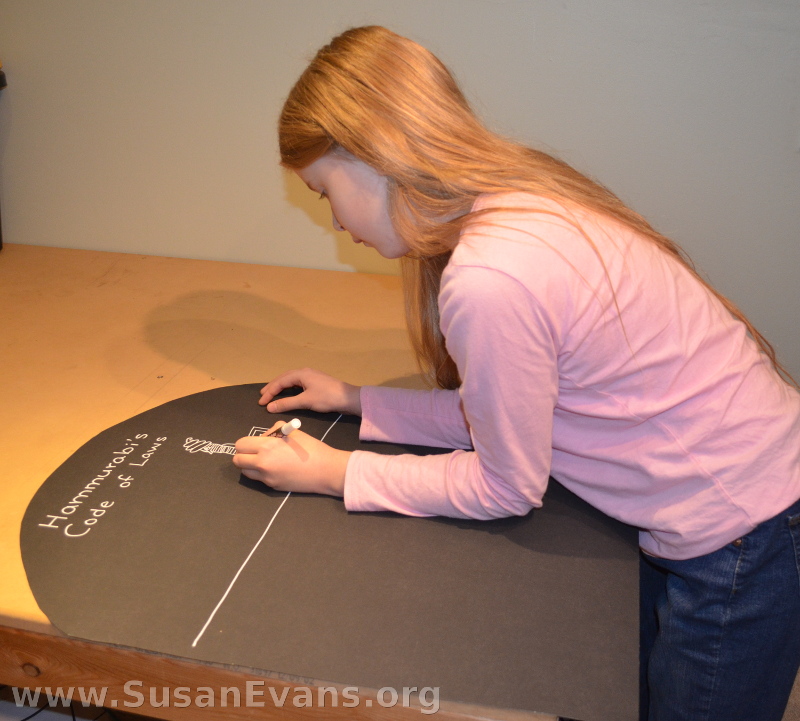
My daughter made a “Hammurabi’s Code of Laws” craft by creating a slab of stone with a black poster board. She wrote a summary in her own words of some of the laws of Hammurabi, many of which were quite weird. She used a chalk pen, and she wrote in her best handwriting.

Hammurabi

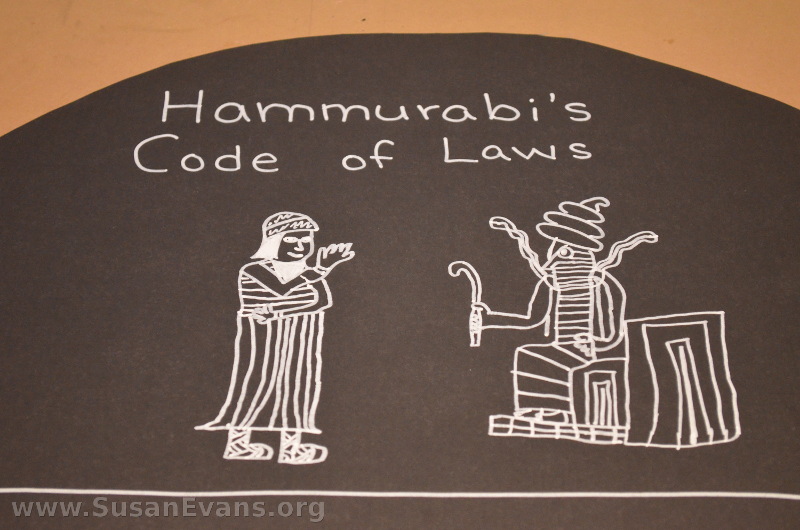
You will want to start by cutting a black poster board into a slab of rock by rounding the top portion with a pair of scissors. Write the title across the top, then try to emulate the etchings at the top of the original Code of Hammurabi. My 10-year-old daughter did a great job drawing these pictures! There is a figure sitting on a throne, and the man at the foot of the throne is Hammurabi, who is getting the law from one of the gods the people worshiped in those days. Hammurabi wanted his laws to be authoritative, so he said that the gods had given him these laws.

hammurabi's-code-of-laws

Here are some of the laws:

  • If a man cuts down a tree not on his property, he will have to pay.
  • If a man wants to throw his son out of the house, he has to tell it to the judge. If the reasons are not good, the son stays.
  • If a doctor operates on a person and the person dies, the doctor’s hand will be cut off.
  • If a builder builds a house and the house collapses on the owner and he or she dies, the builder will be put to death.

Here is an alternate activity on black cork board instead of poster board, where the child creates her own code of laws for her home. (Notice also that she drew a little girl instead of Hammurabi on the stone slab):

If you would like your kids to write summaries on colorful pages, here are some free Hammurabi notebooking and coloring pages:

For more hands-on activities for history, join the Unit Study Treasure Vault!

Make a Confederate Flag

Thursday, July 23rd, 2015

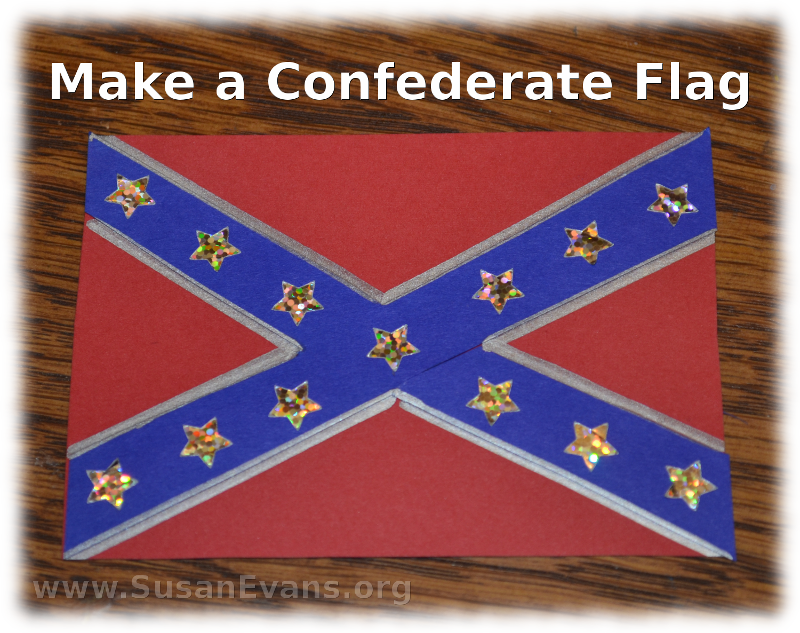
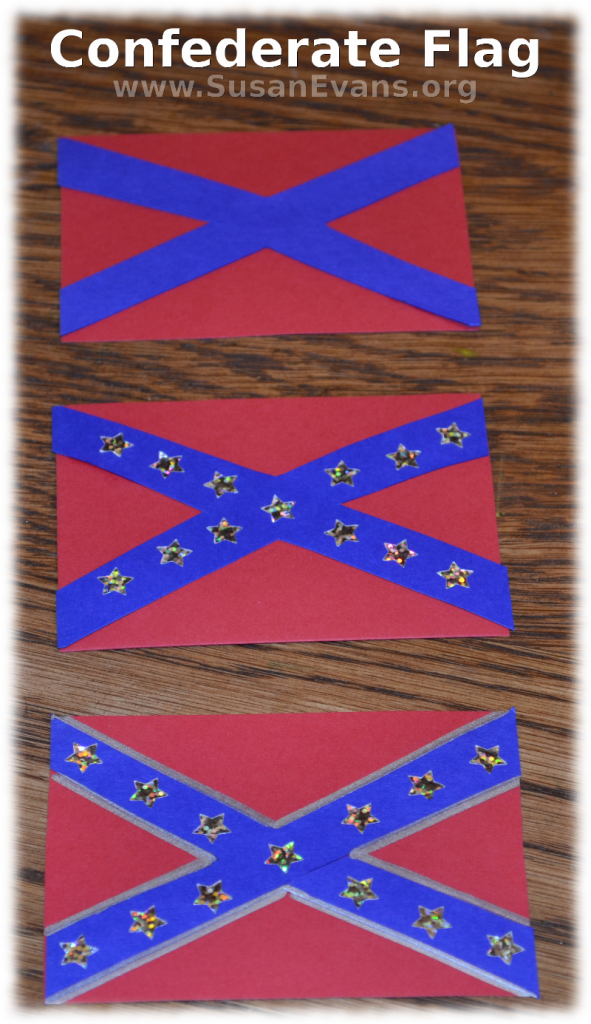
make-a-confederate-flagWhen you are studying the Civil War, why not make a Confederate flag? The Union flag was similar to today’s flag but with fewer stars. The Confederate flag, however, was different and interesting while using the same colors of red, white, and blue.

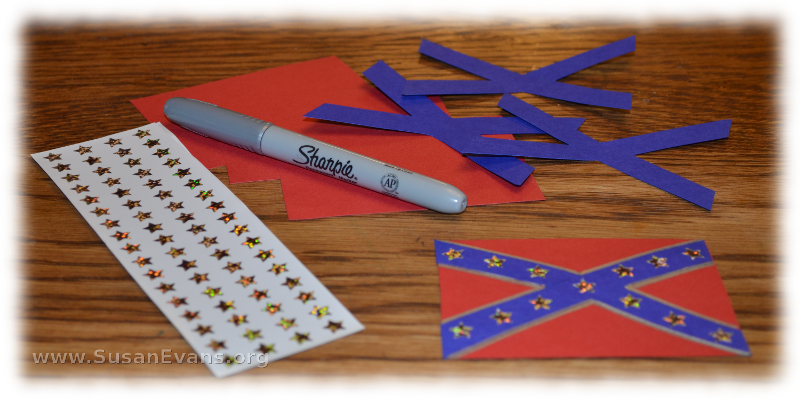
You will need red and navy blue card stock paper, scissors, white school glue, a ruler, silver star stickers, and a silver marker.

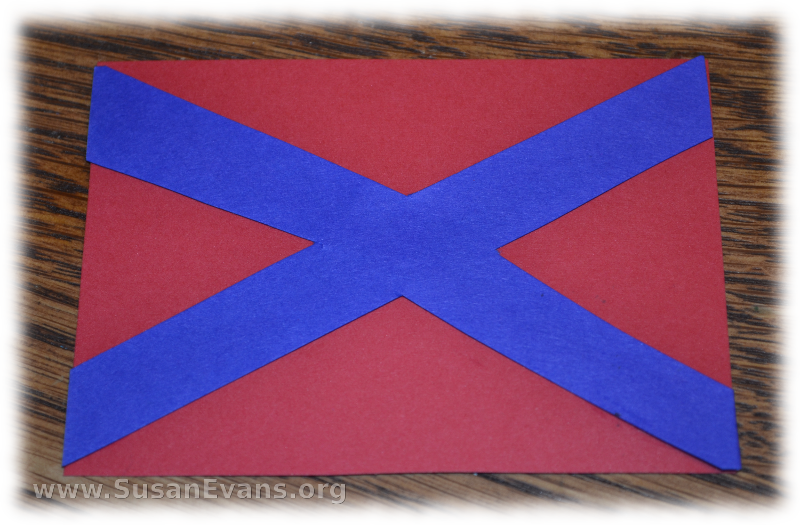
confederate-flag-craftCut out a rectangle of red card stock paper. This will be the background of your flag. Using the red rectangle as a sample, cut a navy blue piece of card stock paper to the same size as the flag. Now cut V’s out of the two sides, and larger V’s out of the top and bottom. It should look like an X. Glue it down.

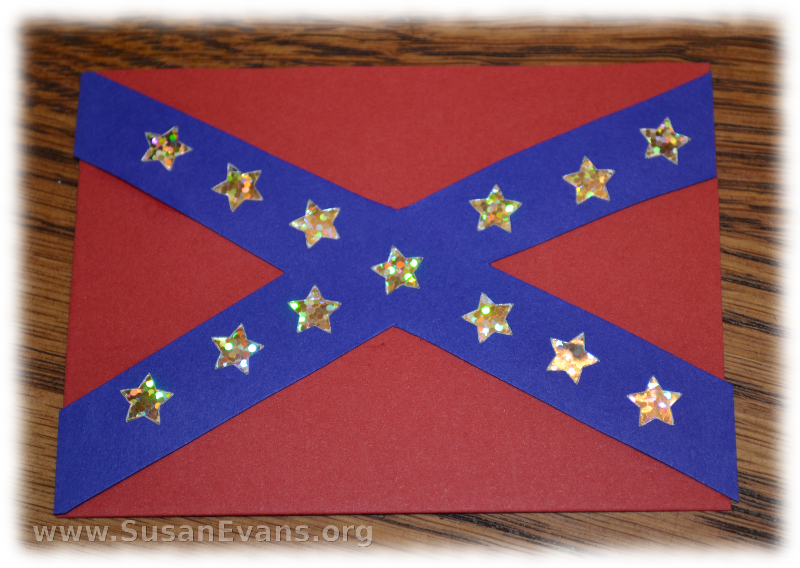
confederate-flag-craft-2Stick 13 star stickers on the blue paper. We put three star stickers on each blue leg of the cross, and one star in the middle.

confederate-flag-craft-3Finally, grab a ruler and outline the design with a silver marker, going over the top, the bottom, and the two sides. Now your Confederate flag is complete!

confederate-flagIf you enjoyed how to make a Confederate flag, you will love all the exclusive Civil War demonstration videos inside the Unit Study Treasure Vault!

3-D Jerusalem Model

Monday, February 23rd, 2015

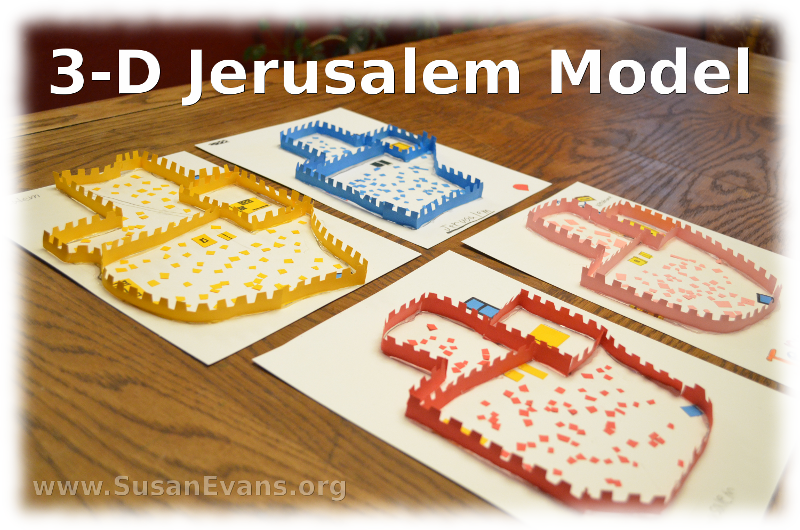
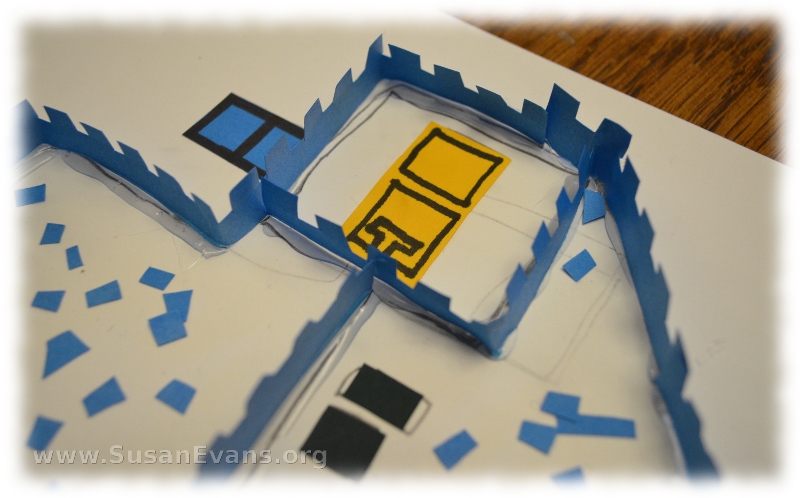
Jerusalem-modelWhen my children made a 3-D Jerusalem model out of paper, they learned a lot about the layout of Jerusalem while constructing the city. I decided to use card stock paper instead of construction paper because it’s stiffer. I also decided to use hot glue instead of white school glue because the walls instantly stood up. You can also use white school glue like I did with my Bible class at the Christian school where I taught years ago. It will just take longer for the glue to dry, and meanwhile, the walls might fall down if you don’t hold them up for a few minutes. It’s definitely easier with hot glue.

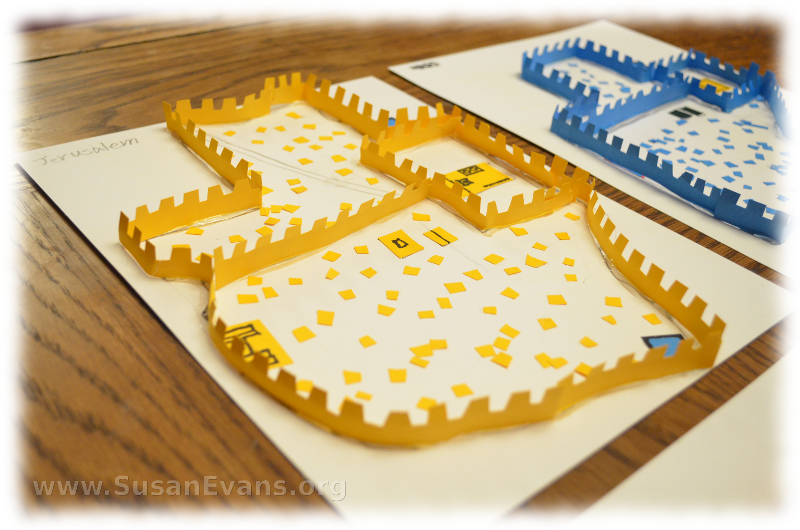
3-D-Jerusalem-modelStart with a piece of white card stock paper. Look up a map of Jerusalem, either from a book on your shelf, the back of your Bible, or the internet. Grab a pencil and sketch the outer outline of the city. ThenĀ  fill in the major parts of the city, especially the wall that divides the city and the wall around the Temple.

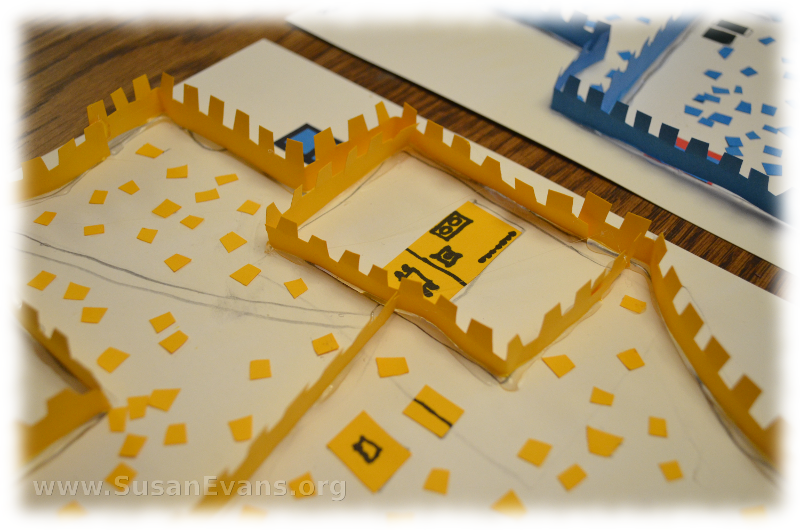
Jerusalem-model-2You can cut out pieces of card stock paper to represent the Temple, Herod’s palace, and two pools of water. Then cut strips of card stock paper, making turrets for the walls.

Plug in your hot glue gun, and make a line of hot glue along the pencil line where the wall should be. Grab one of your walls and set it inside the hot glue. It instantly stands up. (I filmed this process, and you can watch it under the Lamentations Unit Study inside the Unit Study Treasure Vault.)

jerusalemThe leftover pieces from the wall were used for the buildings and houses inside the city of Jerusalem. Now your 3-D Jerusalem model is complete. You can use it to tell Bible stories from the time of David all the way through the ministry of Jesus. We constructed this city while studying the book of Lamentations, and we set fire to the city by using red, orange, and yellow tissue paper. We then lamented the fall of Jerusalem before going into exile to Babylon.

If you enjoyed this activity, you will love the Unit Study Treasure Vault. Why not join the Vault today and bring life to your Bible lessons?