Archive for the ‘Homeschooling’ Category

David and Goliath Unit Study

Friday, August 8th, 2014

david-and-goliath-unit-study

We did a fun David and Goliath Unit Study for our Bible class. It included a retelling of the story by candlelight, a dramatization, and fun crafts and hands-on projects to bring to life this famous Bible story.

David and Goliath Unit Study

1. Read or re-tell the story of David and Goliath.

First you will want to read or retell the story from I Samuel 17:31-58. It’s easiest just to read it, but one year I lit a candle and told the story to a group of boys in Cub Scouts. I talked in a hushed voice as I described the fear the Israelite army had when they looked at Goliath. I described how large he was, and that he looked impossible to beat. As a complete opposite character, David was young, inexperienced, and without armor. Who would win the battle? The boys held their breath in anticipation, even though they knew the story, because the firelight was flickering off the walls, and they were scared.

To refresh your memory, you can watch this 4-minute video:

2. Dramatize the story.

Even if you have no costumes or props, you can have your kids re-enact the story of David and Goliath. Have one tall kid stand on a chair. If you have some plastic armor, you can put that on him. Then have David wear a simple tunic, with 5 smooth stones in his pouch. The sling can be a thick strip of soft leather.

3. Make a slingshot.

If you want to make a modern-day slingshot, just find some forked sticks outside and use rubber bands to fling marshmallows across the room. But the slingshot back in Bible times looked more like a strip of leather tied together in a loop, and you would put the rock (or marshmallow) into the strap and sling it around. You can find a tutorial on how to make a cool slingshot here.

david-and-goliath

4. Measure out how tall Goliath was.

Measure out 9 feet on your wall, and make a large butcher-paper giant. Then have your kids stand beside it to see how large this man really was. You can simplify by stapling colored paper to the wall without drawing a giant in armor.

5. Listen to the song “Only a Boy Named David.”

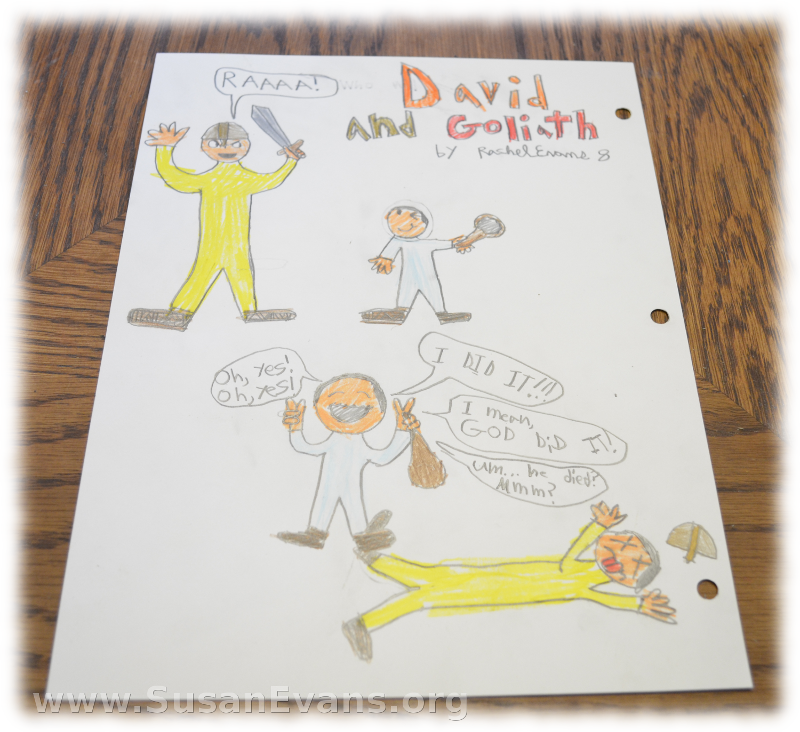
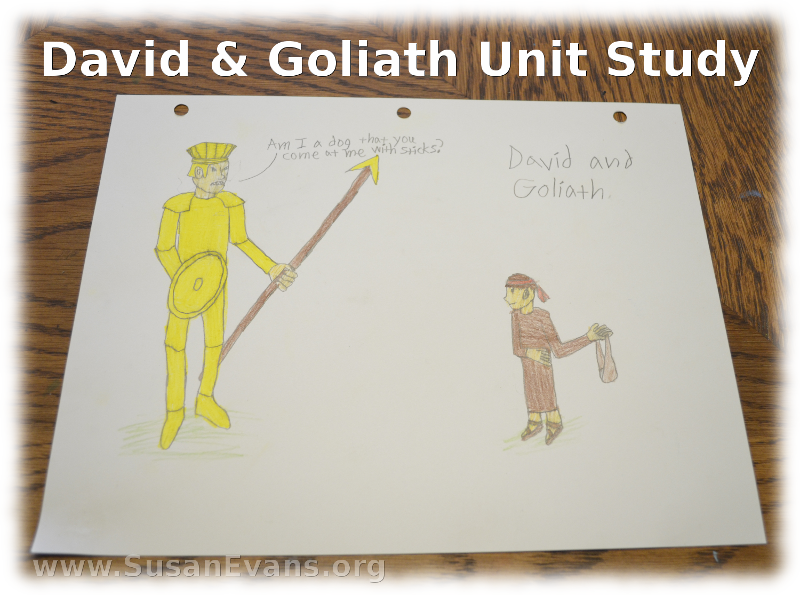
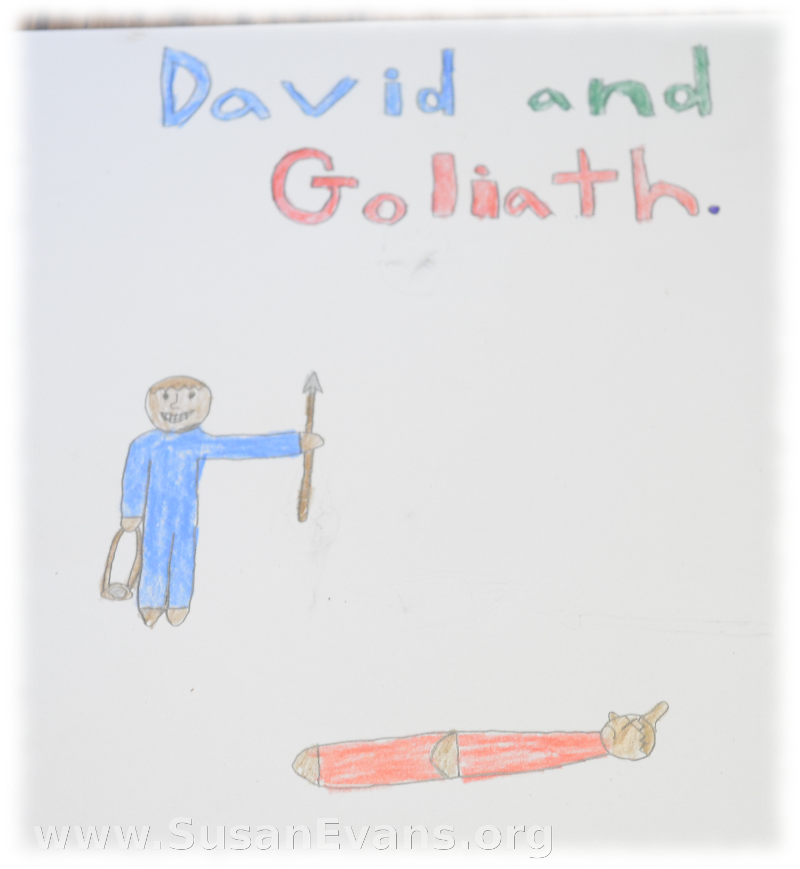
6. Draw pictures to illustrate the story.

The kids can draw a picture of either before the giant fell, during his fall, or after he was down. They could even make a cartoon strip of each stage. My kids once made a flip book with the story of David and Goliath, where the stone came little by little out of the slingshot and toward Goliath’s head until he fell. There were about 12 pencil sketches stapled together, and you flipped the pages to see the action.

david-and-goliath-drawing

7. Talk about how you can overcome any obstacle if you have faith in the Lord.

God is greater than our enemies, and He controls all the atoms in the universe. When we trust in the Lord, He does mighty things in our lives.

Sign up below for a free Bible crafts e-book!

If you enjoyed this David and Goliath Unit Study, you will love all the other Bible unit studies inside the Unit Study Treasure Vault. Bring Scripture to life for your kids with every book of the Bible!
#1 Chemistry Tools

Monday, August 4th, 2014

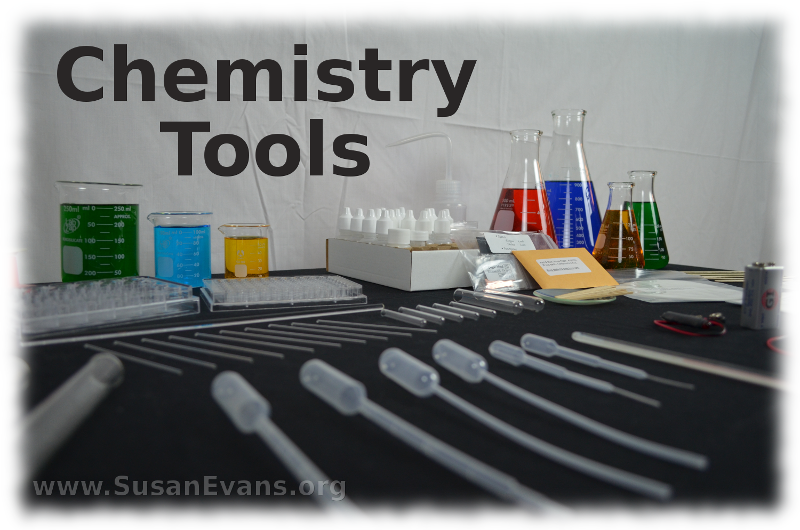
chemistry-toolsThis post contains affiliate links. I was compensated for my work in writing this post.

Today we are starting a new series of blog posts about Elementary Chemistry using Christian Kids Explore Chemistry by Bright Ideas Press. Each of the chapters has a fun hands-on activity as well as a simple explanation of chemistry concepts. Don’t panic if you flunked out of chemistry in high school. This book will help you to understand chemistry concepts if you’ve never understood them before.

In the first chapter we examined the ingredients of common household items to see that chemicals are everywhere! We eat chemicals all the time. Sucrose, for example, is sugar. You will find sucrose in many cereals and desserts.

We were astonished to discover that my hair spray listed alcohol before water in its ingredients list! This means that the hair spray contains more alcohol than water, since the ingredients are listed in order, with the first ingredient being the most abundant.

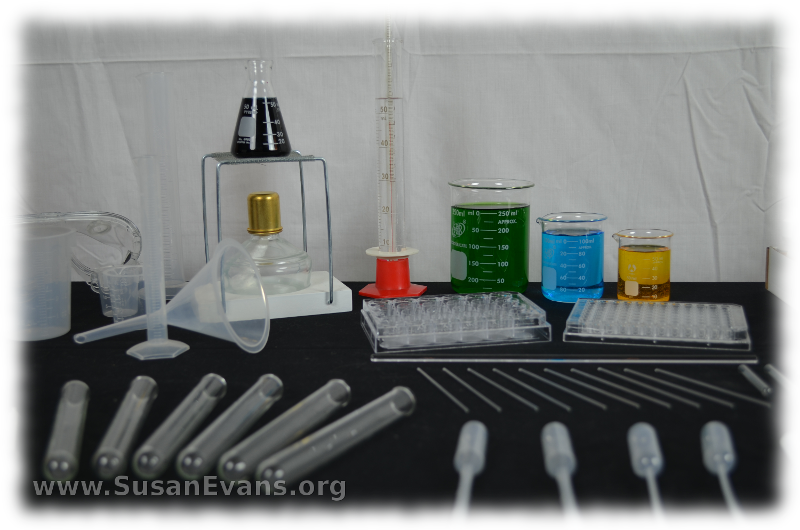
introduction-to-chemistry-toolsBecause I am teaching high school chemistry to my older two sons, I ordered all this cool chemistry equipment. I describe each of the chemistry tools in the video at the bottom of this blog post, explaining what each tool is used for. You do not need any of these tools for the elementary chemistry, as long as you have a glass measuring cup with measurements on the side. Most people already have this in their kitchens.

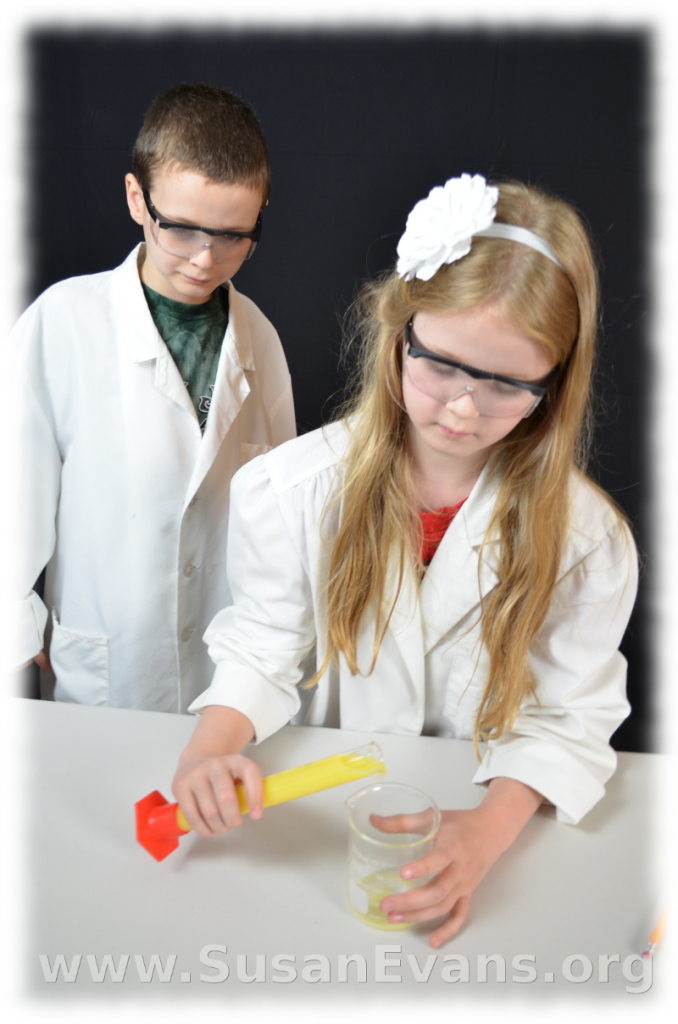
Let’s use a couple of these chemistry tools to learn how to measure liquids. We are using a graduated cylinder and a beaker for this simple activity from the book. All you do is pour the liquid back and forth three times.

chemistry-tools-elementaryLook at the markings on the side of the beaker to measure how much liquid is in the beaker. Now look at the markings on the side of the graduated cylinder. If you are doing this experiment at home, use smaller amounts of liquid so your kids don’t have to interpolate (or make an educated guess) about how much liquid is in the graduated cylinder. The orange juice went above the highest measurement, but this might happen in real life as well. My kids guessed that it was the same amount of liquid.

chemistry-tools-2If you pour a liquid back and forth too many times, you might get smaller readings for your liquid. Why? Because some of the liquid has stayed in the container, along the sides and bottom of the container. We noticed a slight change, but it wasn’t a big enough change to matter much.

Take a look at our chemistry tools and our simple measuring experiment:

How to Put Together a Unit Study

Friday, July 25th, 2014

how-to-put-together-a-unit-studyToday I will show you how to put together a unit study. It’s not as hard as you might think. This is the final post in the 5-day series called “Unit Studies 101.”

Unit Studies 101

Day 1: What is a Unit Study?
Day 2: Unit Studies Accommodate All Learning Styles
Day 3: Unit Studies vs. Textbooks
Day 4: Acceleration Through Unit Studies
Day 5: How to Put Together a Unit Study (this post)

How to Put Together a Unit Study

Step 1: Choose your topic

If you are studying history, you should go in order from the beginning of time to the modern age. You can cover the sciences in any order, but there are some science topics (like simple machines) that are harder than others (like birds). Do the sciences from easiest to hardest. Most science topics are easy, though, when taught from living books and hands-on projects. So start with a science topic your kids are interested in, and progress to every other topic systematically. You can also do a unit study around a novel in literature.

Step 2: Gather books

Pick a book that will serve as a spine for your study, or choose many shorter books from the library. You can get pre-made curriculum that will get you through the whole unit, or you can get simple library books that you can read one by one. If you grab 20 library books about ocean creatures, don’t read all of them unless you really want to. Instead, choose maybe three excellent ones, and use the other books for reference, for hands-on projects, or for looking at the pictures.

Step 3: Bring it to life

When you open the books, ideas will come to you for how you can bring the topic to life. At the minimum, you can watch DVD’s from the library about that topic, and try to find a field trip that will cause that topic to come to life. You can stop there if you don’t have enough energy for crafty things. Depending on the ages of your kids, they can do all kinds of science and art projects on their own.

Examples of unit studies:

1. Owl Unit Study: If you take a look at how I put this unit study together, I started with an overview of owls by showing a video. I encourage parents to check out owl books from the library. To bring the study to life, I encourage people to observe owls in the wild. If you want your children to do a formal study, you can make a lapbook about owls. Or if you prefer to do notebooking, you can color and cut out owl coloring pages, and glue them into your notebook with a description. Then you can have some fun with the topic of owls by making owl puppets or owl cookies. You can finish your study with a dissection of an owl pellet.

2. France Unit Study: We started out by gathering books from the library about France. I embedded a video tour of Paris and of the Eiffel Tower. I threw in some crafts, including a picture of my son’s Eiffel Tower he made out of K’nex. We made an outdoor French cafe in our backyard, and we ended with some French recipes.

I’ve pulled together hundreds of unit studies with thousands of resources to make unit studies a delight in your homeschool. Join the Unit Study Treasure Vault today!

Acceleration Through Unit Studies

Thursday, July 24th, 2014

acceleration-through-unit-studiesBecause unit studies simplify your homeschooling while going deeper into each topic, acceleration through unit studies is possible. For example, I completed a one-year elementary astronomy course with my children in one month. It was relaxing and fun to only do one topic in our homeschool after doing math first thing in the morning. The rest of the school day was spent splashing into the topic of astronomy.

At elementary ages, I would do either science or history for our unit studies. I alternated between science and history. Literature was usually tied into either science or history. If it wasn’t, I would read the novel in the summer or over Christmas break. For example, I read A Christmas Carol one week during the month of December while the children were drinking hot cocoa by the fire. While studying botany one year, we read The Secret Garden alongside our science study.

Because we have all the time in the world and haven’t chopped up our morning into dinging bells every hour that abruptly force us to change topics, we are better able to have a coherent study. Right now I’m reading Uncle Tom’s Cabin to my kids, so in the evenings, we were watching some Civil War DVD’s from the library. We are plunging ourselves into the time period while munching on popcorn. Our whole day makes sense and isn’t schizophrenic.

Delight goes a long way in how much information we retain from our studies. I have been astounded at the huge majority of facts my kids remember because the grid in their minds is robust in each topic. When you are studying a topic for only one chapter in a boring textbook, it’s hard for your brain to latch onto the information and remember it. If you spend huge amounts of time in each topic, you remember just about everything because you “lived it.” Living something is different than forcing yourself to learn dry facts. Unit studies give you hands-on and living activities that enable you to grasp that topic on a deep level.

So yes, our kids have done acceleration through unit studies. They were ready for high school science before the age of 10. We had gone through all the sciences in depth, sometimes more than once, and I kicked back for a couple of years and didn’t do science because we were so far ahead, and high school chemistry requires Algebra. Instead those years were spent building robots for robotic competitions for their Robotics Club, and they tinkered with electronics with their father. Meanwhile we did tons of history, Shakespeare, and other topics because we had all that extra time left over.

If you are looking to simplify your work in putting together unit studies and would like to have more fun in your homeschool, save yourself a lot of time and effort by joining the Unit Study Treasure Vault.