 This post contains affiliate links. I was compensated for my work in writing this post.
My kids enjoyed building molecular models to understand the structure of molecules in chemistry. We have been using Christian Kids Explore Chemistry by Bright Ideas Press to study elementary-level chemistry, and this is one of the hands-on activities in the book.
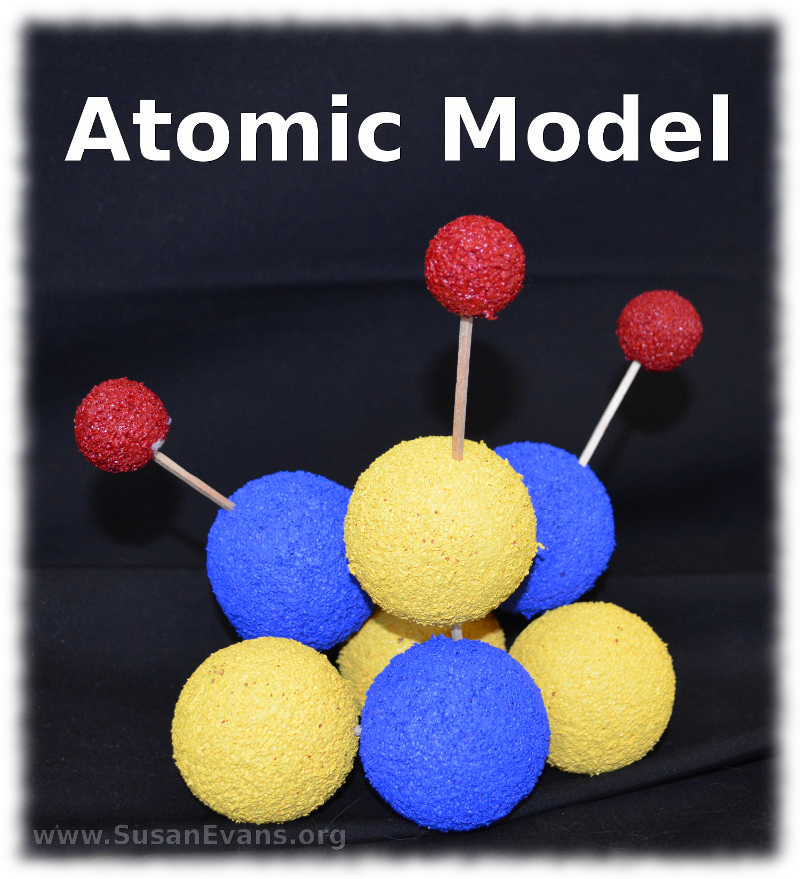
First you will want to purchase some styrofoam balls. These are available at craft supply stores. You will also need toothpicks and acrylic paint in various colors. If you want to label the atoms in the molecule, you can use a black marker, but we preferred to use alphabet stickers. Because of the texture of the styrofoam, it’s difficult to write on the styrofoam. If you’re using stickers, choose a contrasting color for the letters. I had some red stickers, but they would not have been visible on the red Hydrogen atoms.
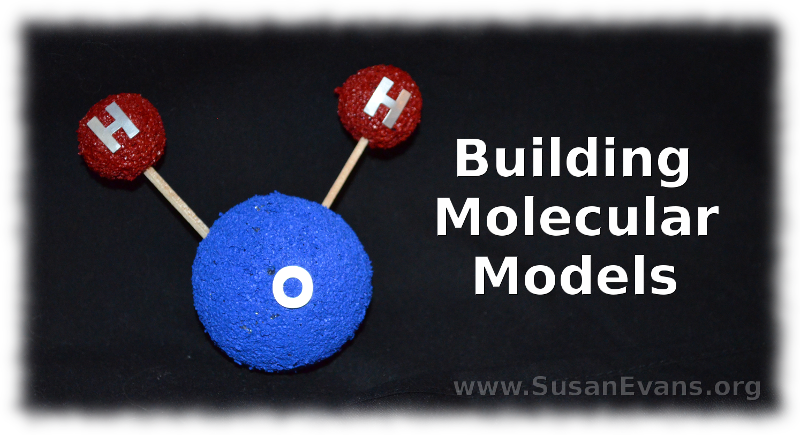
Now go ahead and stab each of two small red styrofoam balls into a larger blue styrofoam ball using a toothpick. It’s easier to label the atoms with stickers after you have stabbed them with the toothpicks, because you will know where the front of the molecule is. The larger blue ball is an Oxygen atom, and the smaller two balls are Hydrogen atoms. This is a water molecule, in case you didn’t know.
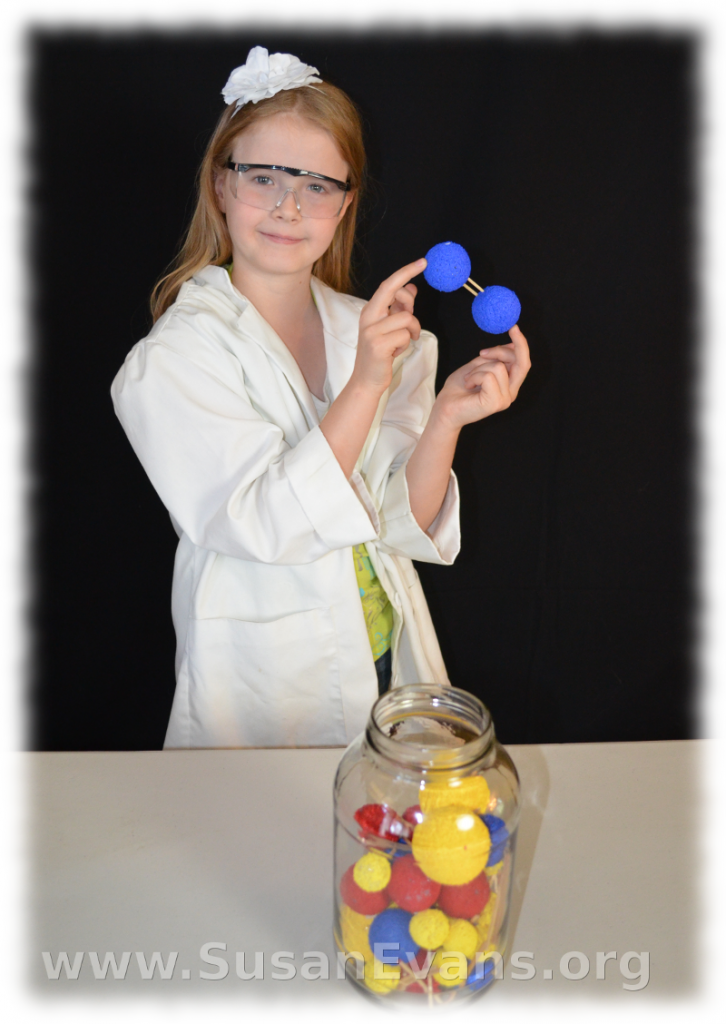 Another molecular model you can make is an Oxygen molecule. This molecule is composed of two Oxygen atoms with a double covalent bond. This means the two atoms are sharing a total of 4 electrons, because each covalent bond shares an electron with the Oxygen atom next to it. My daughter is holding up this Oxygen molecule. You can see that the two toothpicks are stabbed into the balls parallel to each other.
You can continue building molecular models. If you have bazillions of painted styrofoam balls, you can look up different common molecules and try to produce a model of them. In the following video, we show you how to make these simple molecular models. We also show you how our sugar molecule turned out!


