Archive for the ‘Science’ Category

LEGO Human Anatomy

Wednesday, October 28th, 2015

LEGO-human-anatomy

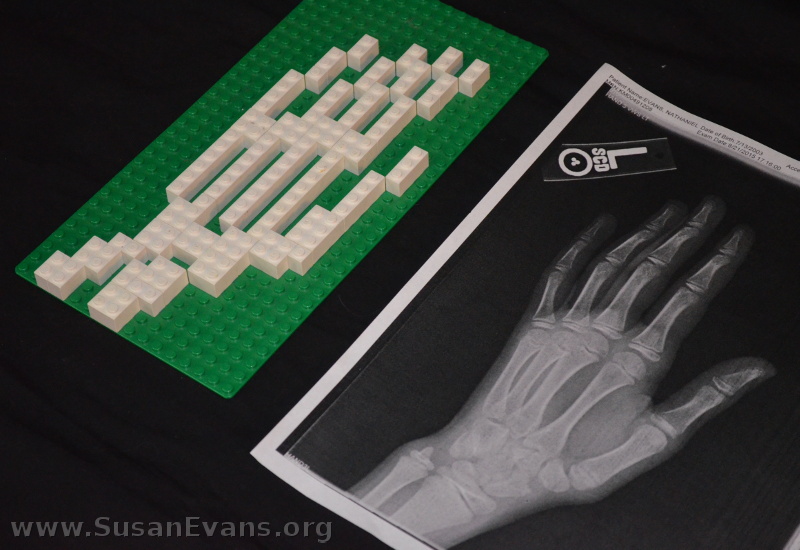
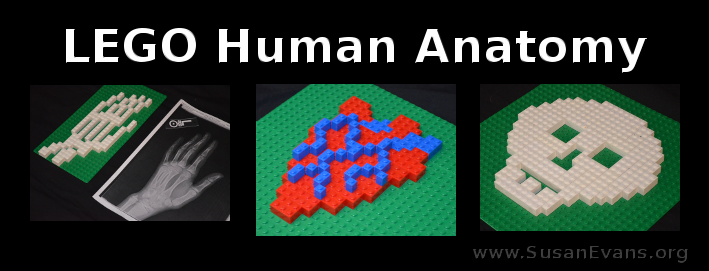
Why not make some LEGO human anatomy models? You can start with the skeletal system, with the bones of the body. One of my sons got into a scooter accident last summer and had to go to the emergency room. Here is his hand x-ray, where we found out that there was only a tiny fracture, not bad enough to get a cast. He said that the pain hurt like the dickens. But alas, there was nothing we could do.

When we started our human anatomy unit study this fall, the first body system we studied was the skeletal system. My son whipped out his hand x-ray and made a LEGO model of his hand with white LEGOs on a green base. It turned out looking pretty cool.

lego-bones

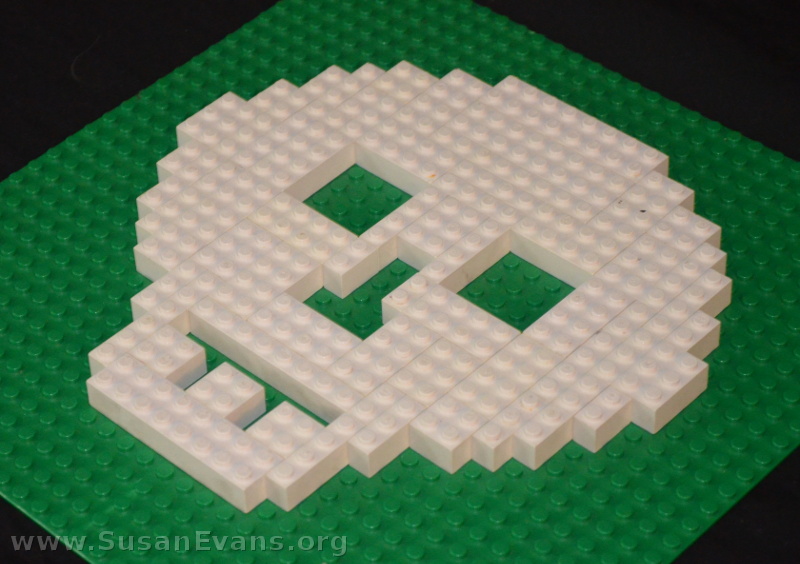
Next he made a skull. No, he didn’t get an x-ray of his skull when he cracked his head on the cement from flipping off his scooter. He didn’t ever get a concussion, so the doctors didn’t bother getting an x-ray of his skull. Instead, my son looked at a picture of a skull (perhaps in the hand of Hamlet), and made a LEGO model of the skull.

lego-skull

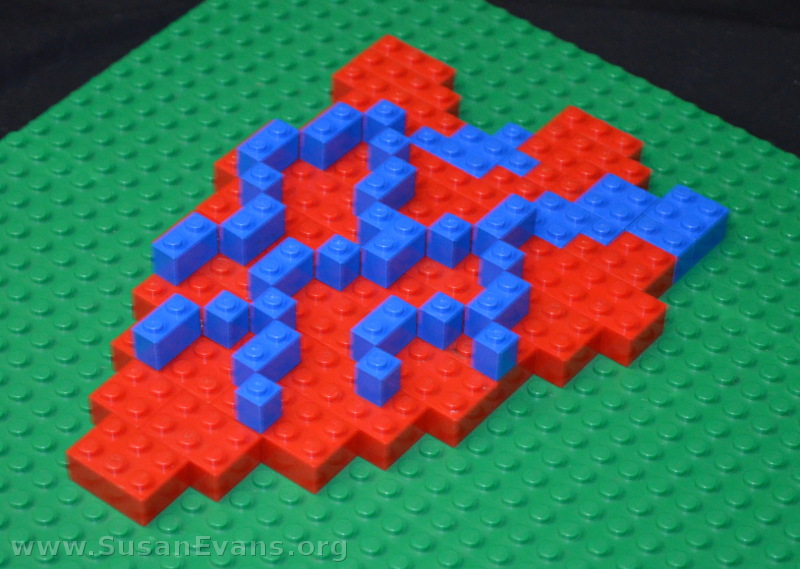
Not to remain in the skeletal system forever, my son decided to make a model of the human heart. He looked at a diagram of the human heart and used red LEGOs to form the general shape. Then he used blue LEGOs for the arteries.

lego-heart

So there you have it. LEGO human anatomy, ladies and gentlemen.

If you want more hands-on activities for human anatomy, join the Unit Study Treasure Vault!
LEGO DNA Transcription

Wednesday, October 14th, 2015

LEGO-DNA-Transcription

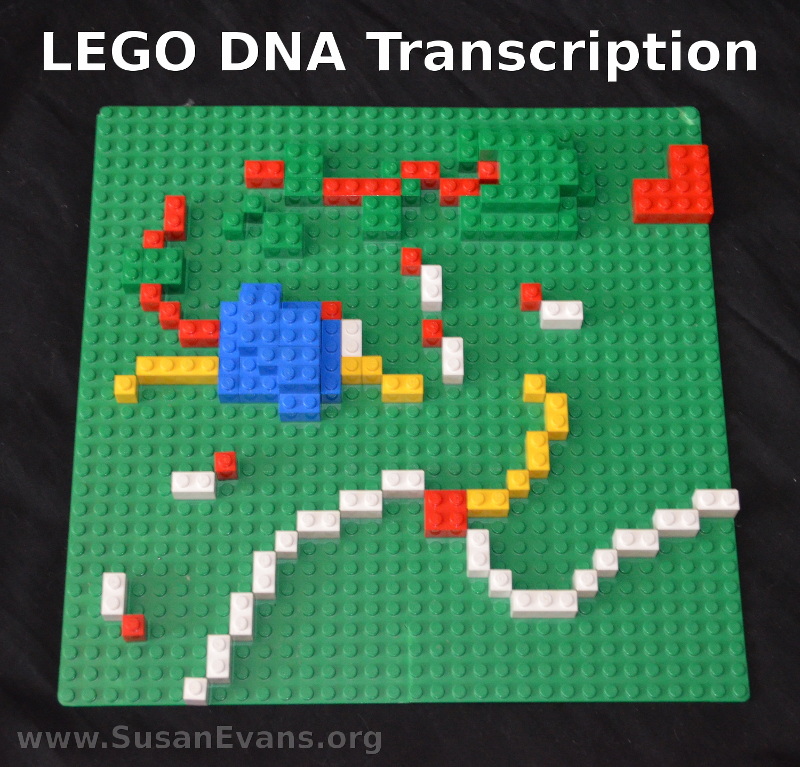
When you are studying biology, why not make a LEGO DNA transcription model? This will help your high school students to internalize this process by participating in a hands-on activity to reinforce the concept.

This is a picture of DNA as it is being turned into RNA and proteins. You can look at a drawing in a textbook to see what shape you should make with the LEGOs. Start with a green LEGO base, and build up the DNA transcription process little by little.

DNA Transcription

Here is my son’s description of this process:

First a molecule called RNA Polymerase speeds down the DNA strand, unzipping the double helix and making messenger RNA, using nucleotides floating around. The RNA is basically the same as the DNA except that instead of Thymine (T), the RNA has Uracil (U).

When the RNA Polymerase reaches a special end code in the DNA, the mRNA strand is released into the cytoplasm of the cell. A ribosome forms around it. The ribosome takes transfer molecules with amino acids on them and links them to the mRNA.

Each transfer molecule has a group of three letters, called a codon, on it. The codons link up with the mRNA and, in doing so, make a protein with the amino acids they are carrying. Then the empty transfer molecules leave the mRNA and leave behind their amino acids as more take their place.

This goes on until the protein is complete. Then it goes off to a chaperone, which is a special machine for folding proteins. When the protein is folded, it is done, and it goes off to the part of the cell where it is needed.

DNA Transcription Video

If you look at the LEGO DNA transcription model at the top of this page, you can find out exactly what is happening in the model by watching this short video:

LEGO Atomic Structure

Wednesday, October 7th, 2015

LEGO-atomic-structure

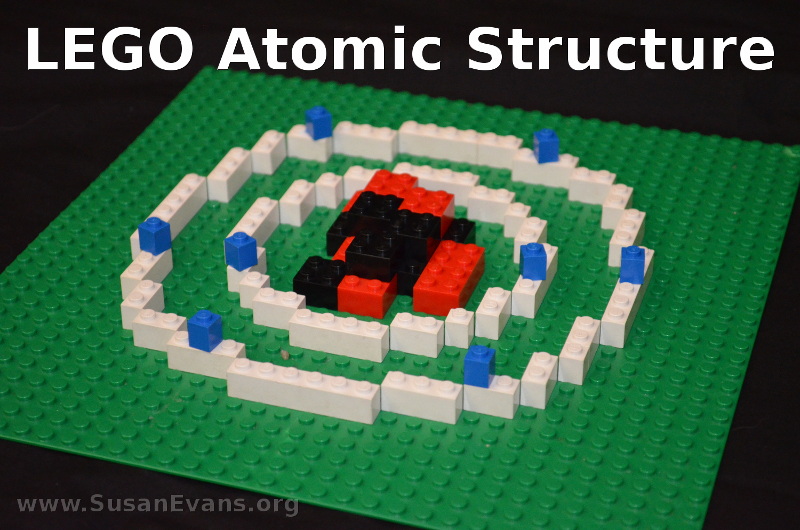
A fun hands-on activity for studying chemistry is to build a LEGO atomic structure, including the protons, neutrons, and electrons of each atom. Each of your atomic models will help to re-enforce the Periodic Table of Elements as you seek to find out how to build each one.

The LEGO atom at the top of this post is an Oxygen atom. The nucleus contains 8 protons and 8 neutrons. The protons are red, and the neutrons are black. The 8 electrons are blue LEGOs that are placed on top of white LEGO rings. The inner shell has 2 electrons and the outer shell has 6 electrons, making a total of 8 electrons.

neon-atom-in-lego

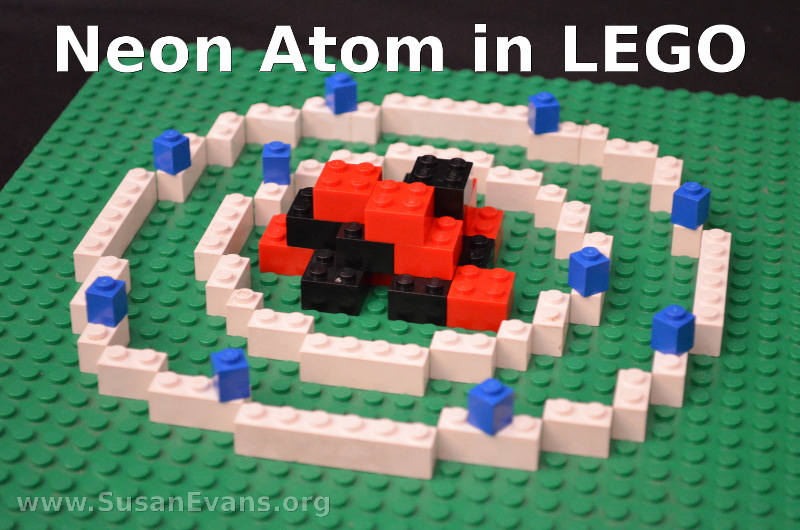
The Neon atom has 10 protons, 10 neutrons, and 10 electrons. Go ahead and build the Neon atom, just as you built the Oxygen atom, including the correct amount of black, red, and blue LEGOs.

Continue to build more elements. The more elements you build, the more familiar you will become with the atomic numbers. Handling the LEGOs physically will help your tactile learners re-enforce the learning to make it unforgettable. You will need to have a Periodic Table of Elements open in order to build the atoms correctly. The atomic number is the number of protons and electrons in the atom, and these are always the same number. To find the number of neutrons, subtract the protons from the atomic number. Easy!

If you would like to build atomic models out of styrofoam balls or candy, take a look at this post:

For more posts about chemistry, check out my chemistry series, which includes fun demonstration videos for each hands-on activity:

Also check out the fun coloring book we used during our study to help familiarize ourselves with the Periodic Table of Elements:

I hope you enjoyed building at least one LEGO atomic structure!

LEGO Chemistry

Monday, March 2nd, 2015

LEGO-Chemistry

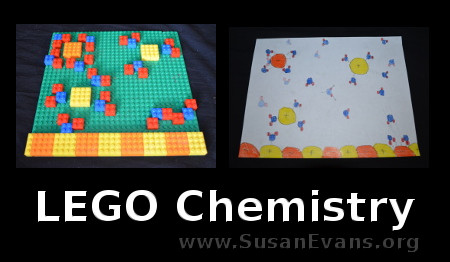
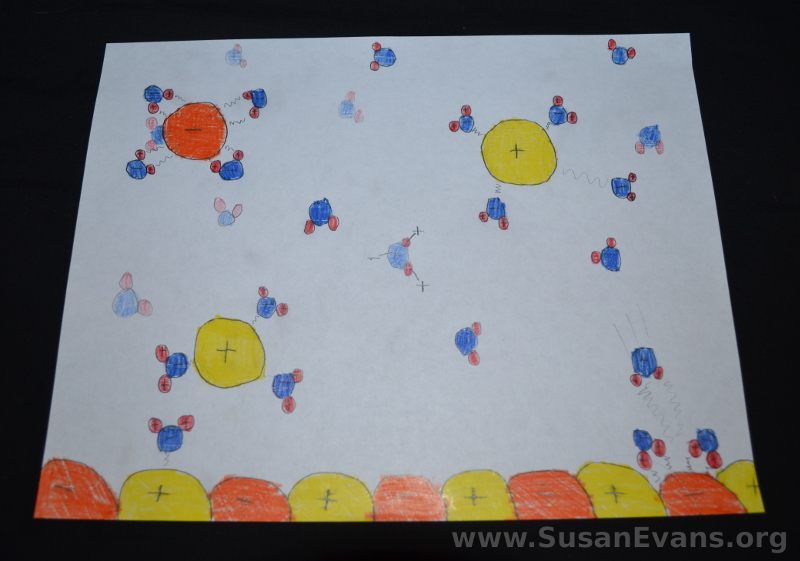
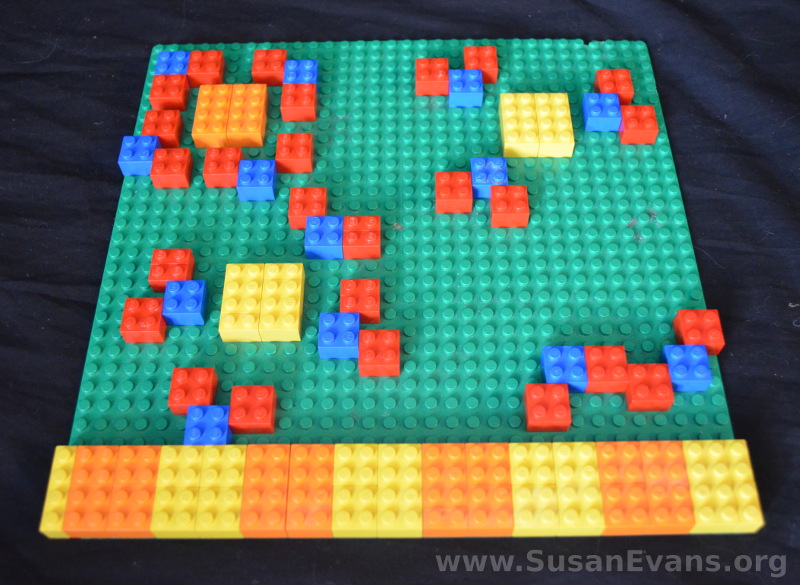
My son illustrated how water dissolves salt in a solution, performing LEGO chemistry! He started with a square green base. He placed yellow and orange LEGOs on the bottom, representing Na and Cl. The Na (sodium ion) is positively charged, and the Cl (chloride ion) is negatively charged.

When placed in water, the water has a polar covalent bond, meaning that the water molecules are slightly charged. This is because the Oxygen pulls harder on the shared Hydrogen electrons, making the Oxygen side negatively charged. The two smaller Hydrogens are slightly positively charged because their electrons are being hogged by the Oxygen most of the time.

NaCl-H2O

When the table salt (NaCl) is placed into water (H20), the positively-charged Sodium atom is attracted to the negatively-charged Oxygen atom, pulling the Sodium away from the Chloride. In the same way, the negatively-charged Chloride ion is attracted to the positive end of the water molecule (the two Hydrogen atoms).

The water is dissolving the salt by breaking the Na apart from the Cl in this way. The small blue LEGOs are Oxygen atoms, and the red LEGOs are Hydrogen atoms. (In reality, he should have used tiny single LEGOs for the Hydrogen atoms, because they are way smaller than Oxygen atoms are!)

lego-chemistry-2

And there you have it: LEGO Chemistry! If you did not understand my explanation, perhaps this video will help to clear things up:

How Water Dissolves Salt

Why not join the Unit Study Treasure Vault and watch the 24 high school chemistry experiments we’ve performed so far!