
A boat birthday is perfect for the summer! What better excuse to spend some time on a nearby lake? Last weekend we celebrated my son’s birthday by giving him a boat birthday party. If you have friends who own a boat, it doesn’t have to cost you any money. If you don’t have friends who own a boat, you will need to save up to rent a motor boat. But it’s an experience that your family will never forget!

How to Make a Boat Party Invitation
I made the boat invitations by using some origami paper and folding it into a boat. Then I stabbed a wooden skewer in through the bottom of the boat, and I taped it in place. Then I printed out the information for the party, and I cut it out in a sail shape and stabbed the skewer through the sail. Finally, I added a tiny flag at the top, taping it in place.

How to Make Lake Cupcakes
Bake some cupcakes and frost them with blue frosting. You will need to stir blue food coloring into white frosting. With a knife, make little waves on top of the blue frosting “water.” Super easy!
You will want to make cupcakes rather than cake if you are planning to eat it on the boat. Make sure to place the cupcakes into a container and put them on ice in a cooler so that they do not melt on a hot summer day in the boat.
Enjoy a day of boating. Often the best gifts are experiences.
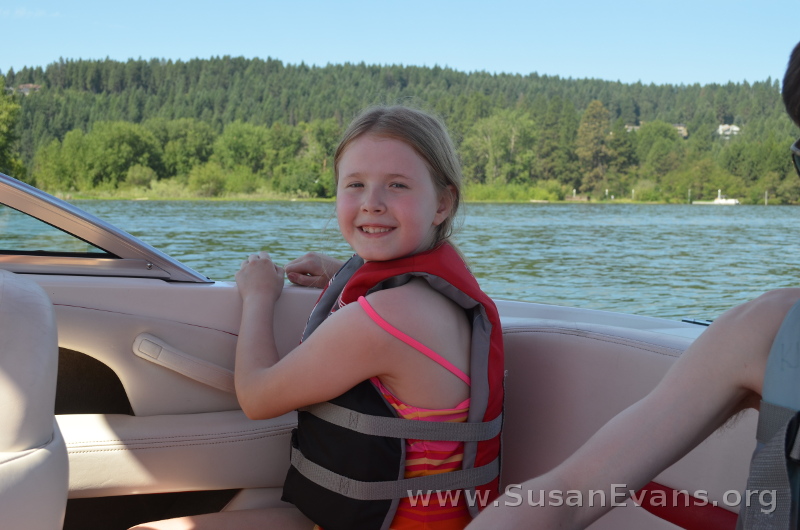
My daughter had never been on a boat, so it was super exciting for her. We borrowed a large innertube from a friend and attached it to the boat. The kids loved taking turns being pulled on the innertube by the boat!

Okay, maybe the children weren’t the only ones enjoying the boat birthday party!


