Archive for the ‘Fun Winter Activities’ Category

Snowflake Card

Tuesday, December 18th, 2012

snowflake-card

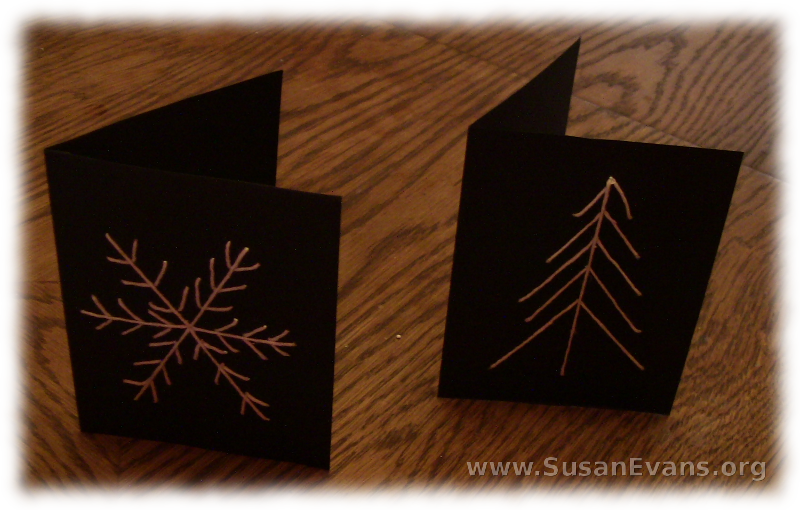
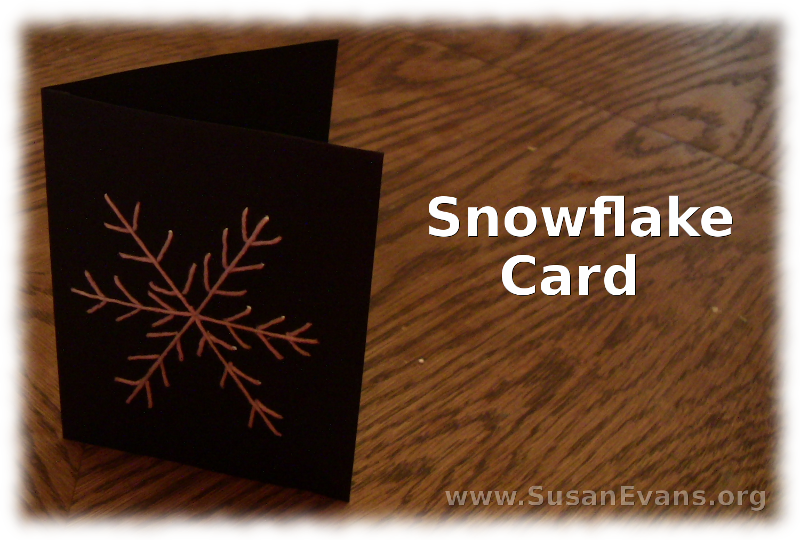
My daughter and I made an easy snowflake card. You will need the following materials:

  • black card stock paper
  • white string
  • scissors
  • blunt needle
  • pencil
  • ruler
  • thumb tack

How to Make a Snowflake Card with Yarn

Step 1: Cut the black card stock paper in half and fold it. Now open up the card, and on the left side, draw a snowflake in pencil with a ruler.

Step 2: Grab the thumb tack and poke a hole at the beginning and end of each line. It’s like you’re making a dot-to-dot picture.

Step 3: Thread the needle with white string. Tie a knot in the end and begin sewing the card, making sure that the front of the card is producing the design you want.

Step 4: When you are finished, you can use a silver pen to write a message to someone before putting the snowflake card in an envelope.

snowflake-craft-with-yarn

You can make any design on a card, as long as the lines are straight. You could draw a cool gnarly tree with bare branches in the dark moonlight. My 7-year-old daughter designed a simple pine tree. It only took her about 5 minutes to sew and was quite easy!

Linked to Snow Day Activities:
SnowDay

How to Make Marble Fudge

Monday, December 17th, 2012

how-to-make-marble-fudge

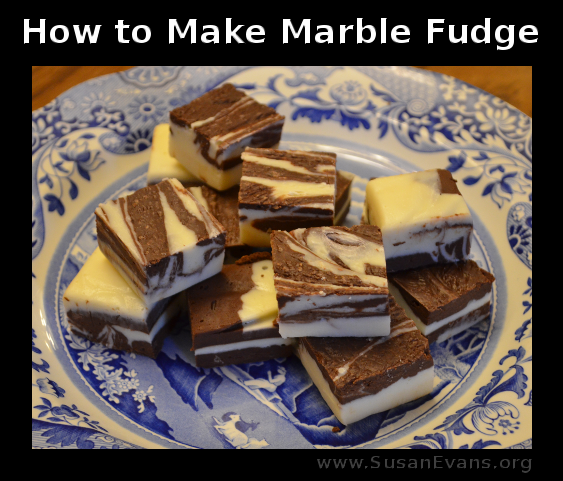
Marble fudge is delicious and simple to make! You swirl white chocolate and dark chocolate together for a perfectly blended flavor. If I had known how easy it was to make, I would have made it sooner.

How to Make Marble Fudge

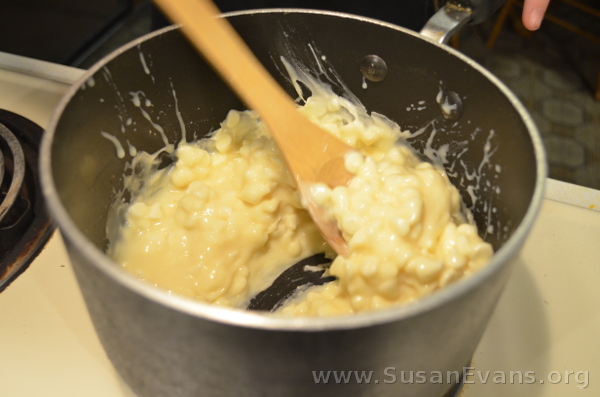
In one saucepan, throw:

  • 3 cups of white chocolate chips
  • 14 oz. can of sweetened condensed milk
  • 1/2 tsp. baking soda

white-chocolate-melt

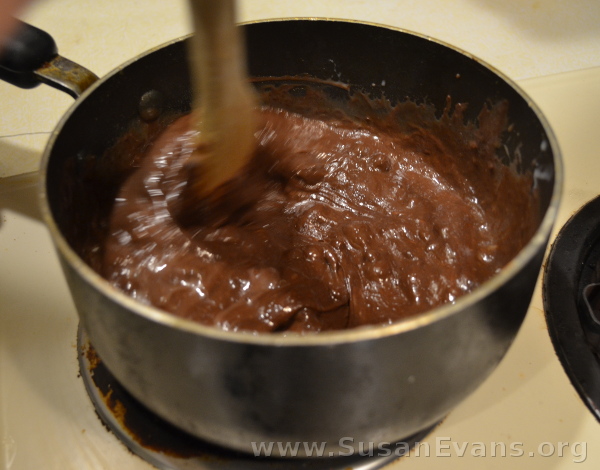
Throw these ingredients into another saucepan:

  • 12 oz. of semisweet chocolate chips
  • 14 oz. can of sweetened condensed milk
  • 1/2 tsp. baking soda

dark-chocolate-melt

You need two people, one to stir each pot. When both chocolate pots are melted (after about 5 minutes), take the pots off the stove and add to both pots :

  • 1/2 cup of chopped walnuts

Then add to the dark chocolate:

  • 1/2 tsp. vanilla extract

marble-fudge

Now scoop out the white chocolate and dark chocolate in blobs, placing the melted chocolate on top of a 13 by 9 by 2 inch glass pan lined with non-stick foil. Grab a table knife and swirl the chocolate on the top of the fudge. Place it in the fridge for 3 hours. Then remove the foil and place on a cutting board.. Cut into squares. You now have delicious marble fudge to give to family and friends. Or you can eat it all yourself!

Snowflake Cookies

Thursday, December 13th, 2012

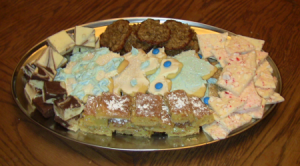
snowflake-cookiesSeveral years ago after exiting the Christmas candlelight service, there was a long table full of hundreds of Christmas cookies. I saw some snowflake cookies that I knew would delight my children, so I took four, one for each of my children. A woman who was standing to the side looked at me with hatred and venom. She must have thought I was taking them for myself.

This just goes to show that nearly 100% of our judgment of others is false. God says we do not know other people’s motives, and for that reason, we should not judge, lest we be judged. (Matthew 7:1) If God says we don’t know their motives, then God is right. God is not a liar. The only exception to the rule of not judging is if you see someone clearly stealing or something that you know for sure is wrong, as far as an action that is condemned by God, then you should tell a fellow believer to stop, because they might be blind to their sin. We are never to judge the unsaved.

After delivering the cookies to my children, I went back to the table, and by that time, my favorite snowflake cookies were gone. I thought, oh well, I’m gaining weight anyway and don’t want to get fat. But I was sad not to have a snowflake cookie. My stomach growled. I looked at the woman who had judged me, but she was too busy micro-managing something else.

So this year when I was at a craft supply store, I picked up a snowflake cookie cutter. I made a sugar cookie recipe, frosted it with white frosting, and had the children decorate with light blue frosting (use blue egg dye) and sparkly white sprinkles. Our finished snowflake cookies didn’t look nearly as good as those magical cookies that Christmas night years ago.

Jesse Tree

Monday, December 3rd, 2012

jesse-tree

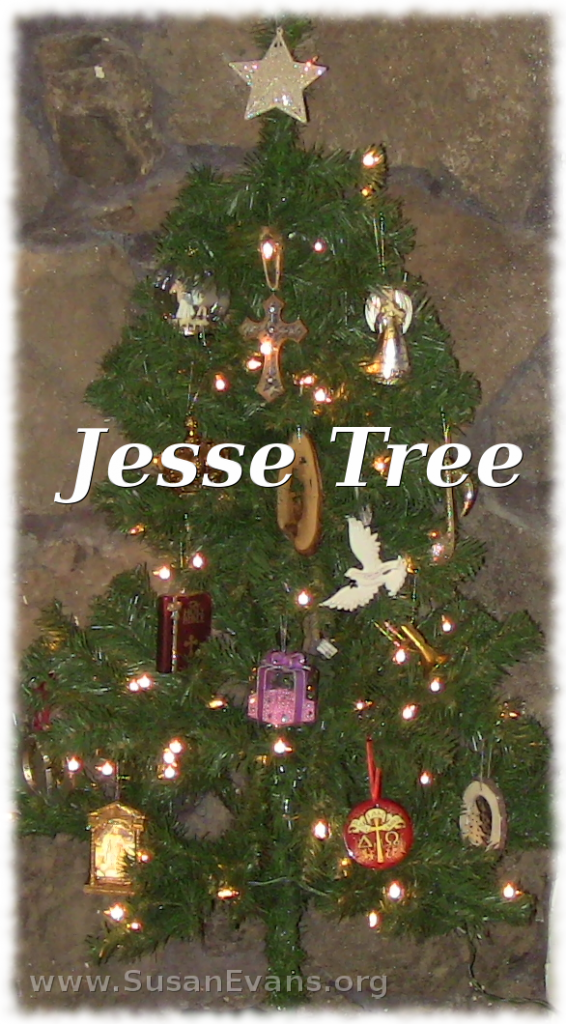
This year we are doing a Jesse Tree for the first time. I’ve always wanted to do one, but I wanted to buy real ornaments instead of attaching paper trash to the tree. This year I found many of the ornaments for 50% off at Hobby Lobby, and the kids had fun trying to find these specific objects that point to Christ:

Day 1 – Alpha Omega-A-Z
Day 2 – Word-Bible
Day 3 – Creation-Earth
Day 4 – Sin-Jesus has to come-black heart
Day 5 – Jesus sent to save sinners-cross
Day 6 – Jesus was the lamb of God-lamb
Day 7 – God loved us-red heart
Day 8 – Jesus was the first gift-gift
Day 9 – Jesus brings light to a dark world-candle
Day 10 – Jesus is the light of the world-sun
Day 11 – Good news of Jesus shouted-trumpet
Day 12 – Jesus is the Prince of Peace-dove
Day 13 – Jesus is King-crown
Day 14 – Jesus is our shepherd-shepherd staff
Day 15 – Jesus is the branch that grew from the line of David-tree
Day 16 – Jesus was born in Bethlehem-Bethlehem building
Day 17 – The birth of Jesus was a miracle-manger
Day 18 – Mary was the mother of Jesus-Mary
Day 19 – Joseph listened to the angel-Joseph
Day 20 – Angels announced the birth-angel
Day 21 – Shepherds praised the birth-musical notes
Day 22 – Wise men followed a star-star
Day 23 – Wise men brought gifts for Jesus-wise men
Day 24 – Jesus

I’m using Ann Hibbard’s book Family Celebrations for Christmas for the daily devotionals that go with each ornament. They are well-done.

Here is the video that I saw a couple of years ago that made me want to do do a Jesse Tree with my children. She uses slightly different ornaments. (No two Jesse Trees have the same symbols for some reason. As long as they point to Christ, it doesn’t matter what the ornaments are.) These ornaments were made by hand and are nicer than just paper trash hung on the tree:

Jesse Tree Demonstration from The Homeschool Channel on Vimeo