Archive for the ‘Seasonal Activities’ Category

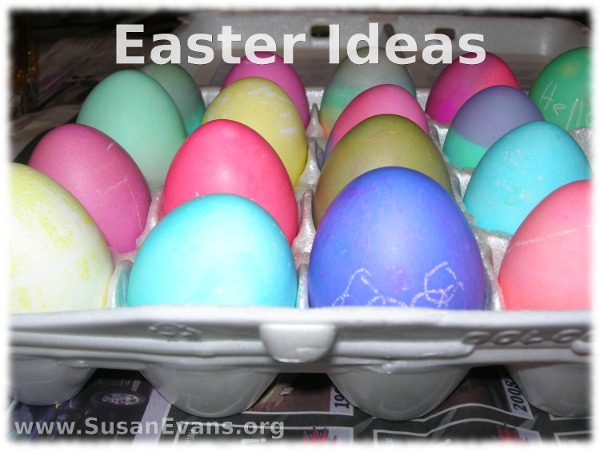
Easter Ideas

Tuesday, April 19th, 2011

Easter-IdeasThis post contains affiliate links.

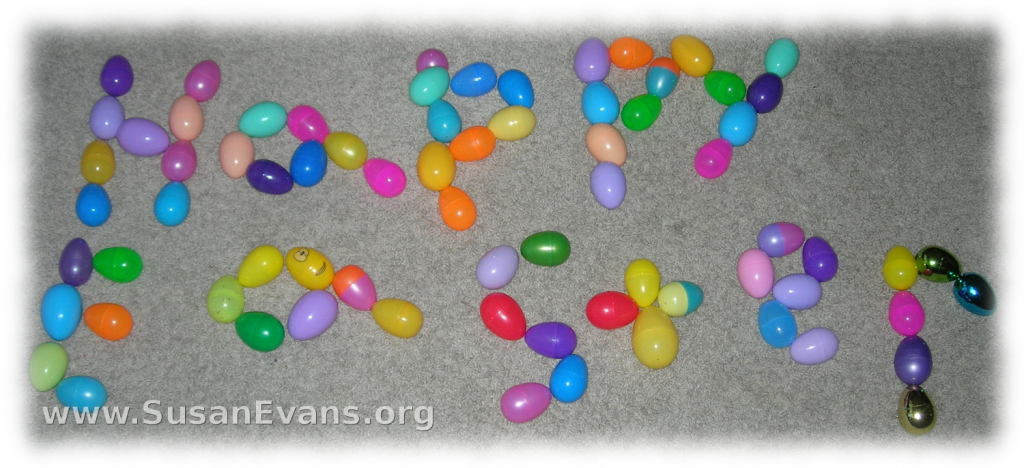
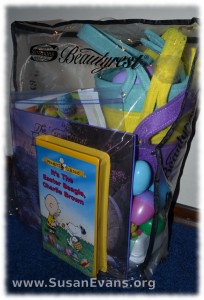
If you would like some Easter ideas, here is a video that will show you some fun and easy Easter crafts as well as ways to organize Easter from year to year. It’s helpful to keep all your Easter supplies in a clear pouch. You can get a durable pouch for free when you buy bed sheets or blankets. These are the items I keep in my Easter pouch:
Easter-organization

  • The Very First Easter – A book that explains the true meaning of Easter with colorful illustrations of the resurrection of Christ.
  • Plastic Easter eggs and stackable baskets for each child for the Easter egg hunt each year.
  • Unused egg dye kits and wire egg holders left over from other kits so that each child has a wire egg holder to dye their Easter eggs.
  • It’s the Easter Beagle, Charlie Brown (a classic cartoon)
  • A plastic bag or decorated folder with clipped magazine pictures for Easter crafts you might want to do with your children in future years.
  • Resurrection Eggs (from Family Life) – The items are made from metal, and each item illustrates something from the Easter story. Lead up to Easter by reading a short devotional each day for the 12 days leading up to Easter. (Well-done and not cheesy.)

Here are some easy Easter crafts to do with your children:

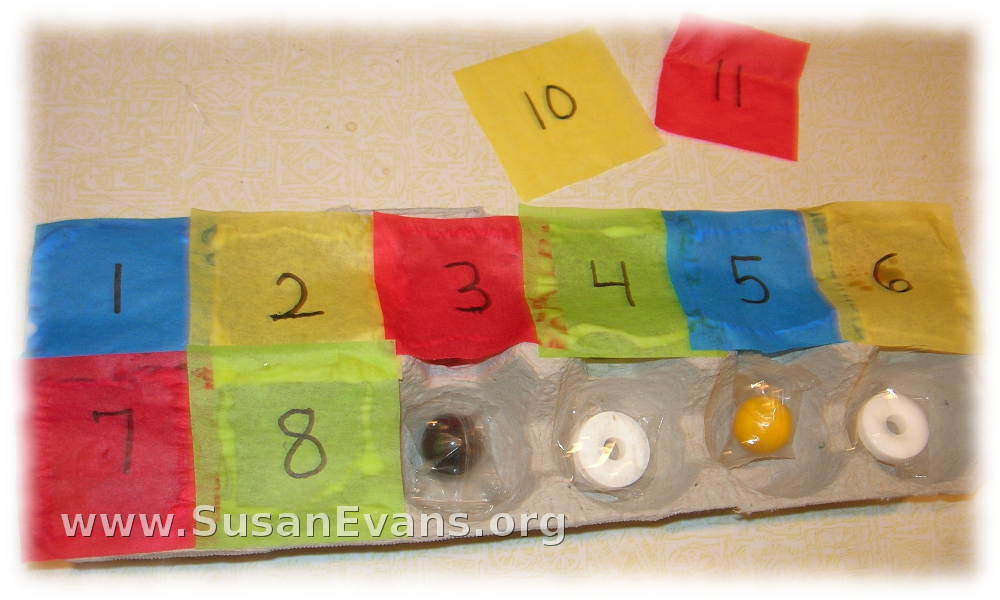
1. Colorful countdown egg carton
Easter-crafts

  • Cut off the top part of a cardboard egg carton.
  • Put candy or the Resurrection Egg items into each compartment.
  • Glue colorful squares of tissue paper to seal each compartment. With a black marker, write the numbers 1-12 on each piece of tissue paper before you glue it in place. Allow it to dry overnight.
  • For the 12 days before Easter, your kids can tear through one number of the tissue paper, getting the candy or item, looking forward to Easter. This is sort of like an Advent calendar, except it’s for Easter instead of Christmas.

2. Paper sack and twig nest
Easter-crafts-2

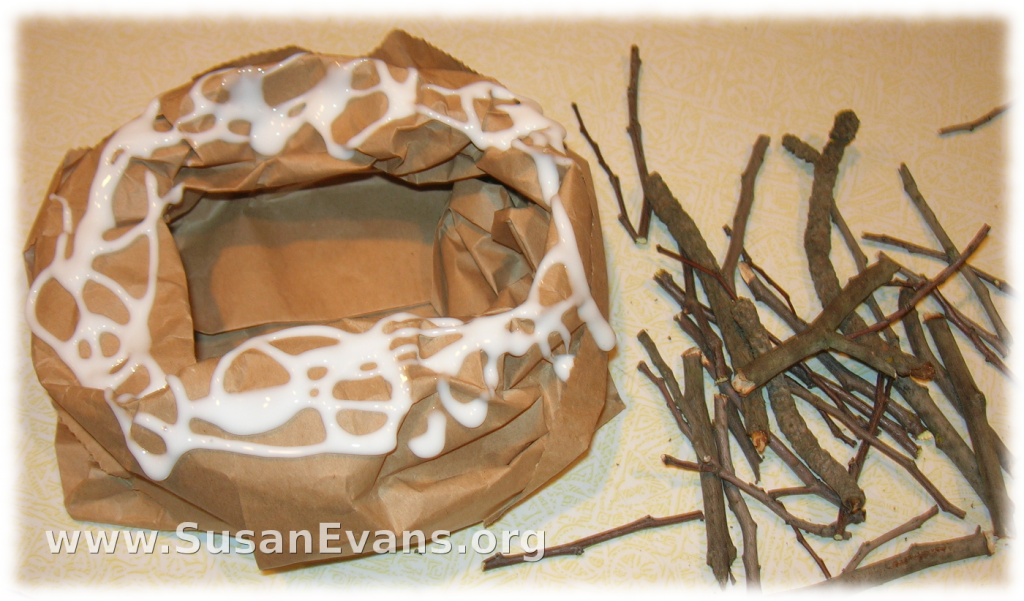
  • Scrunch down a paper sack to make the nest.
  • Pour glue over the top.
  • Have your kids glue the small twigs onto the paper sack. Super cute nest, perfect for your glitter eggs.

3. Glitter eggs

  • Get a cold boiled egg from your fridge. Put school glue on the outside of the egg. (Make sure the shell is still on the egg.)
  • Place the egg into a plastic bag with confetti. Shake the egg to coat it completely.
  • Let the beautiful glitter egg dry in the fridge.
  • Place it into the cute twig nest the next day.

Have a great Easter!
Easter-Ideas-3

How to Make a Snowflake Funnel Cake

Tuesday, December 28th, 2010

snowflake-funnel-cake

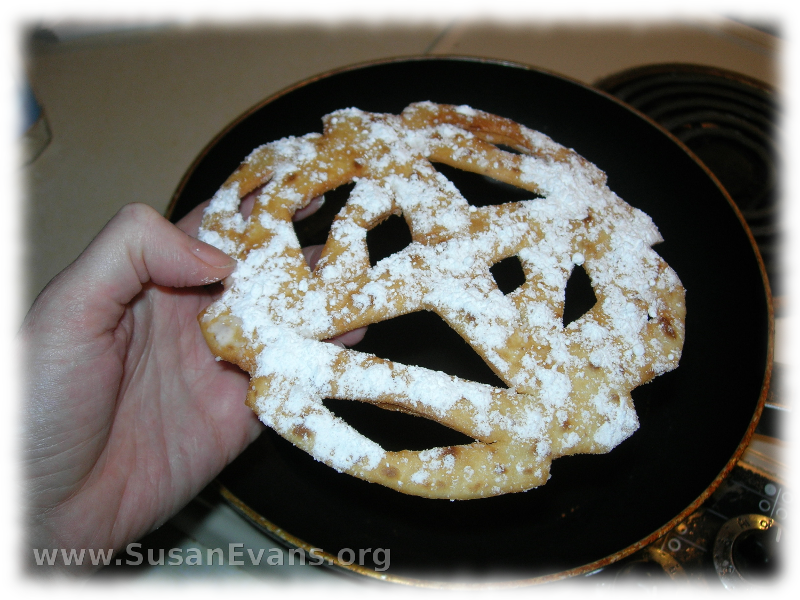
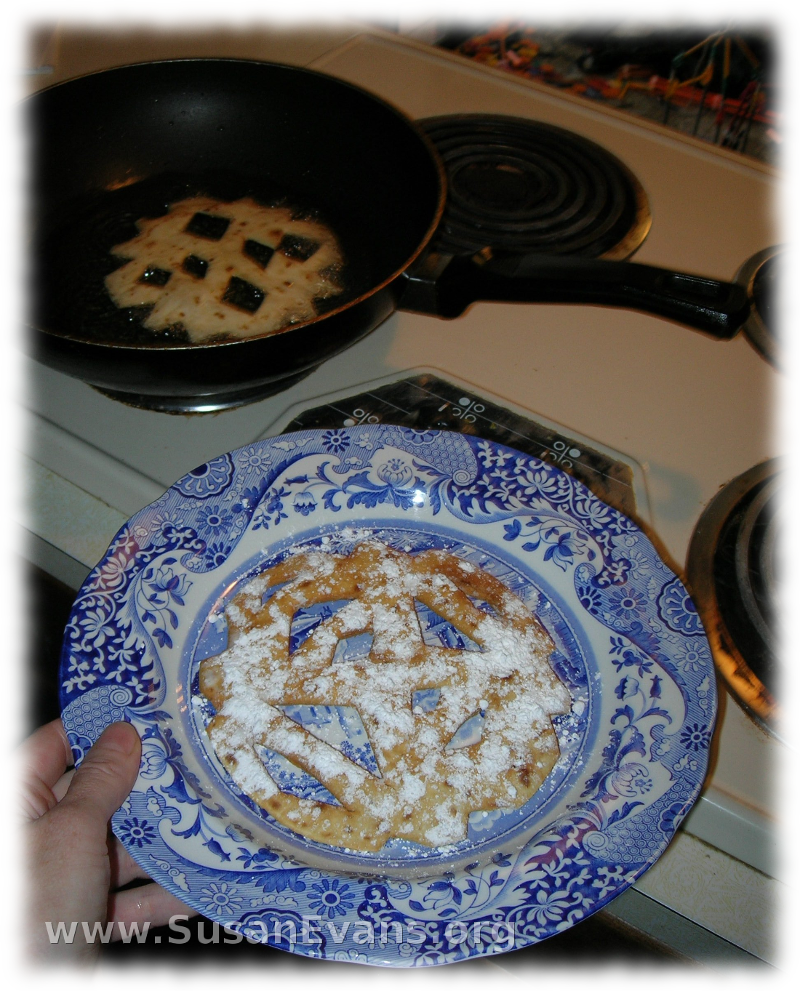
To make a snowflake funnel cake, you will need some soft tortillas, vegetable oil, and powdered sugar. You will also need scissors, a pan for frying the tortillas, and tongs to remove the crispy tortilla from the oil. Make sure the tortillas are fresh and have not been in the fridge, or they will break when you fold them.

How to Make a Snowflake Funnel Cake

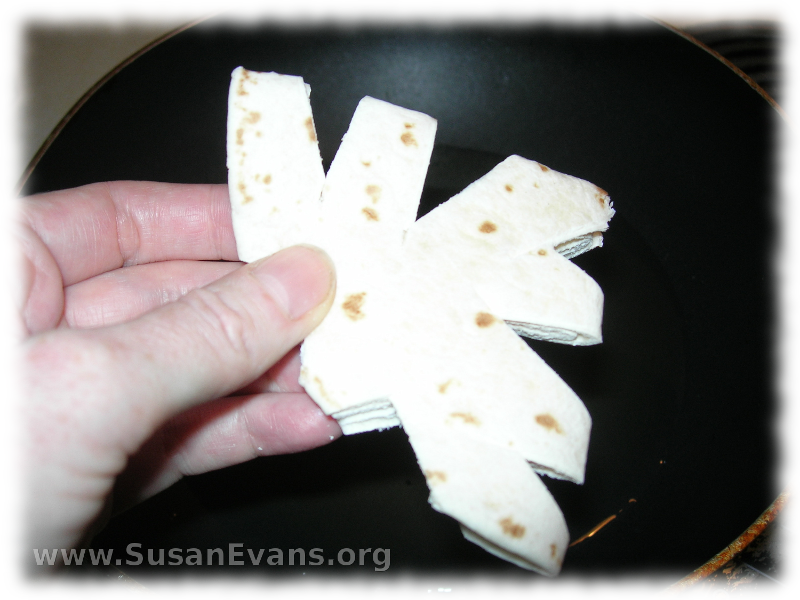
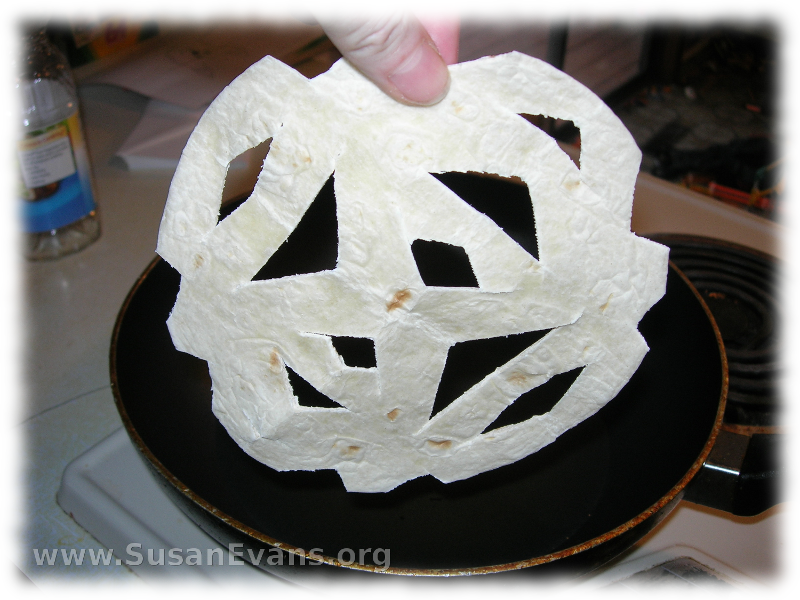
  • Step 1: Fold a fajita tortilla into fourths and cut it with scissors like a snowflake. You don’t want the tortilla to be too large, which is why I chose the fajita size.
  • Step 2: Throw it into some hot oil. The oil needs to be deep enough to cover the whole tortilla. An inch of oil is plenty. Flip the tortilla in the oil so that it browns evenly on both sides.
  • Step 3: When the tortilla is crispy and light brown, pull it out with tongs, onto a paper towel.
  • Step 4: Sprinkle powdered sugar on it.

Voila! A yummy, beautiful snowflake that tastes just like a funnel cake!

snowflake-tortilla

snowflake-tortilla-sugar

snowflake-funnel-cake-2

Linked to Snow Day Activities:

SnowDay

Transformer Cookies

Monday, December 27th, 2010

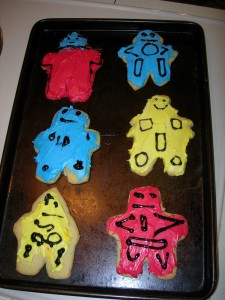
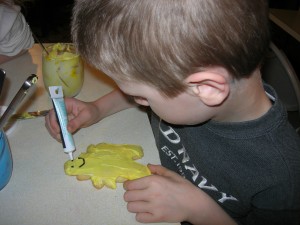
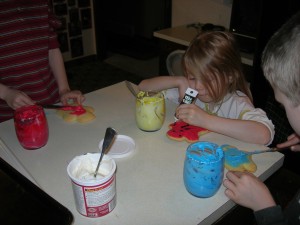
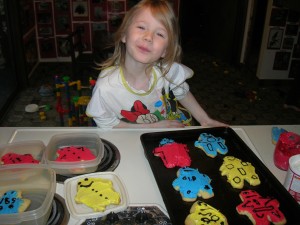
transformer-cookiesA woman I went to boarding school with in Guatemala told me how she made Transformer cookies with her sons, and what a success it was. She just used a gingerbread man cookie cutter and squared off the head, arms, and feet. I thought that was a great idea, so we made them.

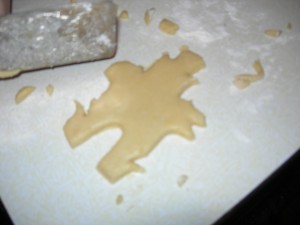
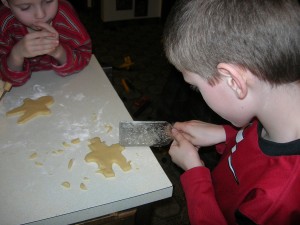
My oldest son Bryan actually sculpted a more complicated Transformer with a metal spatula while the dough was still on the counter. Then we iced the cookies with icing. I was able to get such bright bold primary colors from icing dye made for professionals who decorate cakes for a living. You can buy the icing dye from craft supply stores that have a cake-decorating aisle.

transformer-cookies3We added more details with black icing gel, which you can get at a regular grocery store. You could also add M+M’s and other candy for the buttons of each robot. The finished Transformer cookies looked good enough to eat!

transformer-cookies2transformer-cookies4transformer-cookies5transformer-cookies6

How to Make Snowflakes that Cling to Glass

Friday, December 24th, 2010

how-to-make-snowflakes-that-cling-to-glass

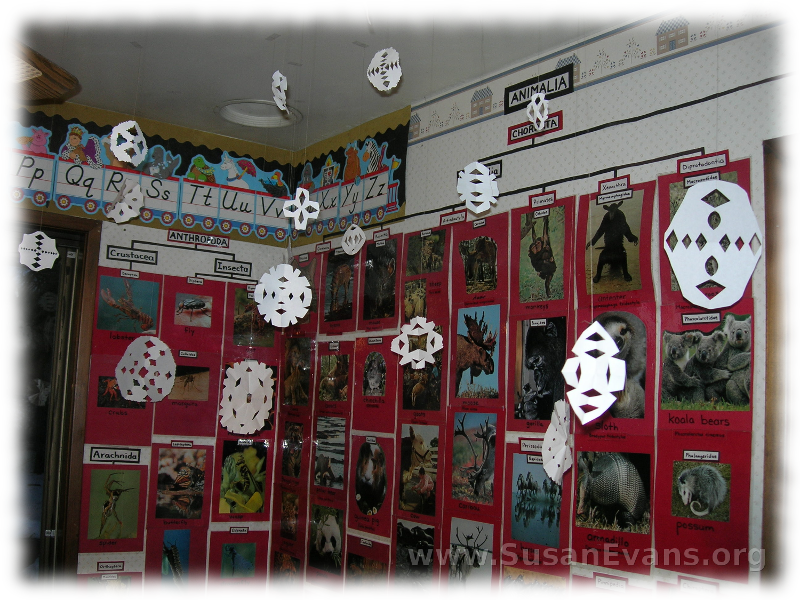
Winter is the perfect time for decorating with snowflakes. My children always enjoy making paper snowflakes with scissors and folded paper.  We hang them from the ceiling with thread and a piece of clear tape. Then it looks like it’s snowing in the house.

paper-snowflakes

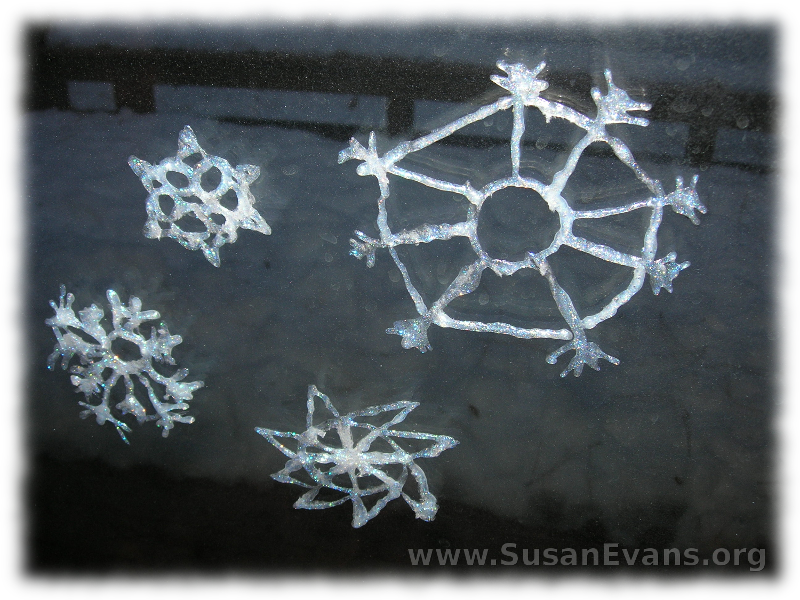
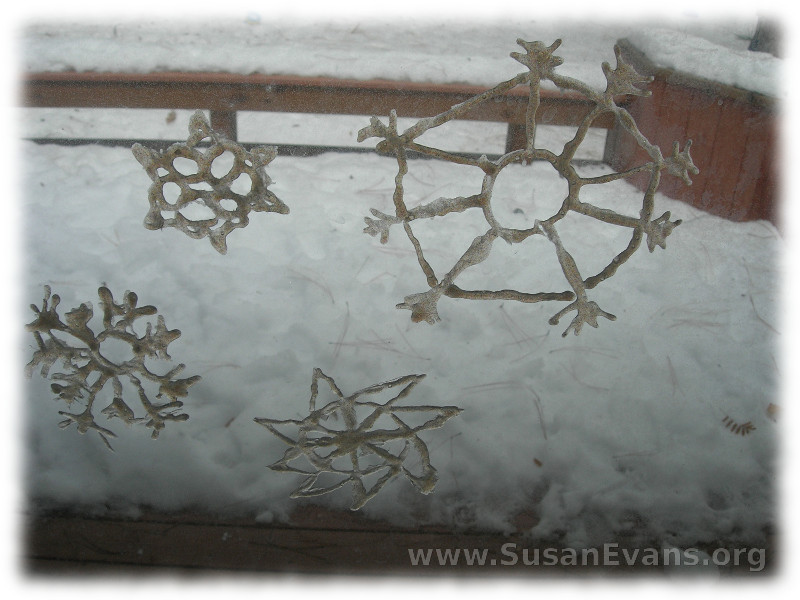
This year I found a craft in the Family Fun magazine, which was to make snowflakes that cling to glass.

How to Make Snowflakes that Cling to Glass

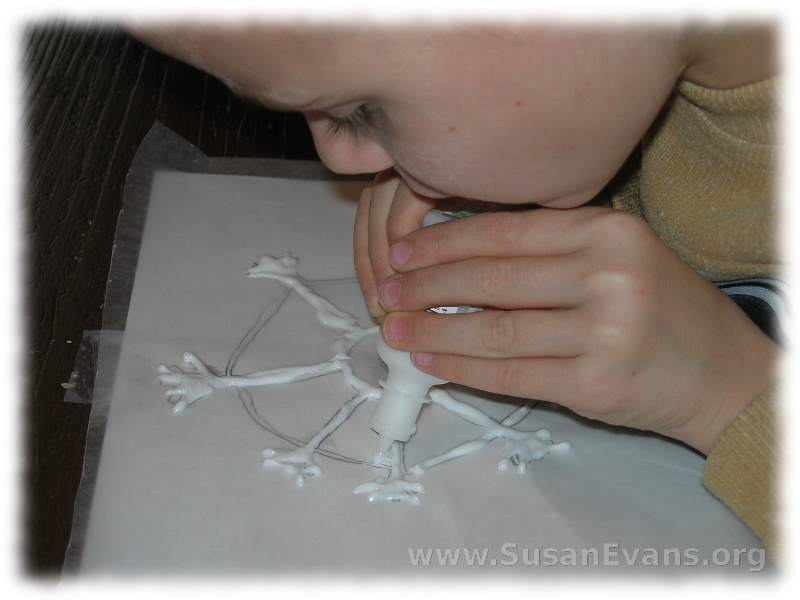
Step 1: First you draw a snowflake with pencil on a sheet of white paper.

Step 2: Put a sheet of wax paper on top of it. I taped them both down so that they wouldn’t slide around.

Step 3: Get dimensional fabric paint (the glittering crystal one), and you trace the entire snowflake with it. It sort of looks like glue. Make sure it’s thick; if it’s too thin it will break when you try to peel it off. I found an alternate way to do it with glue as well. You use white school glue and shake glitter on it. They look just as good as the ones I made.

Step 4: Let it dry overnight. Peel it off the wax paper and stick it to a window.

glue-snowflakes

cling-snowflakes

Linked to Snow Day Activities:

SnowDay