Archive for the ‘Seasonal Activities’ Category

Vegetable Creatures

Thursday, October 7th, 2010

vegetable-creatures

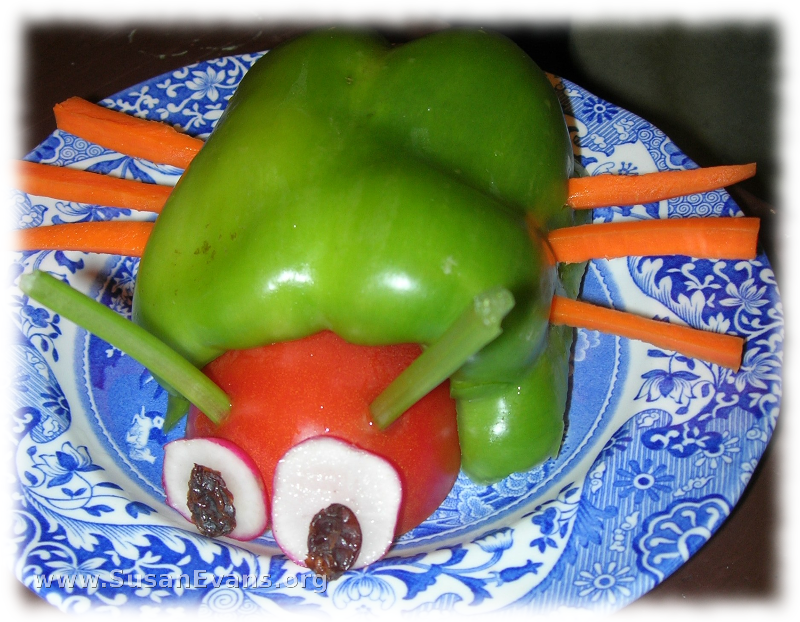
With the autumn comes the harvest, and lots of fresh vegetables are readily available for low prices. What can you do with a pile of vegetables, to make your kids want to eat them with gusto? I’ve seen lots of pictures of vegetable creatures and smiling children wanting to eat their vegetables with more enthusiasm. I decided to have my kids make insects, since that’s what we were studying. My older two sons made the main part of the body out of a half a bell pepper. They used a cut tomato for the head. Eyes were made from cut raisins on top of either radish or carrot slices. Antennae were made out of thin celery or carrots. Legs were made out of carrots. One of my sons made spots with cut (and therefore sticky) raisins.
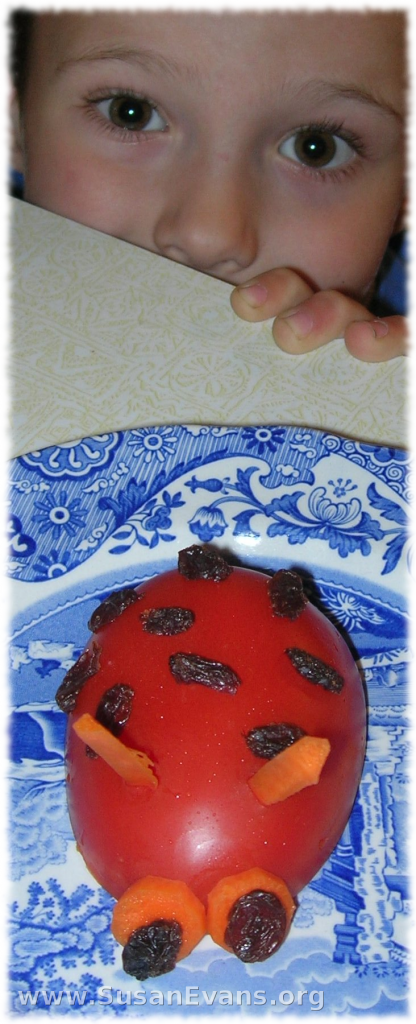
ladybug-tomatoMy third son wanted a ladybug, so he used half a tomato for the body, with raisin spots. Antennae and eyes were made out of carrots, with the eyeballs being raisins. My daughter made a caterpillar out of a cucumber, with lots of carrot feet poked in. I think I poked the holes with an ice pick. (An adult should obviously poke the holes, unless you have a teenager who is making a vegetable creature.) Raisins formed the eyes, with celery for the antennae.

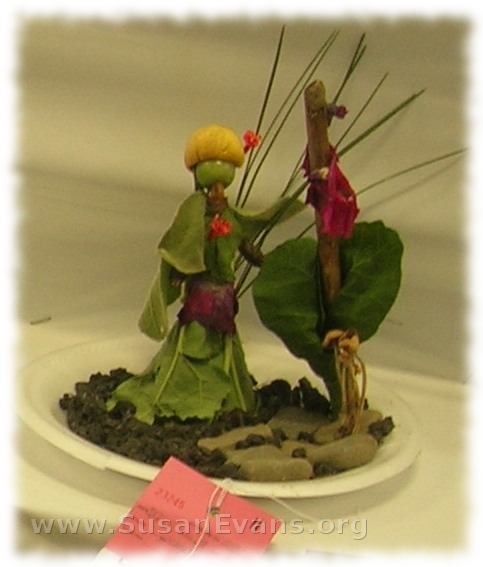
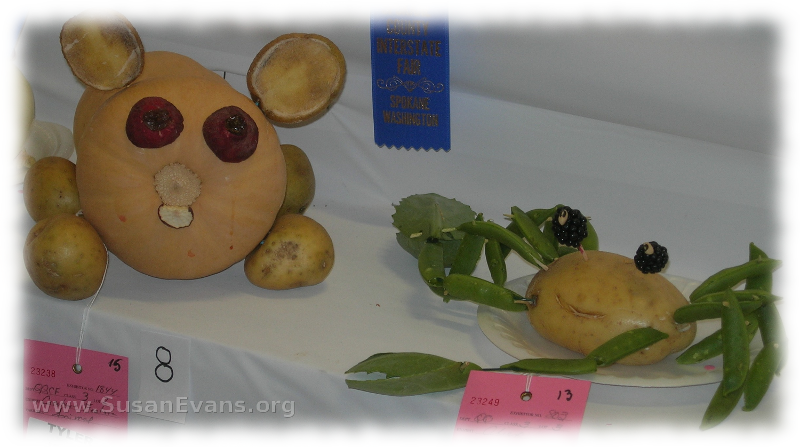
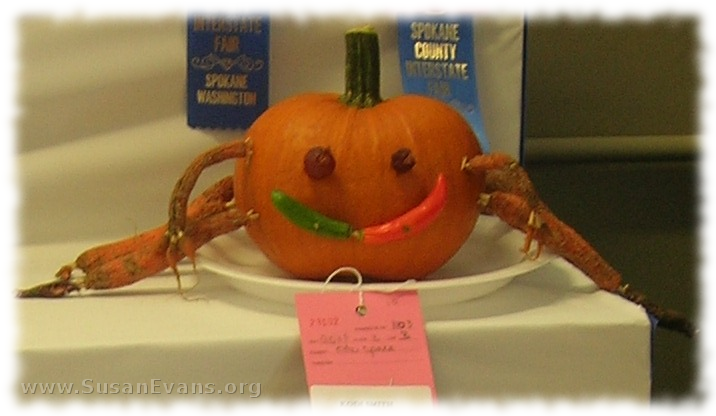
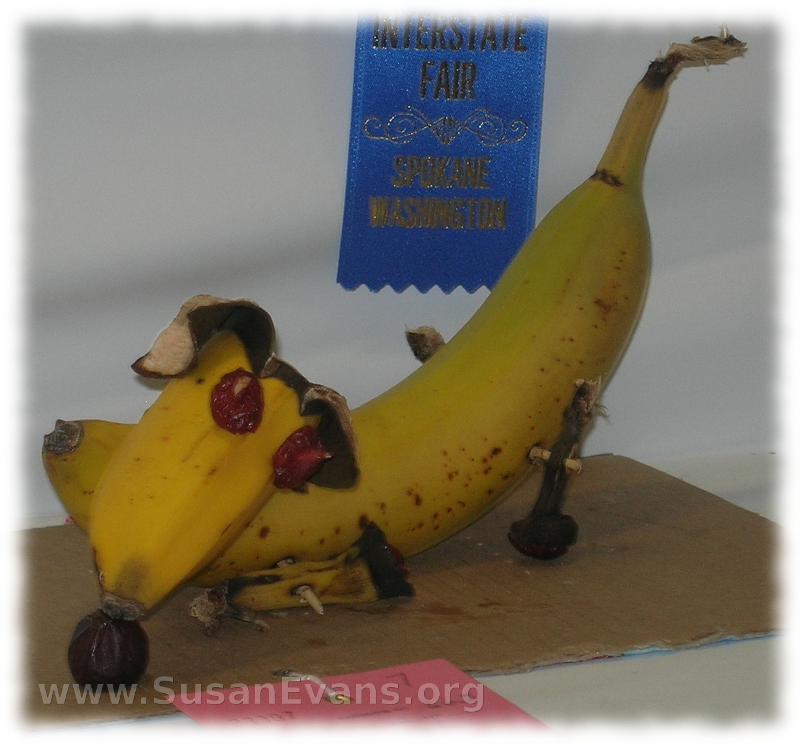
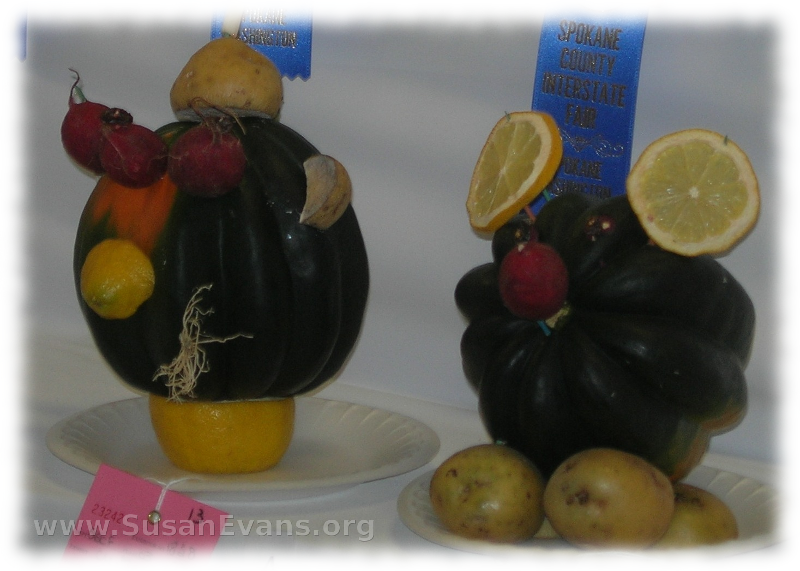
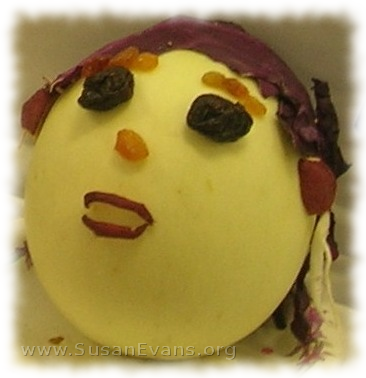
After going to the fair a couple of weeks ago, our family saw lots more vegetable creatures, and some fruit creatures, too. We saw a puppy made out of bananas, a spider made out of a coconut and a kiwi, a pumpkin creature with hot peppers for a smile and carrots for legs, and a melon head with a purple cabbage scarf and prune eyes. We saw squash creatures with lemon slice eyes, a radish nose, and potato feet. We also saw a potato crab with snow peas for legs and blackberries for eyes. Apparently you are allowed to use toothpicks to attach these creatures together when you are entering them at the fair. I even saw sticks and pine needles used, so the category must be to use things that grow out of the ground. An interesting scene displayed what looked like a woman next to a pole. Lots of cabbage was used, and many raisins dotted the ground. These fair entries sure looked like great fun to make!
melon-face

veggie-sculpture

potato-creaturepumpkin-facebanana-creaturesquash-creatures

Autumn Mobile

Wednesday, October 6th, 2010

autumn-mobile

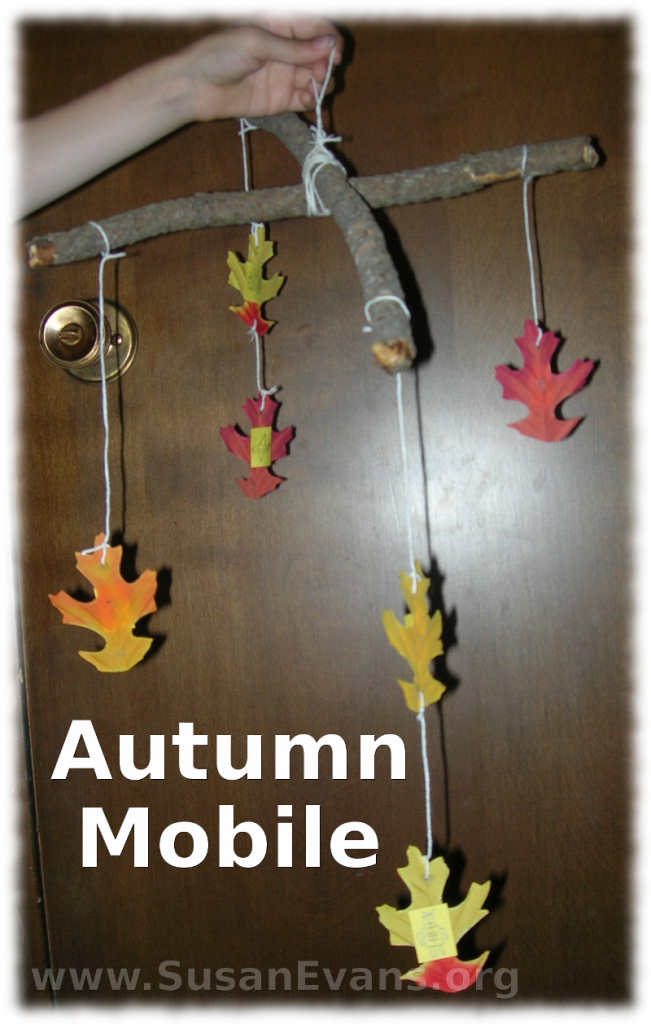
Most mobiles that I’ve seen have been lame. They look like pieces of trash as they hang somewhere, and I can’t wait to take them down and throw them away. So when my husband was in charge of a Tiger Cub Scout group, one of the activities in the book was to make an autumn mobile. I thought I would invent one that looked rustic, like you had just gone on a nature walk. Plus, the kids learned how to do lashings and to tie things together.

Start with two sticks that you find on a nature walk. Put the sticks into a perpendicular “X” shape, and lash the sticks together. (Basically, alternate winding the string around one, and then the other one, to firmly hold the two sticks in place.) Make a loop on the top to hang it up. Then poke a hole in some real autumn leaves that aren’t too dry, or use fake leaves like I did. I poked the hole with a nail, which I pounded with a hammer, but you have to have something underneath that you don’t mind getting holes in. Tie the string to the leaf, then tie it to the stick. You can also add any other nature stuff by poking holes and having the stuff hang wherever you want, as long as the mobile is balanced, weight-wise. Then you’re done.

For the Cub Scout book, the boys needed to draw something that represented each member in their family. So, for example, my son sketched a computer for Dad, a flower for Mom, a butterfly for his sister, an airplane for his younger brother, and a person drawing for his older brother. This way the mobile represented our family. The boy had to think about each member of his family, and what characteristics each person had, or what likes and dislikes. We stuck the pencil sketches (drawn on yellow paper to blend into the autumn leaves) to each leaf with some sticky tack, but you could use glue. It came out quite well, and I kept it up all autumn.

Going to the State Fair

Monday, September 20th, 2010

going-to-the-state-fairNormally I don’t like going to the state fair. The rides are rickety and overpriced, the food is greasy and way too expensive, and the games are nearly impossible to win. Booths sell stuff that you don’t need. Everything is loud and flashing. So for the past several years I’ve skipped the free homeschool tickets to the fair. Even going in for free on a weekday, you end up leaving with empty pockets and $100 flown out the window. Is it worth it? Normally, no. But this year I enjoyed it.going-to-the-state-fair-2

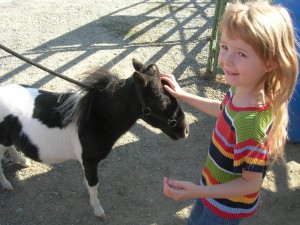
First we saw the animals. My daughter found a miniature horse that was the size of a dog. We fed some sheep right out of our hands. We looked at goats, pigs, rabbits, roosters, and cows. The highland cow was my favorite animal of the day, because it reminded me of Scotland. I forgot how much my daughter loves animals. Maybe some day she’ll be a vet.

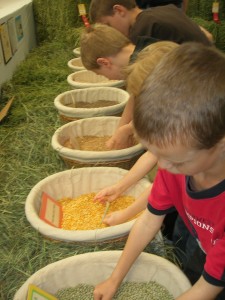
Other buildingoing-to-the-state-fair-3gs included all kinds of displays: quilts, artwork, crafts, flowers, baked goods, and vegetables. Bees were located behind glass, and you had to find the queen. We bought straws with honey in them for ten cents. We touched the grains in many different baskets to feel and see the difference between the many grains. We also felt different patches of fur to see if we could identify the animals.

We went to a tractor pull, where kids had to pedal a tractor with more and more weight attached to it. We went to pig races, where small pigs ran as fast as they could around a track. (The sound effects were comical, as they sounded like cars racing.)going-to-the-state-fair-4

We ate lunch on a patch of grass under a tree. Yes, the food was overpriced, but I decided to get a pita with meat and hummus and lots of fresh vegetables, and it was actually quite good. After eating, three kids wanted to ride on llamas, so we did that.

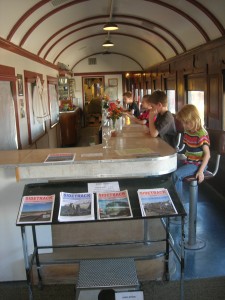
We toured an antique train, which had many different compartments, including a sleeping car, a dining car, a bathroom, a kitchen, and other cars that had antique stuff behind glass, like a museum does. The hallways were narrow, and the car that had seats also had an overhead compartment which people used to pull down (as a bed) to go to sleep. The last car had a model train set that was quite elaborate. As soon as we exited the train, we took a train ride on a much smaller train.

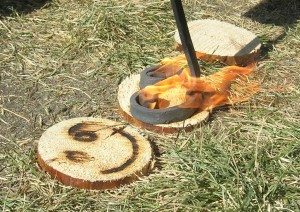
As we walked along, megoing-to-the-state-fair-5n would show us antique machines and how they worked. One man branded a piece of wood with a hot iron, and we had a free souvenir.

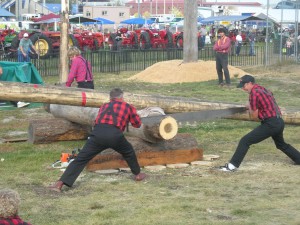
The lumberjack show was fun. Men threw axes at a bull’s eye, chopped wood as a contest, used chainsaws, used old-fashioned two-person saws (and beat an electric chainsaw), rolled on a log and fell into the water, cut a chair out of a log, and climbed up and down a pole really fast.going-to-the-state-fair-6

But the most incredible thing we did was to get inside a huge ball and bounce around in the water, running like a hamster in a cage. The three kids that wanted to do it were grinning from ear to ear as they splashed around without getting wet.

Maple Leaf Cookies

Saturday, September 18th, 2010

maple-leaf-cookies

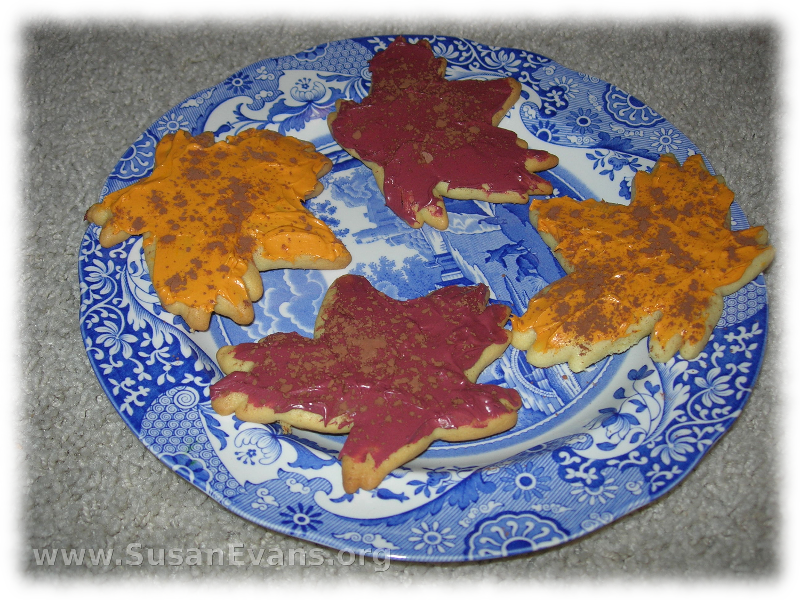
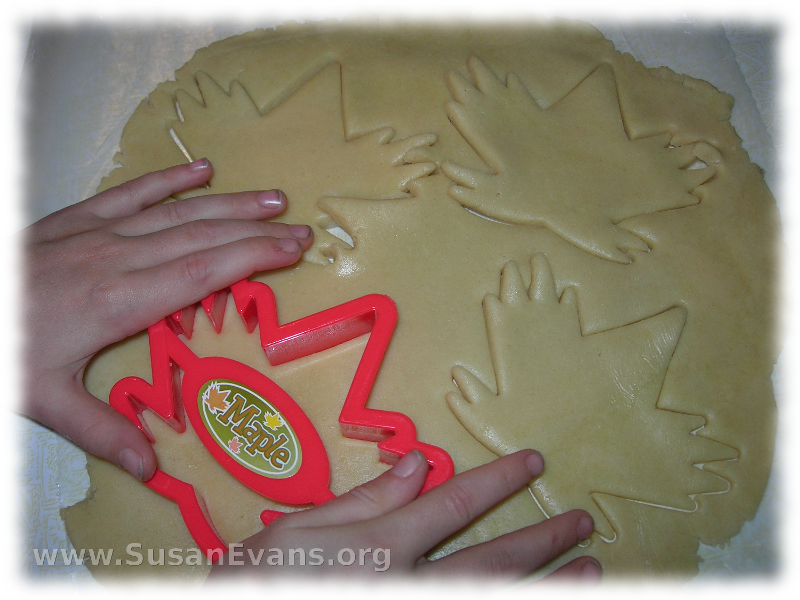
I had sugar cookie dough left over from a different project, so I decided to make maple leaf cookies. I found a plastic maple leaf cookie cutter at Hobby Lobby for 75 cents. My five-year-old rolled out the dough, and the kids took turns cutting out their leaves with the cookie cutter.

maple-leaf-cookies-2

After baking and cooling the cookies, I mixed up some autumn-colored frosting. I put lots of yellow food coloring into white frosting to make the burnt orange color. (Use professional food coloring – it’s much brighter than what you dye Easter eggs with.) For the maroon color, I looked at the food coloring and realized I had no red. I used lots of hot pink. My husband walked past, and I asked him what color to add to make the pink color turn into maroon? He said blue. For a minute I thought it was going to turn brown. (I should have just used chocolate frosting then!) But after mixing it some more (and throwing in some cocoa powder), I saw a lovely maroon color. I dusted the cookies with cocoa powder.

icing

This is a great baking activity to do in the autumn, since maple leaf cookies reflect what is happening in nature. I love how these maple leaf cookies turned out!