Archive for the ‘Seasonal Activities’ Category

Boat Birthday Party

Monday, June 29th, 2015

boat-birthday

A boat birthday is perfect for the summer! What better excuse to spend some time on a nearby lake? Last weekend we celebrated my son’s birthday by giving him a boat birthday party. If you have friends who own a boat, it doesn’t have to cost you any money. If you don’t have friends who own a boat, you will need to save up to rent a motor boat. But it’s an experience that your family will never forget!

boat-party-invitation

How to Make a Boat Party Invitation

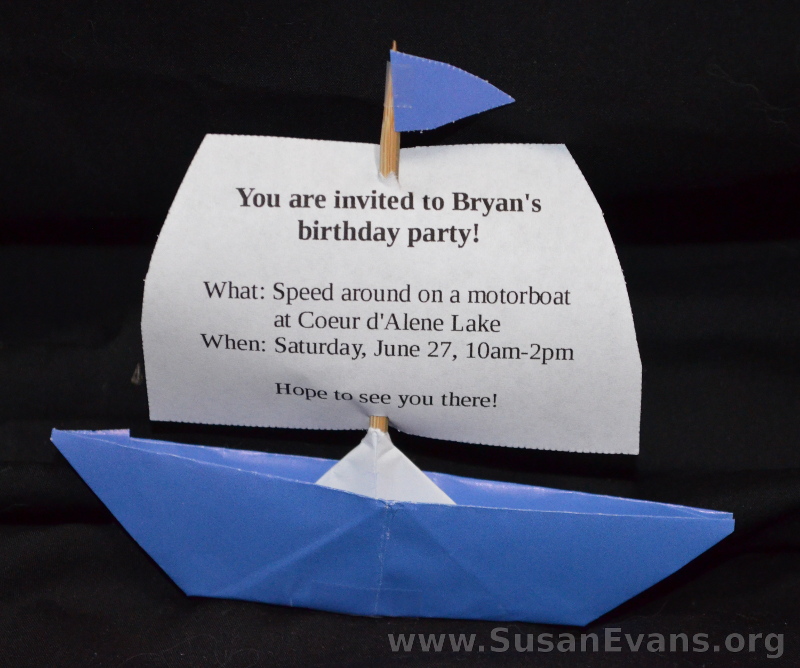
I made the boat invitations by using some origami paper and folding it into a boat. ThenĀ  I stabbed a wooden skewer in through the bottom of the boat, and I taped it in place. Then I printed out the information for the party, and I cut it out in a sail shape and stabbed the skewer through the sail. Finally, I added a tiny flag at the top, taping it in place.

lake-cupcakes

How to Make Lake Cupcakes

Bake some cupcakes and frost them with blue frosting. You will need to stir blue food coloring into white frosting. With a knife, make little waves on top of the blue frosting “water.” Super easy!

You will want to make cupcakes rather than cake if you are planning to eat it on the boat. Make sure to place the cupcakes into a container and put them on ice in a cooler so that they do not melt on a hot summer day in the boat.

boating

Enjoy a day of boating. Often the best gifts are experiences.

My daughter had never been on a boat, so it was super exciting for her. We borrowed a large innertube from a friend and attached it to the boat. The kids loved taking turns being pulled on the innertube by the boat!

boating-party

Okay, maybe the children weren’t the only ones enjoying the boat birthday party!

lake-12

Make Your Own Miniature Treehouse

Tuesday, June 2nd, 2015

miniature-treehouse

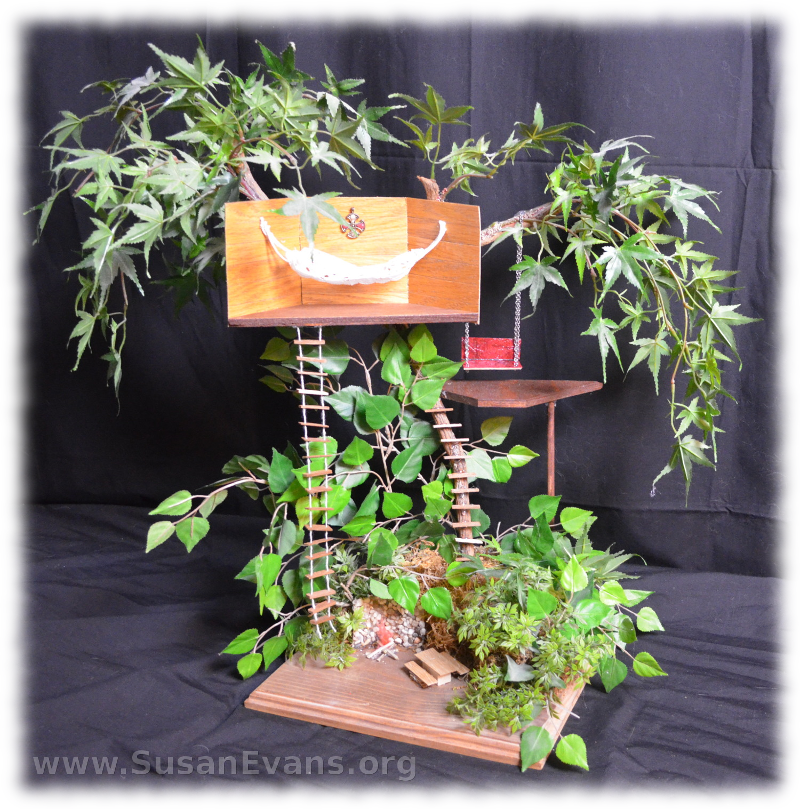
Making a miniature treehouse with your kids can be super fun, especially if you are reading Swiss Family Robinson as a read-aloud! Or it can be a fun open-ended toy for your children instead of an ordinary doll house. I’ve always been fascinated by treehouses, so this was a fun experience for my sister and I to make.

Supplies for Building a Miniature Tree House

You will want to gather some materials before you begin:

  • wooden base
  • brown stain or paint
  • real or fake branch
  • silk leaves
  • string
  • bits of wood
  • a drill
  • hot glue
  • wire cutter
  • scissors
  • pebbles
  • toilet paper tube
  • orange or red feather for fire
  • necklace chain
  • fake leather
  • lace

How to Make your Own Miniature Treehouse

miniature-treehouse-2Step 1: Start with the base. Get a wooden base at a craft supply store, or cut a base from a piece of wood. Stain the wood dark brown or paint it. Drill a hole in the back center, and insert the branch into the hole. Hot glue the branch in place, and hot glue the silk leaves into place.

Step 2: Decide how many levels you want in your treehouse. Stain or paint the wood after cutting it into the shape you want. I already had wood scraps, and I used what I already had. Hot glue the levels onto the tree. If you need a pole to keep the level up, you can hot glue a pole to the top and bottom, stabilizing the level.

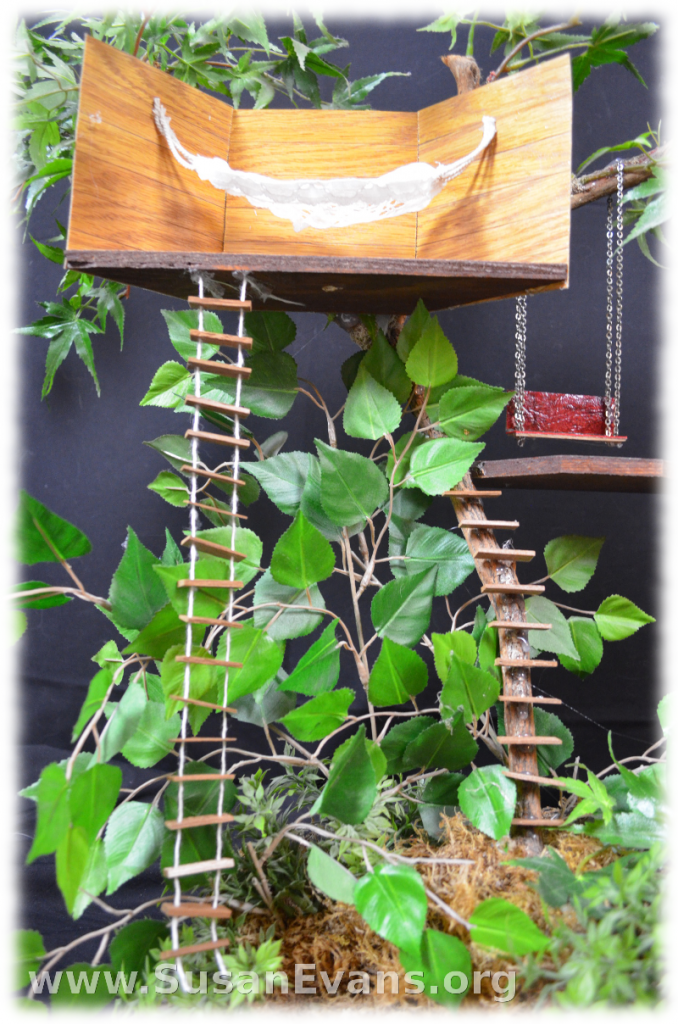
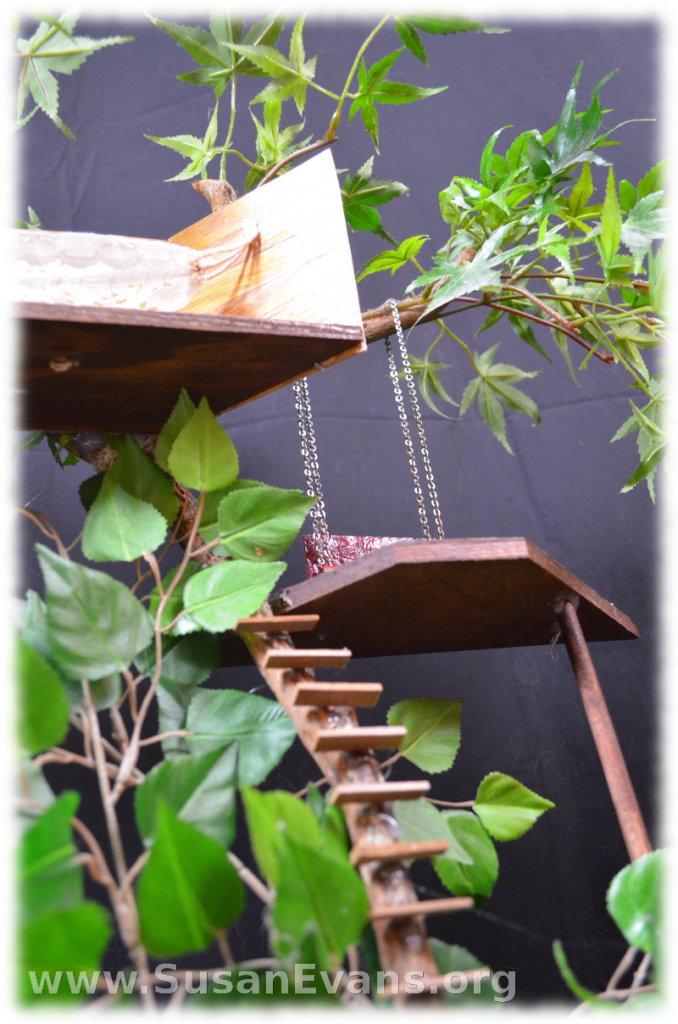
Step 3: I made a bench swing on one level. I hot glued red fake leather to some wood and glued two pieces of wood together. We drilled four holes on the bottom of the bench swing, and I stuffed a chain necklace through the holes. You can use a wire cutter. Attach each chain to a branch of the tree.

miniature-treehouse-3Step 4: On the top level of the treehouse, I hot glued some walls on three sides. Then I made a hammock out of lace. I sewed two pieces of lace together and ironed down the edges to make it look more authentic. I sewed the string to the lace and hot glued it to the walls of the tree house.

Step 5: My sister made a rope ladder by drilling holes in the two sides of small pieces of wood and threading a string through them. We attached the rope ladder to the upper level of the treehouse.

Step 6: Hot glue small pieces of wood to the trunk of the tree, like steps leading up to the first level. Super easy!

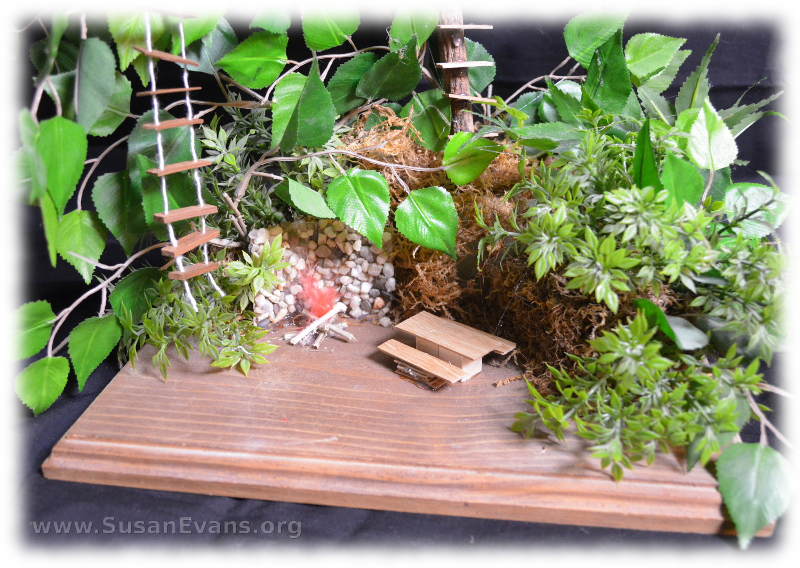
Step 7: Make a picnic table by hot gluing pieces of wood together until you have a structure resembling a picnic table.

miniature-treehouse-4Step 8: Make a fireplace by opening a toilet paper roll with scissors. Put hot glue onto the open toilet paper roll and quickly dump lots of small pebbles on it. Lift up the toilet paper roll and see where you need to add pebbles. Hot glue any pebbles down.

Step 9: Get some twigs to use for logs and assemble them to look like a bonfire. Hot glue an orange or red feather to it for the flames.

You have now completed your miniature treehouse. Isn’t it cute?

Garden Patch for Kids

Monday, March 16th, 2015

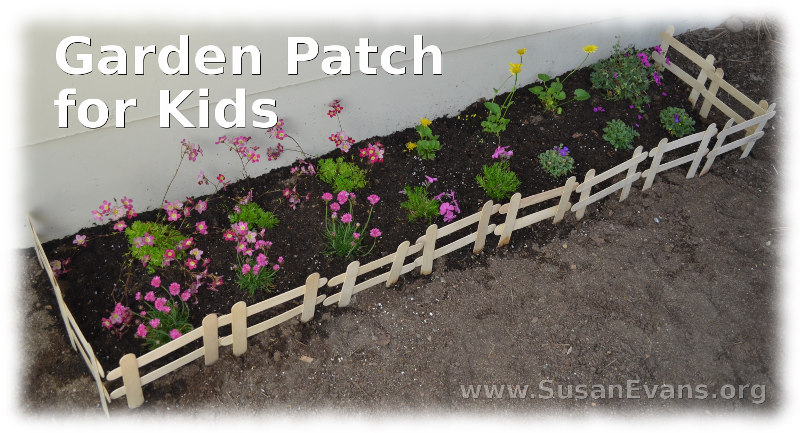
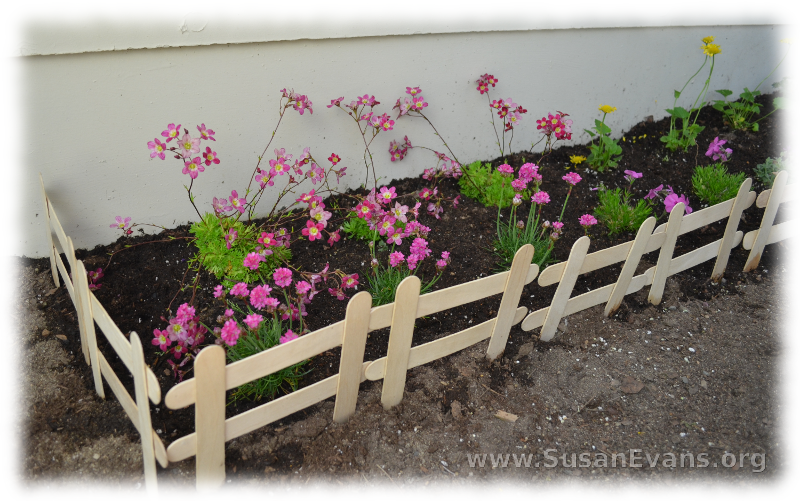
garden-patch-for-kidsWhy not make a fun garden patch for kids? Your children can enjoy playing in the dirt and can watch the plants grow. Here is how your child can design his or her own garden patch.

Designing a Garden Patch for Kids

  • Find a spot in your backyard where you can place a garden patch. A sunny spot will work better than a shady one.
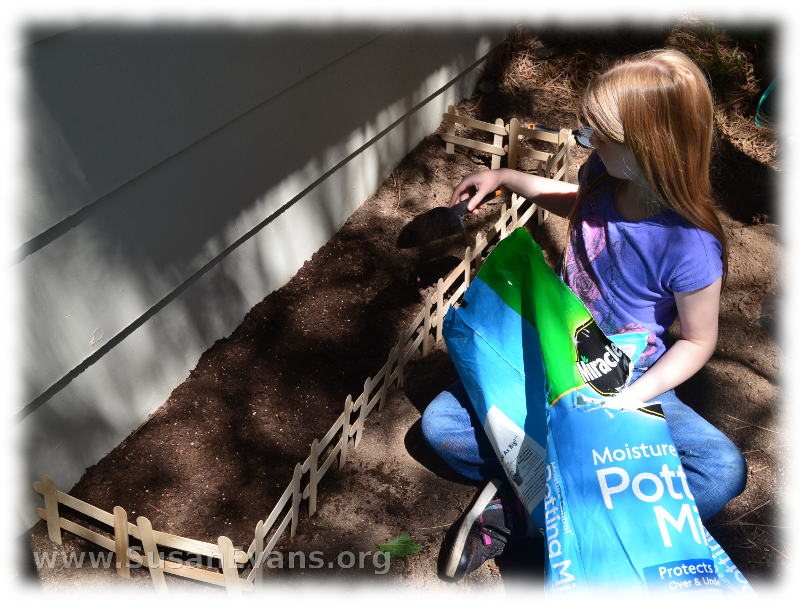
  • With a large shovel, dig a hole about a foot deep, removing any bad soil and replacing it with good soil. If the soil is good already, then just fluff it up with the shovel.
  • You can buy some fencing at a dollar store or make your own by hot gluing large popsicle sticks together in the shape of a fence. Stab them into the soil.

kid-garden

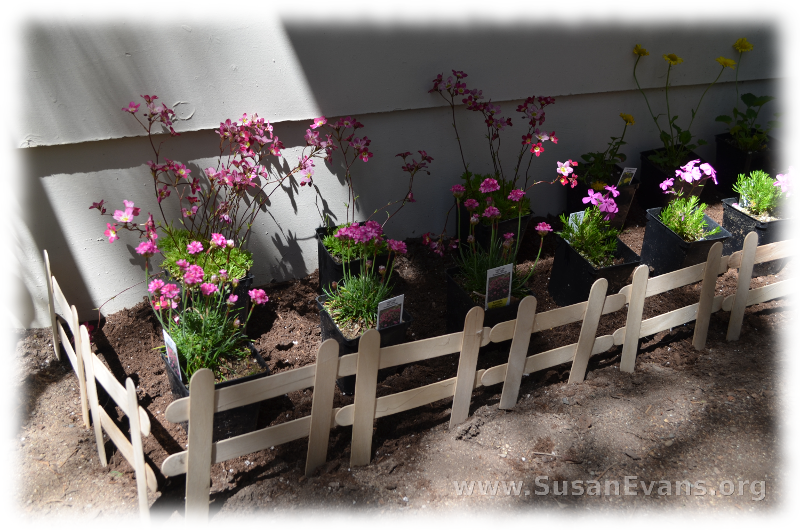
  • Choose some plants from a local nursery, and set them on top of the area, re-arranging the plants until the tall ones are in the back and the shorter ones in front.

planning-a-kids-garden

  • Now dig a hole for each plant, take the plant out of the container, and place the plant into the soil. Pat the dirt around it like a nice comfy blanket.
  • Water your garden. Give it a long drink with a gentle spray, either with a hose or with a watering can
  • Enjoy your garden.

kid-gardening

Tips for Gardening with Kids

Monday, March 9th, 2015

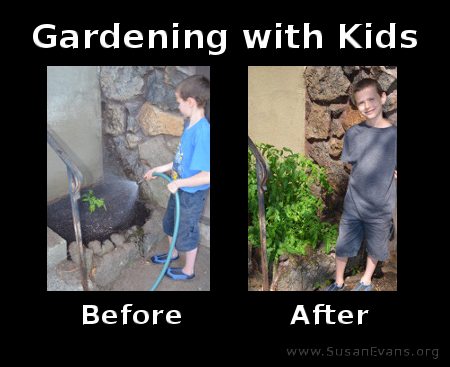
gardening-with-kids

Gardening with kids is a joy! The kids can see a plant growing up out of the soil into a large and beautiful plant. Getting fresh air and sunshine is good for children, and they are more likely to eat fruits and vegetables when they grow their own plants.

gardening-with-kids-3

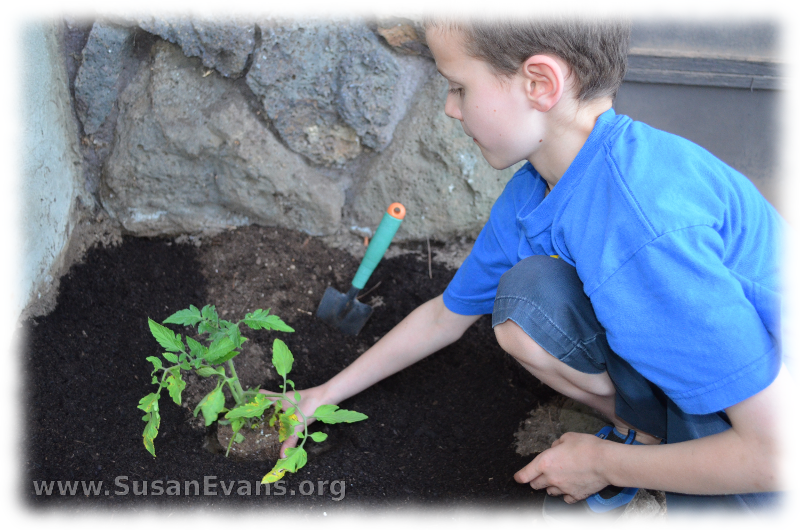
First you will want to find a plot of ground for your child to plant his or her garden. There was a small square plot at the front of our house, and my son chose that space for a small tomato plant. If you look at the picture above, last year his plant grew to ten times the size in just three months! The tomatoes tasted wonderful. He wanted to sell them, but they were just too good. So into his mouth they popped.

gardening-with-kids-2

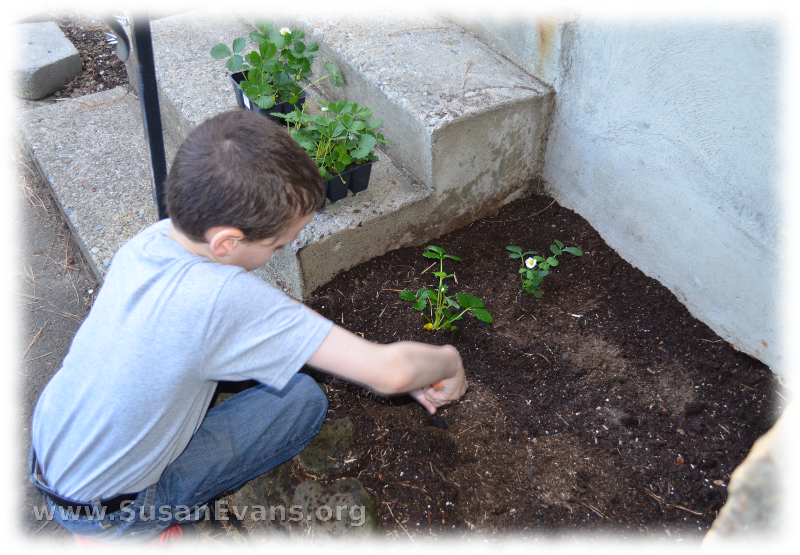
This year my son wanted to plant strawberry plants. I told him that a contained area is great for strawberry plants, which tend to take over the whole yard like a weed. The strawberry plants thrived as well.

Tips for Gardening with Kids

  • Make sure that the soil is rich in the area where your child is planting. You will want to dig out the bad soil and replace it with good gardening soil.
  • Don’t forget to water your plants. You might want to place a note on the refrigerator to remind your child to water the plants.
  • Let the child choose the plants. This way they will be more interested in the growth and produce of their plants.
  • Choose plants that are native to your area. You are more likely to succeed if the plants are indigenous to the area. You can find those in local nurseries rather than big chain stores that ship their plants from outside your state.

Have a wonderful time gardening with your kids!