Archive for the ‘Seasonal Activities’ Category

Snow Scene Centerpiece

Monday, December 16th, 2013

snow-scene-centerpiece

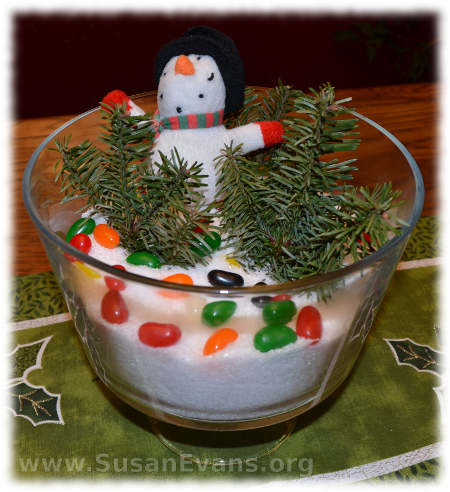
Make a beautiful snow scene centerpiece for your table in less than five minutes. All you need is rock salt (or Epsom salt), a branch of greenery, some Christmas ornaments, and a large glass bowl.

Dump the rock salt into a large clear bowl in the center of your table. Rock salt looks more beautiful, but Epsom salt is more useful, since you can re-use the Epsom salt in your bath after December is over.

Place some greenery into the white salt. You will need to break off small bits of a branch of an evergreen tree, or you can use shears to cut it. I stuck pieces of greenery into the “snow” so that they would look like trees in a forest. But you can also lay them flat in a beautiful way.

Look at the decorations on your tree, and see if you want to showcase one ornament, or if you want to choose several ornaments. A village house would look pretty in the snow. Arrange the ornaments in your bowl. I added jelly beans for color. You could add red berries or a red garland for a similar effect. Just mess with the scene until it looks pretty.

Enjoy your finished snow scene centerpiece! For more fun winter activities, click here.
Make Your Own Clock

Wednesday, November 20th, 2013

make-your-own-clock

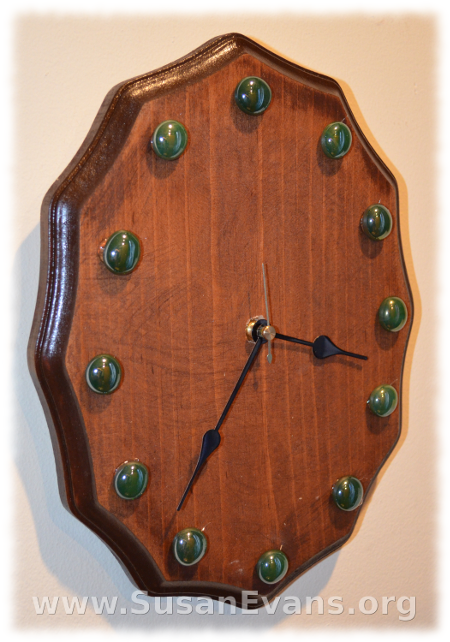
I never knew that you could make your own clock, until my sister sent the different parts for my kids to put together. Yes, you can make a clock to fit your home decor. This is a perfect idea for a Christmas or birthday gift, because you can take into account the hobbies and color scheme of the one who will receive the gift.

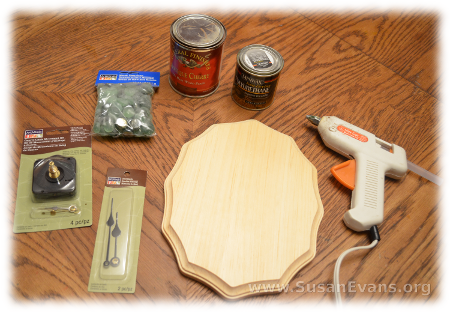
To make your own clock, you will need the following supplies, which you can easily get at most craft supply stores:

  • wood base (whatever shape you want)
  • stain or paint
  • varnish
  • quartz clock movement kit
  • extra clock hands, if you want bigger ones
  • mosaic glass gems (or numbers 1-12)
  • drill with a thick bit
  • hot glue gun

make-your-own-clock-2

First you will want to stain the wood base or paint it. Let it dry overnight, and then put a coat of varnish over the top. Let that dry a couple of days.

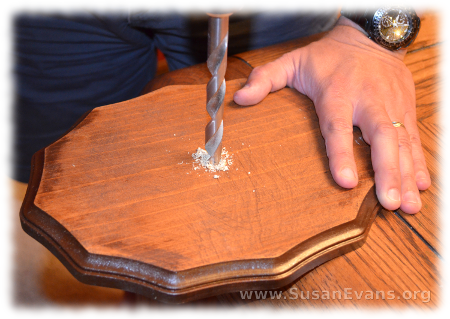
Drill a hole through the middle of the base. I used a ruler to find the exact center of the base. Look at how big the clock movement kit is, to see how big your drill bit should be. Insert the clock movement box to the back of the clock, inserting the hands before doing so. The kit should come with visual instructions on how to do it. It’s really self-explanatory. Make sure to insert a battery after the clock is finished.

make-your-own-clock-3

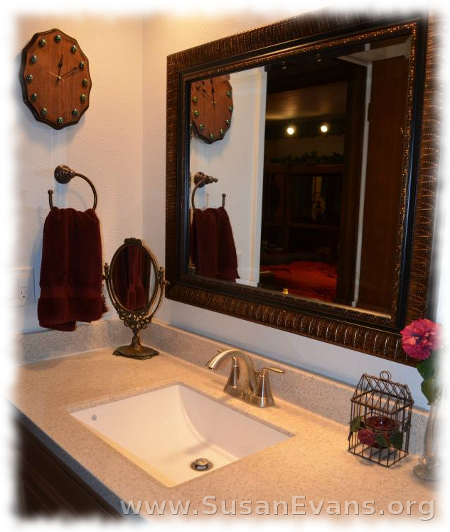
You will want to add embellishments like gems or numbers around the edges. You can also add small, flat decorations like 3-D stickers or doll accessories. For example, if you are giving the clock to a hunter, you can hot glue a small rifle to the clock. If you are giving the clock to a teacher, you can place a large 3-D apple sticker on it. We decided to leave ours simple. It matches our newly refurbished bathroom!

make-your-own-clock-4

Squash Creatures

Monday, November 11th, 2013

squash-creatures

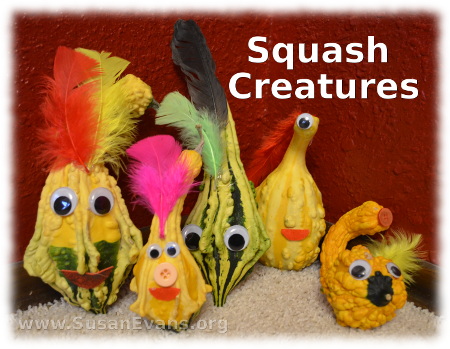
Make some fun squash creatures with your kids instead of eating the squash. (Who actually wants to eat squash anyway, especially ornamental squash that looks like it’s been grown by aliens?)

Plug in your hot glue gun, take out your craft supplies, and decorate a squash to look like a creature. You can use google eyes, feathers, buttons, and bits of cloth. It takes less than 5 minutes to make this craft, so you can do this, even if you feel foggy and in need of sleep. As soon as you’ve made your squash creature, shout for your children to come running.

Listen to their squeals of joy as you show them your creature. Then let them get to work. One of my sons wanted the squash to have only one eye. Yes, since it’s all lumpy and looks like an alien anyway, why not go with it? You can turn the squash in any direction to make your creature.

I told my kids to use at least one feather, since I wanted to use these as Thanksgiving decorations, you know, to represent the Native American generosity to the Pilgrims. Enjoy your cute and easy-to-make squash creatures.

Autumn Table Decorations

Monday, November 4th, 2013

autumn-table-decorations

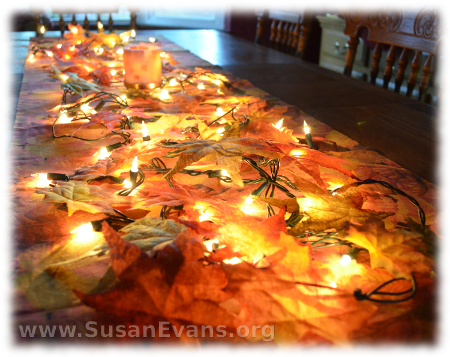
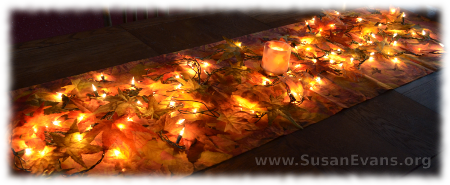
What autumn table decorations do you have this year? Why not add some pizzaz by placing Christmas lights under them? This will give a warm, magical glow to your autumn table.

First you will probably want to put some sort of autumn table runner on your table. Mine has autumn leaves, but you can just throw some red or orange cloth down. Then place the Christmas lights on your table, and light them so that you can see if the lights are evenly dispersed. Plug the Christmas lights into the nearest electrical socket, and tape the cord to the side of the table with packing tape so that the lights don’t get pulled off the table by accident.

autumn-table-decorations-2

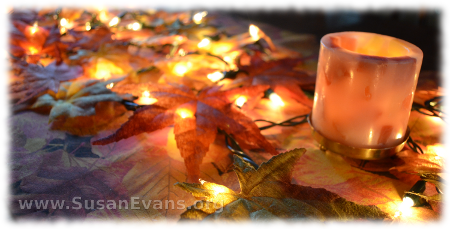
Place a candle in the middle of the table and light it. Make sure it has autumn colors. Then sprinkle silk autumn leaves on top of the Christmas lights. Your autumn table decorations will now delight your family and guests!

autumn-table-decorations-3