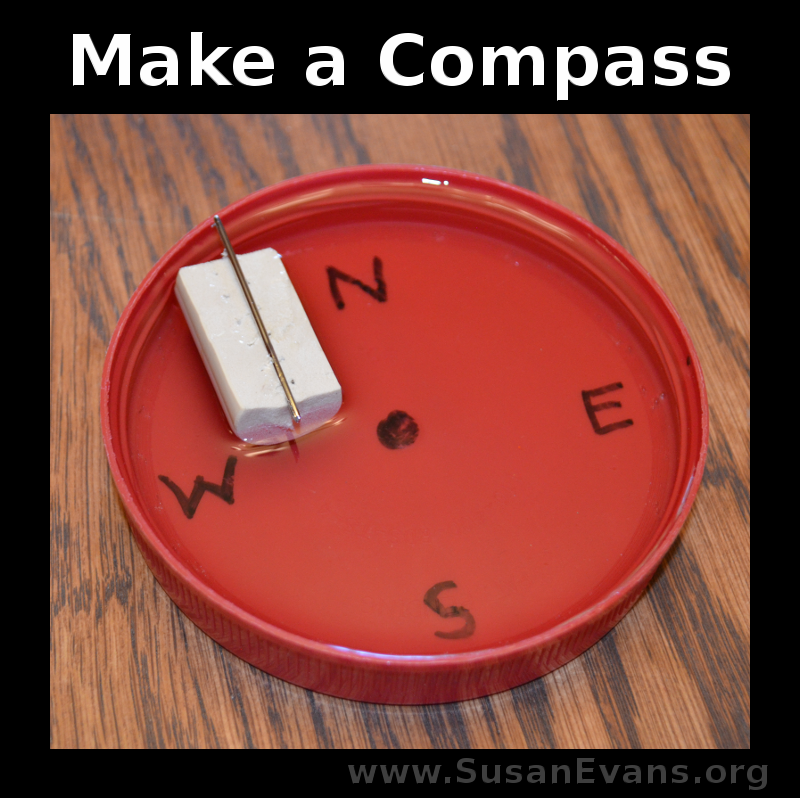
Today we will make a compass with a lid, a cork, a needle, and a magnet. This is a simple yet fun experiment to understand magnetism.
First you will want to get a bowl or a lid. I used a peanut butter jar lid because it is large, deep, and plastic. It’s also a great red color. I grabbed a black Sharpie marker and wrote N for north, S for south, E for east, and W for west. I drew a dot in the middle.
Fill the lid with cold water.
Cut a cork in half. Make a groove down the center of the cork like I show you in the video demonstration. If you don’t have a cork, you can use butter or margarine to coat the needle so that it will float.
Now grab a bar magnet and stroke the needle ten times in one direction, using the north pole of the magnet. Insert the needle into the groove of the cork.
Place the needle and cork into the water, and you will notice that it will point to the north pole. Even if you turn the bowl, it will still continue to point in the same direction. And if you pull the needle out of the water and put it backwards, it will spin to align itself to the north pole!
How to Make a Compass (Demonstration)
Take a look at this experiment on video:
This post contains affiliate links. I was compensated for my work in writing this post.
We have loved all the hands-on activities in our book Christian Kids Explore Physics by Bright Ideas Press. Why not pick up a copy of the book and try some of the experiments? Physics has never been so easy to learn!
Tags: Christian Kids Explore Physics, hands-on science, Homeschooling, physics, science


The groove idea is such a better idea than trying to get the pin through the center. I also saw (but didn’t have time to order them for our co-op), cork pads for the bottom of chairs that could be stuck together around the pin.
I’m thinking too…if I ever do this again, of trying to figure out a way to put something sticking up out of the center, and then carving out a bit of the cork underneath so it can float on top of that carved area and still stay in the center…instead of floating to the edge.
Yes, that’s a great idea to keep it in the center, but you would have to block the hole with hot glue or something; otherwise the water would leak out through the hole in the bottom.
What a fun activity! Thanks for sharing Susan!
You’re welcome! It was a blast!