Posts Tagged ‘art’

Thankful Cards

Tuesday, November 20th, 2012

thankful-card

Why not write thankful cards to each member of your family this year, and hand them out at the Thanksgiving table? You can tell each person what you enjoy about them and why you are thankful for having them in your life.

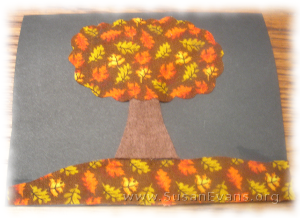
My kids created some thankful cards by gluing pieces of textured paper, scrapbook paper or cloth onto a folded piece of card stock paper. Make sure you have envelopes that fit the card size. For me, it was easy to cut a card stock paper in half, creating two cards with each piece of paper. This fits the bulk envelopes I bought years ago for regular-sized cards. Then we arranged different shapes on the card. Make sure the colors go together—I used autumn-colored paper and cloth samples. We glued them to the card with white school glue.

thankfulness-card

For family members not coming for Thanksgiving, you can put the cards in the mailbox. Imagine the surprise people will get when they open the card to find how precious they are to you, and why they are important in your life. It reminds me of those old Hallmark greeting card ads on television, you know, the tear-jerker ones that made you feel all warm and fuzzy inside. Yes, those…

Autumn Stained Glass Leaves

Friday, November 9th, 2012


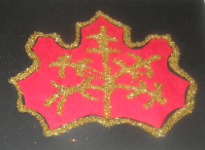
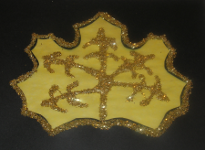
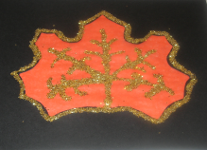
My daughter and I created these fun autumn stained glass leaves! Here is the tutorial for how to make this simple yet beautiful craft:

Materials you will need:

  • black card stock paper
  • colorful tissue paper
  • scissors
  • tape
  • white school glue
  • gold glitter

How to Make Autumn Stained Glass Leaves

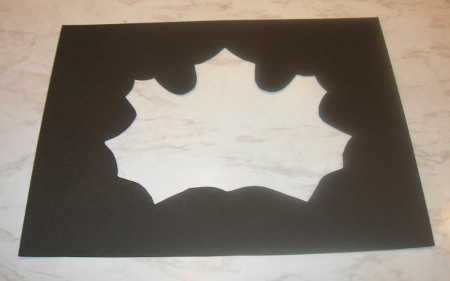
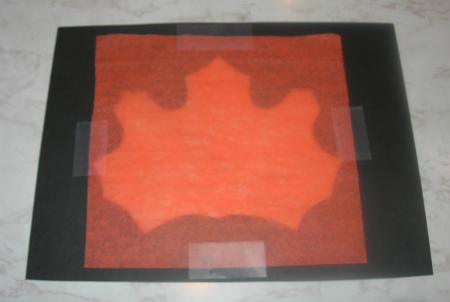
To make these autumn stained glass leaves, start with black card stock paper. Draw a maple leaf in pencil. (It is easier if you fold the paper in half so that the sides are symmetrical.) Poke your scissors through the center of the leaf, cutting out the inside.

On the back of the black card stock paper, tape a piece of tissue paper on all four sides. You can choose orange, red, yellow, brown, or green.

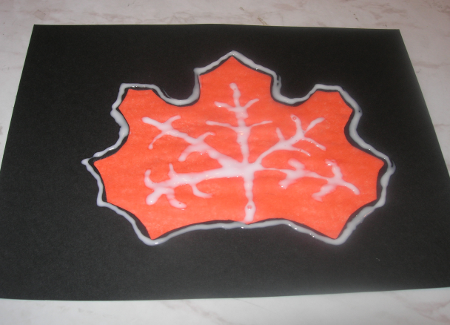
Turn the paper right-side up. With white school glue, draw the veins of the leaf. Then outline the leaf on the black edge of the card stock paper.

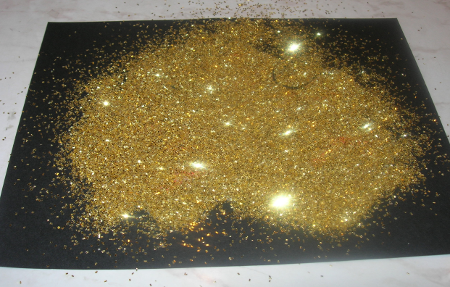
Shake gold glitter all over the leaf. it should completely cover the glue.

Pick up the paper and allow all the excess glitter to fall off. Your autumn stained glass leaves are finished. Allow them to dry before taping them to a window.


Grain Art

Tuesday, November 6th, 2012

grain-art

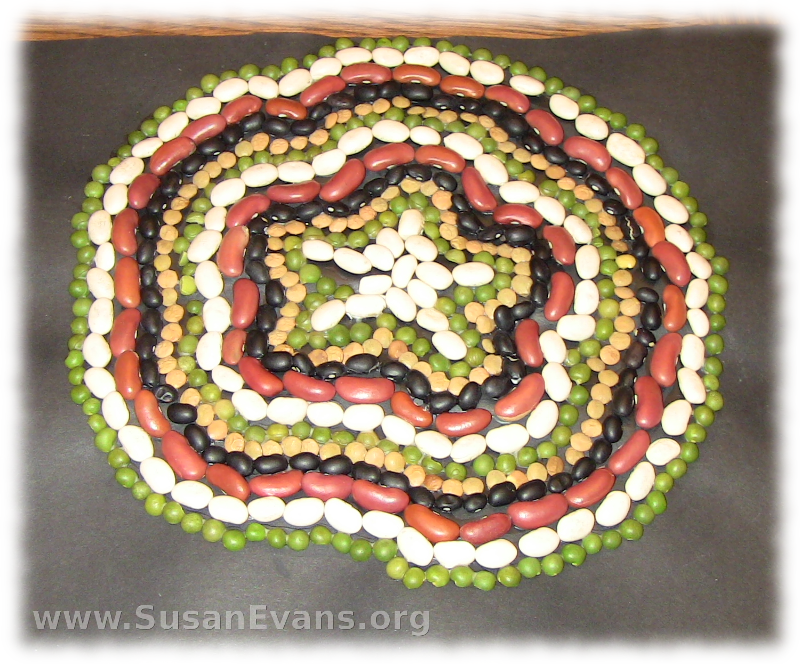
Grain art is a fun activity to do in the autumn. It has an interesting texture and reminds us of harvest time. I bought dry grains in as many colors as I could find at the grocery store in cheap sealed bags:

  • green dried peas
  • black beans
  • red kidney beans
  • white beans
  • yellow lentils

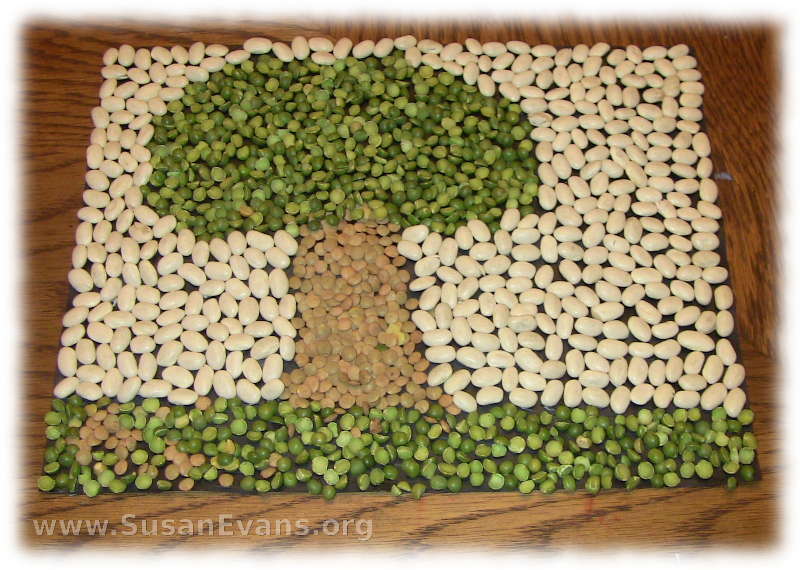
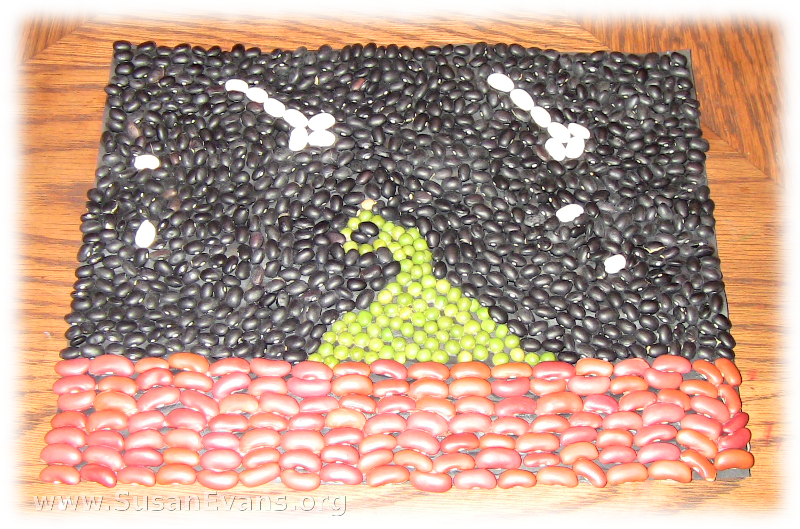
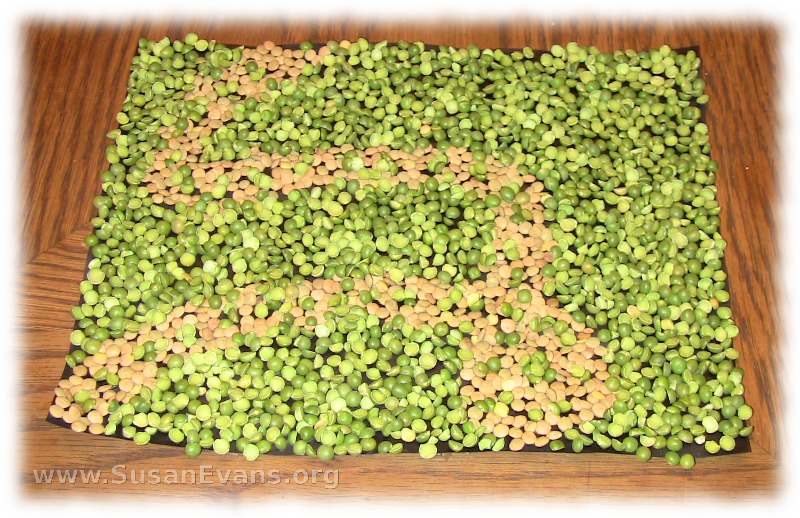
We started with black card stock paper as the backdrop. If you want, you can sketch a design in pencil first, filling in one area at a time with glue. Then you glue down each grain. It goes faster if you dump the grain on top of the paper, then lift the paper up. It looks neater and more orderly if you place each grain one by one, but this might be tedious for younger children. It depends what kind of look you want.

grain-art-3

You can do symmetrical patterns or a design representing an actual object. My daughter made a star in the center of her paper, spiraling outwards with alternate grains. One of my children chose to make a tree. Another son titled his grain art, “Green Blob with Asteroids.” My oldest son made a spiral ladder leading to nowhere. As you can see, everyone has freedom for their personalities to shine through this art activity!

grain-art-2

grain-art-4

Decorating Walking Sticks

Thursday, November 1st, 2012

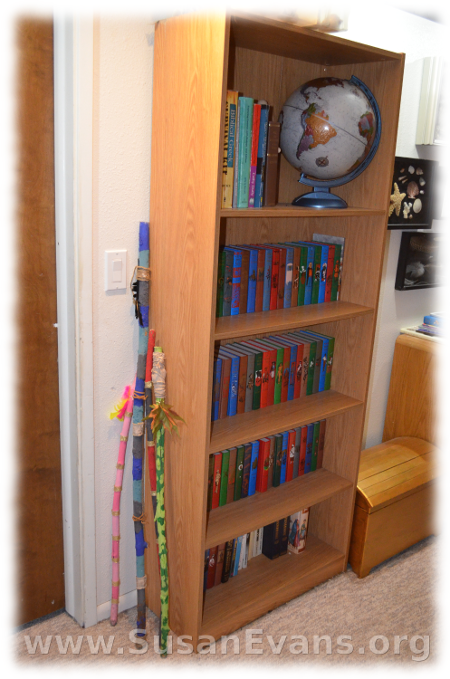
decorating-walking-sticksDecorating walking sticks is a fun art activity, especially if your children enjoy nature hikes. Find some walking sticks in a forested area. You can paint the sticks whatever color you want and add embellishments like leather, feathers, twine, ribbon, leaves, and other fun items.

One of my sons painted his stick like a poisonous snake, with red, black, and gold, following the adage “red on yellow, kill a fellow.” He added gold ribbon to jazz up his walking stick.

Another son wanted camouflage, so he painted with two different shades of green, making blobs on the stick. This is easier to do if you paint the stick completely in one color of green, then let it dry. At that point, you can add blobs of another shade of green. This son tied some silk autumn leaves to the top of his walking stick.

My oldest son likes blues and grays, and he did a striped pattern, using leather embellishments along the way. He tied black feathers to the top of his stick.

My daughter loves pink, so she decorated her stick in a girly way. She tied pink and yellow feathers to the top, after having used these colors in her paint and ribbon. We attached most of the items with hot glue.

Watch the video demonstration to get more ideas for decorating walking sticks: