Posts Tagged ‘art’

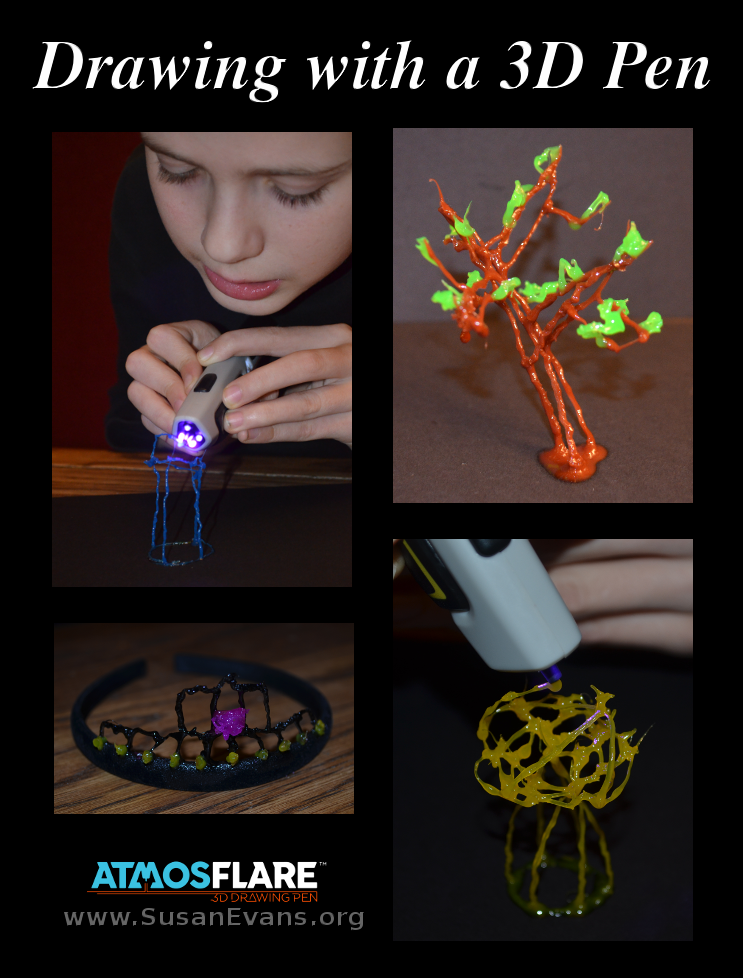
Drawing with a 3D Pen

Sunday, February 28th, 2016

drawing-with-a-3d-pen

I received an AtmosFlare 3D pen for free and was compensated for an honest review.

When I found out this AtmosFlare 3D pen existed, my kids wanted me to get it so that we could make 3D sculptures. It comes with red and blue ink cartridges, so we ordered a few more colors before we got started. They have 12 colors to choose from: red, light pink, pink, orange, yellow, green, blue, purple, brown, black, gray, and white.

Putting the ink cartridge into the pen was pretty self-explanatory, as I show you in the video demonstration below. You take the cap off the ink cartridge and screw on the nozzle. Then place the cartridge into the pen. The colorful instruction pamphlet is simple and easy to understand. A battery is included, which I thought was nice.

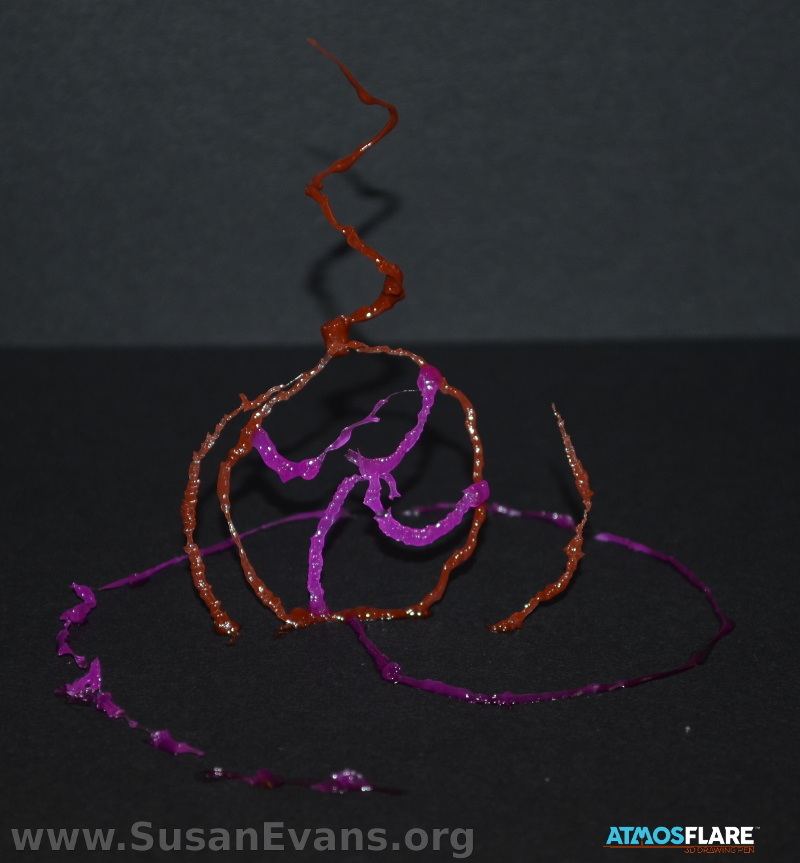
I used black card stock paper as the base for each of the 3D sculptures. Black makes a good contrast for taking photos of your sculptures and ensures that your table doesn’t get junk stuck to it.

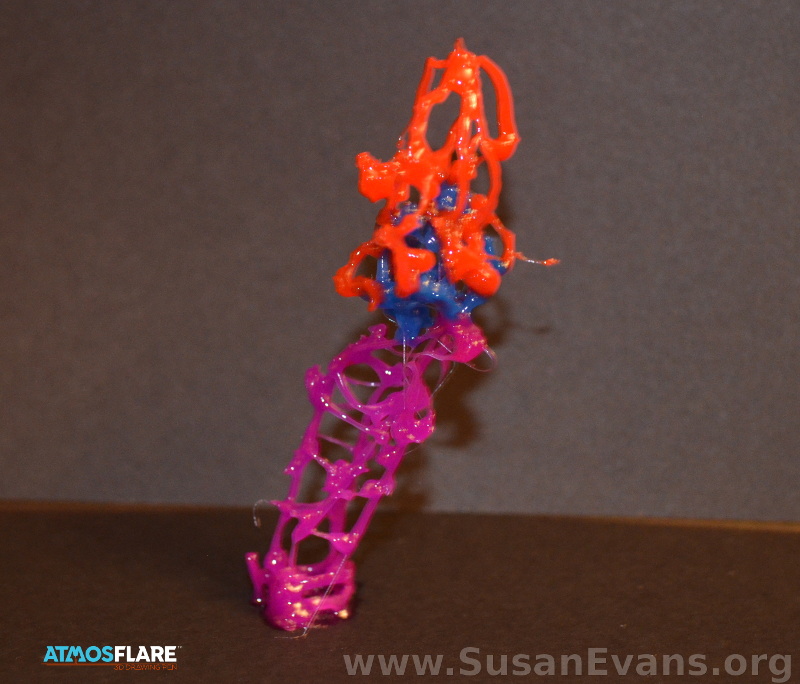
atmosflare-abstract-art

Drawing with a 3D Pen (Video Demonstration)

Here is our first attempt using the AtmosFlare 3D pen for creating sculptures. We figured out at the very beginning that you don’t want to sculpt too fast. But no worries if you make mistakes: just pinch it off like I show you in this video:

Tips for Using the AtmosFlare 3D Pen

If you watched the demonstration video above, you will get a feel for the pen before it arrives in the mail. These are a few tips we would give someone who is trying it for the first time:

  • For your first sculpture, try making a straight line starting from the bottom and working your way up. When you do this, you will see how fast you can go to make a solid straight line. The slower you go, the thicker the line.
  • You can pinch off all your mistakes, so don’t be scared.
  • All designs need to begin at the bottom and move upward, obviously. It might be easier to grab a real item and place it in front of you. We had a real lantern to look at when attempting to sculpt a lantern.
  • When turning a corner, don’t turn too fast or it will be too thin and start sagging. Don’t turn too slow or the sculpture will stick to the nozzle. I used an empty nozzle on the table to cut the nozzle away from the sculpture. Then wipe the nozzle off with a baby wipe or wet paper towel to make sure it is not sticky so that you can continue.
  • I noticed my kids occasionally wiped off the pen on the card stock paper instead of using a wipe. I think the wipe is more effective because all of the stickiness is removed.

Make-a-tree-atmosflare-pen

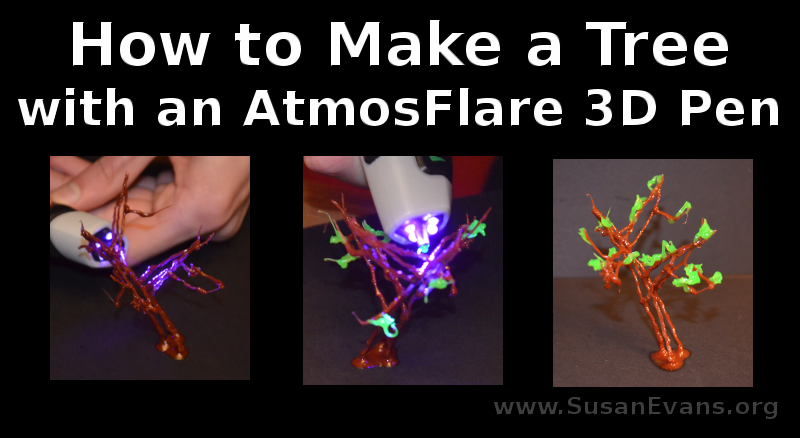
Make a Tree with an AtmosFlare 3D Pen

To make a tree, begin with a brown tree trunk. Starting at the bottom, make lines upward until you have the desired thickness for your tree trunk. Branch off around the middle of the tree to add interest. Then make smaller and smaller branches until it looks like a spectacular winter tree.

Switch to a green cartridge. Now make green leaf blobs on the branches. As soon as it’s filled out, you are finished with your tree. (Watch how my son sculpts a tree in the video above.)

how-to-make-a-crown-AtmosFlare-3D

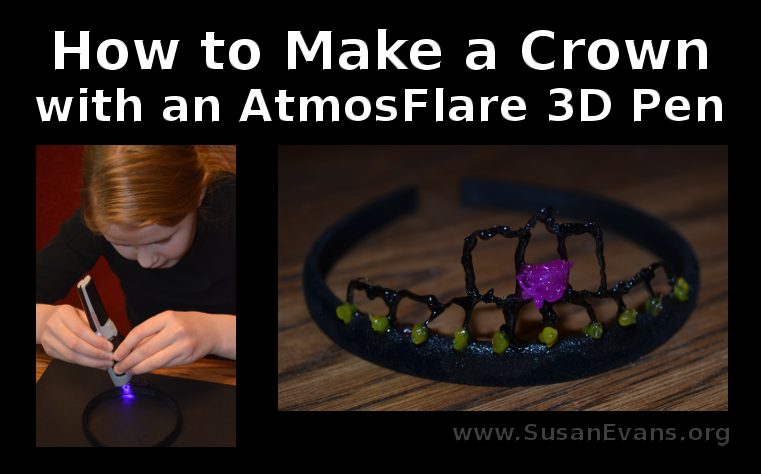
Make a Crown with an AtmosFlare 3D Pen

To make a crown, start with a simple head band. Make your first small arch in the center of the headband. The easiest way to make an arch is to do a vertical line, another vertical line, and then join the two together at the top. Whenever I made an arch in one swoop, it didn’t look as good as the ones I made with two vertical lines first before the horizontal line.

Make these loops all the way along the front of the head band. Make three taller loops on the front at the top. Grab some purple ink and make a rose in the front center. Grab the yellow ink and make dots along the bottom to look like jewels. Now your crown is finished.

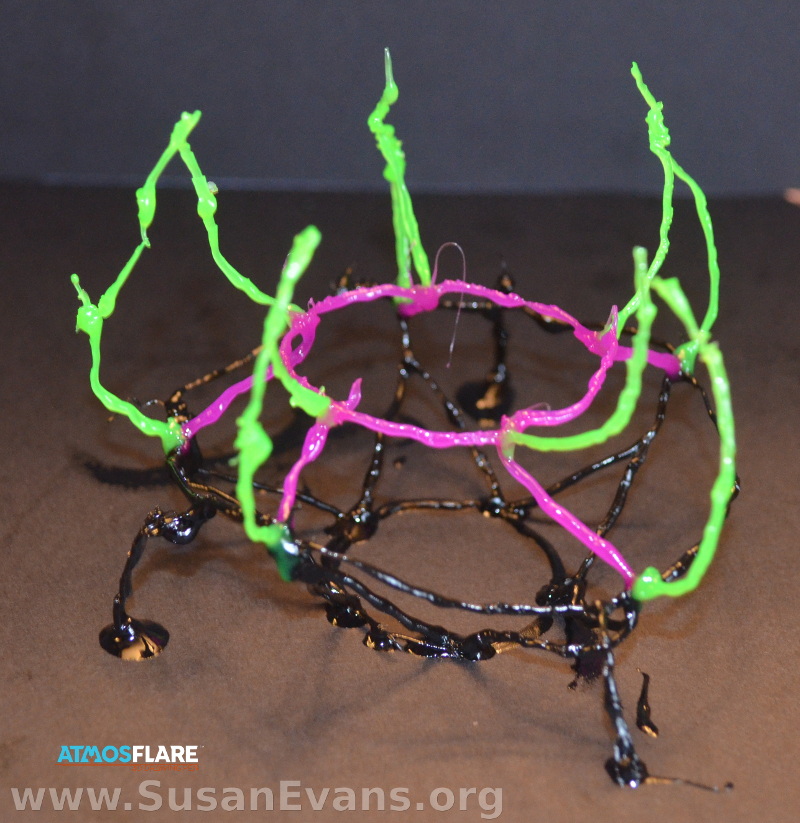
Here is a crown my 10-year-old daughter made. It has an insect theme:
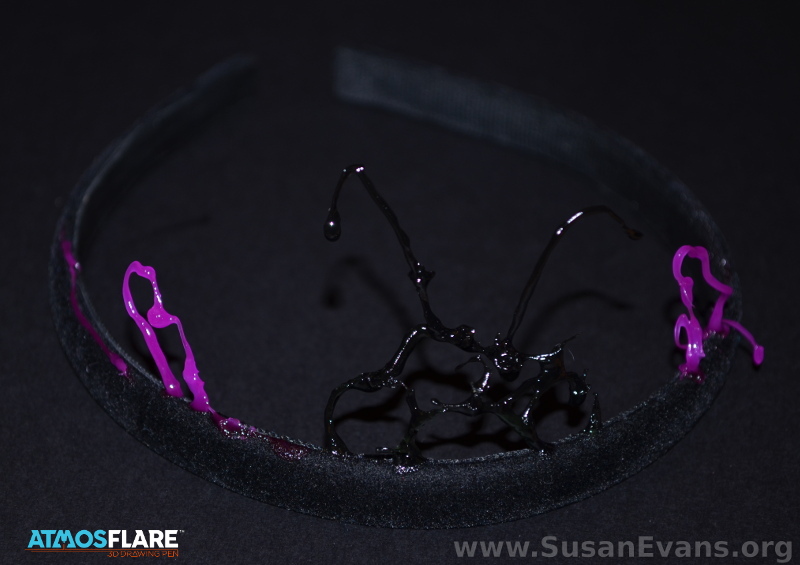
Rachels-3D-crownShe wanted me to make her a beautiful princess crown, so I made her the loopy one to make her happy. The 3D pen box says Ages 14+, but my 10-year-old daughter got better at it when she made this flower:

atmosflare-flower

One of my sons created this spaceship. I thought it looked cool.

armosflare-3d-pen-spaceship

Our experience with the 3D pen was super fun. If you have extra ink cartridges from the very beginning, you can play with it for a while before making an actual sculpture.

AtmosFlare 3D Pen Giveaway

Enter below to win a free 3D pen from AtmosFlare. If you would like to see other sculptures to get inspiration, follow AtmosFlare on Facebook, Twitter, Instagram, and Pinterest. And if you don’t win the contest, you can always buy the reasonably-priced pen here. You can also get the pen at Toys “R” Us and Best Buy.
 atmosflare-

Make Your Own Miniature Treehouse

Tuesday, June 2nd, 2015

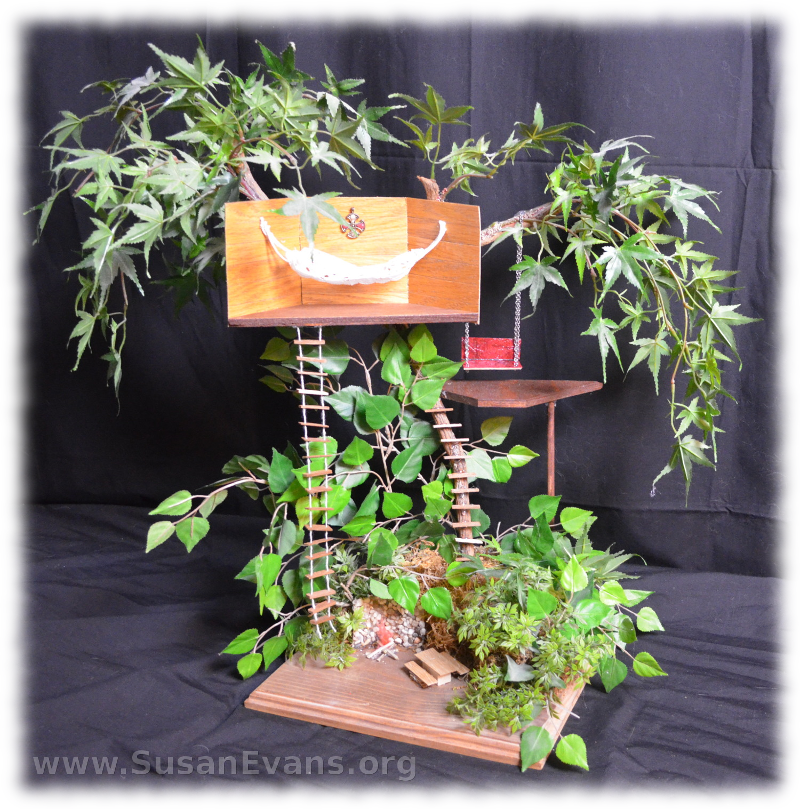
miniature-treehouse

Making a miniature treehouse with your kids can be super fun, especially if you are reading Swiss Family Robinson as a read-aloud! Or it can be a fun open-ended toy for your children instead of an ordinary doll house. I’ve always been fascinated by treehouses, so this was a fun experience for my sister and I to make.

Supplies for Building a Miniature Tree House

You will want to gather some materials before you begin:

  • wooden base
  • brown stain or paint
  • real or fake branch
  • silk leaves
  • string
  • bits of wood
  • a drill
  • hot glue
  • wire cutter
  • scissors
  • pebbles
  • toilet paper tube
  • orange or red feather for fire
  • necklace chain
  • fake leather
  • lace

How to Make your Own Miniature Treehouse

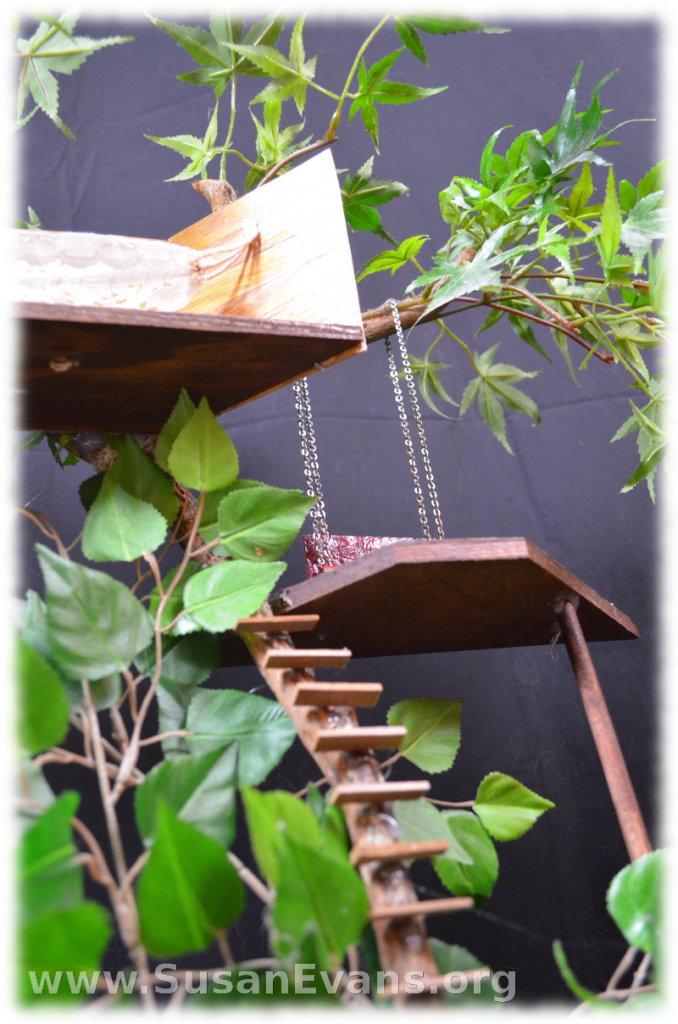
miniature-treehouse-2Step 1: Start with the base. Get a wooden base at a craft supply store, or cut a base from a piece of wood. Stain the wood dark brown or paint it. Drill a hole in the back center, and insert the branch into the hole. Hot glue the branch in place, and hot glue the silk leaves into place.

Step 2: Decide how many levels you want in your treehouse. Stain or paint the wood after cutting it into the shape you want. I already had wood scraps, and I used what I already had. Hot glue the levels onto the tree. If you need a pole to keep the level up, you can hot glue a pole to the top and bottom, stabilizing the level.

Step 3: I made a bench swing on one level. I hot glued red fake leather to some wood and glued two pieces of wood together. We drilled four holes on the bottom of the bench swing, and I stuffed a chain necklace through the holes. You can use a wire cutter. Attach each chain to a branch of the tree.

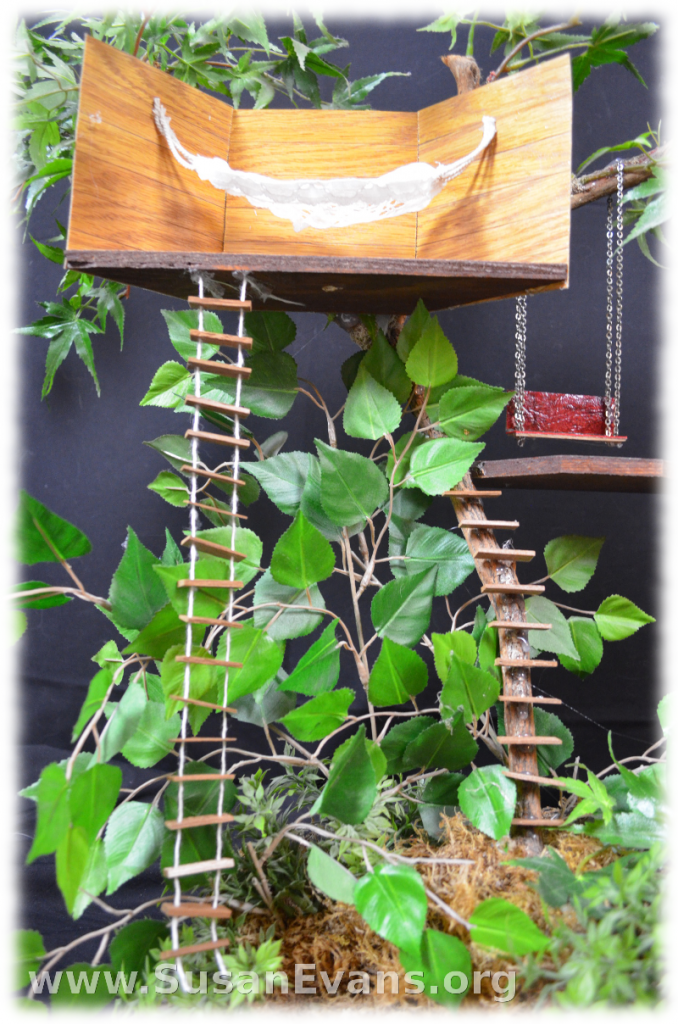
miniature-treehouse-3Step 4: On the top level of the treehouse, I hot glued some walls on three sides. Then I made a hammock out of lace. I sewed two pieces of lace together and ironed down the edges to make it look more authentic. I sewed the string to the lace and hot glued it to the walls of the tree house.

Step 5: My sister made a rope ladder by drilling holes in the two sides of small pieces of wood and threading a string through them. We attached the rope ladder to the upper level of the treehouse.

Step 6: Hot glue small pieces of wood to the trunk of the tree, like steps leading up to the first level. Super easy!

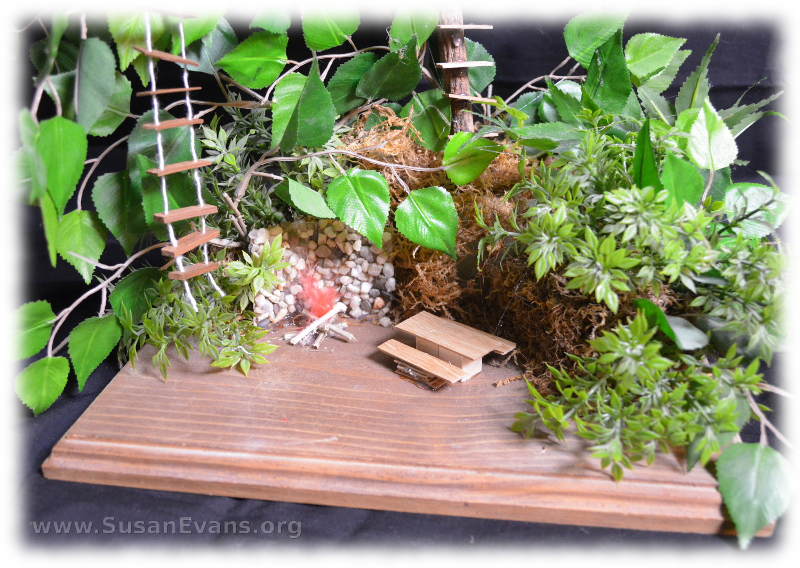
Step 7: Make a picnic table by hot gluing pieces of wood together until you have a structure resembling a picnic table.

miniature-treehouse-4Step 8: Make a fireplace by opening a toilet paper roll with scissors. Put hot glue onto the open toilet paper roll and quickly dump lots of small pebbles on it. Lift up the toilet paper roll and see where you need to add pebbles. Hot glue any pebbles down.

Step 9: Get some twigs to use for logs and assemble them to look like a bonfire. Hot glue an orange or red feather to it for the flames.

You have now completed your miniature treehouse. Isn’t it cute?

LEGO Portraits

Monday, May 11th, 2015

lego-portraits

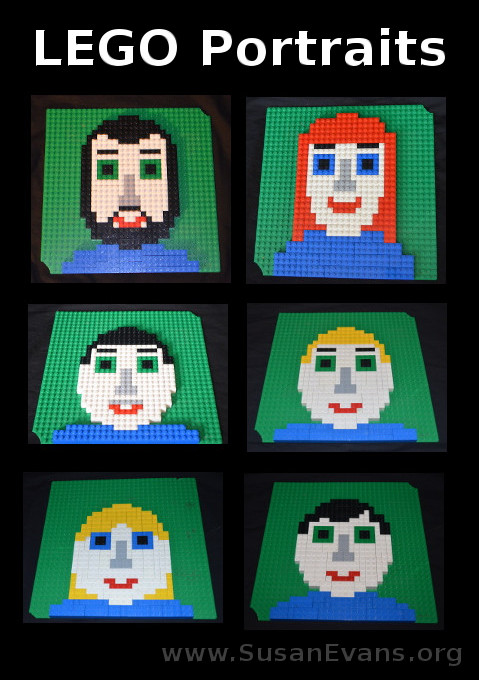
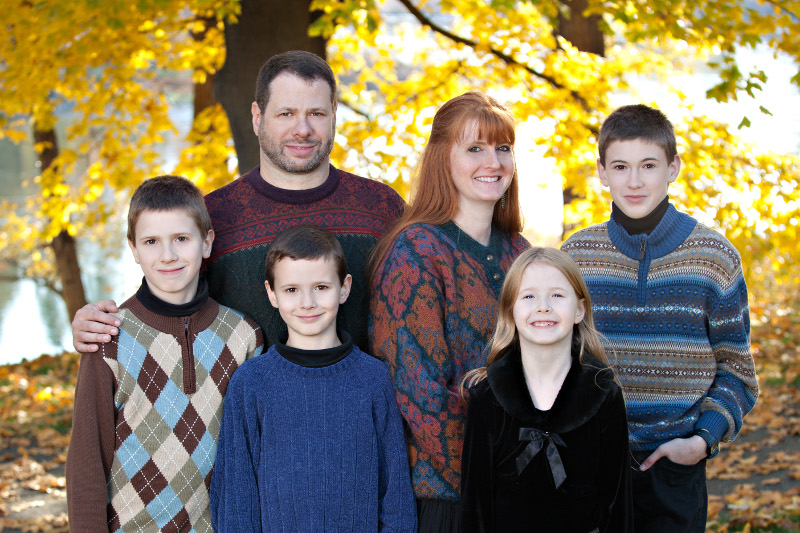
My son made some LEGO portraits of our family! He started with his dad. My husband has dark hair, a beard, and green eyes. So my son started with a green LEGO base, and he looked at the shape of my husband’s face. As you can see, the receding hairline is correctly portrayed by the white LEGOs for the face. Because brown LEGOs are scarce, my son used black LEGOs for the hair.

family-picture

Next he made his mother. Just now I noticed that he made me with blue eyes instead of green. Oh, well. He got the red hair right, and you can definitely tell that the LEGO portrait is me. As you can tell in each portrait, the nose is a gray upside-down “T” to contrast against the white skin of the face.

I noticed that the faces of the children are not as elongated as the faces of the parents. The younger the children, the more rounded the faces. My oldest son has dark hair and green eyes, with a light moustache if he forgets to shave. Yes, my 14-year-old has a slight moustache.

My second son has lighter hair. When he was younger, it was blonde, which is represented by yellow. Everyone has a red smiley face because we’re all happy. That’s nice.

My third son parts his hair on the side, so you can see that the hair is a different hairstyle, which changes the way the LEGOs are arranged at the top of the forehead.

My daughter is blonde with blue eyes and has longer hair, which is shown at the bottom of the face. My son chose to give us all blue shirts.

It’s helpful if you can either look at the person while making the LEGO portrait, or look at a picture of the person so you can correctly shape all the colors of the LEGOs to correspond to what the person really looks like. I hope you enjoyed our LEGO portraits. Why not make some of your family?


How to Make Beeswax Candles

Monday, April 27th, 2015

how-to-make-beeswax-candles

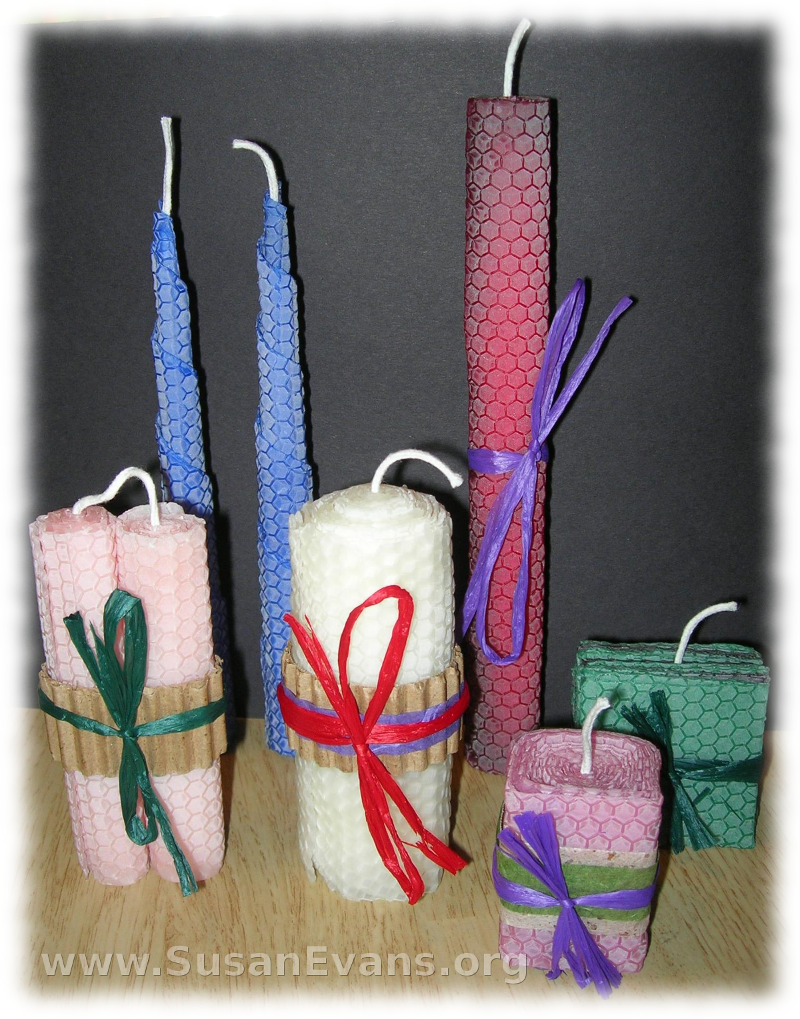
If you are wondering how to make beeswax candles, here is a step-by-step tutorial. All you need is some beeswax, candle wick, and ribbons or embellishments. We got ours in a kit, but you can buy them separately if you want. Beeswax candles are super easy to make, as far as gifts for people that your children can make.

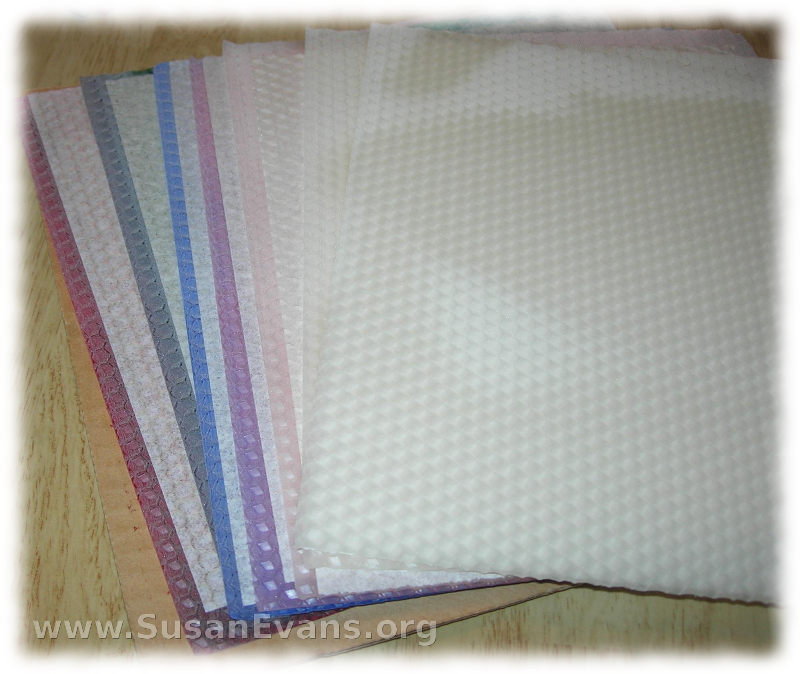
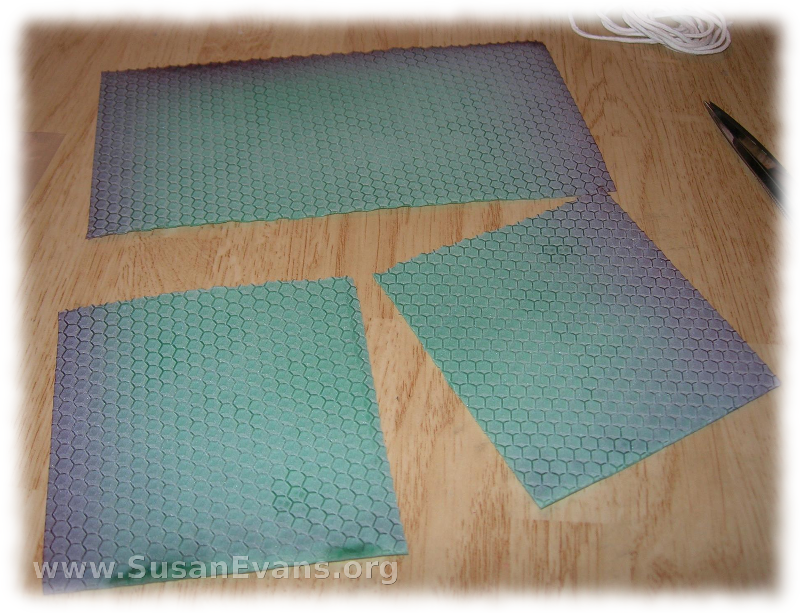
The sheets of beeswax look like this:

sheets-of-beeswax

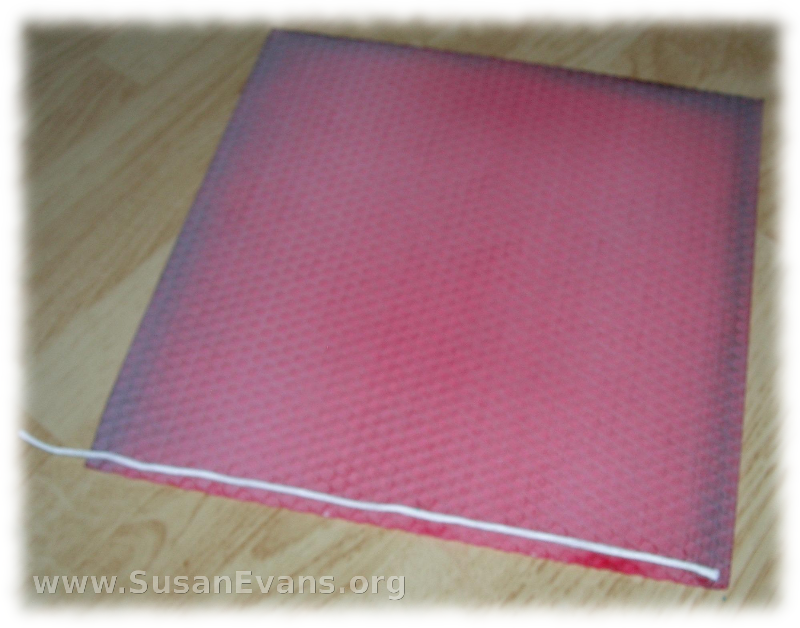
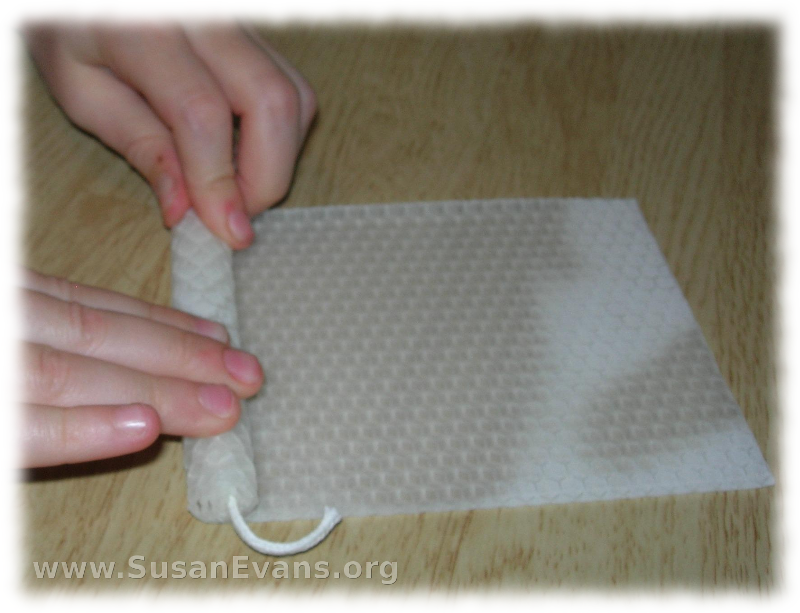
Cut the wick to the right size, lay it down, and roll up the sheet. You’re done!

wrapping-beeswax

Here is a 6-year-old, rolling the candle. See how easy it is?

how-to-roll-beeswax

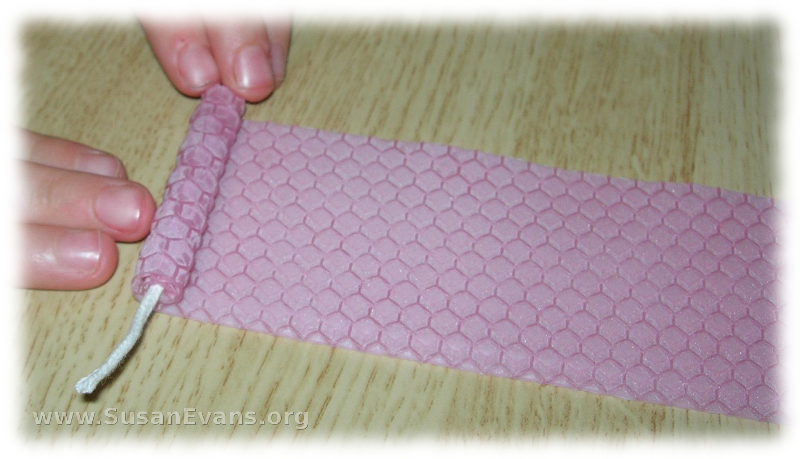
You can make the candle as short or as long as you want.

roll-the-beeswax

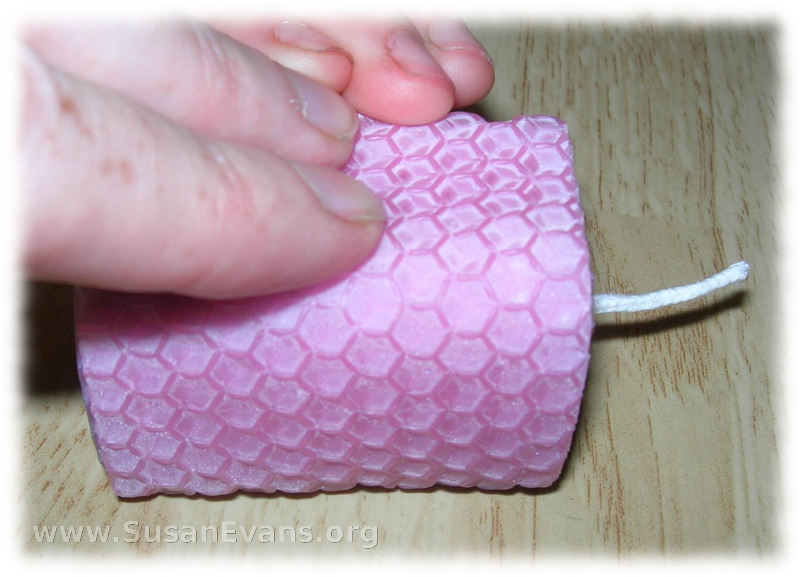
If you want it to look like a square, press it against the table on 4 sides.

square-beeswax-candle

You can cut the wax with scissors or just fold it, and it will break on the fold.

green-beeswax

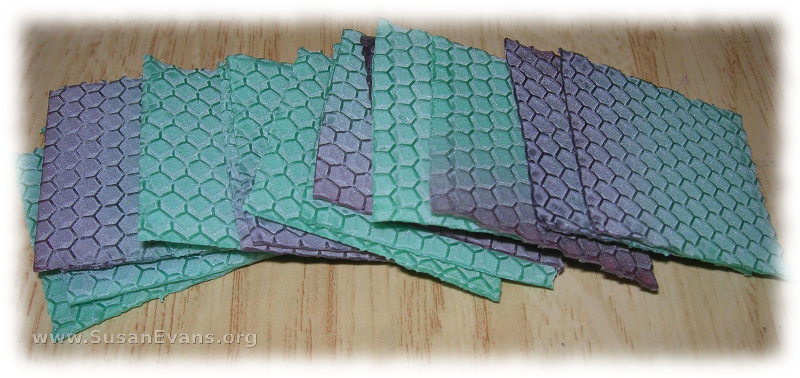
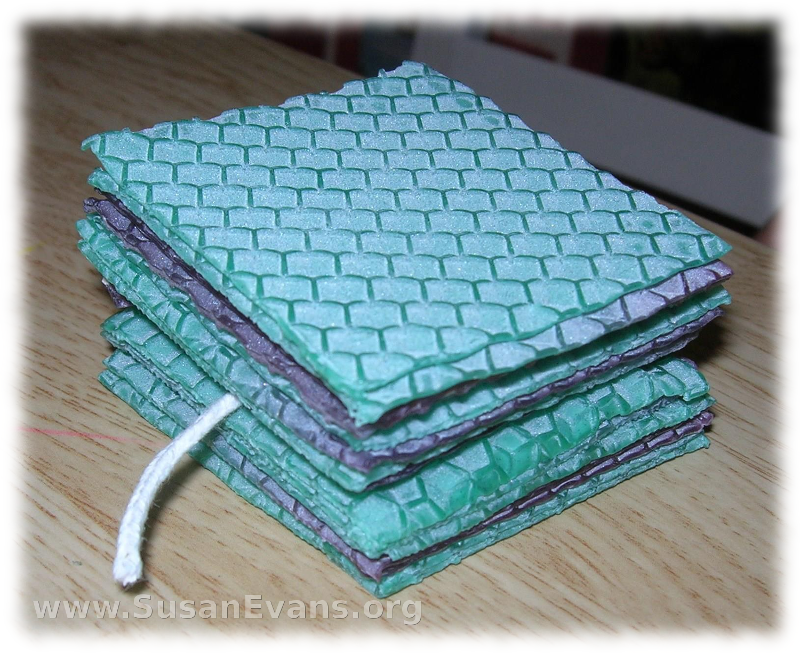
You can make a stack of squares.

stack-of-beeswax

Then put the wick into the middle, and mash it down. Okay, maybe this candle looks a bit weird.  Let’s move on.

beeswax-candles

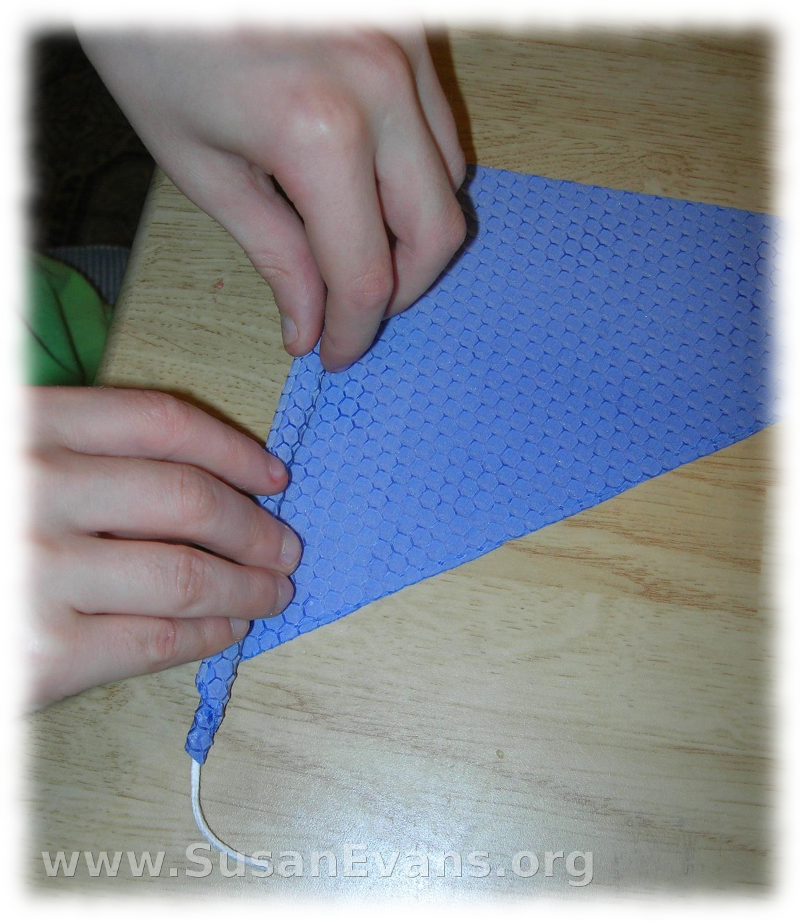
If you have a triangle of beeswax, you will get a tapered look when you roll it.


rolling-a-candle

I hope you enjoyed this tutorial on how to make beeswax candles. See how easy they are to make? Even your toddler can do it!

make-a-beeswax-candle