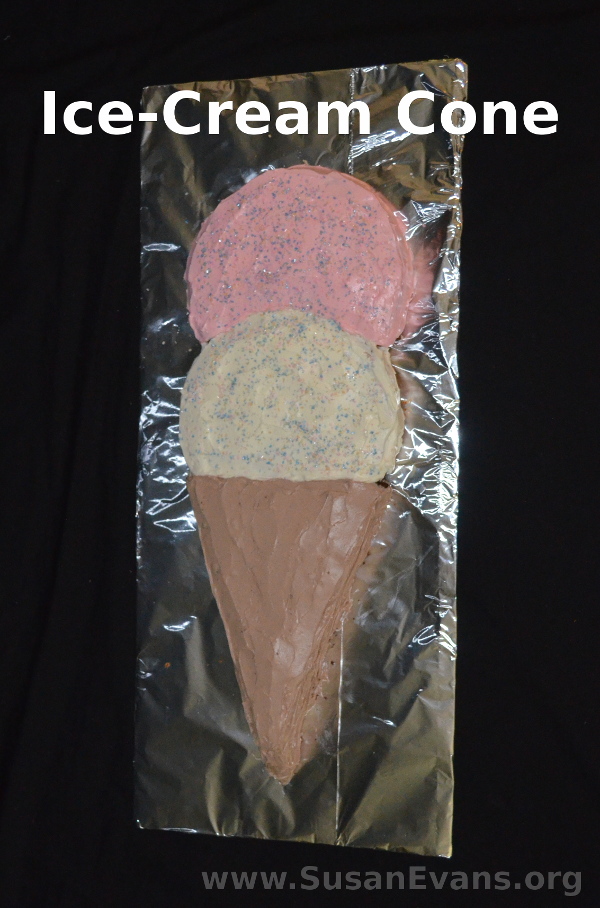
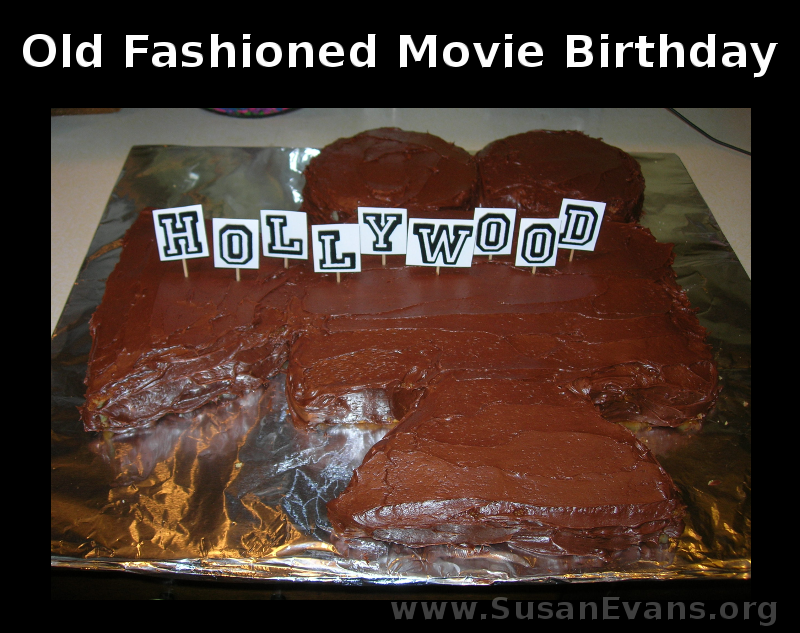
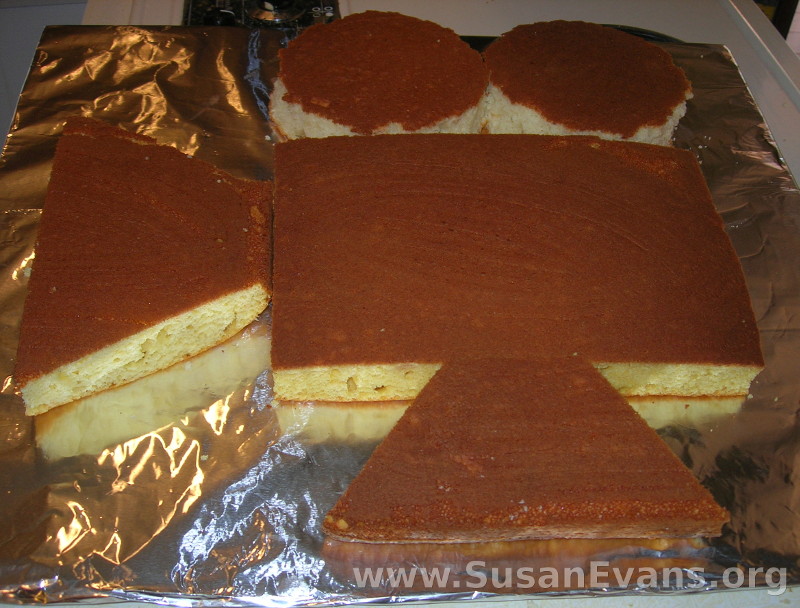
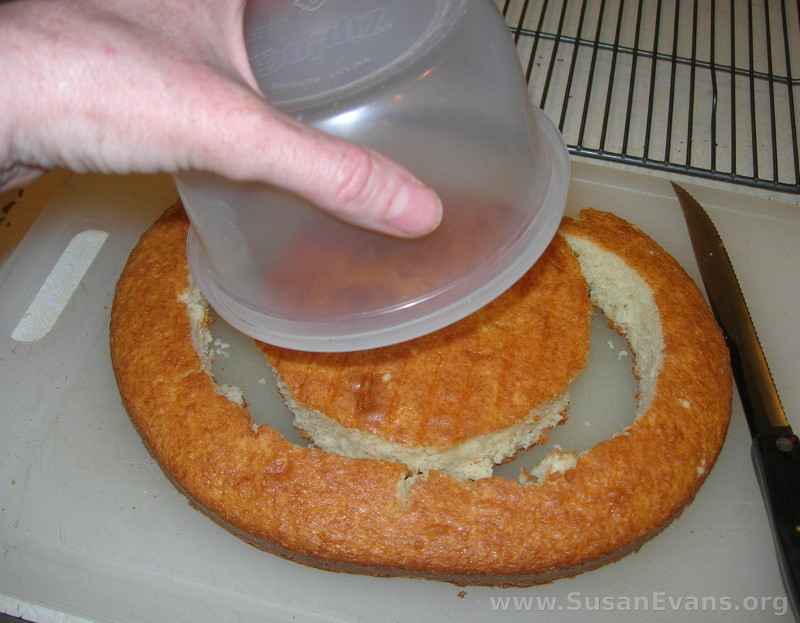
My daughter wanted an ice-cream cone cake for her picnic-themed birthday party. To make an ice-cream cone cake is quite simple. First you bake two cakes. The first one will be divided into two circle tins. These will be the ice-cream scoops. The other cake will be baked in a rectangular tin. You will cut that second cake into a triangle the shape of an ice-cream cone.
Make sure that after you bake the cakes, you cover them with plastic wrap and put them in your refrigerator. It’s much easier to cut and shape cold cake. Grab a piece of cardboard and cover it in foil. You may need to tape together (with packing tape or duct tape) two pieces of cardboard to make it long enough for the ice-cream cone.
After placing the cakes on the foil, make sure that the scoops look like the picture above. You will have to carve an arc in the top circle before placing it on the foil, and cut a straight section off the bottom scoop.
Frost the “cone” part of the cake with chocolate frosting. Divide a bucket of vanilla frosting into two bowls. Tint one of them pink for the top ice-cream scoop. The bottom one will be vanilla, so leave it white. Shake sprinkles over top of the ice-cream scoops.
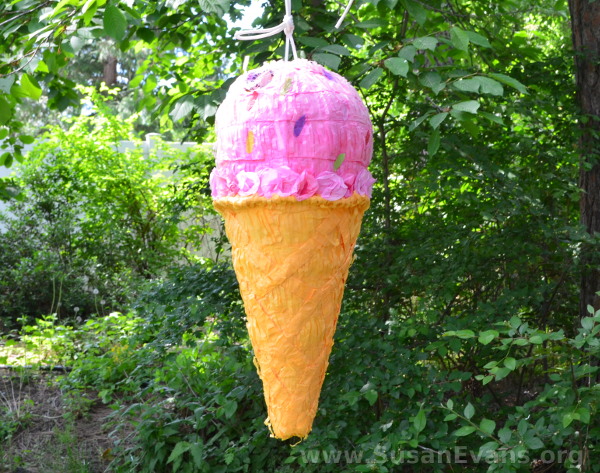
If you have an ice-cream themed birthday, you can buy a piñata in the shape of an ice-cream cone. My daughter was overjoyed to find this at a party supply store. Hobby Lobby and Walmart also have piñatas, if you don’t have a party store in your town.
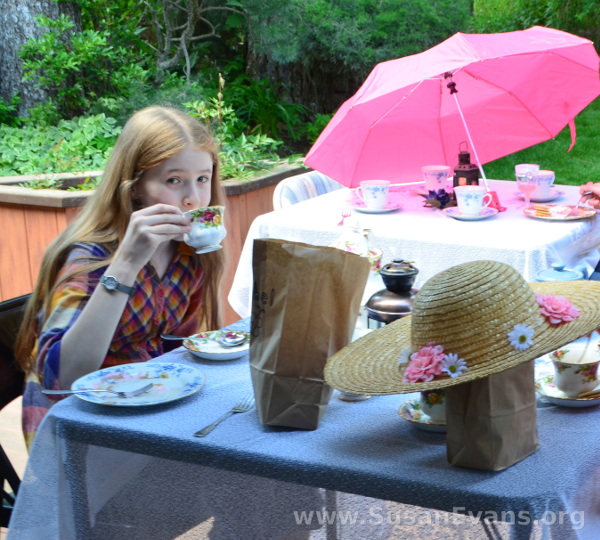
My daughter wanted a craft for her picnic-themed birthday party, so we decorated straw hats by hot gluing silk flowers to them. We set out a tea party in the backyard, and the girls enjoyed their scones and other treats after their craft and piñata.
I hope you enjoyed the tutorial on how to make an ice cream cone cake for a picnic-themed birthday party!
