Posts Tagged ‘chemistry’

#5 How to Build Atomic Models

Monday, September 1st, 2014

atomic-modelsThis post contains affiliate links. I was compensated for my work in writing this post.

Today I will show you how to build atomic models with styrofoam balls and with candy. You will see two very different models, and yet the protons, neutrons, and electrons are in the same locations. My kids are using the book Christian Kids Explore Chemistry by Bright Ideas Press. We are learning the composition of an atom.

In the center of the atom is the nucleus. The nucleus is composed of protons and neutrons. The electrons are much smaller, and they spin in a cloud around the nucleus.

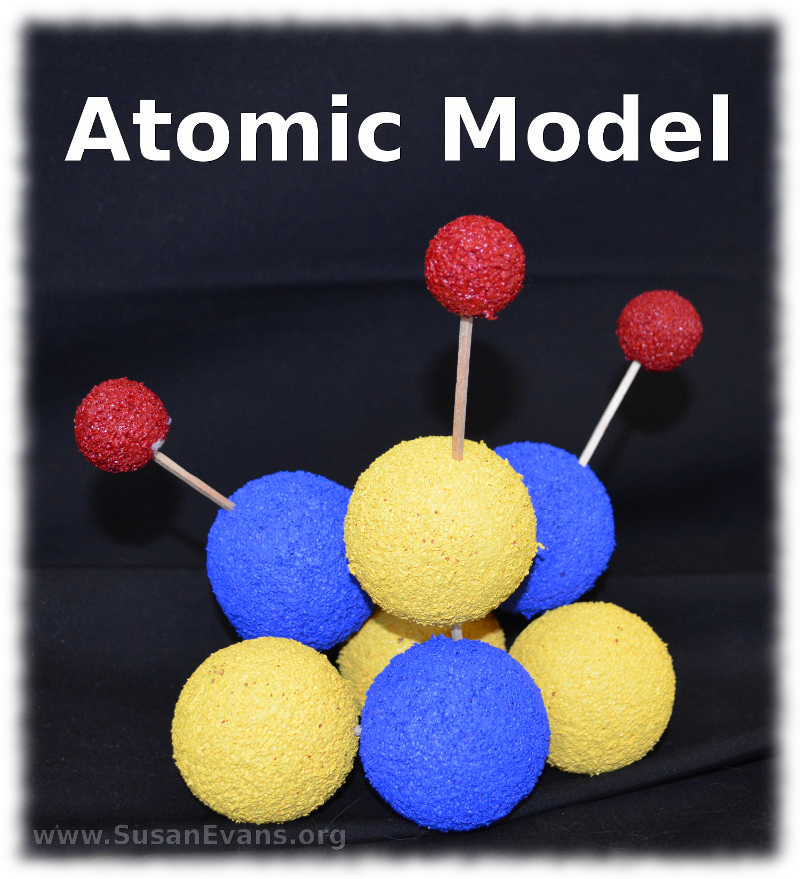
When making a styrofoam model of a Lithium atom, you need 7 two-inch styrofoam balls and 3 one-inch styrofoam balls. Lithium has 3 protons (which you paint blue), 4 neutrons (which you paint yellow), and 3 electrons (which you paint red). We used acrylic paint because it’s brighter than tempera paint, and it sinks into the texture of the styrofoam. After painting the styrofoam balls, let them dry overnight.

The next day stab the yellow and blue balls together with toothpicks until the balls are touching. This is the nucleus. Now stab the three red balls further away with toothpicks. These are electrons. You have completed your atomic model of Lithium.
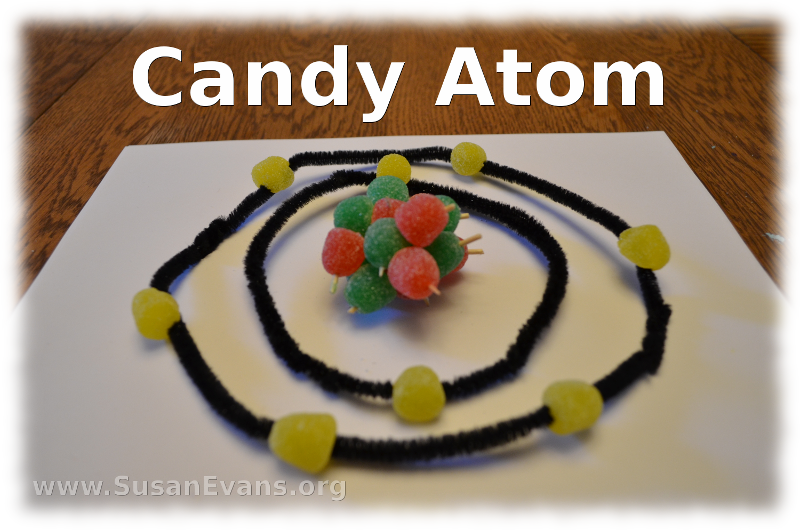
candy-atomNow let’s make a candy atom just for fun, so that you can see a variety of atomic models. You could also use play doh or clay to make atomic models. But candy tastes good, so let’s use candy.

We are about to make an Oxygen atom. Grab 8 green protons and 8 red neutrons. These are gum drops, and if they stick together, fine. If the nucleus isn’t sticking together, snap toothpicks in half and stab the red and green candies together. It should look like Christmas. Now grab two black pipe cleaners and twist them to make a circle. Watch the video at the bottom of this blog post to see how easy it is. Grab two more pipe cleaners and do the same thing, making a wider circle. Now watch how I place the 8 yellow electrons on the electron shells. I don’t actually stab the gumdrops. I show you a trick for how to attach the electrons:

#4 Mixtures and Compounds

Monday, August 25th, 2014

mixtures-and-compounds

This post contains affiliate links. I was compensated for my work in writing this post.

Today we will be identifying mixtures and compounds by looking at different substances and trying to figure out if the ingredients are chemically bonded together or not. My younger two children are using Christian Kids Explore Chemistry by Bright Ideas Press, and this is one of the fun experiments in the book.

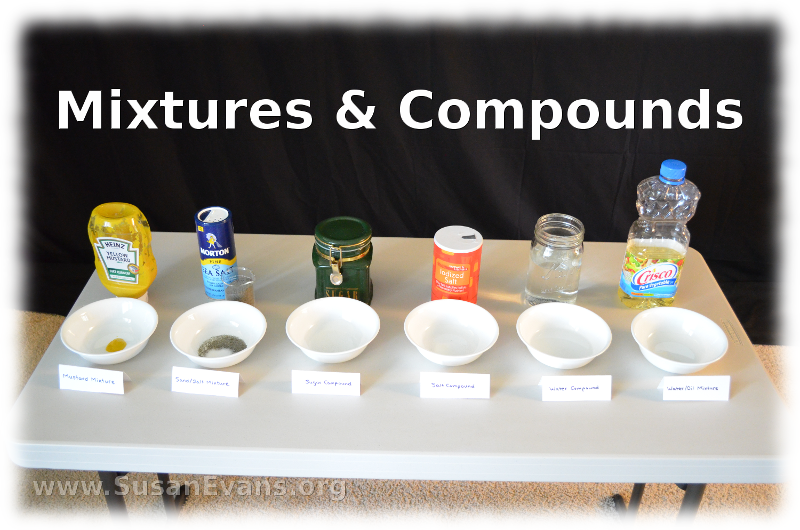
You will want to take out 6 bowls and make 6 labels. 3 by 5 cards folded length-wise are perfect for the labels. You can write with a black marker the following mixtures and compounds:

  • mustard mixture
  • sand/salt mixture
  • sugar compound
  • salt compound
  • water compound
  • water/oil mixture

elementary-level-chemistryGo ahead and examine each of the mixtures and compounds to figure out why they are mixtures and compounds. The hardest one for my kids was the mustard. They thought it was a compound because it looked like one substance, but mustard is made up of different powdered ingredients (solids) and water. There is no chemical bond between the ingredients, which is why it is a mixture.

Sand and salt don’t chemically bond together when placed in a bowl, so that one was obviously a mixture. The sugar, salt, and water were obviously compounds because the elements combined chemically to produce a new substance.

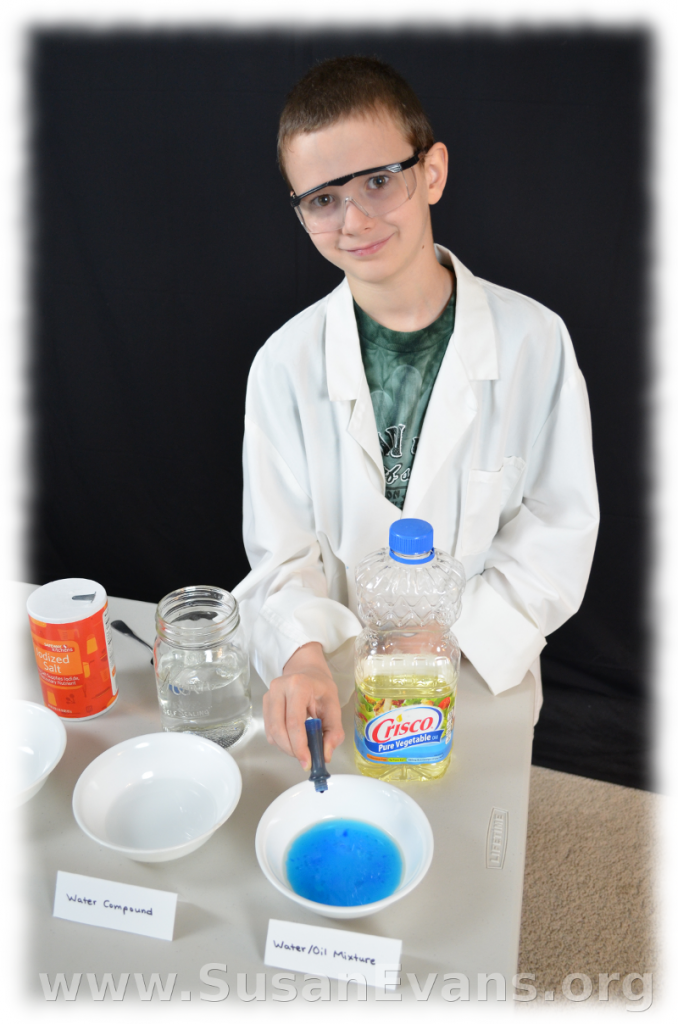
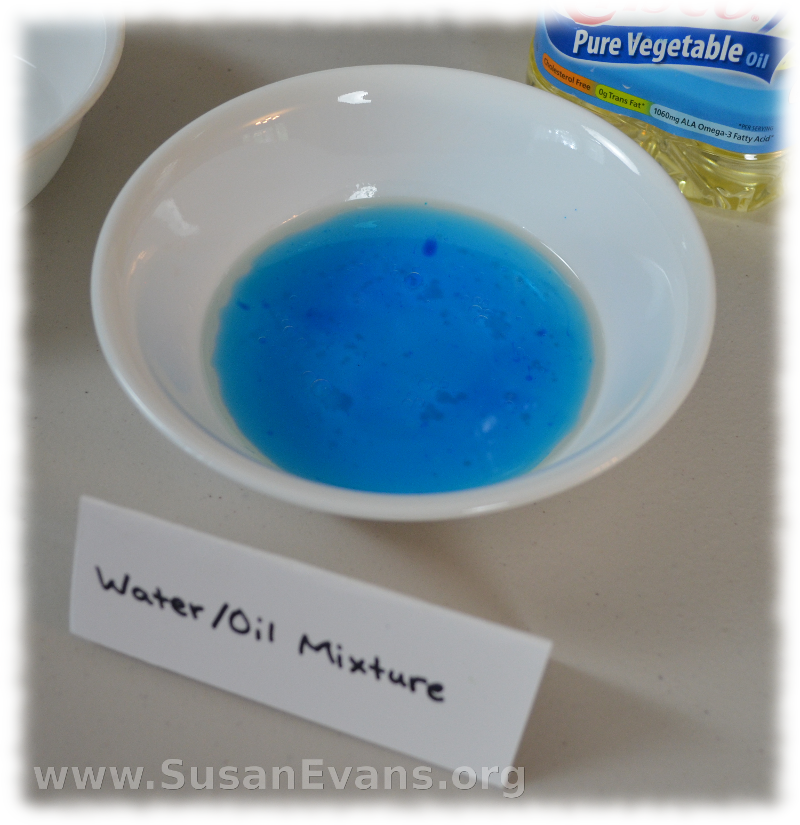
oli-water-mixtureLast but not least was the water/oil mixture. We poured water and oil into a bowl, and they definitely didn’t combine into a new substance. In fact, they remained as separate as ever! We tinted the water blue to show how the water (blue) and the oil (light yellow) are not even wanting to mingle together. You can see in the video that something unexpected happened with this last mixture, which resembled fireworks!


#3 Make Your Own Element Cards

Monday, August 18th, 2014

make-your-own-element-cardsThis post contains affiliate links. I was compensated for my work in writing this post.

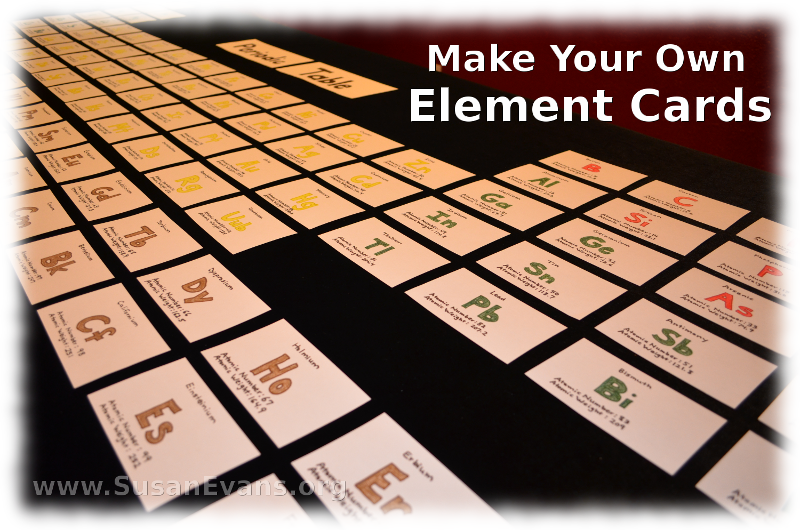
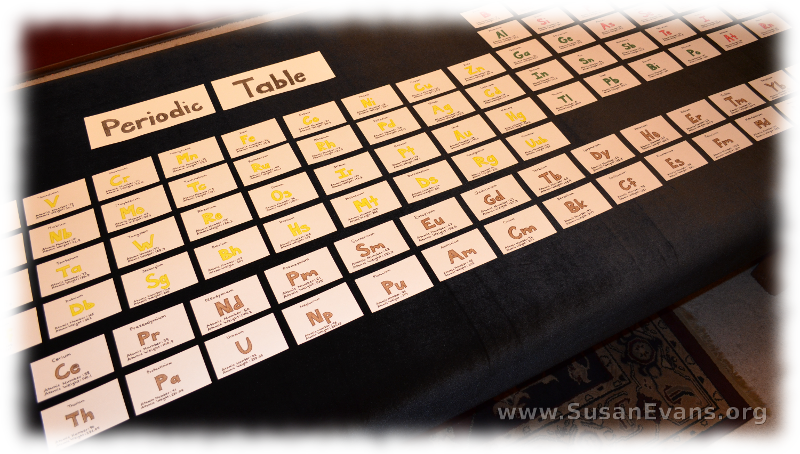
Today I will show you how to make your own element cards for the Periodic Table of Elements. We are using Christian Kids Explore Chemistry by Bright Ideas Press to study elementary-level chemistry, and one of the activities throughout the book is to make element cards. You do not have to make element cards for every single element on the periodic table, but if you do, you can make this giant Periodic Table Puzzle!

You will need some blank 3 by 5 cards. We decided to write the chemical symbols with bubble letters that we color-coded according to whether the elements were metals or non-metals. You can further classify the metals if you want.

These are the pieces of information we wrote on each card:

  • chemical symbol
  • name of the element
  • atomic number
  • atomic weight

On the back of each card you can write any interesting information about each element. You can find this information in books or on the internet.

periodic-table-cardsTo facilitate putting together the Periodic Table Puzzle, you will want to look at the atomic numbers. The periodic table is set up in order according to the atomic numbers. Watch the video at the bottom of this blog post to see how the periodic table is arranged.

You can use these cards in many ways:

  • Make a Periodic Table Puzzle
  • Use the cards to quiz each other on elements and their symbols
  • Based on the color, learn which elements are non-metals.
  • Use it as an encyclopedia of each element on the back of the cards.
  • Learn the atomic numbers of common elements.

Take a look at how we arranged these element cards:

#2 Filtration Experiment

Monday, August 11th, 2014

filtration-experimentThis post contains affiliate links. I was compensated for my work in writing this post.

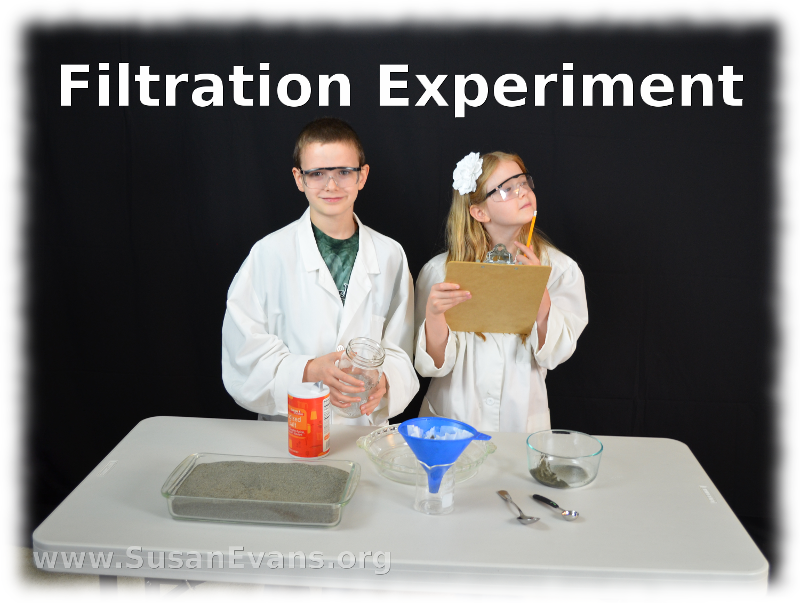
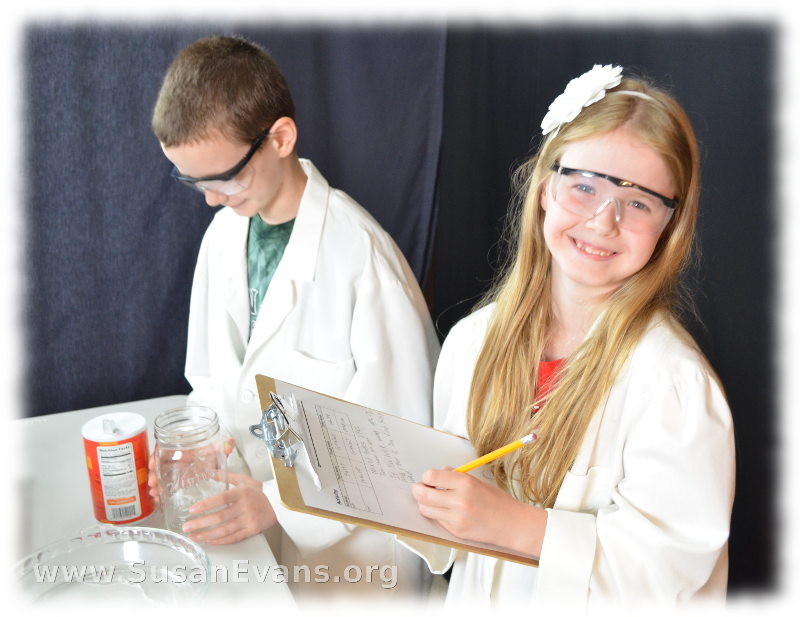
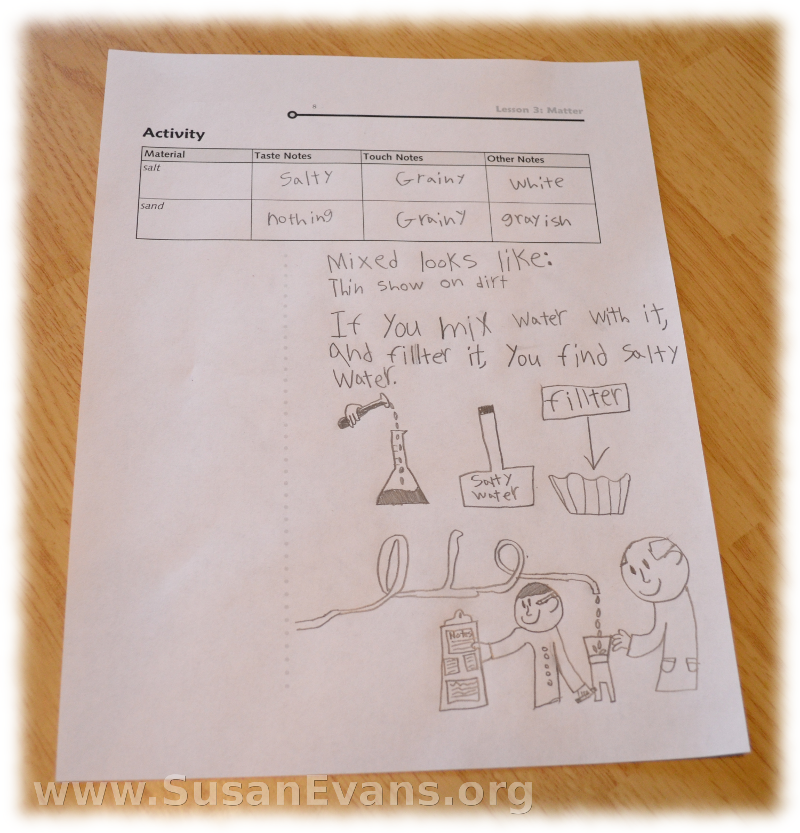
Today we will be doing a fun filtration experiment where salt goes through a filter like magic, while sand remains behind. This is one of the experiments in the book Christian Kids Explore Chemistry by Bright Ideas Press. The book provides a chart to fill in as we examine the salt and the sand at the beginning of the experiment.

You will need some sand, some salt, a funnel, a coffee filter, a mason jar or large drinking glass, a pie plate (without pie in it!), a glass measuring cup, a bowl, a teaspoon, and a stirring spoon.

filtration-experiment-2

Place 2 teaspoons of salt into the bowl. Add one teaspoon of sand to the salt, but don’t mix it yet. It helps to put salt on one side of the bowl and sand on the other side. Now you will want to taste the salt and the sand. You can spit out the sand when you are finished tasting it. You will have to watch the video at the end of this blog post to find out what my daughter said the sand tasted like.

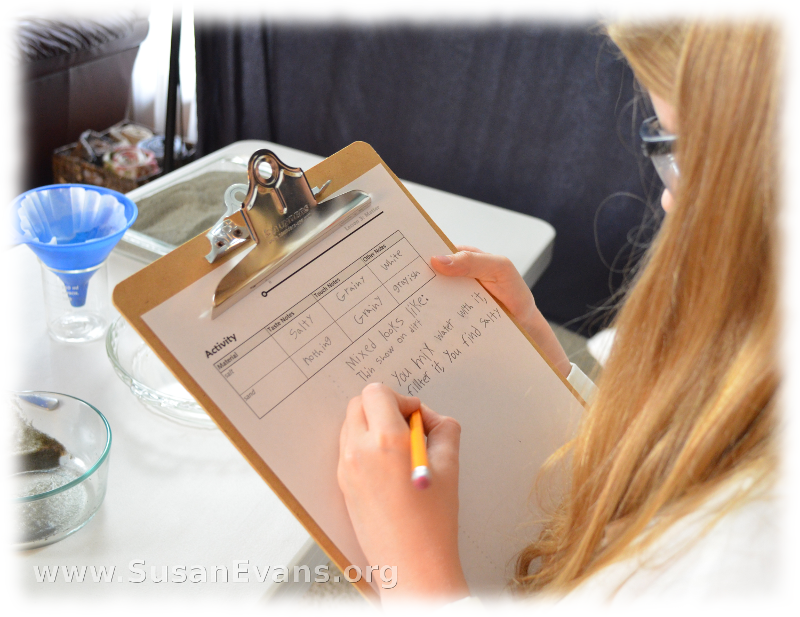
Look at the salt and sand and feel it with your fingers. Which one is more coarse? Write that down on the chart. What color is the salt? What color is the sand? Are there any other characteristics your kids would like to mention about the salt or the sand?

filtration-notes

Write down each of your findings on the chart provided in the book, and then doodle all over the rest of the paper as if you were a mad scientist. Just kidding. You don’t need to doodle.

filtration-doodlesNow mix the salt and the sand together with a spoon. This is called a mixture. Pour 100ml of water into the salt/sand mixture, and stir for 60 seconds until the salt has dissolved.
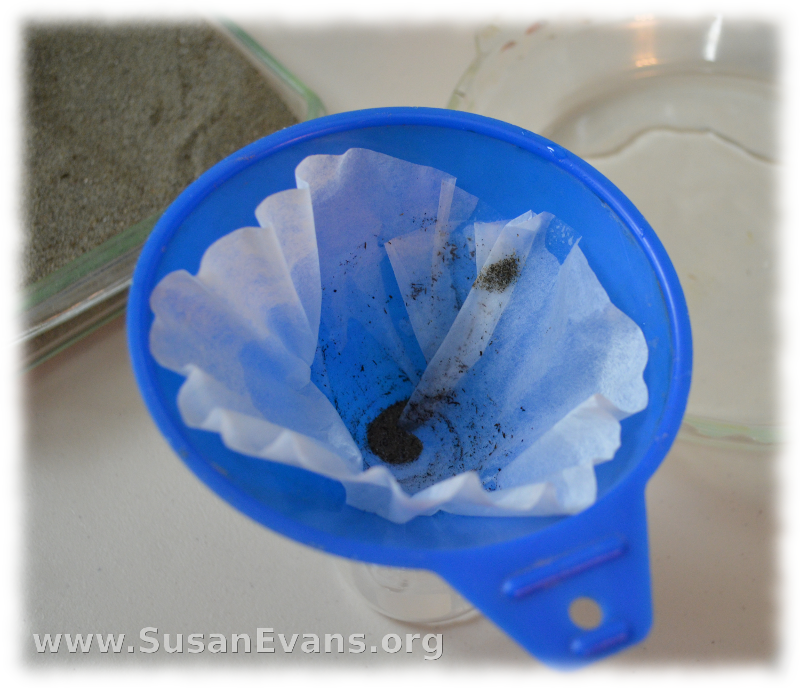
Place the coffee filter into the funnel, and put the funnel on top of the mason jar. One child can hold the funnel while the other child pours the salt/sand/water mixture into the filter.

filter-experimentThe water will go through the filter, but the sand will be left behind.

Where did the salt go? It disappeared!

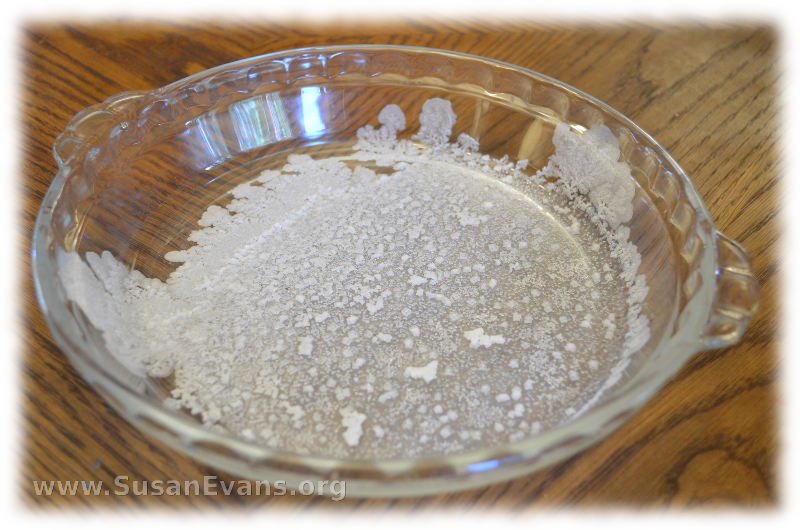
Pour the contents of the mason jar into a pie plate, and leave it for a few days. When the water has evaporated, voila! The salt grains re-appear like a magic trick!

evaporated-saltWhat happened? The salt became smaller when water was added to it, and the salt was then able to go through the filter. How sneaky is that?

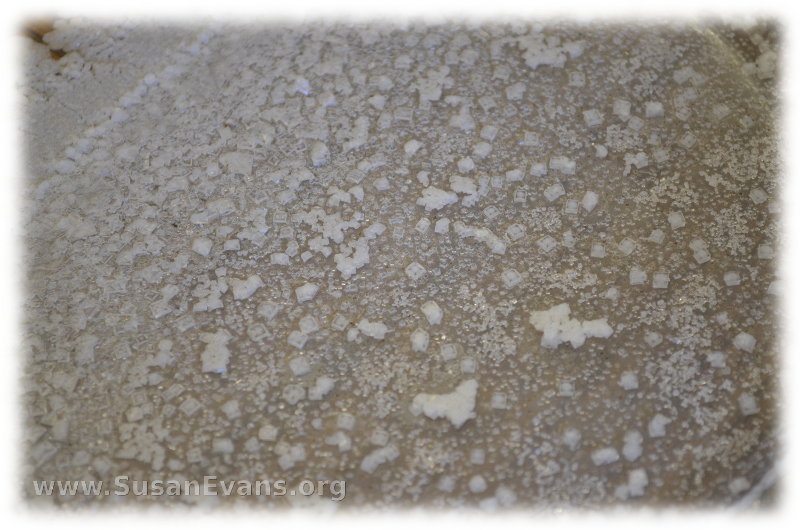
And the fun thing is that the salt crystals re-appeared larger than what they were at the beginning of the experiment!

salt-crystalsTake a look at the filtration experiment, as we recorded the whole experience on video: