Posts Tagged ‘clock’

Clock Cake

Friday, October 28th, 2016

clock-cake

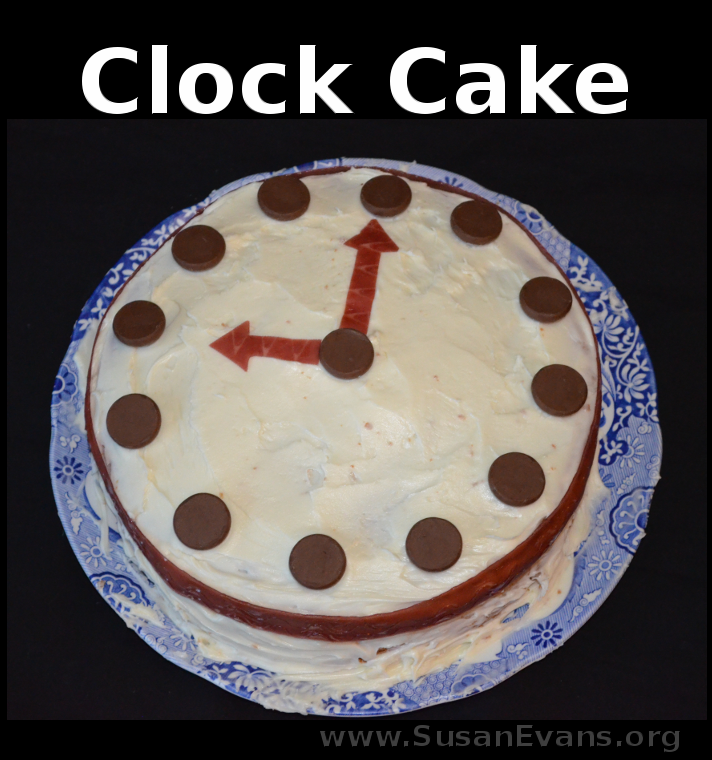
If you have a friend who loves math, or someone who is constantly late and you want to give them a hint to start being on time, then you can bake this fabulous clock cake.

To make this super cute cake, you will need two round cake pans. I used one cake mix box. You can bake whatever flavor you want. When the cake is cool, place the cake on a plate, cover it with cellophane, and put it in the fridge. A cake is always easier to frost when it has been in the refrigerator.

Frost the cake with white frosting. If you want to be fancy, you can put strawberry jam in between the two layers. Then grab some Hershey’s kisses, turn them upside-down, and use one for the center of the clock. Place one on the top, one on the bottom, one on the right, and one on the left. Then place two Hershey’s kisses equidistantly between the others, so that you have twelve kisses going around the clock where the numbers should be.

Grab some Fruit by the Foot or other Fruit Roll-up-type candy. Cut out the arrow hands with scissors and place them on the cake. Then put a “ribbon” of Fruit by the Foot around the entire cake to give it a polished look. Now your clock cake is complete. Enjoy!
Make Your Own Clock

Wednesday, November 20th, 2013

make-your-own-clock

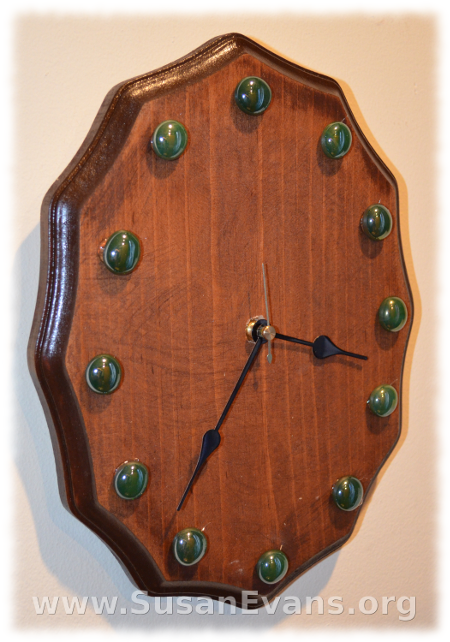
I never knew that you could make your own clock, until my sister sent the different parts for my kids to put together. Yes, you can make a clock to fit your home decor. This is a perfect idea for a Christmas or birthday gift, because you can take into account the hobbies and color scheme of the one who will receive the gift.

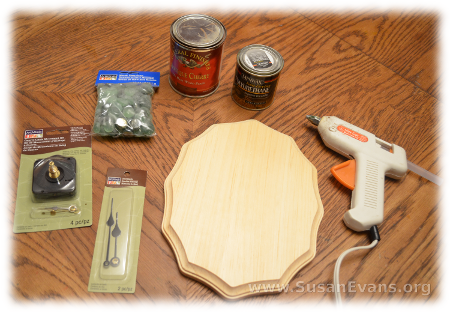
To make your own clock, you will need the following supplies, which you can easily get at most craft supply stores:

  • wood base (whatever shape you want)
  • stain or paint
  • varnish
  • quartz clock movement kit
  • extra clock hands, if you want bigger ones
  • mosaic glass gems (or numbers 1-12)
  • drill with a thick bit
  • hot glue gun

make-your-own-clock-2

First you will want to stain the wood base or paint it. Let it dry overnight, and then put a coat of varnish over the top. Let that dry a couple of days.

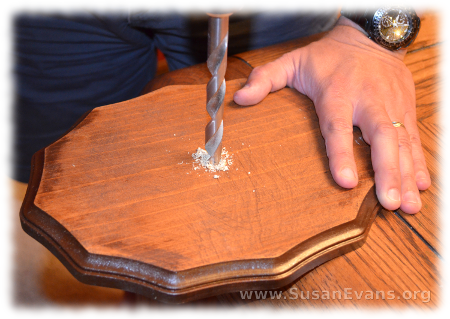
Drill a hole through the middle of the base. I used a ruler to find the exact center of the base. Look at how big the clock movement kit is, to see how big your drill bit should be. Insert the clock movement box to the back of the clock, inserting the hands before doing so. The kit should come with visual instructions on how to do it. It’s really self-explanatory. Make sure to insert a battery after the clock is finished.

make-your-own-clock-3

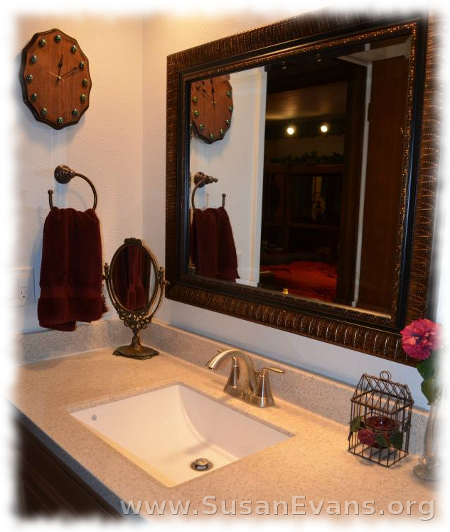
You will want to add embellishments like gems or numbers around the edges. You can also add small, flat decorations like 3-D stickers or doll accessories. For example, if you are giving the clock to a hunter, you can hot glue a small rifle to the clock. If you are giving the clock to a teacher, you can place a large 3-D apple sticker on it. We decided to leave ours simple. It matches our newly refurbished bathroom!

make-your-own-clock-4

Melting Clock

Tuesday, April 12th, 2011

melting-clock

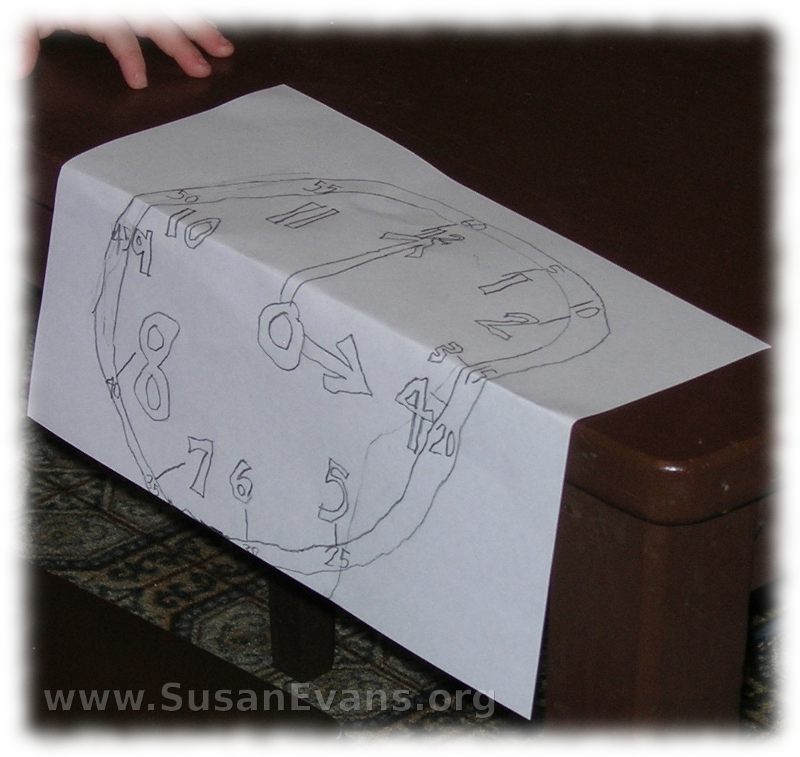
My son has always enjoyed surreal paintings, so he imitated a famous melting clock painting from Salvador Dali. All he did was sketch a clock on a piece of paper and fold the paper over a table!

Here is the painting my son was imitating:

Here is a coloring page of this painting, which is called “The Persistence of Memory”:

Here is a Melting Clock Printable Craft:

Here is an interactive website for “The Persistence of Memory”: