Posts Tagged ‘crafts’

My Experience Basket Weaving

Thursday, January 20th, 2011

my-experience-basket-weaving

Weaving the sides of a basket is fun, easy, and beautiful, but let me tell you, the bottom is extremely frustrating. It’s a lot of work and comes out looking terrible, but at least it’s hidden by the beautiful sides. In this article I will explain our experience with basket weaving.

weaving-basket-bottom

I bought the basket-making kit at a Boy Scout store. (You can see the package in my YouTube video Ancient Egypt Unit Study. And if you look closely, you will see it in my Ancient Greece Unit Study, at the front middle of the floor. I was going to make it a standing joke to have the unmade basket during each time period, but I decided to just do it after all.) The kit gives you tiny directions that look so difficult that it took me three years to even decide to try. I was not looking forward to it.

weaving-basket

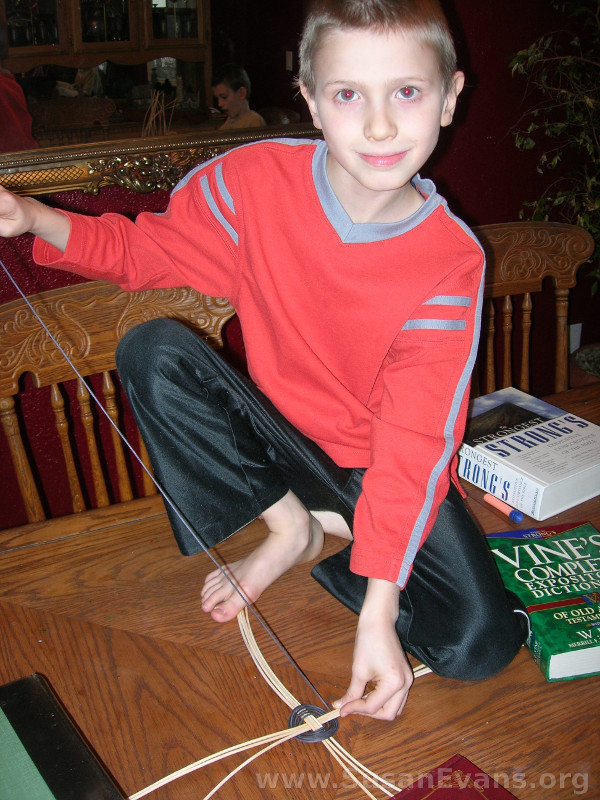
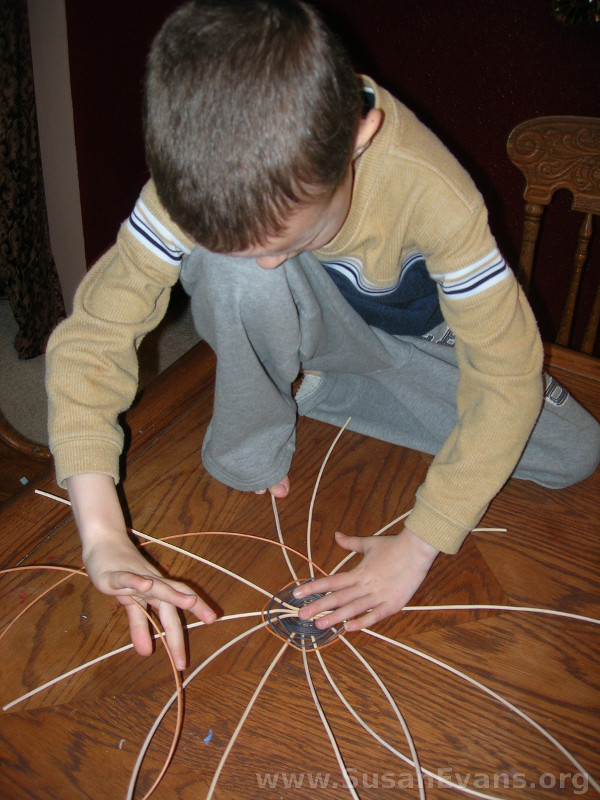
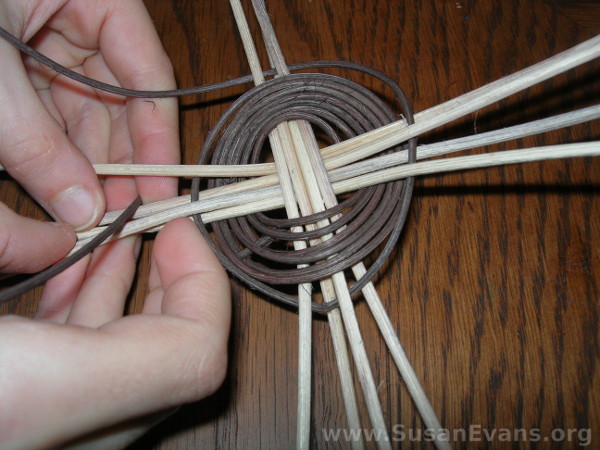
First you had to soak all the reeds in water to soften them up so that they wouldn’t be brittle. Then you have some reeds crossing each other like an X on the bottom. I weighed down the sides of the X with heavy books to keep them from moving. The thinner reeds get woven through in a spiral. I finally figured out that I needed to have my kid’s foot on top of the reeds that kept popping up on one side, and it went a lot better when we made the second basket.

weave-a-basket

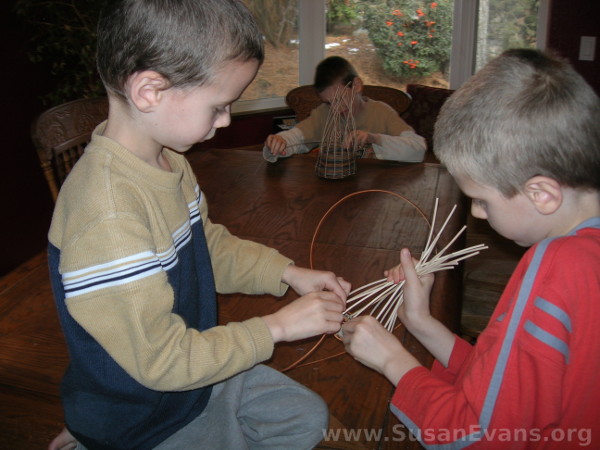
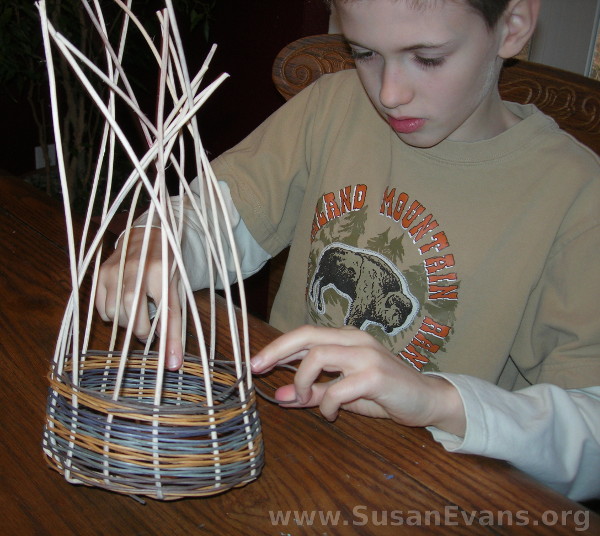
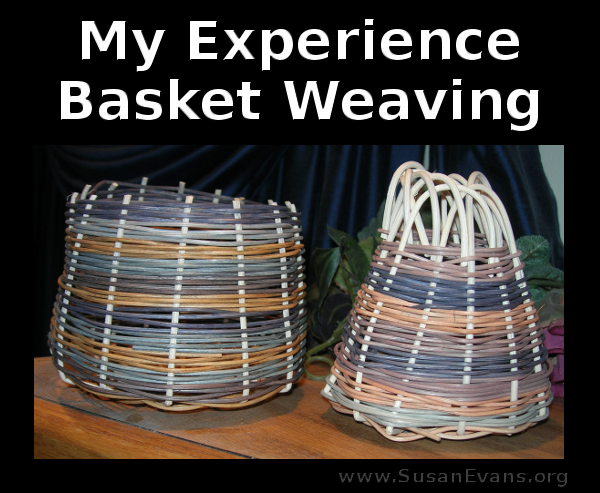
You have to keep the unused reeds in a wet towel to keep them from drying out. After finishing the bottom of the basket, you soak the reeds, bend them upwards, and tie them with a twist tie. You keep weaving the sides of the basket higher and higher, choosing different colors of reeds as you go. When you come to the top, you loop the big reeds over in a loop.

to-weave-a-basket

Well, for the first basket, we forgot to soak the top reeds, so they broke. It was so frustrating. I finally grabbed a large pair of scissors and clipped off all the reeds that were sticking up. In other words, the basket can easily unravel now, so don’t do this.

The other basket tapered inwards because we forgot to take the twist tie off earlier. Oh, well. At least the sides are looped and won’t come apart.

how-to-weave-a-basket

In summary, after initial frustration with the bottom of the baskets, we had a lot of fun weaving the sides of the baskets, so I would give the entire experience a thumbs up.
How to Make an Ancient Greece Foil Mask

Tuesday, January 18th, 2011

ancient-greece-foil-mask

Since theater began in Ancient Greece, we decided to make some foil masks while studying Ancient Greece. We’ve made many masks over the years, mostly with card stock paper or pre-made blank masks from the craft store. This time we used aluminum foil.

How to Make an Ancient Greece Foil Mask

We folded the foil in half, and then in half again, to make a skinny line of foil. We cut out the eyes by doing a V-shape against the edge of the fold.

how-to-make-foil-mask

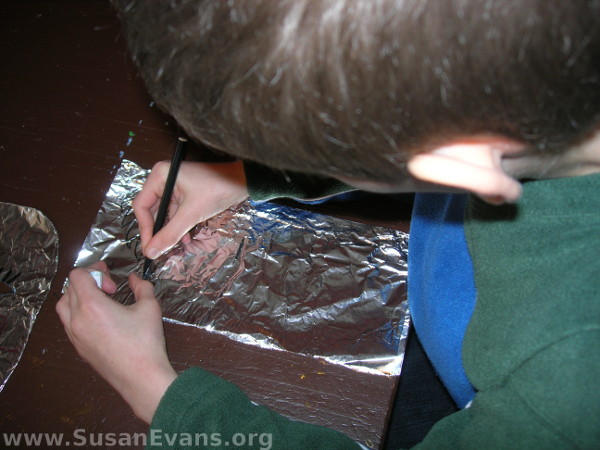
The children could shape the head any way they wanted. My kids all wanted ovals except for my oldest son, who designed his own shape with Sharpie marker. When he did this, the foil was only folded once, not twice.

markers-on-foil

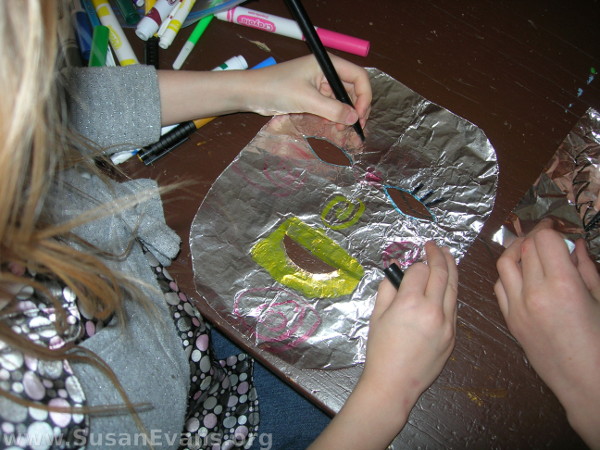
We colored the foil masks with markers. My 5-year-old girl made two masks. Nobody wanted to make a sad face. (You know, the symbol of theater is two masks, one happy for comedy and one sad for tragedy.) Anyway, my oldest son’s mask looked like it belonged in Ancient Greece!

foil-masks

Embossing: Ancient Egypt Craft

Monday, November 22nd, 2010

embossing-craft

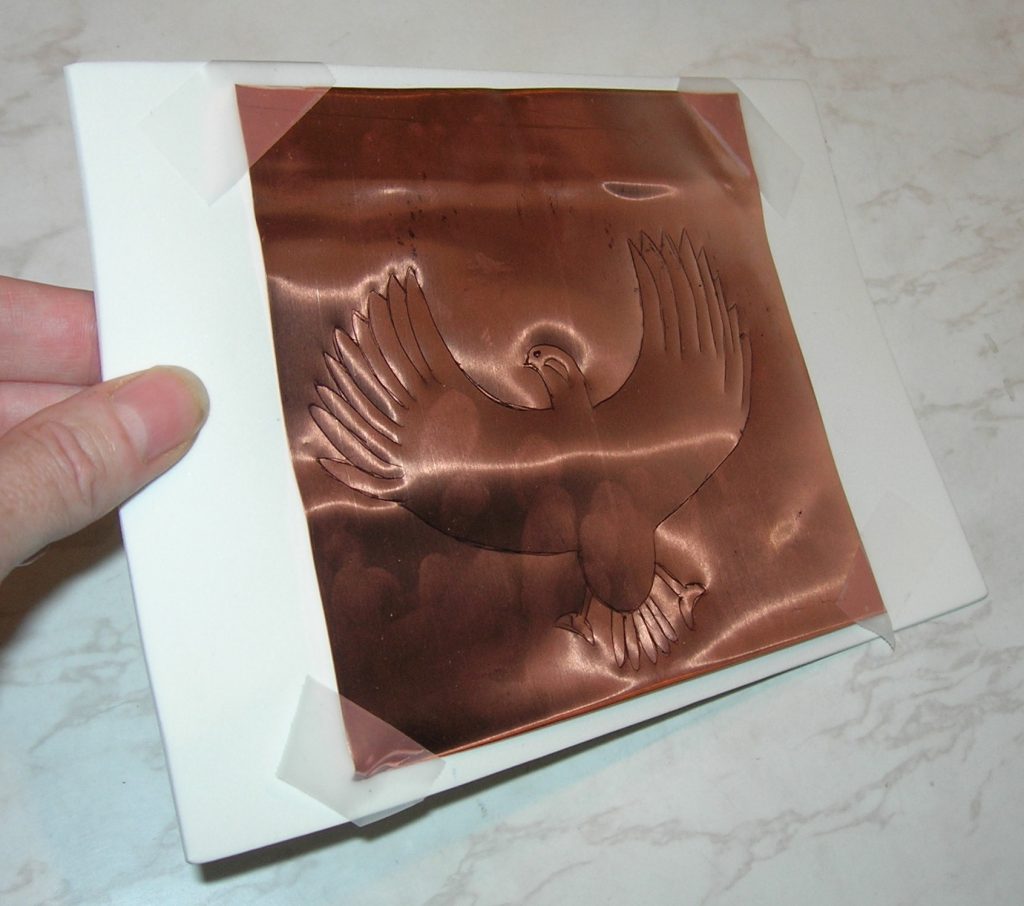
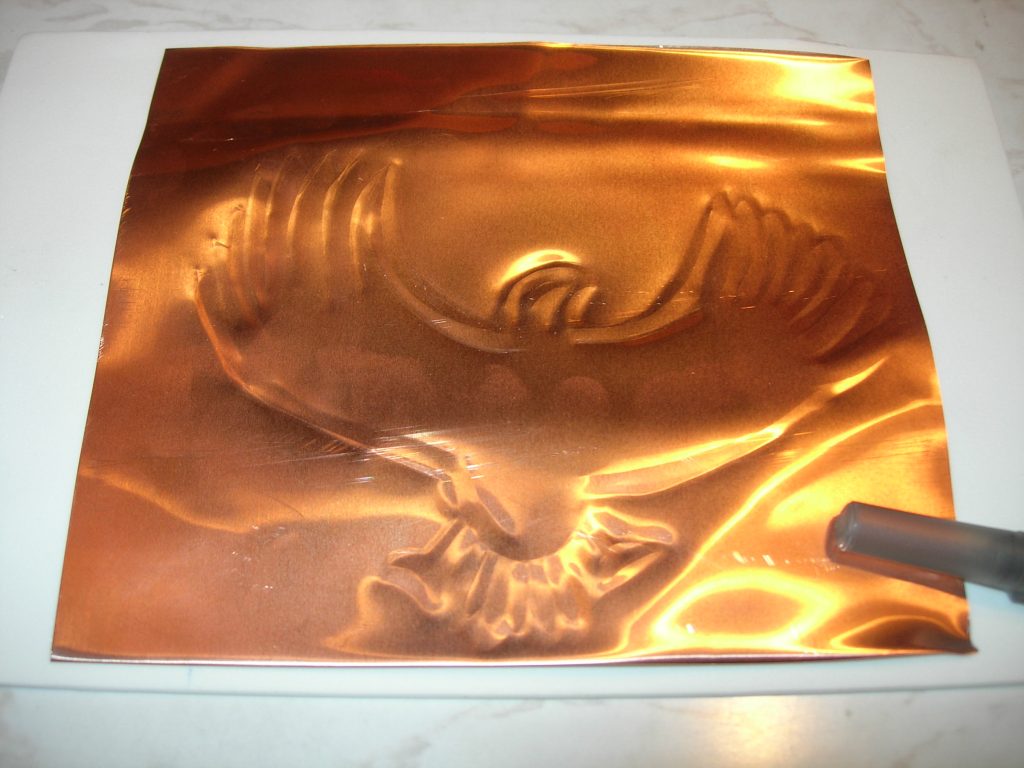
Embossing is harder than it looks. Of course, the copper sheeting from a craft supply store is probably much thinner than the stuff I ordered over the internet. First I used kitchen shears to cut the metal sheeting to the size I wanted, since it was in a roll. Then I taped the copper sheet to a piece of craft foam. You can use anything, even a stack of papers, to make it soft on the other side.

emboss-ancient-egypt

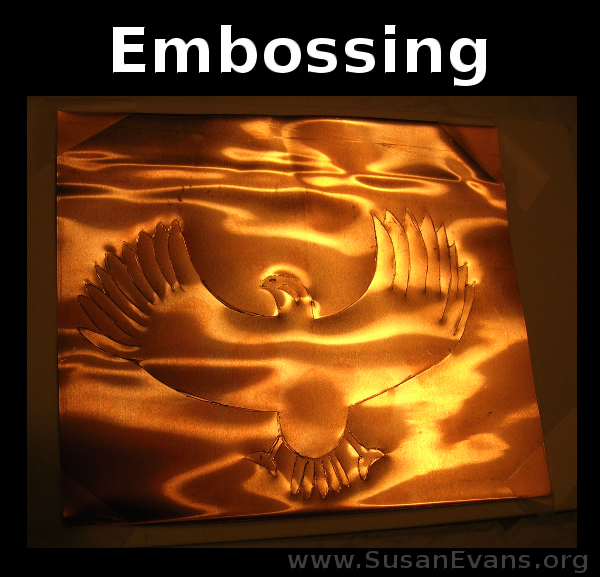
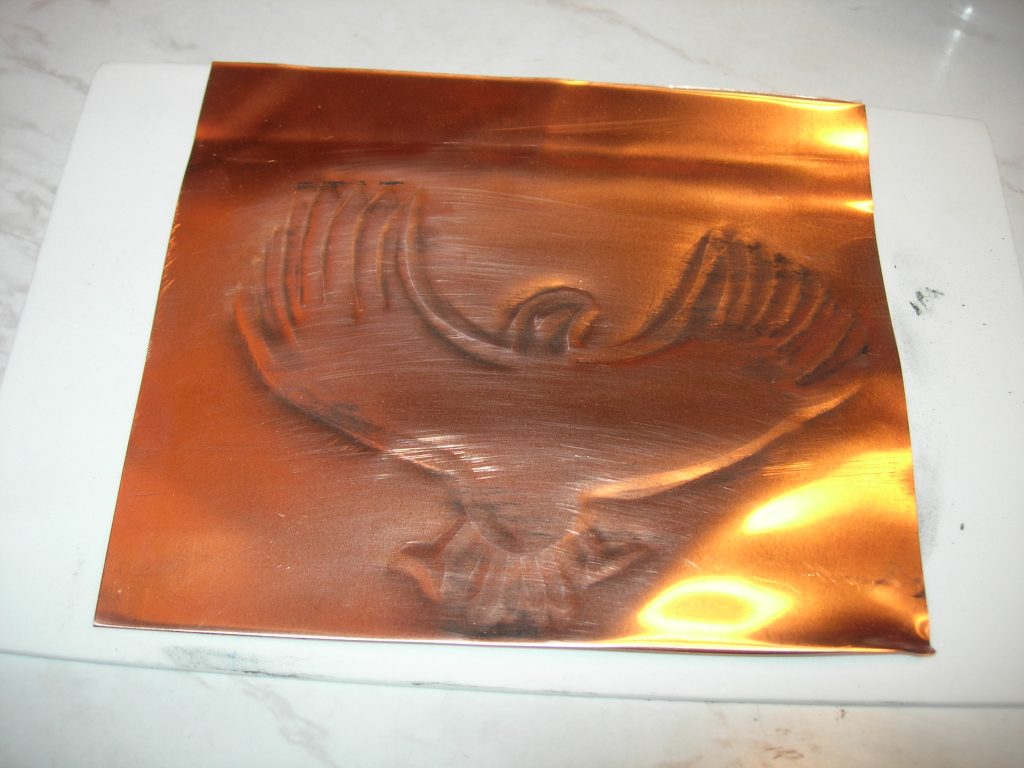
Then I used a ball-point pen to draw an Egyptian design onto the copper. I drew a large bird with wings, similar to many Egyptian necklaces. I chose the design because of the feathers, because I thought raised feathers would be a cool effect.

emboss-eagle

When I was finished drawing with a ball-point pen, I took the tape off and turned it over. I used the edge of the cap of the pen (attached to the pen) to press down on both sides of each line. Basically, you’re helping the embossing to be more pronounced. When I was finished, I took black paint and brushed it over the whole thing. I was expecting something spectacular, but it was ho-hum. In fact, none of the ink remained in the grooves. So that effect didn’t work at all. Maybe I used the wrong paint. The YouTube videos say to use black ink, but I don’t have any, and I don’t want to buy any because I have no use for it. Embossing equipment was also recommended in those videos. Given my negative experience, I have no desire to shell out money for something that is frustrating.

hands-on-egypt-craft

I recommend using a washed-out pie tin from the store for your first attempt at embossing. That way you will be more familiar with the process and decide whether it’s worth it to spend money on it. I found many how-to videos on YouTube, many of which spoke about making embossed metal into Christmas ornaments. That would be another idea to explore. Also, it seems like if you got an embossing kit from the craft store, it might be super easy to do after all. (The cap of the pen, for example, was way too fat to puff out the other side of the metal like I was trying to do.) But for now, I give the whole experience a thumbs down.

Update: We tried it again with an embossing craft kit, and we loved it! It was way better than this thicker copper sheeting. You can see our new embossed crafts here: Embossed Christmas Ornaments.

Frog Craft

Tuesday, August 31st, 2010

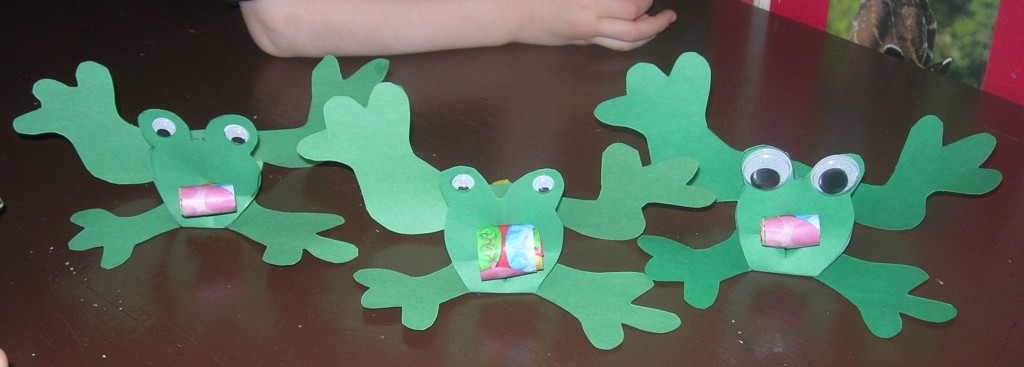
frog-craftIf you have young children and you are studying frogs, this is a simple and fun frog craft to make. I found it in a Family Fun Magazine. Instead of using green craft foam, I just used green construction paper. The magazine used to have a template online, but they deleted it. So, looking at the design above, you could draw that shape on a piece of green construction paper. Have your kids cut it out.

We bent back the head, glued on some google eyes, and cut an “X” where the mouth goes. Then we shoved the party blower through an “X” in the middle of the body and through the mouth. It took about ten minutes. (I have no idea why they say it takes an hour.)

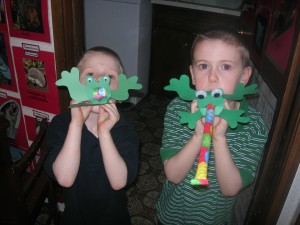
Of course, the frog craft party blowers don’t last very long, but they sure were fun while they lasted. The kids kept blowing the party favors in each other’s faces, and they had a great time! (If you buy a lot of party blowers, you can change them out when they’re covered in spit!)

If you want more ideas for fun Early Childhood art projects, click here.

frog-craft-2