Posts Tagged ‘early history’

Mound Cutaway with Strata

Monday, May 2nd, 2016

mound-cutaway-with-strata

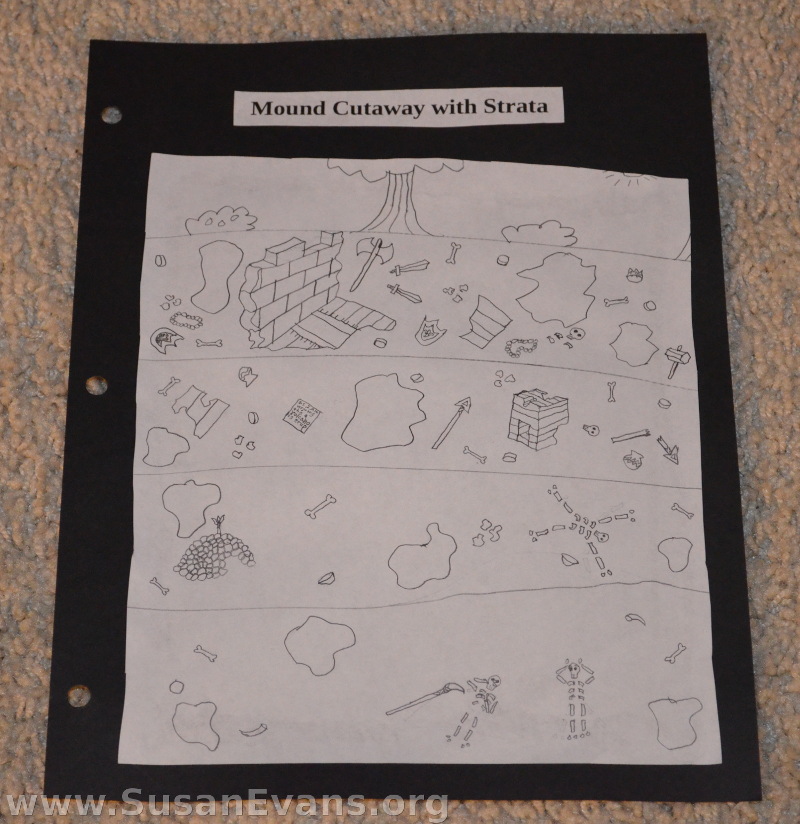
When studying ancient history, you can start by having your kids draw a mound cutaway with strata. Talk about archaeology, and how each layer represents different periods of time that you can excavate to discover the artifacts or items that were used in each culture. Usually the older civilizations are on the bottom, with the newer civilizations on top.

Of course, floods and volcanic eruptions mess up this theory because lots of layers are laid down pretty fast, and all during the same time period. Answers in Genesis has found modern items in the lower levels of dirt.

Each of my kids created a drawing of a mound cutaway with strata:

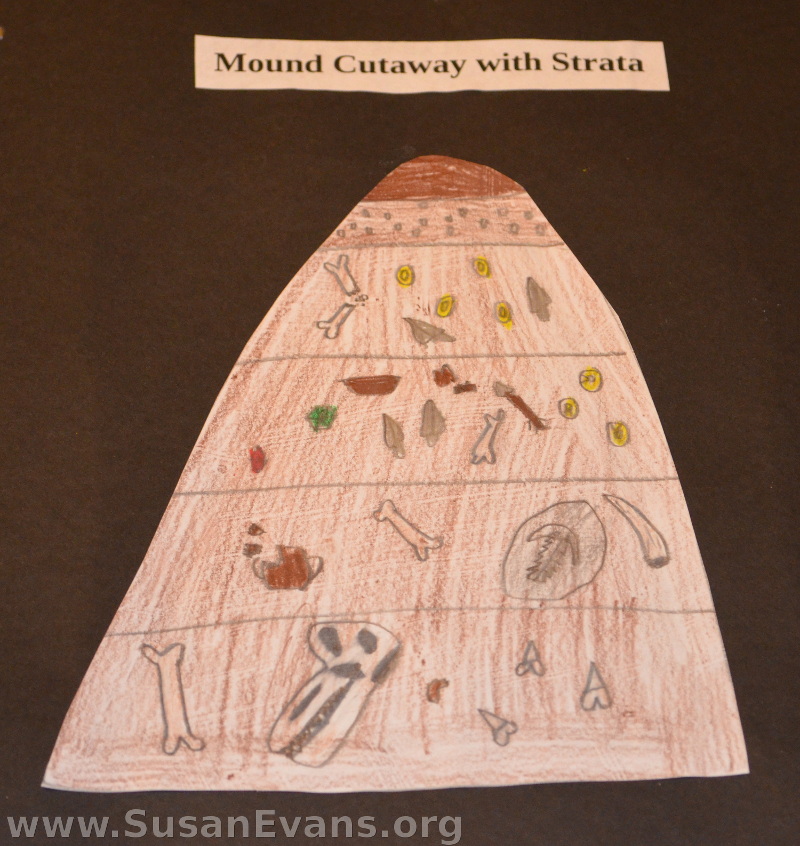
geologic column

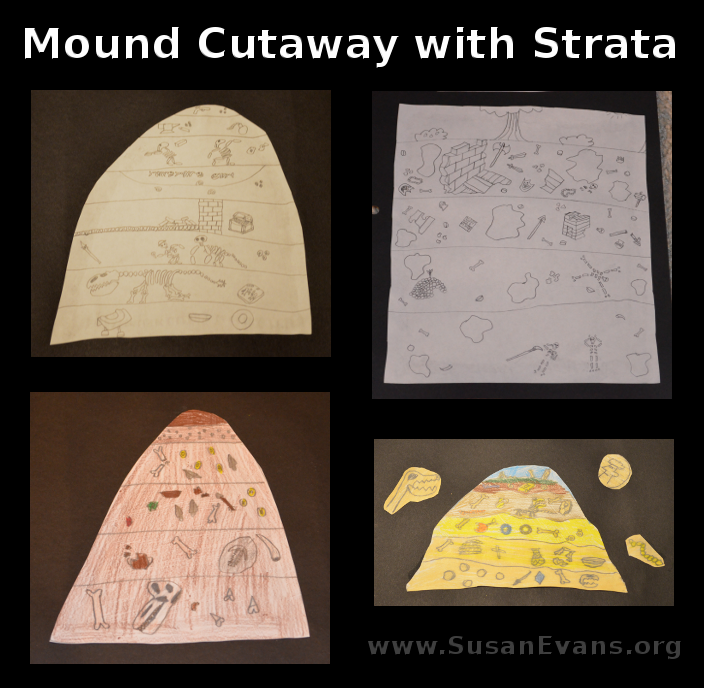
As you can see, there are fossils of various kinds in the different layers. There are also remnants of houses, pottery, jewelry, and weapons. My son drew a tree and some bushes at the top of the picture.

mound-cutaway

This cutaway is more of a mound. Dirt is at the top, so you wouldn’t notice that there were hidden civilizations under your feet. Seashells are found in various layers, along with fossils and bones. A dinosaur head is down in the oldest layer.

strata

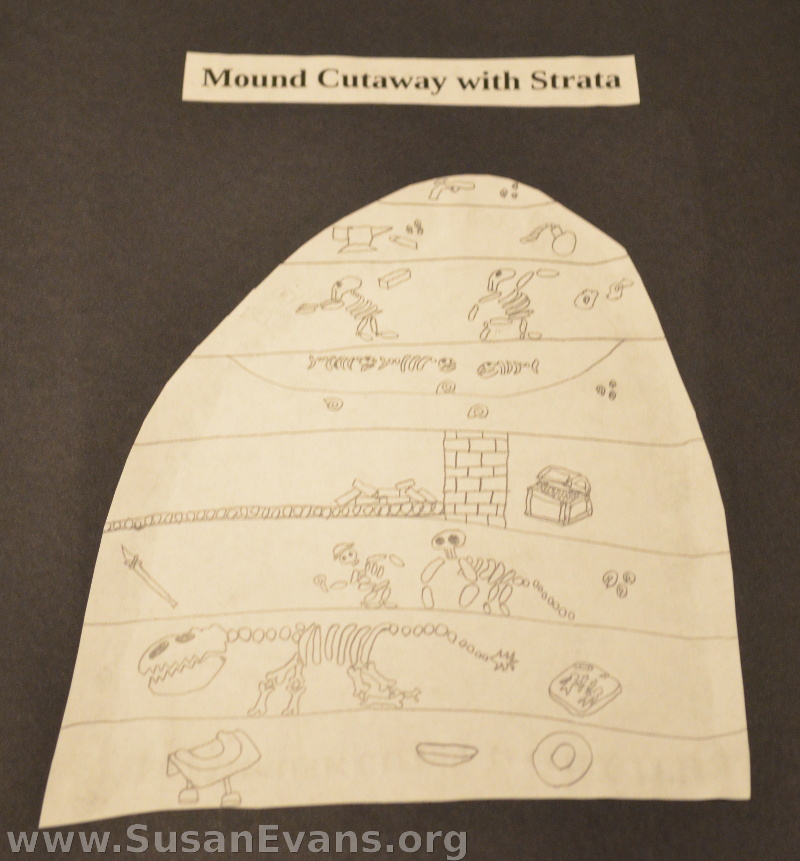
These strata layers of rock are comical. The third layer from the bottom contains a man being chased by a dinosaur. Apparently a flood or volcanic eruption buried them rapidly so they are caught in the act. Once again, in a higher level of rocks, a man is throwing an object at another man, and somehow the flood waters buried both of them at the same time, freezing their actions for all eternity. An unfinished building is in one of the layers, along with buried pirate treasure.

elementary-geologic-column

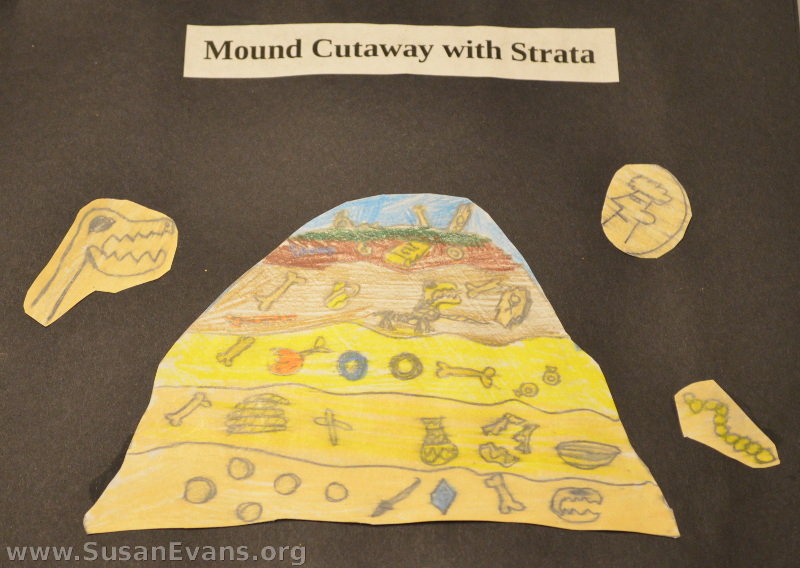
My daughter drew some fun layers of strata that included bones, coins, pottery, jewelry, and weapons. She highlighted some of the archaeological finds by drawing enlarged pictures and gluing them to the black card stock paper for her history notebook.

The kids had fun deciding what to place in each of their layers of rock while drawing their mound cutaway with strata.
Hammurabi’s Code of Laws Craft

Monday, January 25th, 2016

code-of-laws-of-hammurabi

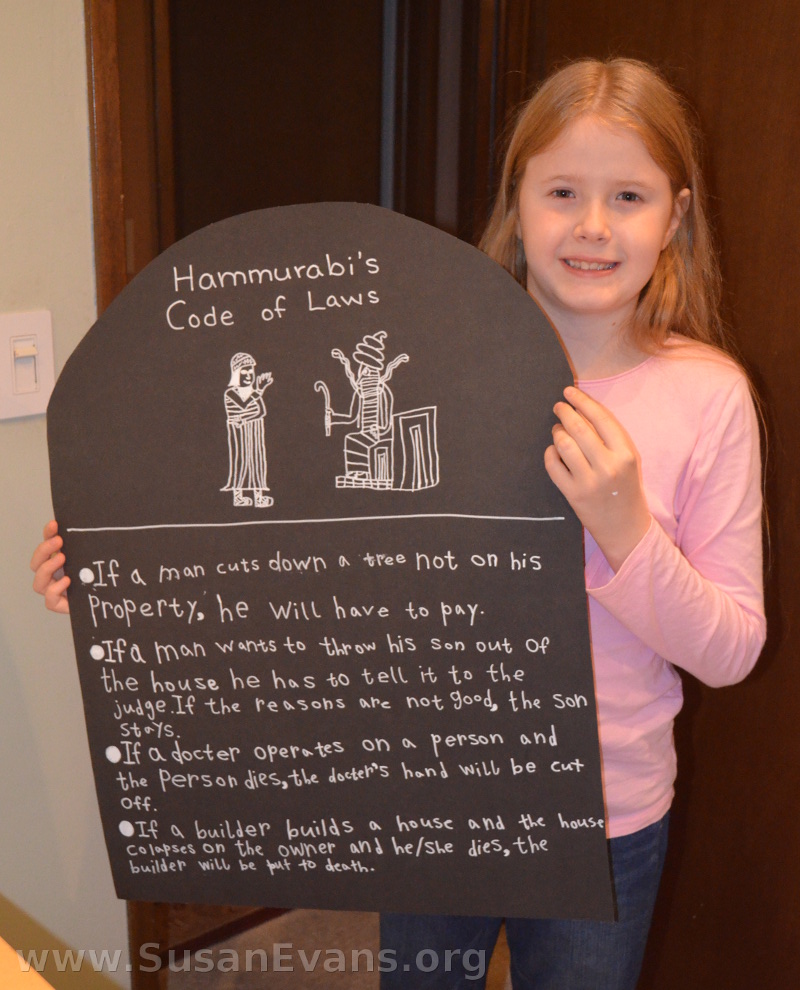
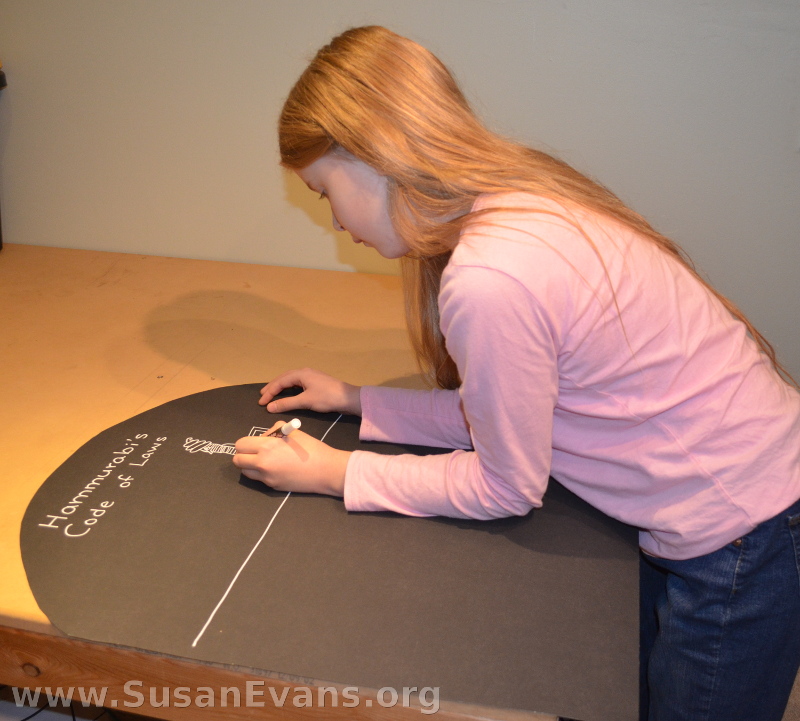
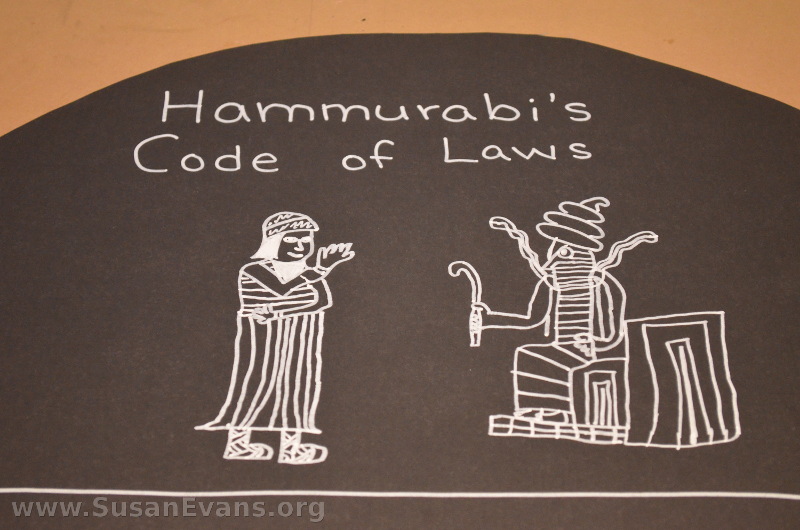
My daughter made a “Hammurabi’s Code of Laws” craft by creating a slab of stone with a black poster board. She wrote a summary in her own words of some of the laws of Hammurabi, many of which were quite weird. She used a chalk pen, and she wrote in her best handwriting.

Hammurabi

You will want to start by cutting a black poster board into a slab of rock by rounding the top portion with a pair of scissors. Write the title across the top, then try to emulate the etchings at the top of the original Code of Hammurabi. My 10-year-old daughter did a great job drawing these pictures! There is a figure sitting on a throne, and the man at the foot of the throne is Hammurabi, who is getting the law from one of the gods the people worshiped in those days. Hammurabi wanted his laws to be authoritative, so he said that the gods had given him these laws.

hammurabi's-code-of-laws

Here are some of the laws:

  • If a man cuts down a tree not on his property, he will have to pay.
  • If a man wants to throw his son out of the house, he has to tell it to the judge. If the reasons are not good, the son stays.
  • If a doctor operates on a person and the person dies, the doctor’s hand will be cut off.
  • If a builder builds a house and the house collapses on the owner and he or she dies, the builder will be put to death.

Here is an alternate activity on black cork board instead of poster board, where the child creates her own code of laws for her home. (Notice also that she drew a little girl instead of Hammurabi on the stone slab):

If you would like your kids to write summaries on colorful pages, here are some free Hammurabi notebooking and coloring pages:

For more hands-on activities for history, join the Unit Study Treasure Vault!

Drawing on Papyrus

Wednesday, September 22nd, 2010

drawing-on-papyrus

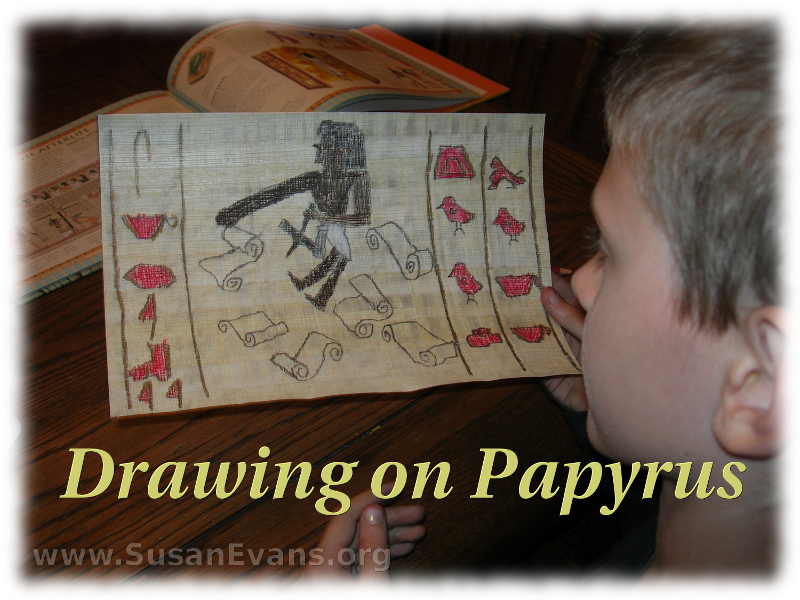
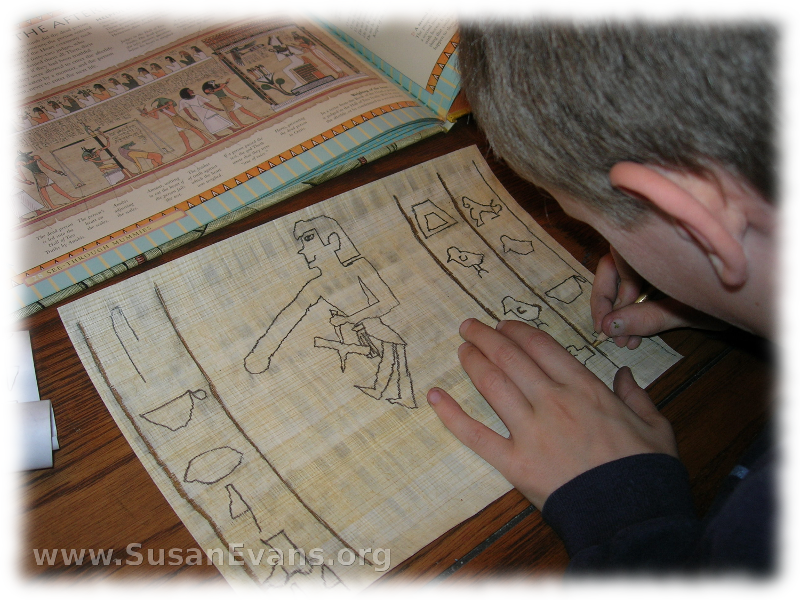
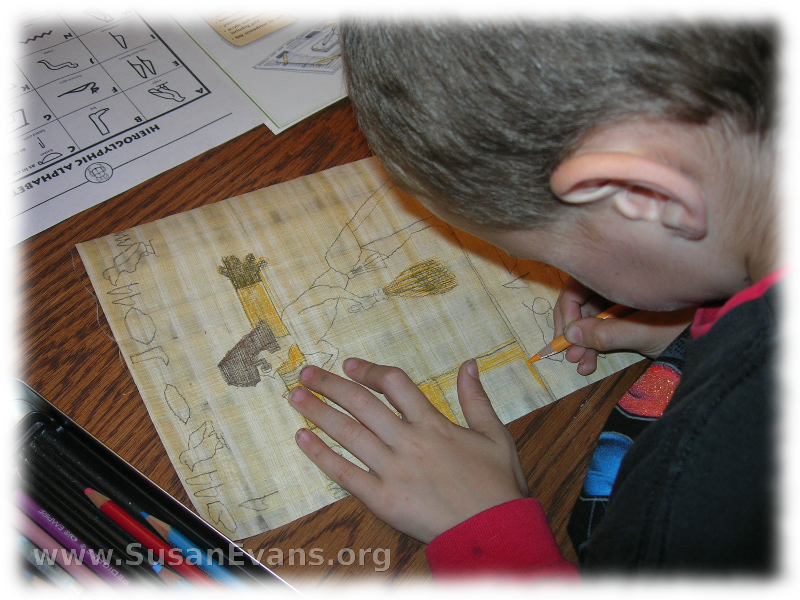
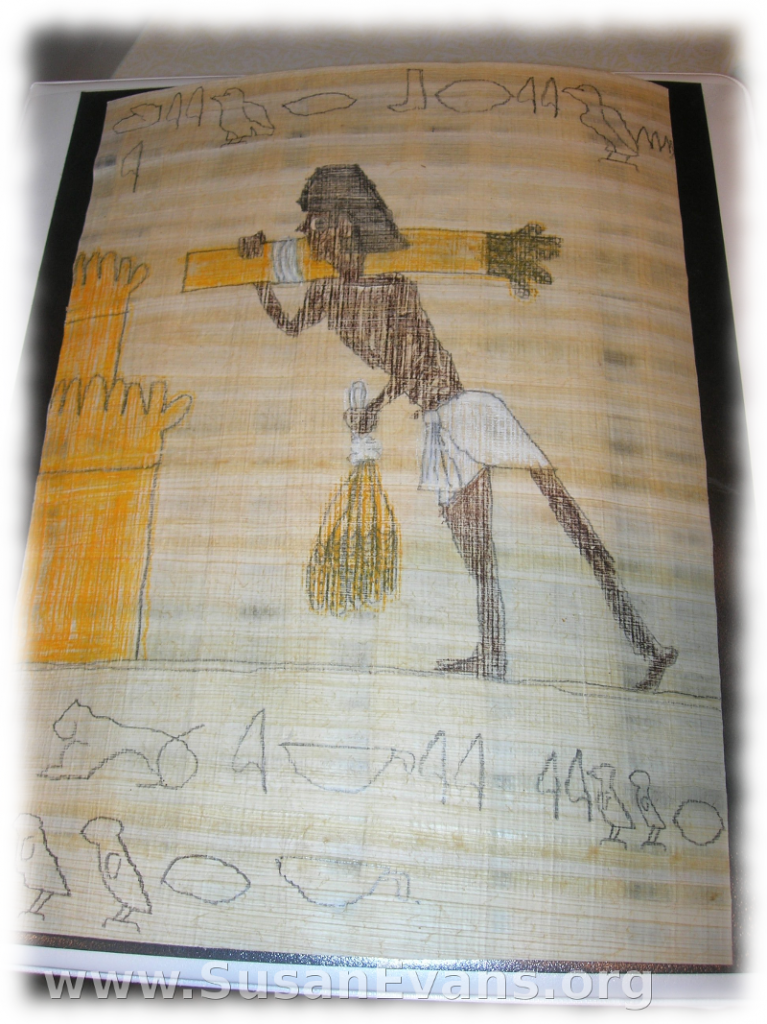
I bought some papyrus paper at a teacher supply store. I looked on the back, and the papyrus was actually made in Egypt. I gave one sheet to each child, along with a pencil. My 10-year-old son grabbed one of our Egypt books, opened it up for ideas, and drew a scribe along with some hieroglyphs. The children colored their drawings with colored pencils. (I use Prismacolor colored pencils because they glide on more smoothly, and there are some metallic colors.)


drawing-on-papyrus-2My 8-year-old son wanted something easy, so I showed him a coloring book of Ancient Egypt. Children find black and white sketches easier to draw than finished illustrations from books.

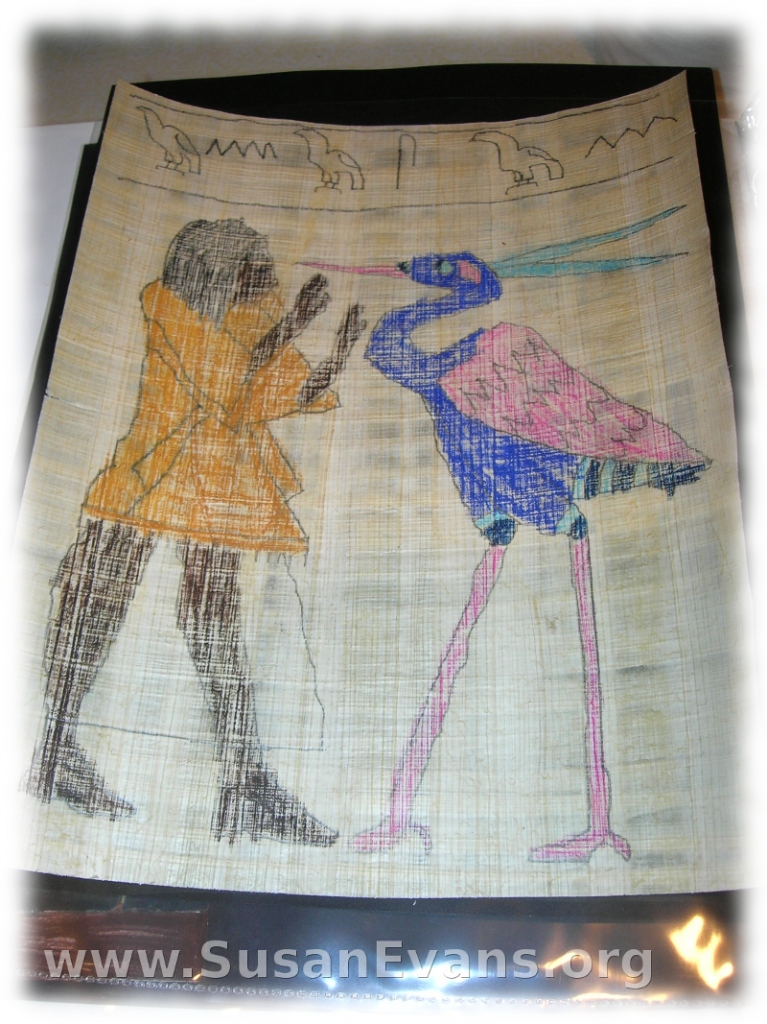
My 7-year-old designed his own picture based on a page from another book. He wrote a story in hieroglyphs. His picture is absolutely precious. It looks similar in style to all the other drawings he makes. He loves drawing, almost as much as my oldest son, Bryan.

drawing-on-papyrus-3

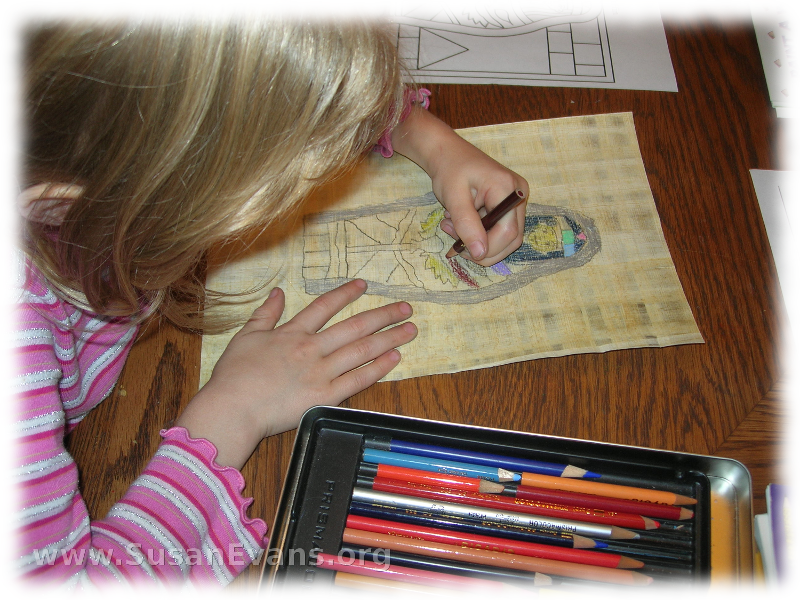
My 5-year-old girl took one look at the coloring book page that she had chosen, and she decided to trace it. Too bad that papyrus is so thick. We did this project after dinner one night, and my husband heard her scream and cry when she found out she couldn’t trace it. My husband took the coloring book, photocopied the one page she chose, taped it to the window, then taped the papyrus to the window. Luckily there was still enough light outside to trace the drawing. (The lights were off in the room where she was drawing, so that she could see through the papyrus.)

drawing-on-papyrus-5

When she finished tracing it, she was so proud of her work. She colored it and added a few random hieroglyphs. (She didn’t realize that her brothers were writing real stories with their hieroglyphs, and she wanted to do what they were doing.)

We put their finished papyrus papers into their Egypt notebooks, sliding them into the sheet protector.

papyrus-picturepapyrus

Cuneiform on Clay

Friday, September 17th, 2010

cuneiform-on-clay

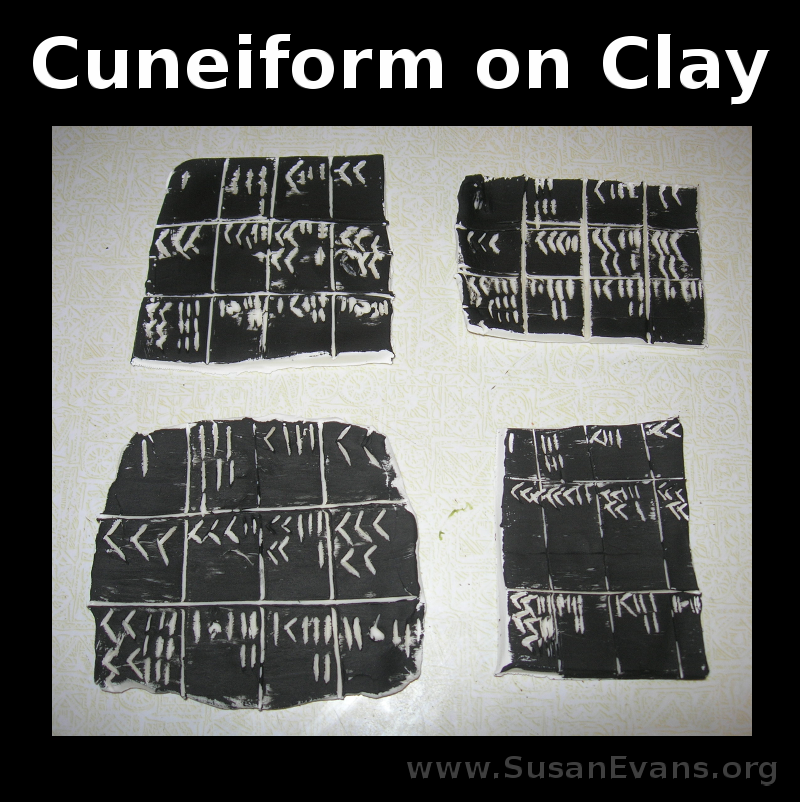
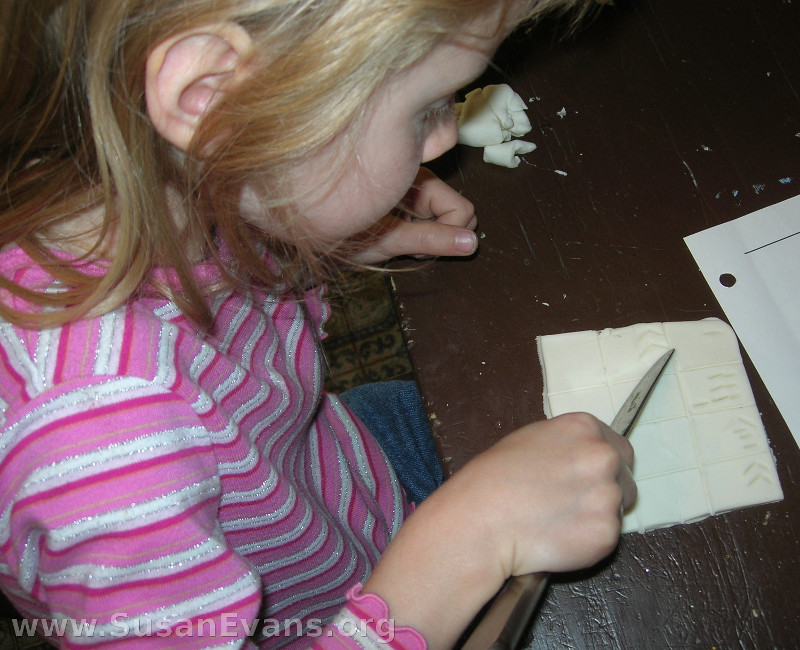
We studied the differences between hieroglyphs and the earlier form of writing called cuneiform, made by the Sumerians. I gave each child a lump of white clay and a table knife, and we made our own cuneiform on clay. I showed them examples of cuneiform, and they used the knife to cut into the clay.

cuneiform-hands-on-project

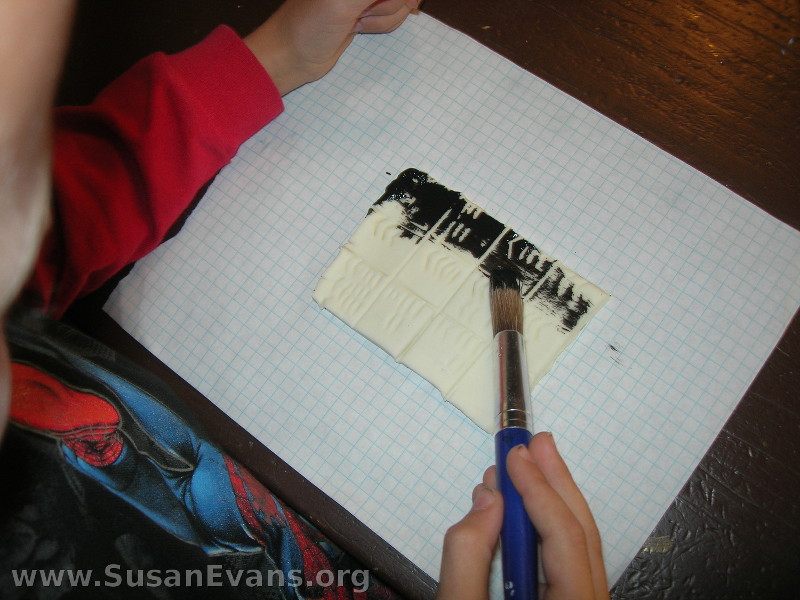
After they were finished, they dipped a paintbrush into black paint, holding the brush at an angle. The indentations remained white, while the rest of the clay was black. This was a complete accident, since my idea was to paint everything with black, then use a sponge to wipe off the black from the rest of the tablet, causing the writing to be black while the tablet was white. It came out wonderful the way it was, though!

hands-on-cuneiform