Posts Tagged ‘experiment’

Dry Ice Volcano Cake

Monday, September 4th, 2017

dry-ice-volcano-cake

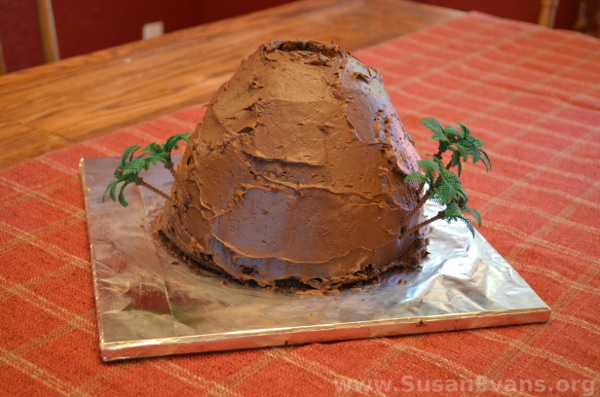
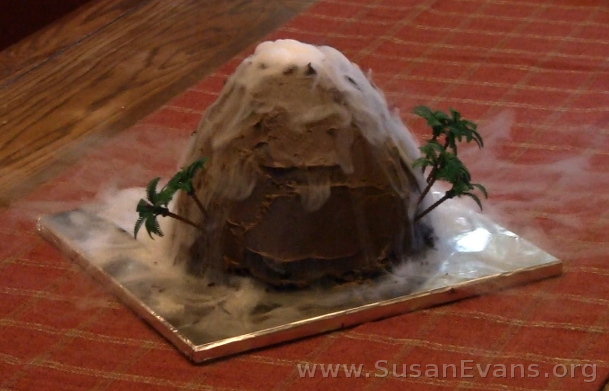
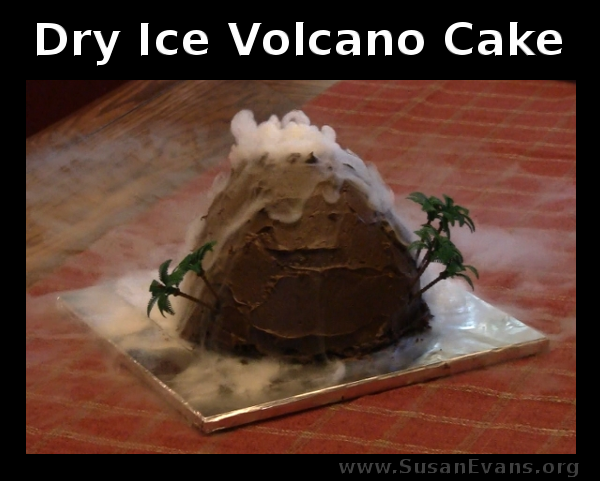
Look at this super cool dry ice volcano cake we had for my son’s natural disasters themed birthday party! I was brainstorming different ways to make a volcano cake, and I’ve never seen this done before, so I thought it would be fun to make. I wasn’t disappointed, and it was fairly easy to make!

Start by baking two cake boxes, for a total of four round cakes. Cool the cakes and place them in the fridge.

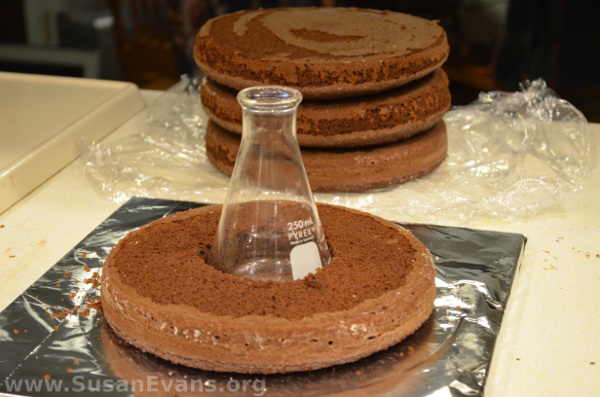
Put foil on a square piece of wood or cardboard, and tape the back. Up-end one round cake onto the center of the foil. Grab a chemistry flask and cut a circle with a knife around the edge of the flask. Remove the small circle of cake, and place the flask inside.

inside-volcano-cake

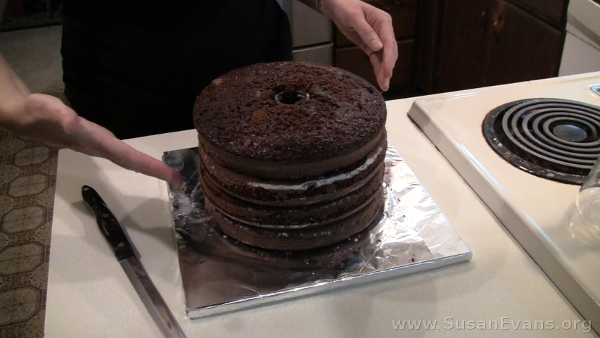
Cut circles into the other cakes, and slide them like stacking rings on top of the flask until the entire flask is hidden. If you have a taller flask, you will have to bake more cakes. This will result in a taller volcano.

chocolate-volcano

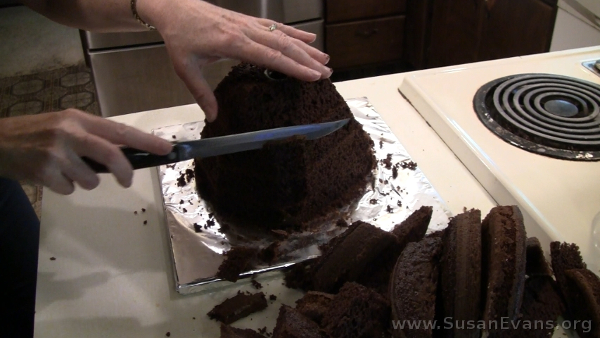
Place the entire stack in the fridge to cool. Then you are ready to sculpt the volcano. Look at the video demonstration to see how I shaped it:

You can do whatever you want with the scraps of chocolate cake that you cut off the volcano. At this point, you want to place the cake back into the fridge before frosting it.

carving-volcano-cake

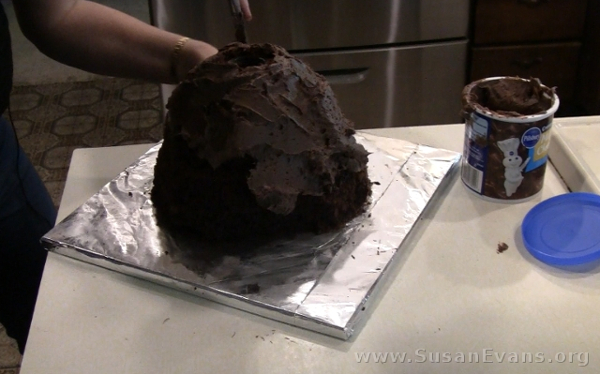
Frost the cake with chocolate frosting, spinning the cake to get the icing to be smooth. You can cover up any mistakes you made with the icing.

frosting-volcano-cake

Feel free to poke in plastic palm trees at the bottom of your volcano to add authenticity. This was my husband’s idea, since they were left over from a Hawaiian themed party we did for my daughter years ago. You can buy plastic palm trees at a party store.

make-a-volcano-cake

Pour hot water into the volcano. Plop dry ice chunks into the volcano. (You can buy dry ice at most grocery stores, and it’s inexpensive.) Now you will see the volcano smoking downward in an incredible way!

erupting-volcano-cake

Make sure to watch the video above to see how cool this dry ice volcano cake turned out!
Prisms, Light, and Color

Monday, September 19th, 2016

prisms-light-color

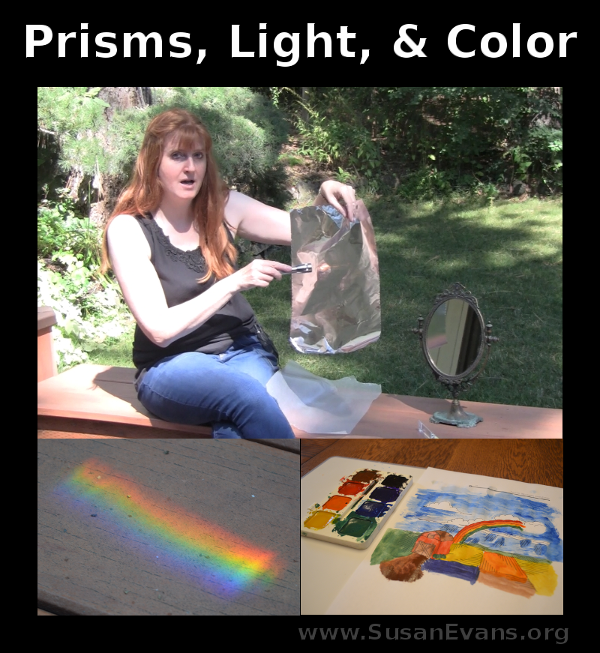
Today we will be learning about prisms, light, and color. We will be doing some hands-on activities to see what light is made of, and what it does. We will also learn why we see colors.

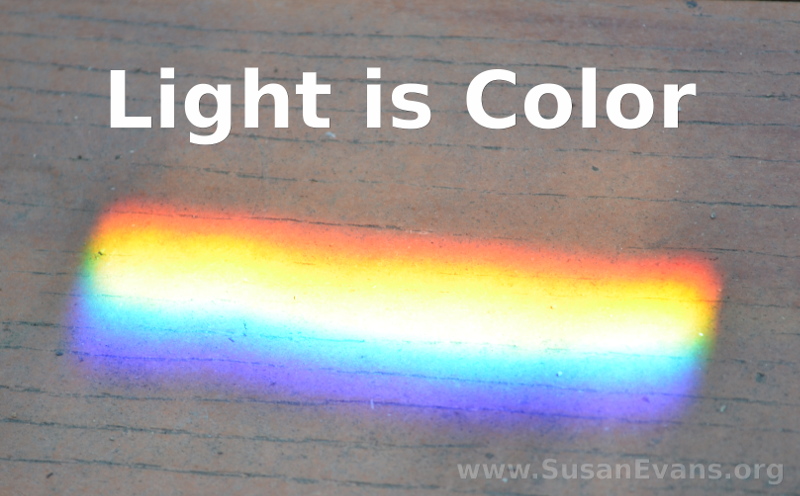
Light is electromagnetic energy. It has different wavelengths that fall on the electromagnetic spectrum. Light is made up of all the colors, as you can see when looking through a prism:

light-is-colorThis post contains affiliate links. I was compensated for my work in writing this post.

Light illumines the world around us so that we can see it. Light can be reflected, transmitted, or absorbed:

  • reflected: light bounces back
  • transmitted: light passes through material
  • absorbed: light sinks into an object

We conducted an experiment with several different materials and a flashlight, to see if the light was reflected, transmitted, or absorbed by the material. We used a mirror, Cling Wrap, wax paper, aluminum foil, a bench, and my jeans.

Experiments with Prisms, Light, & Color (video)

Take a look at how the prism separates white light into all the colors of the spectrum. Then watch as we conduct an experiment to see which materials reflect, transmit, and absorb light:

Playing with Colors

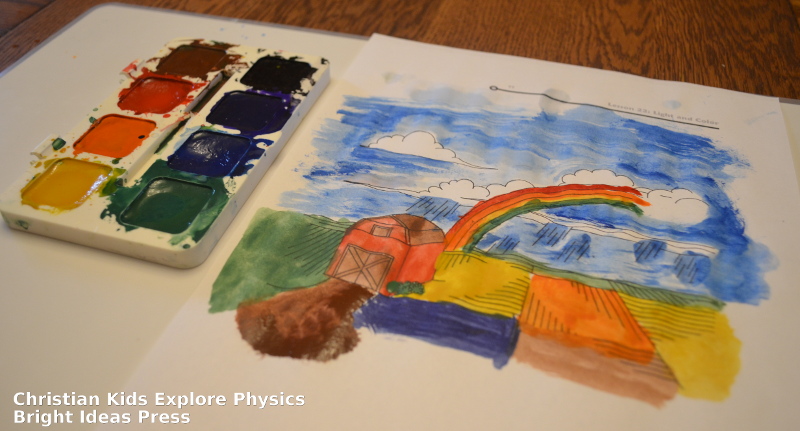
We printed a coloring page from Christian Kids Explore Physics by Bright Ideas Press, and my daughter enjoyed playing with colors as she painted the scene. She found out that when something is blue, that object reflects blue but absorbs all the other colors.

playing-with-colors

We had a wonderful time playing with prisms, light, and color!

Turning Potential into Kinetic Energy

Monday, August 22nd, 2016

turning-potential-into-kinetic-energy

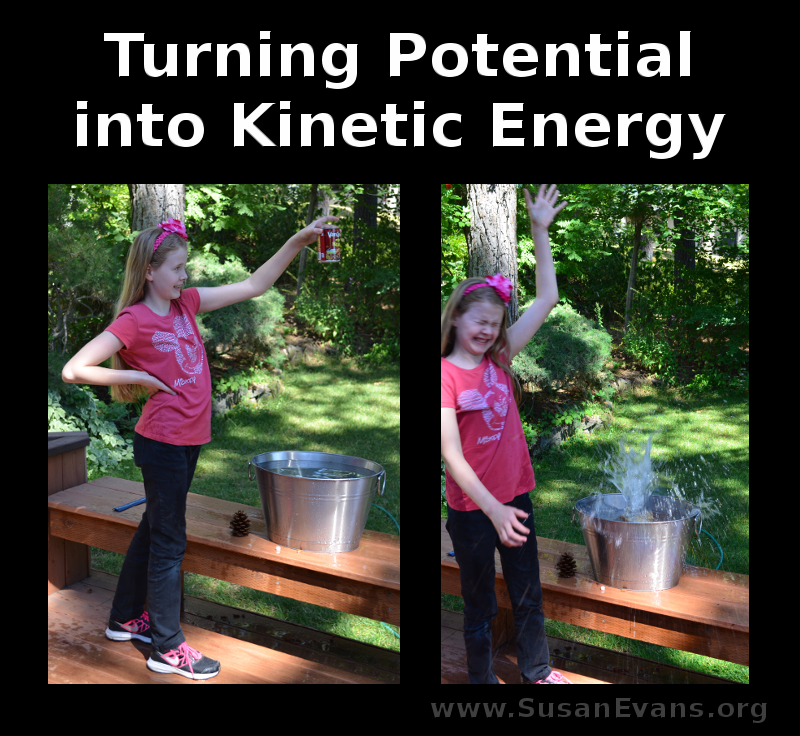
In today’s experiment, we will be turning potential into kinetic energy as we hold various objects above a bucket of water and release them to see how far they splash.

Sounds fun, doesn’t it?

You will want to do this experiment outside on a sunny day. The person dropping the objects needs to be willing to get wet, especially when the person releases the heavier objects like the banana and the can of baked beans!

Turning Potential into Kinetic Energy (The Experiment)

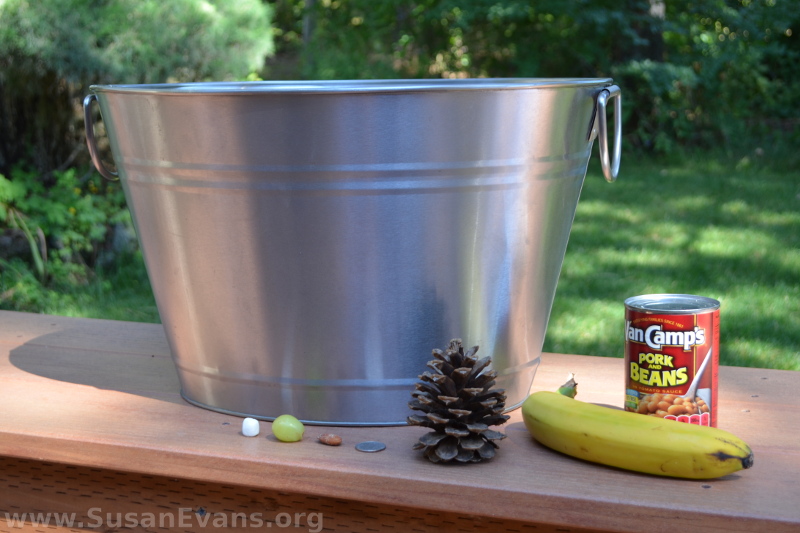
Step 1: Gather supplies. You will need a large tub, a hose, a ruler, and various objects to drop into the water. We used a marshmallow, a grape, a nut, a quarter, a pine cone, a banana, and a can of baked beans.

splashing-experimentThis post contains affiliate links. I was compensated for my work in writing this post.

Step 2: Fill the tub with water and have someone hold a ruler on the side of the tub. Print out the chart on page 143 of Christian Kids Explore Physics by Bright Ideas Press, and clip it to a clipboard. Record your findings on the chart, or you can just call out how many inches the water splashed upwards.

splash-grape

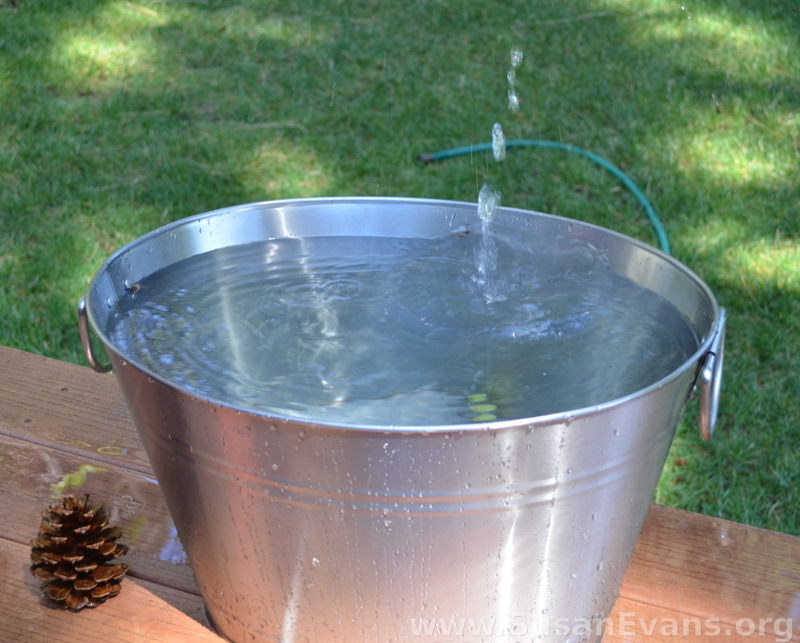
Step 3: Drop each object and watch how far the water splashes. The objects with more mass have more potential energy. When an object is held above the water, there is potential energy in the object. Potential energy is converted into kinetic energy as soon as you release the object because it is now moving.

Let me describe it another way: A log of wood has potential energy. It’s just sitting there and doesn’t look like it has energy, but as soon as you light it on fire, the potential energy is converted into kinetic energy.

Energy will be released if something happens to an object with potential energy. As long as an object just sits there, it’s only potential. When movement or chemical change occurs, you now have kinetic energy.

Video of the Splashing Experiment:

Take a look at how far each of our objects splashed:

Hope you enjoyed our fun experiment!

Changing the Coefficient of Friction

Monday, August 15th, 2016

changing-the-coefficient-of-friction

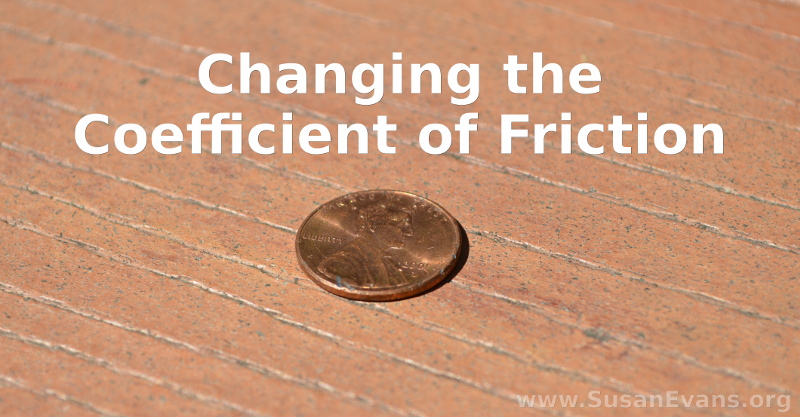
Today we are doing an experiment about changing the coefficient of friction. We will be swooshing a penny and a book across an unpolished table. Then we will polish the table and try it again.

Friction is resistance that keeps an object from moving forward. As you can see in the video, our coffee table has seen better days–it is battered and has lots of tiny grooves and dents. This provides a surface that is full of friction to cause a penny or book to slow down while being slid across a table.

How to do the friction experiment:

sliding-pennyThis post contains affiliate links. I was compensated for my work in writing this post.

This is how we conducted this friction experiment from Christian Kids Explore Physics by Bright Ideas Press:

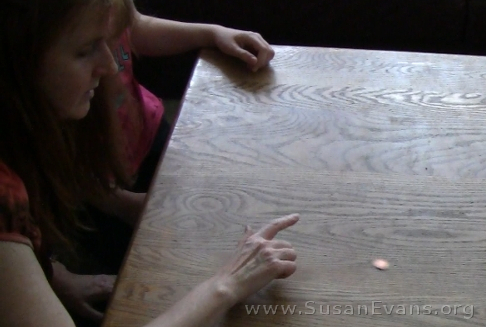
Step 1: We slid a penny and a book across an unpolished table. We noticed that the penny got stuck as it didn’t want to slide across a table full of nicks and dings.

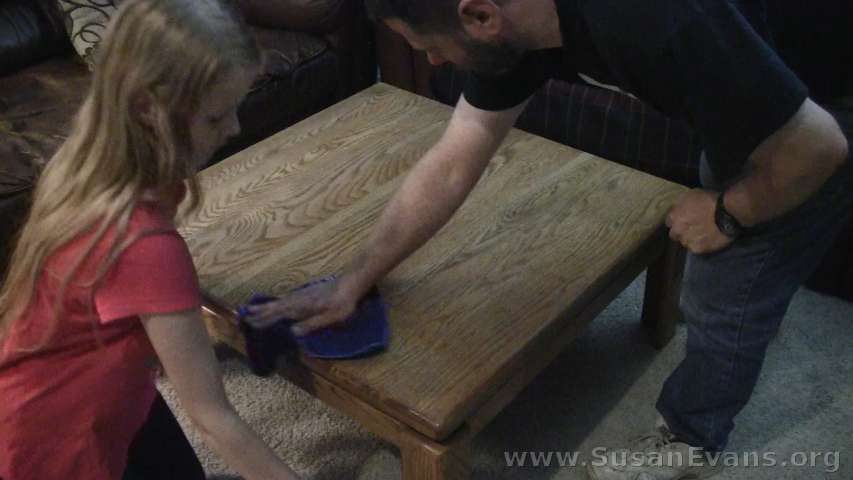
Step 2: We polished the table with furniture polish. Using a soft rag worked better than using a paper towel, as far as shining the table. The reason the table never looked visibly shiny is that there was no varnish left on the poor coffee table. Even then, the table became more slippery when polished.

waxing-table

Step 3: We slid the penny and the book across the polished table. This time we noticed that the penny had less friction as it slid across because there were fewer obstacles slowing it down.

My kids went next door to slide the penny on the neighbor’s waxed wooden floor. The penny slid around with way more speed! Even the neighbor’s dog had trouble walking on such a frictionless surface!

Then my husband polished one side of the coffee table and not the other, and there was a visible difference in speed when he flicked two wooden coins across the table. The polished side went noticeably faster and flew off the table!