Posts Tagged ‘fun spring activities’

The Very Hungry Caterpillar (Re-enactment!)

Monday, February 27th, 2017

the-very-hungry-caterpillar

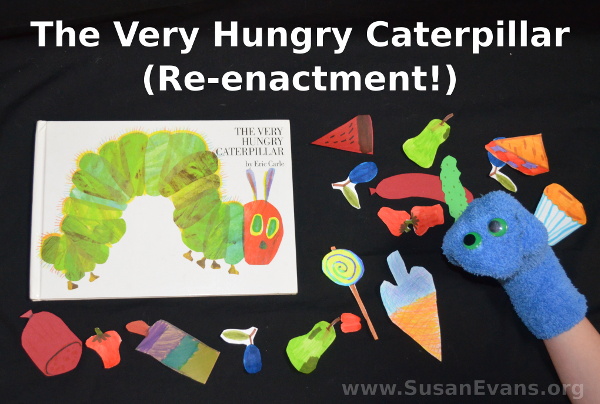
My kids and the small red-headed girl next door re-enacted the story The Very Hungry Caterpillar. You can make a simple caterpillar sock puppet by hot gluing some google eyes onto a sock. Then have your kids draw, color, and cut out the many foods that the caterpillar eats throughout the book.

One of my sons filmed and edited the video. The small red-headed girl next door read the story, and my daughter played the part of the caterpillar puppet that chewed through lots of food because it was so hungry. At last the caterpillar became a cocoon, and then he emerged as a butterfly!

Take a look at our cute re-enactment of this classic children’s story:

Hungry Caterpillar Display with Fruit

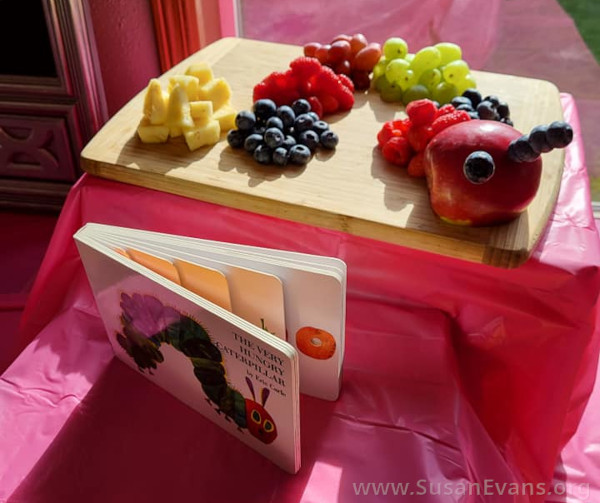
A fun idea to get young children to eat more fruit is to make piles of pineapple, blueberries, grapes, and raspberries for the different sections of the caterpillar’s body. The head can be an apple with toothpicks stabbed with blueberries for the antenae! You can place the whole display on a cutting board.

fruit-hungry-caterpillar-display

The Very Hungry Caterpillar Unit Study

If you are making this into a unit study, you can also do the following hands-on activities:

  • Make a tissue paper butterfly craft (with free printable)
  • Create stained glass window bowls
  • Tie dye coffee filter butterflies
  • Read other books about butterflies
  • Chase butterflies with a butterfly net and identify them
  • Watch a butterfly drink nectar from a flower

You can find instructions on how to make each of these crafts here:
spring-picture-books

Resurrection Garden

Wednesday, March 27th, 2013

Resurrection-Garden

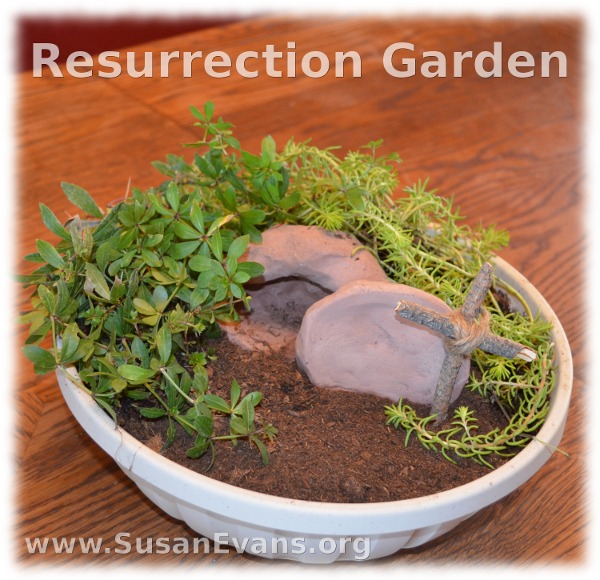
This easy-to-make Resurrection Garden is a meaningful centerpiece for your Easter table. You make the empty tomb out of self-hardening clay two days before. Then fill a large bowl with soil, place the tomb into the soil, and surround the tomb with plants. You will also want to make a cross out of two twigs tied together with twine.

I originally saw the idea for a Resurrection Garden here, so I thought I would do my own version. Melissa Holt is apparently the one who came up with this idea, using grass or mustard seeds that grew all around the flower pot tomb on the week leading up to Easter. My version takes less time because you don’t have to wait for the grass to grow. You could even put the wet clay straight into the dirt and complete the project in less than 15 minutes.

Items needed for the Resurrection Garden:

  • large bowl or flower pot
  • soil
  • terra cotta self-hardening clay
  • 2 twigs
  • twine
  • plants

Cut a slab of terra cotta clay off the main hunk of clay by using a butcher knife. Form the clay into a ball. Press your fist into the ball to made a cave-like indentation. Make a circle or oval of clay for the rolled-away stone as well. Place both pieces of clay (the tomb and the stone) on top of wax paper to dry for two days.

Fill a bowl or pot with soil. Place the tomb into the soil. Surround the tomb with shade plants from around your yard. Or you can purchase small indoor plants just for this project. Choose leaves of different colors and textures for maximum beauty for your scene.

Snap some twigs to the correct size for a cross, based on the size of your tomb. Join the pieces together with twine. Tie the knot in the back so that it can’t be seen. Stab the cross into the dirt on the side of the tomb. Now your Resurrection Garden is complete.

Edible Egg Nest

Monday, March 25th, 2013

Edible-Egg-Nest

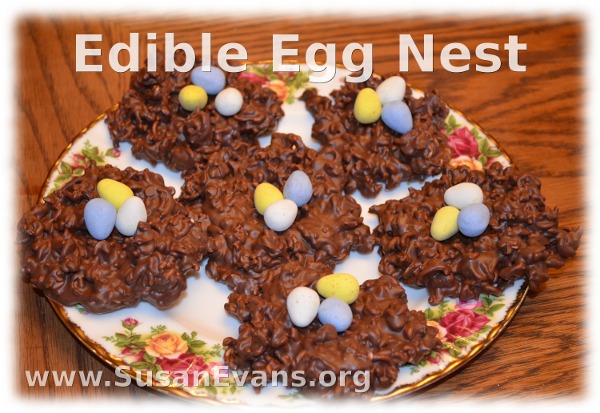
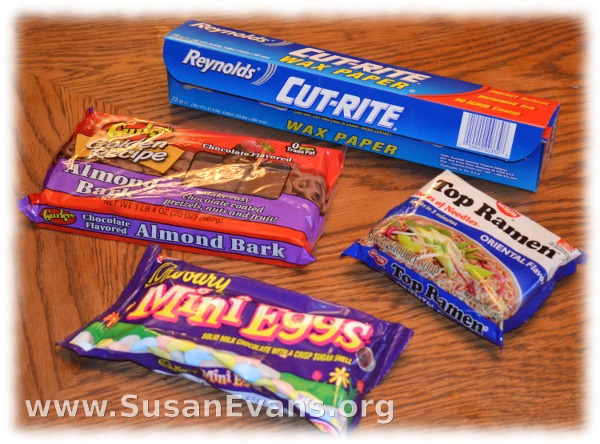
This edible egg nest is easy to make and looks so cute! It is made of dry oriental noodles mixed with chocolate almond bark. In order to make these nests with your children, you will need the following items:

  • chocolate almond bark (1 package)
  • cheap oriental noodles (2 packages)
  • Cadbury’s Chocolate Mini Eggs (or Easter M&M’s or jellybeans)
  • wax paper

edible-egg-nest-2

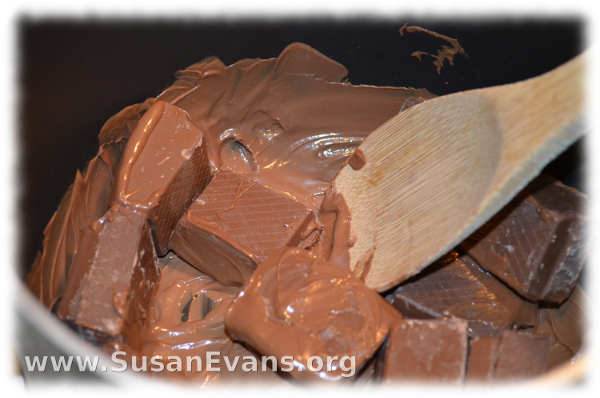
Melt the chocolate almond bark in a saucepan on medium heat. It will take less than 5 minutes, so keep stirring the whole time so that the chocolate doesn’t burn.

edible-egg-nest-3

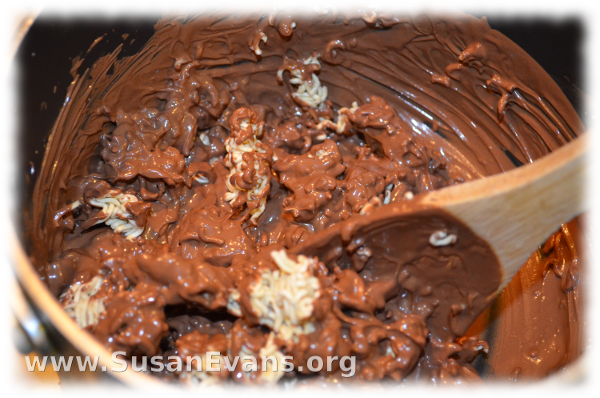
When the chocolate is liquefied, break up the dry oriental noodles and drop them into the pot. Stir until the chocolate completely covers the noodles, giving the mixture a nest-like texture.

edible-Easter-nest-2

Now spoon blobs of this yummy chocolate nest material onto a cookie sheet lined with wax paper. Indent the middle of the nests before you put them in the refrigerator to harden fully.

edible-Easter-nest

Allow to harden for a few minutes in the refrigerator before adding the yummy chocolate candy eggs to the nest. Then delight your children by allowing them to eat the delicious edible egg nest!