Posts Tagged ‘homeschooing’

#7 Building Molecular Models

Monday, September 15th, 2014

building-molecular-modelsThis post contains affiliate links. I was compensated for my work in writing this post.

My kids enjoyed building molecular models to understand the structure of molecules in chemistry. We have been using Christian Kids Explore Chemistry by Bright Ideas Press to study elementary-level chemistry, and this is one of the hands-on activities in the book.

First you will want to purchase some styrofoam balls. These are available at craft supply stores. You will also need toothpicks and acrylic paint in various colors. If you want to label the atoms in the molecule, you can use a black marker, but we preferred to use alphabet stickers. Because of the texture of the styrofoam, it’s difficult to write on the styrofoam. If you’re using stickers, choose a contrasting color for the letters. I had some red stickers, but they would not have been visible on the red Hydrogen atoms.

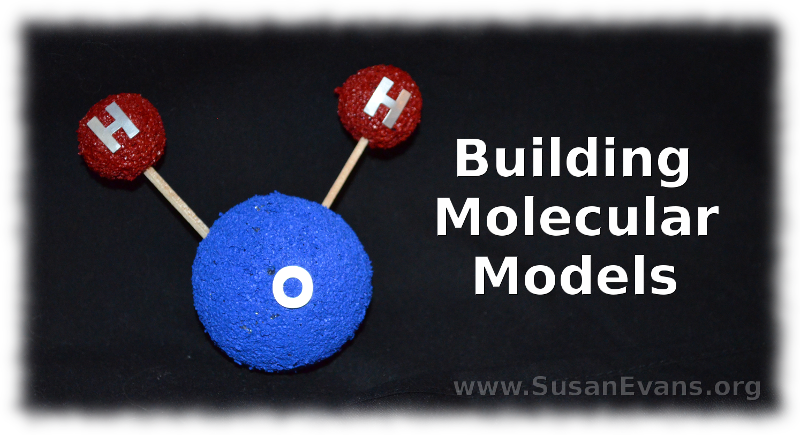
Now go ahead and stab each of two small red styrofoam balls into a larger blue styrofoam ball using a toothpick. It’s easier to label the atoms with stickers after you have stabbed them with the toothpicks, because you will know where the front of the molecule is. The larger blue ball is an Oxygen atom, and the smaller two balls are Hydrogen atoms. This is a water molecule, in case you didn’t know.
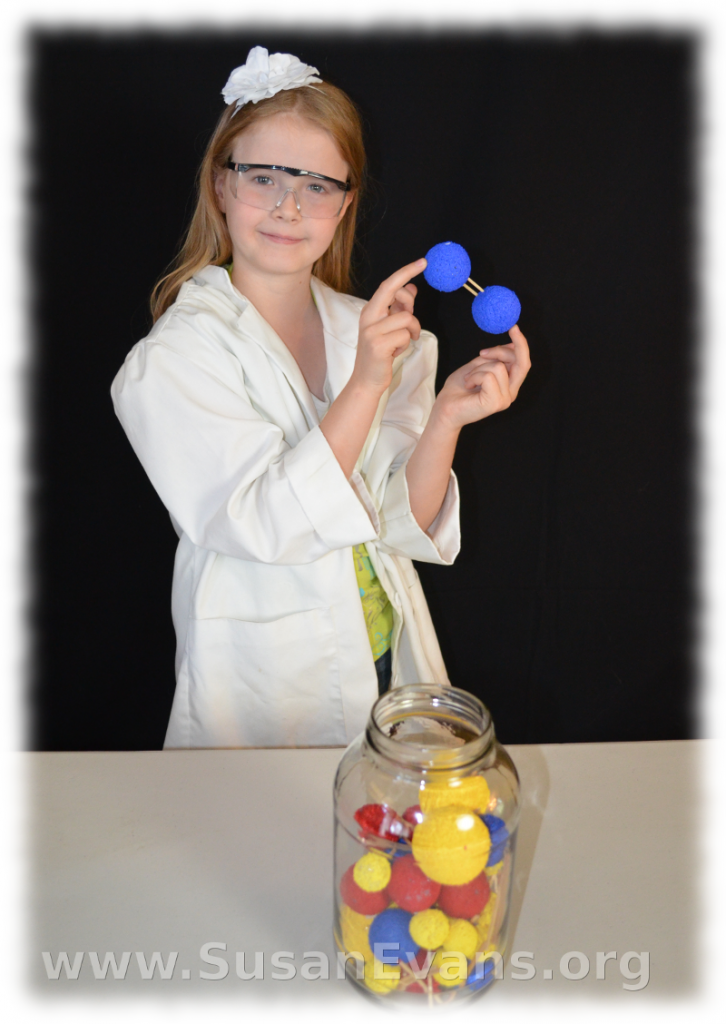
building-molecular-models-2Another molecular model you can make is an Oxygen molecule. This molecule is composed of two Oxygen atoms with a double covalent bond. This means the two atoms are sharing a total of 4 electrons, because each covalent bond shares an electron with the Oxygen atom next to it. My daughter is holding up this Oxygen molecule. You can see that the two toothpicks are stabbed into the balls parallel to each other.

You can continue building molecular models. If you have bazillions of painted styrofoam balls, you can look up different common molecules and try to produce a model of them. In the following video, we show you how to make these simple molecular models. We also show you how our sugar molecule turned out!

#6 Atomic Cookies

Monday, September 8th, 2014

atomic-cookiesThis post contains affiliate links. I was compensated for my work in writing this post.

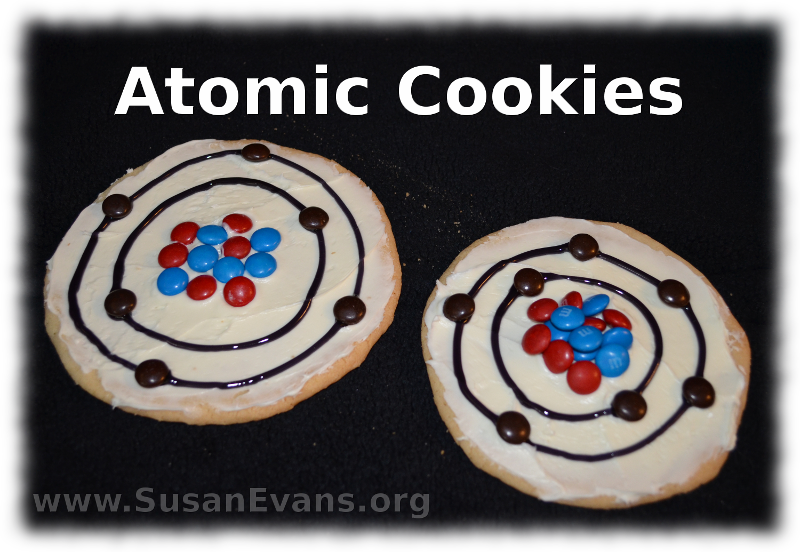
Let’s bake some atomic cookies to learn about the parts of an atom! We are using Christian Kids Explore Chemistry by Bright Ideas Press. The book recommends making the cookies 4 inches across so that the electrons fit on your cookie. You can bake the M&M’s into the cookie, or you can do what we did, which is to frost the cookie and then decorate it with the M&M’s to represent the protons, neutrons, and electrons.

baking-with-childrenBegin by mixing together your favorite cookie dough recipe. You can buy pre-made sugar cookie dough if you want to skip this step. Then place wax paper on the counter, and plop the cookie dough down onto the wax paper. Place another piece of wax paper on top.

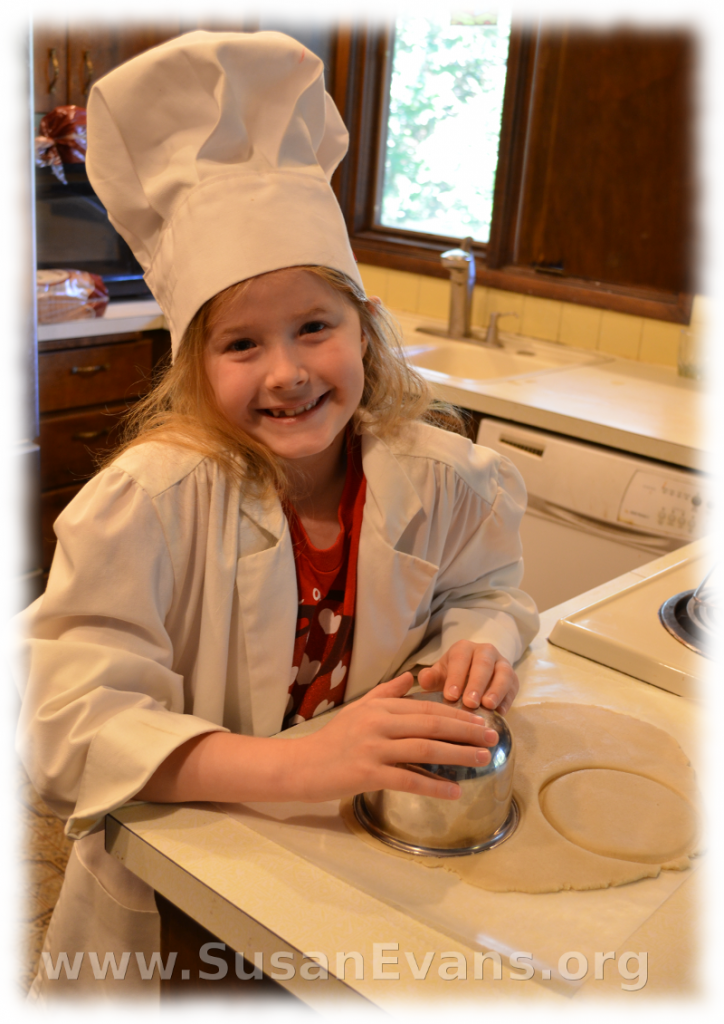
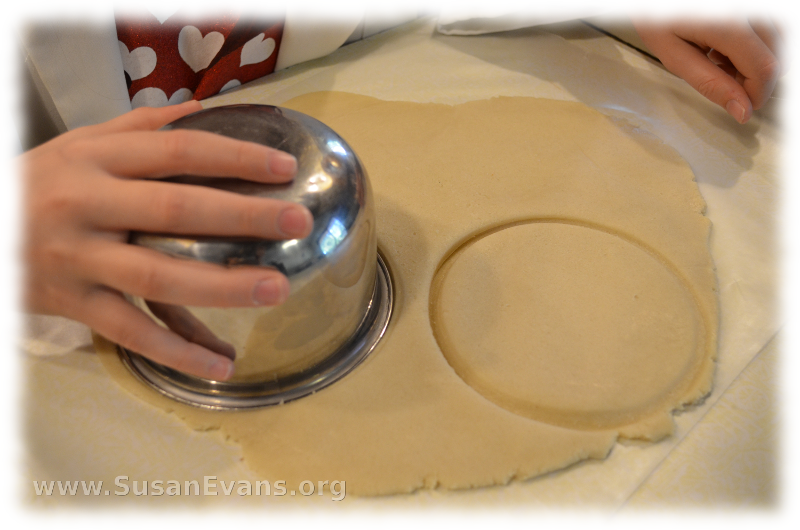
Grab the rolling pin and roll out the cookie dough until it is flat. Now remove the wax paper. My daughter shows you how to do this in the video at the bottom of this blog post.

cookie-doughUse a lid or small bowl as a cookie cutter. Make sure the diameter is at least 4 inches, but also keep in mind that the cookies expand a little bit in the oven. Bake the cookies and let them cool.

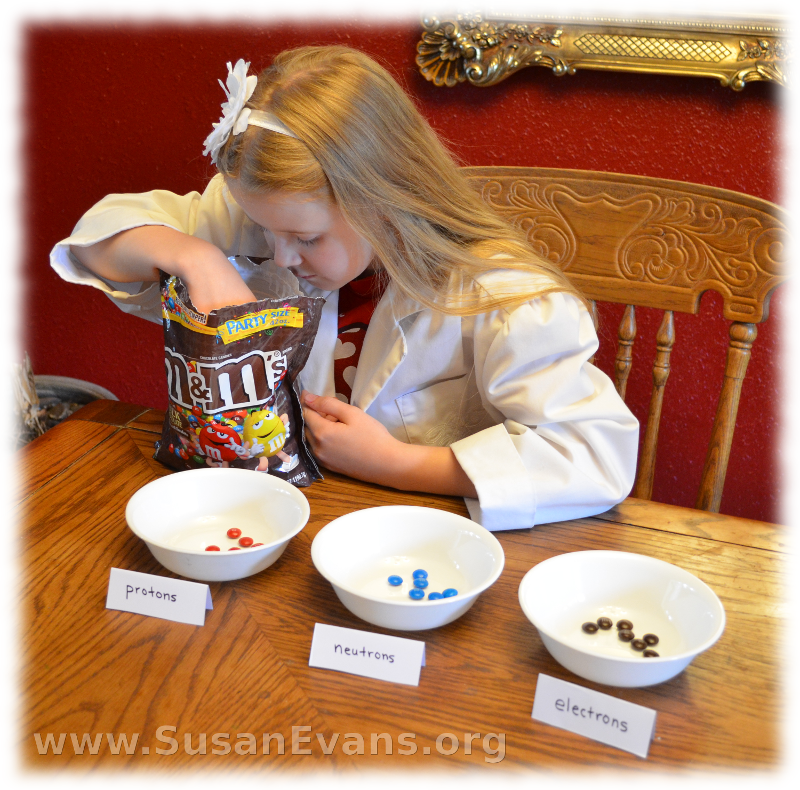
sorting-m&msWhile you are waiting for the cookies to cool, sort the M&M’s into three bowls:

  • red for protons
  • blue for neutrons
  • brown for electrons

Go ahead and eat the other colors, since you won’t need them anyway.

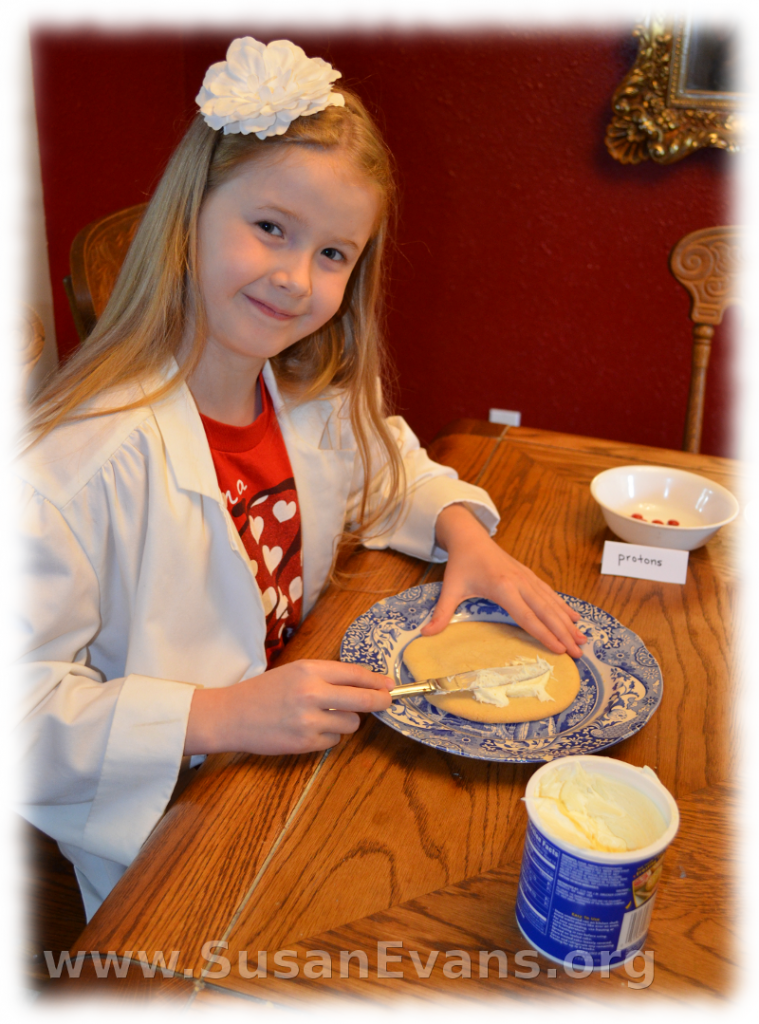
Now frost the atomic cookies with white icing, smoothing it down with a table knife.

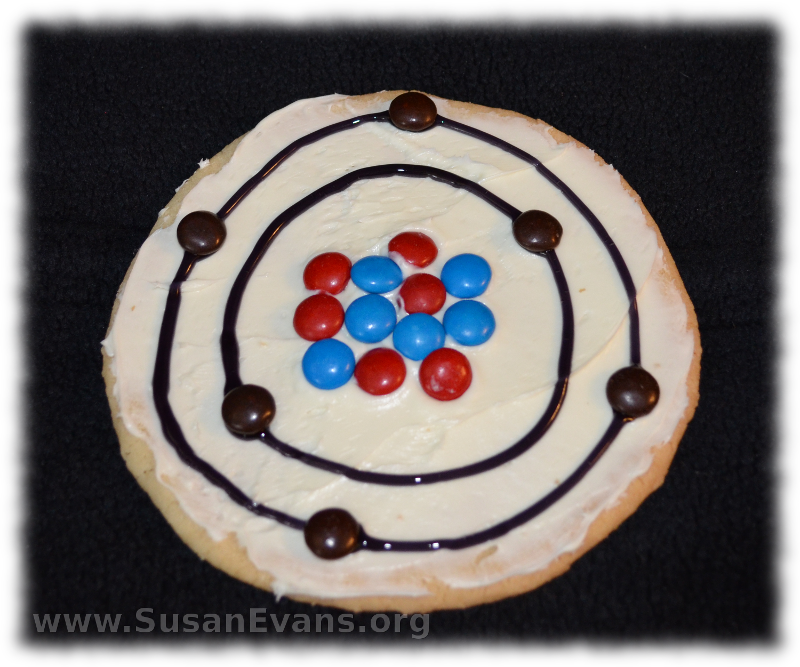
frosting-cookiesIt’s time to decorate the atomic cookies. For the carbon atom, you will want 6 protons, 6 neutrons, and 6 electrons. Place the red protons and blue neutrons in the center of the atomic cookie. Grab some black icing gel and draw 2 rings around the nucleus. These are electron shells. Place 2 brown electrons on the inner shell, and 4 brown electrons on the outer shell. Your atomic cookie is now complete.

atomic-cookieTake a look at how we made these atomic cookies:

Glow-in-the-Dark Chalk

Monday, August 27th, 2012

glow-in-the-dark-chalk

For my daughter’s birthday, she received a kit of glow-in-the-dark chalk. It was super easy to make. All you had to do was shake the glow powder and chalk powder in a small container, add a small amount of water, and pour it into a mold. The box said that the chalk would harden in half an hour, but it was not hard whatsoever within that time frame. It was more like an hour, and even then, the chalk was sort of soft and had to be handled carefully to not crumble in your hands.

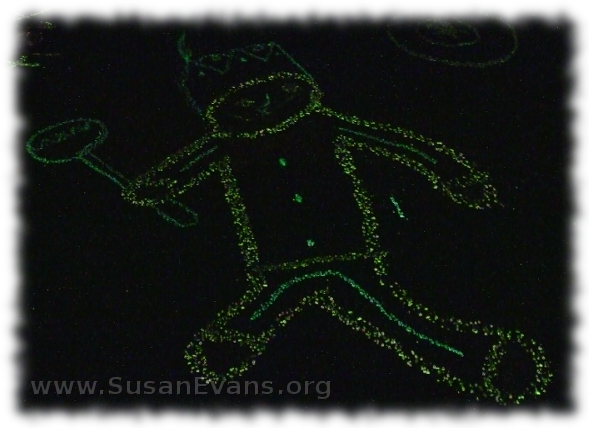
But it worked. The chalk (especially the yellow and green) glowed in the dark as my children drew pictures all over the driveway one night. It was super fun. The red and blue glowed a little bit, not nearly as much as the yellow and green. This is definitely an activity worth doing with your children, since my kids kept squealing with joy as we were adding more and more details to our glow-in-the-dark chalk masterpieces.