Posts Tagged ‘Homeschooling’

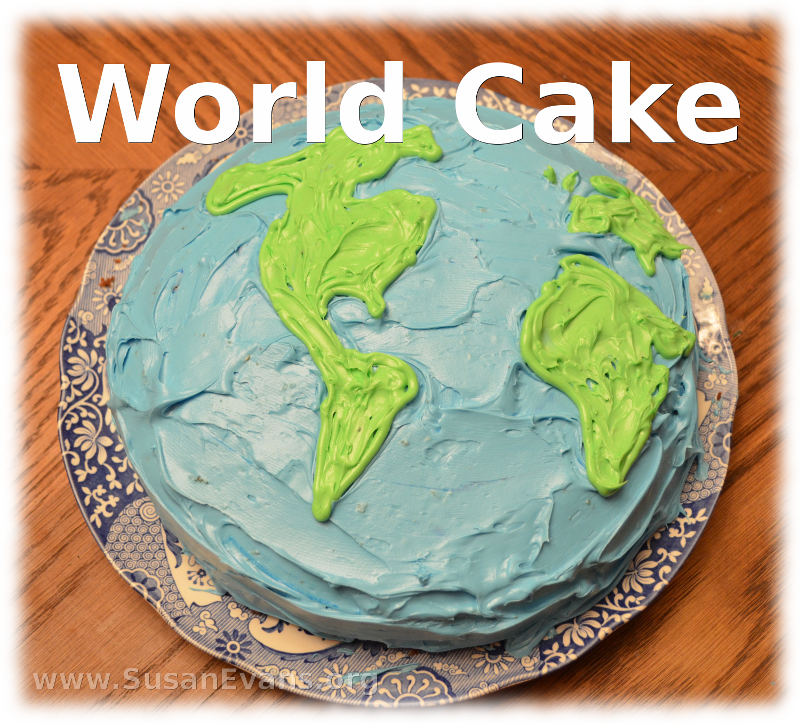
World Cake

Monday, April 6th, 2015

world-cakeIf you’ve ever wanted to excite your children about geography, why not make a world cake? It’s super easy!

Just bake a round cake in any flavor (I prefer chocolate). Get some white frosting. You will want to get two containers so that you don’t have to scrimp.

You will be frosting the entire cake with blue frosting, so one whole frosting container should be tinted blue with cake icing tint, which you can get at party stores and even some craft stores. Frost the cake.

Now open the second icing container and tint it green. Looking at a globe or a world map, grab a table knife and outline the shape of the continents on the blue icing, making a ridge. Now fill in the ridge with green icing.

It’s easier if you put the green icing into a ziplock bag (not a cheap bag that will pop and leave your hands green for a week). Snip a small hole in one corner of the bag, and outline the continents before filling them in. Depending on the look you want, you can use a table knofe to smooth the green continents.

Now your world cake is complete. This is a perfect cake for a themed party about geography, world travel, missions, or airplanes.

If you enjoyed making this world cake, you will love Living Geography: Travel the World from your Living Room.
LEGO Ancient Egypt

Monday, March 30th, 2015

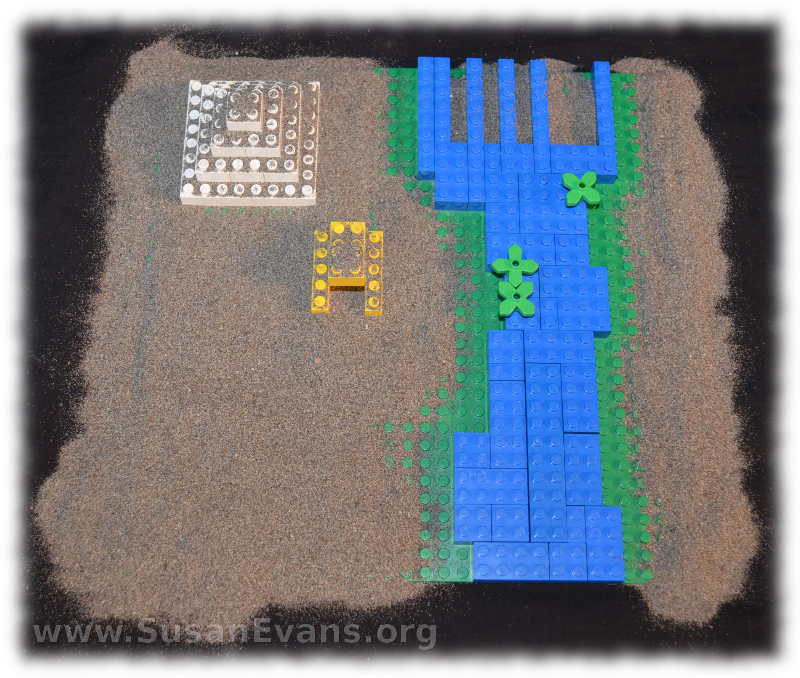
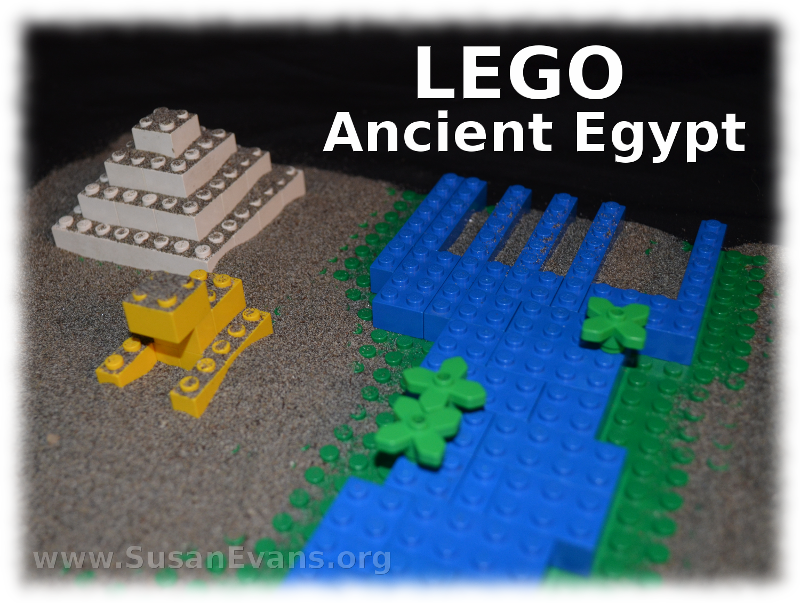
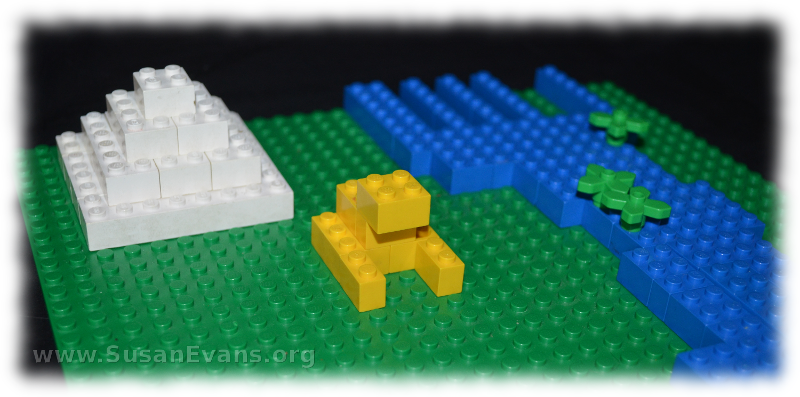
lego-ancient-egyptMy daughter constructed a LEGO Ancient Egypt, with the Nile River flowing over the hot sand overlooking a pyramid and the Sphinx. We used regular LEGO bricks, so anyone can do this.

You start with a LEGO base. Create the Nile River by collecting blue LEGOs and making the river flow from one end of the base to the other. Don’t forget to form the Nile River Delta on the north side of the base. A delta is a place where a river splits up into rivulets. You can place some palm trees along the river if you have them.

lego-egyptNext you will want to make a pyramid. We chose white LEGOs, building them up into a step-like pyramid. If you want to make three smaller pyramids, you could do that instead of making the larger one.

The Sphinx was made out of yellow LEGOs, with two thin yellow LEGOs as the legs. Two regular LEGOs form the body, with a half LEGO for the head. Simple.

lego-ancient-egypt-2Now pour sand over the whole thing, making sure to leave a little bit of green on either side of the Nile River, because the land next to the river is green compared to the desert further from the river.

If you look at the LEGO Ancient Egypt from the top, you will notice that it looks like a map. You can have your children draw a map of the scene for practice in map-making skills.

Here are some more Ancient Egypt Unit Study ideas:

The Last Supper in LEGO

Monday, March 23rd, 2015

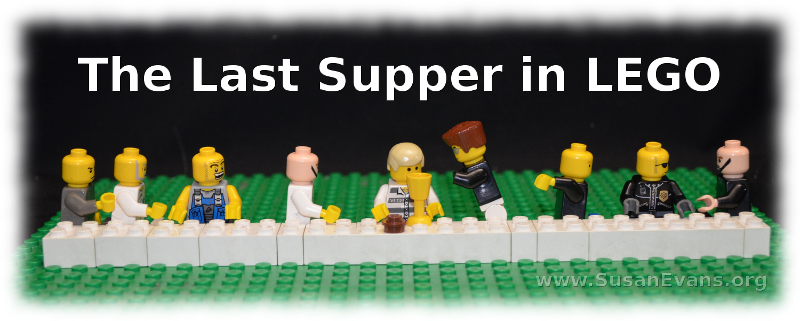
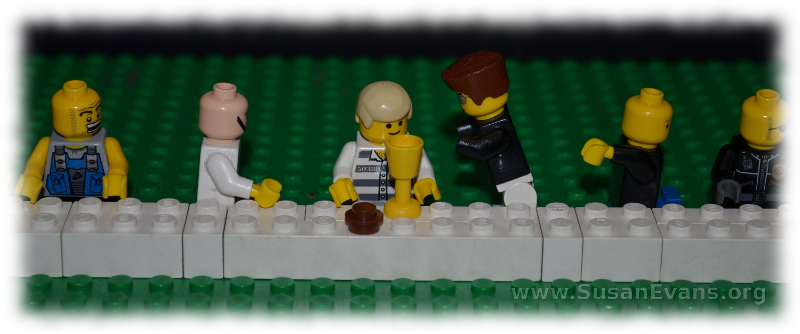
the-last-supper-in-legoMy 11-year-old son built The Last Supper in LEGO. He started with a green base, laying a white table for the LEGO disciples. A cup (a yellow goblet) and a piece of bread (a brown round LEGO piece) lay in front of Jesus as He sat to eat His last meal before being betrayed and crucified.

My son looked at the famous painting The Last Supper by Leonardo da Vinci, and he placed each LEGO disciple in a similar position to the painting. The LEGO Last Supper was complete in a few short minutes.

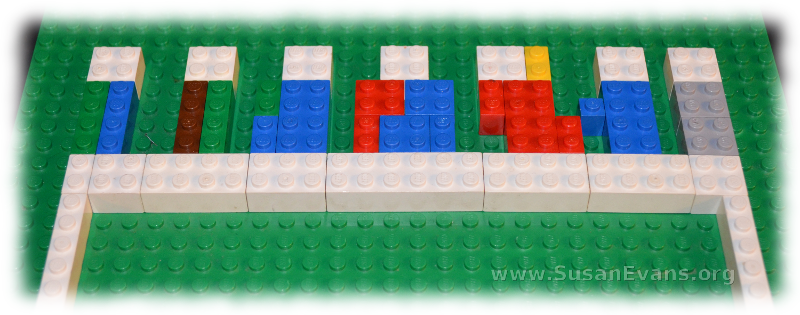
last-supper-da-vinciAn alternate way to make The Last Supper in LEGO is to start with the green base, and use plain LEGO pieces in the colors and shapes in the painting. This simplified version can be done when you have no LEGO men, or if all your LEGO men happen to be pirates. (It just wouldn’t be right to do The Last Supper with pirates. It might be good for a literature unit study of Treasure Island, though!)

last-supper-painting

This Last Supper scene is a beautiful activity to do around Easter time, when celebrating the week leading up to Christ’s death. You can read the conversation that Jesus had with His disciples, and how they sang a hymn… How He said that the bread was His body and the wine His blood that would be shed for them… How He went to the Garden of Gethsemane and sweated drops of blood… How no one even stayed awake to pray with Him… How He was alone when faced with the thought of the horror and sin of the world being placed upon Him and having the Trinity torn apart in one moment of time where the Father turned His back on the Son… My sweet Jesus endured hell that we might be set free from the bondage of sin and death! Glory be His name!

Make Your Own Bowling Pins

Monday, February 16th, 2015

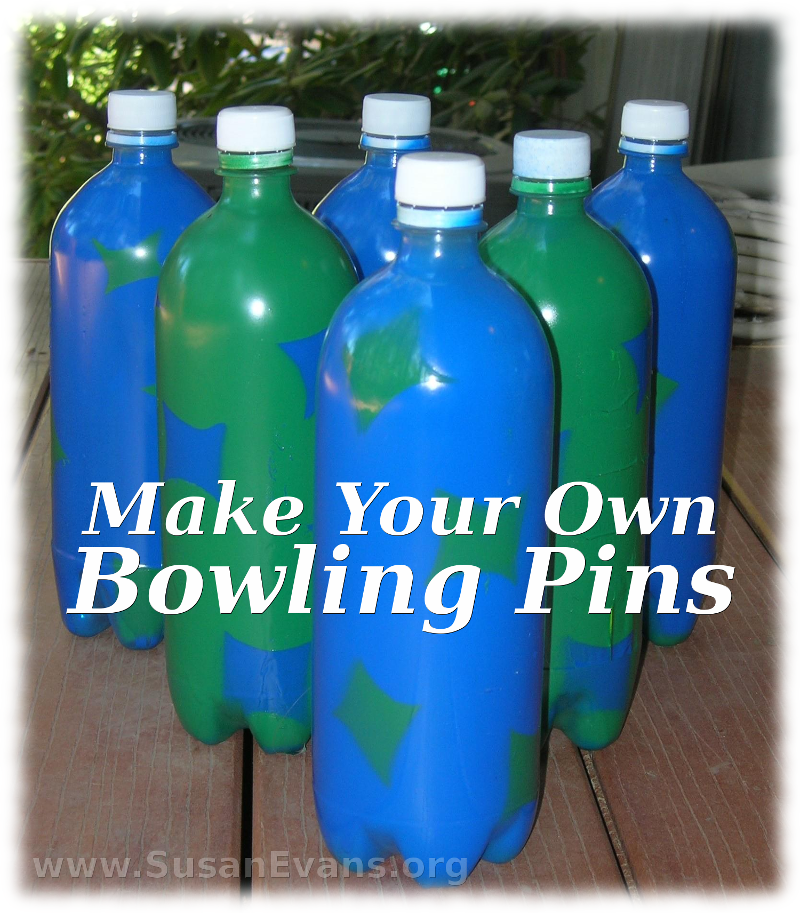
make-your-own-bowling-pins-2Today I will show you how to make your own bowling pins. You need six plastic bottles, spray paint in two colors, and a ball. You will also need a piece of white card stock paper, a pencil, newspaper, and scissors.

First you collect the plastic bottles. Two-liter pop bottles work well. Remove the labels. Take off the caps, but keep them to put on after painting.

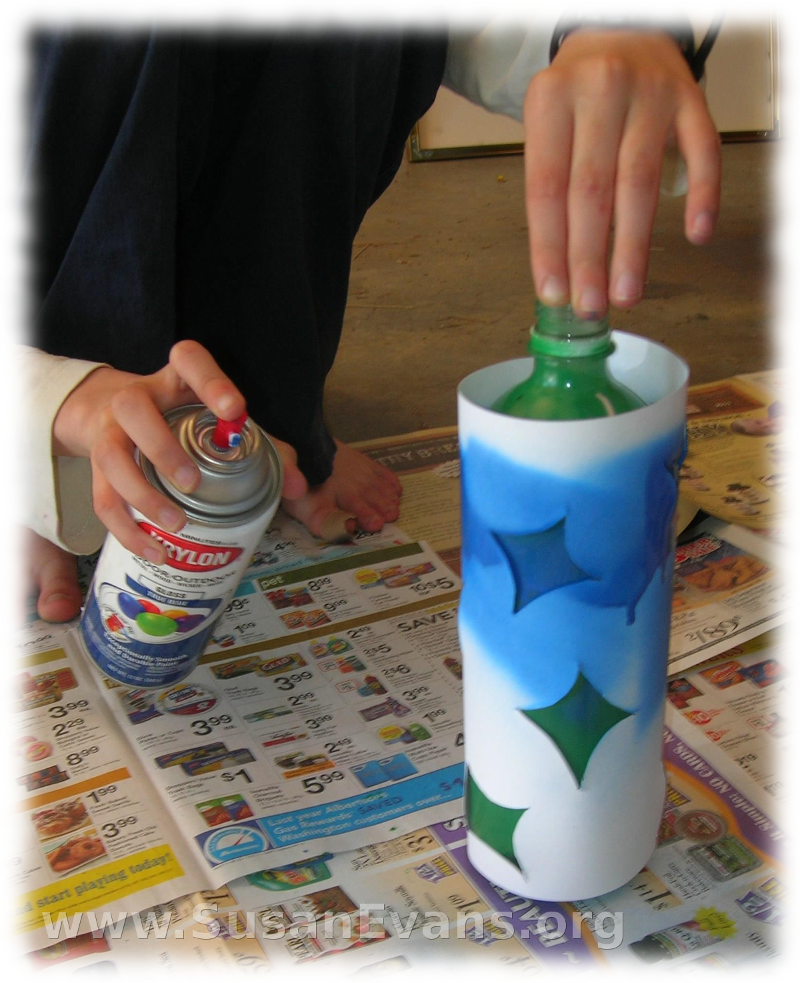
You will want to spread out newspaper under your pop bottles before you shake your spray paint cans and spray the pop bottles. I chose to do three green and three blue.

plastic-bowling-pinsNow you will want to make a stencil out of the white card stock paper. With a pencil, draw some large simple designs. Then cut out the designs with scissors. Just stab the scissors into the center of the design and cut around the shapes. Now tape the stencil paper to each pop bottle, and use the inverse color to spray paint the design.

Let the paint dry and remove the stencil paper. Screw the lids back onto the bottles. Your bowling pins are complete.

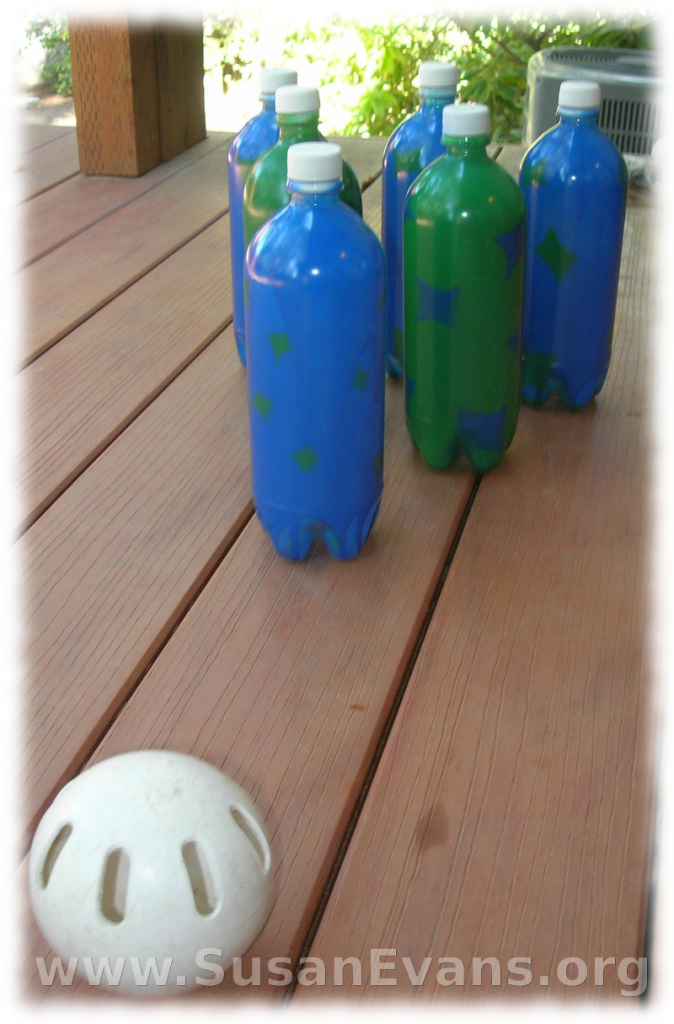
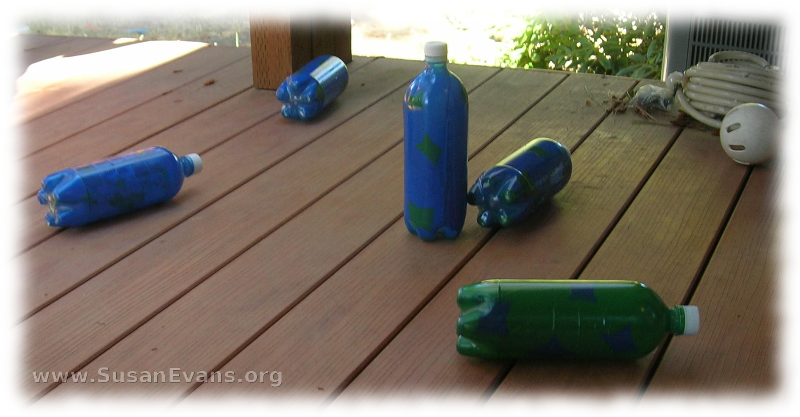
bowling-pinsYou will want to go bowling on a flat surface like a hard floor or a back deck. Grab the ball (we used a wiffle ball), and go bowling. May the best contestant win!

dropped-bowling-pins