Posts Tagged ‘Mixing with the Masters’

Rembrandt Art Projects for Kids

Thursday, August 25th, 2016

rembrandt-art-projects-for-kids

This post contains affiliate links. I was given access to the class to blog about it, which I was very glad to do.

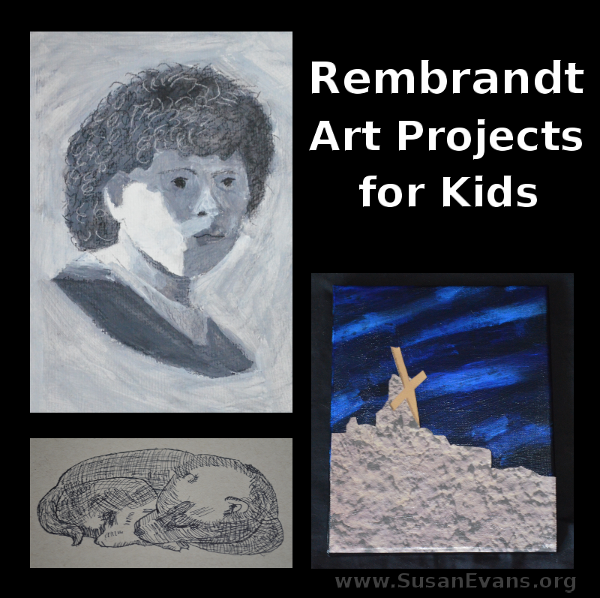
We are on the second lesson of Mixing with the Masters, and this week we are doing some beautiful Rembrandt art projects. Rembrandt is my favorite painter. I’ve used his artwork to teach my children Bible stories, since he painted so many biblical scenes:

Charcoal & Gesso Portrait

Rembrandt-self-portrait-gesso

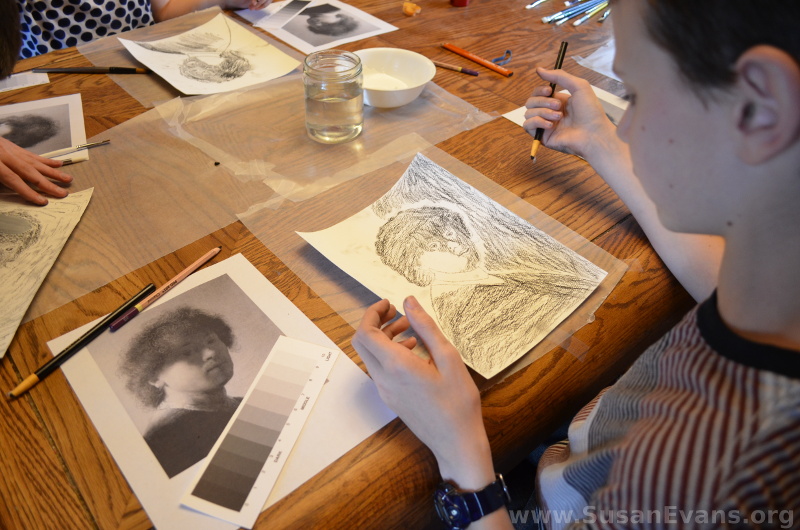
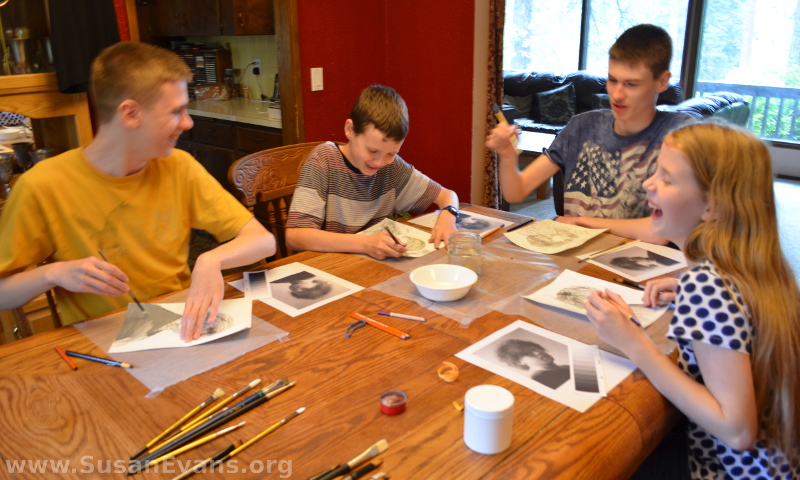
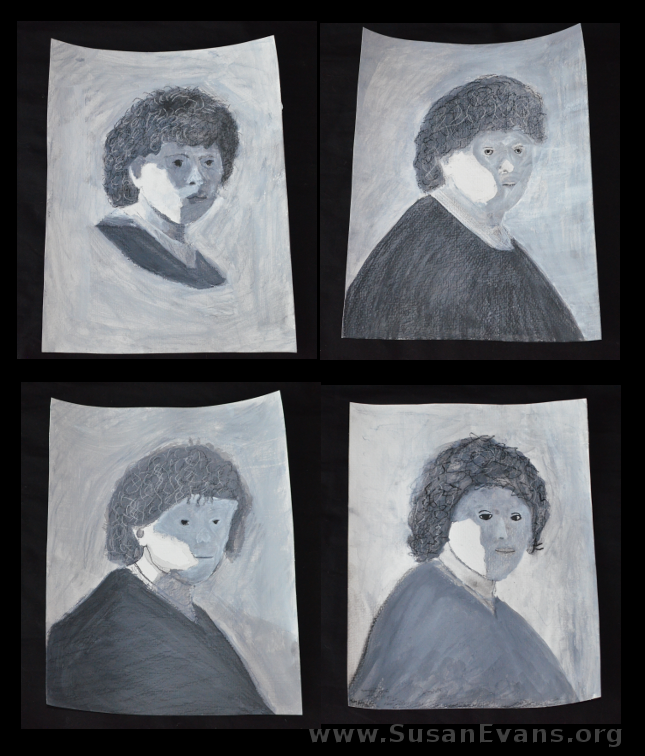
The first art project is a charcoal and gesso portrait of Rembrandt. This artwork is better for older students, since the shading on the face is crazy. Your kids need to be prepared for the first layer to look unfinished. This is a three-day art project.

Before you start, print out the sketch (template) of Rembrandt that Alisha (the art instructor) provides. I also printed the black and white portrait and the gray scale. I enjoyed Alisha’s teaching about the gray scale, and my children noticed different shades and tried to match the gray scale shades to what they were painting with gesso.

Rembrandt-gesso

Coloring on the back of the template with a charcoal pencil will enable you to transfer the sketch to the paper without your children having to draw the original. You just use a mechanical pencil without lead to trace the sketch onto the watercolor paper.

Let the first layer of gesso dry, and the next day you can darken or lighten your drawing in different places. Alisha gives instructions on how to do this in the demonstration video for this project.

playing-with-gesso

The gesso portraits came out way better than I thought they would! I was expecting them to look like a Picasso, based on how crazy they looked on the first day when we shaded the faces. It was almost as if someone splatted Rembrandt with a chocolate pie, except in black and white.

The most fun part of this project was painting the gesso on top of the charcoal and having the shades mix while you paint. We had never used gesso before!

Ink Pen Sketching

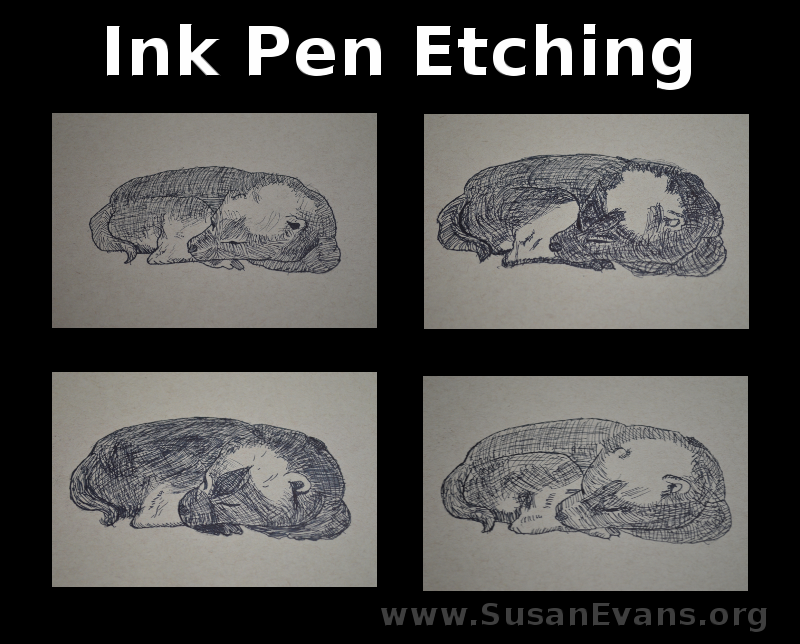
ink-pen-etching

All you need for this ink pen sketching is a pen and paper. We used Alisha’s template for the shape of the dog so that we could focus on the cross-hatching technique that Rembrandt used on his etchings. The puppies came out cute.

The Mill: Mixed Media

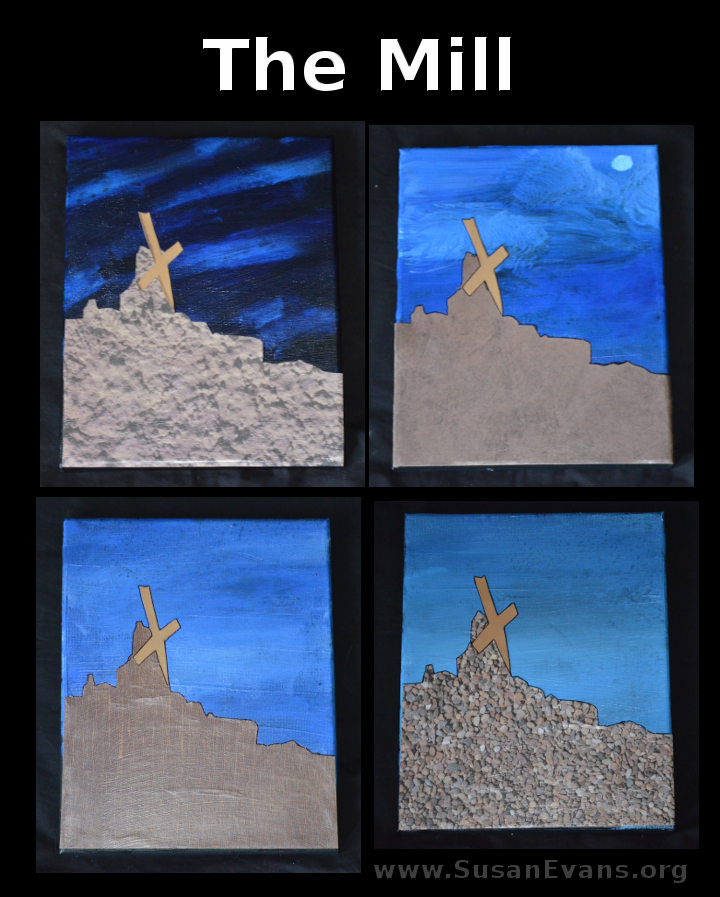
the-mill

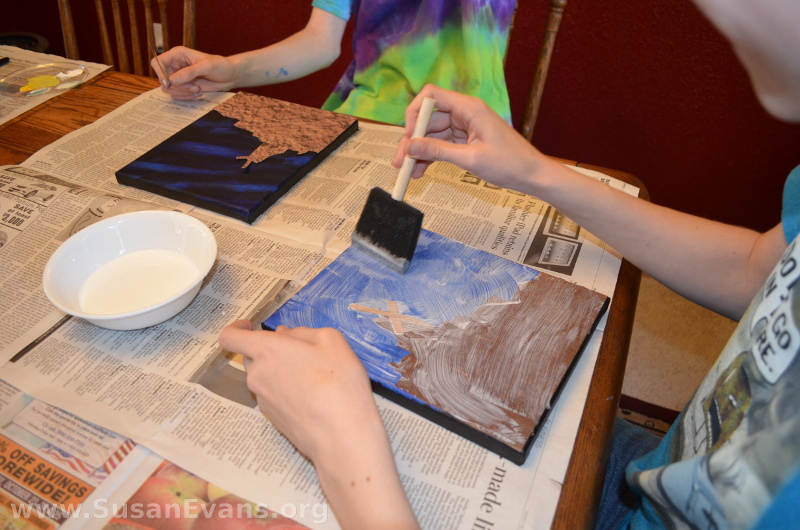
We started this mixed media project with a black canvas. (I prepared the canvas by giving it two coats of black paint before we began the project.) I also bought four different scrapbooking papers that had cool patterns in brown. We used that for the cliff and windmill, using the template that Alisha provides in her class.

Alisha’s mill looked a lot more like the original painting by Rembrandt, with a light tan sky and dark brown earth. She talked about the use of chiaroscuro, which is a technique that uses light and dark for effect. We just reversed the effect by painting a dark sky blue and having the mill be a lighter tan.

mod-podge

If you would like to take this class, go get it here: Mixing with the Masters. We are really enjoying these art projects!
Mixing-with-the-Masters-600

Leonardo da Vinci Art Projects for Kids

Friday, August 19th, 2016

leonardo-da-vinci-art-projects-for-kids-1

This post contains affiliate links. I was given access to the class to blog about it, which I was very glad to do.

I’ve been wanting my kids to get proper art instruction for years now, especially for my oldest son who is a natural artist. So when I found this Mixing with the Masters art class, I was eager to join. And I wasn’t disappointed! There are six great artists that will be covered in this online class, with three art projects for each artist. You can do them at your own pace and can spread them out over an entire homeschool year if you want, taking one artist per month instead of one per week.

collage

The first artist was Leonardo da Vinci. There are three substantial tutorial videos, along with an introductory and concluding video, along with a lot of other goodies, like printables and links to other sites that are about Leonardo da Vinci.

Mona Lisa Collage: Torn Paper on Canvas

mona-lisa

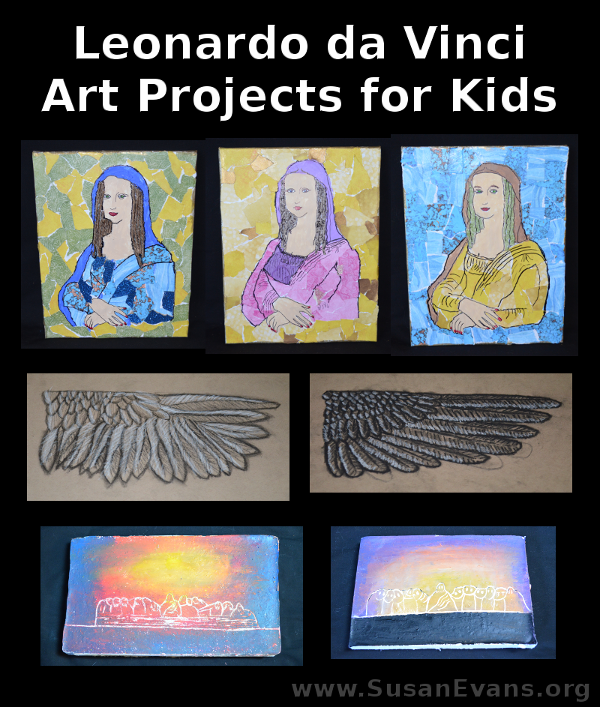
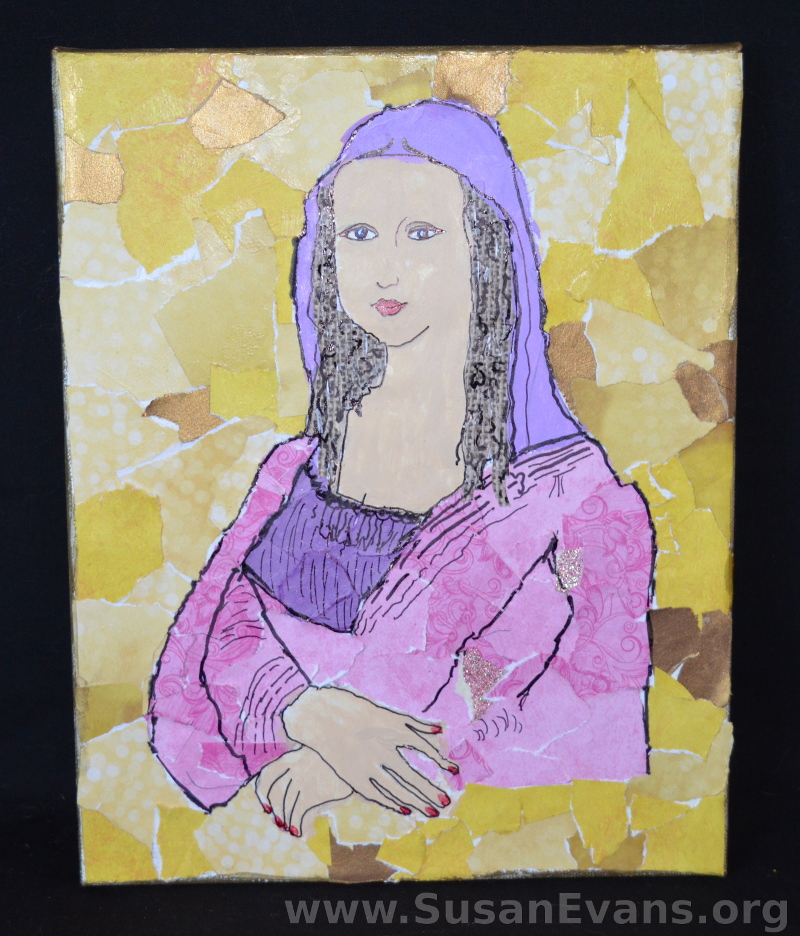
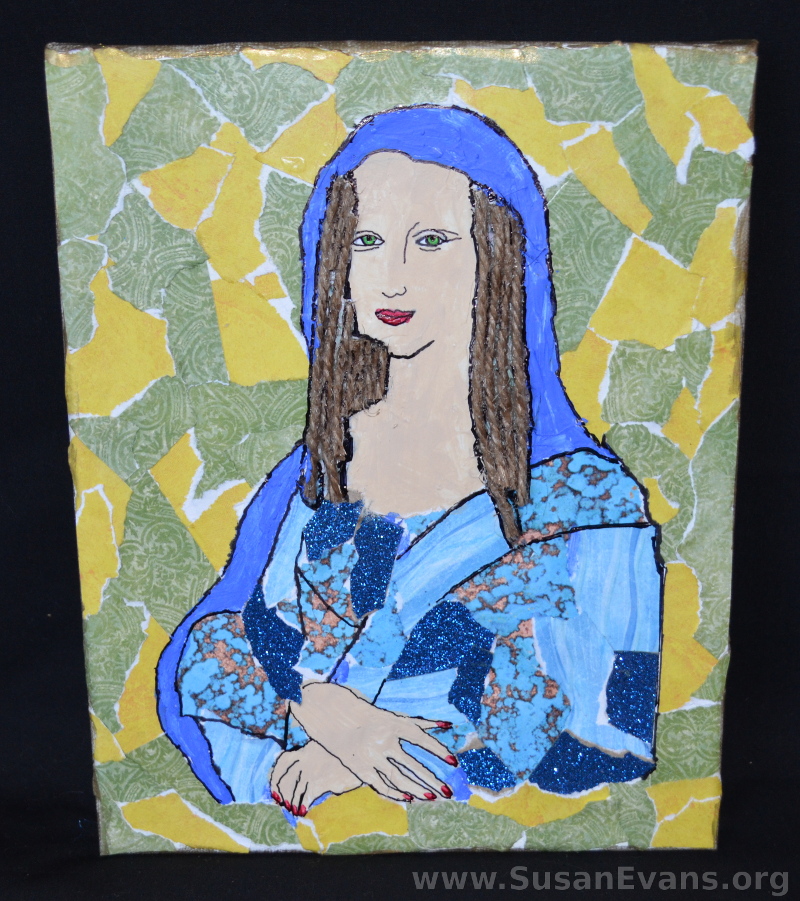
The first art project is mixed media. Alisha (the instructor) gives specific instructions on how to do decoupage on canvas with torn paper, creating a gorgeous Mona Lisa! My kids’ masterpieces looked like stained glass windows! We broke the project down into three days: one for the torn papers, so they could dry; one for paint, so that it could dry; and one for the detail work at the end.

mona-lisa-art-project

You’re probably laughing if you looked closely at the blue Mona Lisa. Yes, my 16-year-old son used twine for her hair, which makes her look like she has dreadlocks. Oh, there’s another cool thing about this class–besides self-expression. I’m using this as high school art credit.

If you would like to integrate language arts into your study of the Mona Lisa, you can write a poem about her. Here is a hysterical poem written by my 11-year-old son:

Leonardo da Vinci Charcoal Wing

charcoal-wing

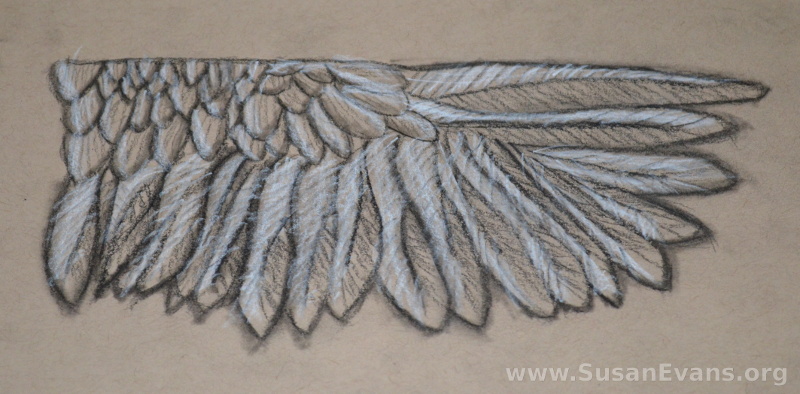
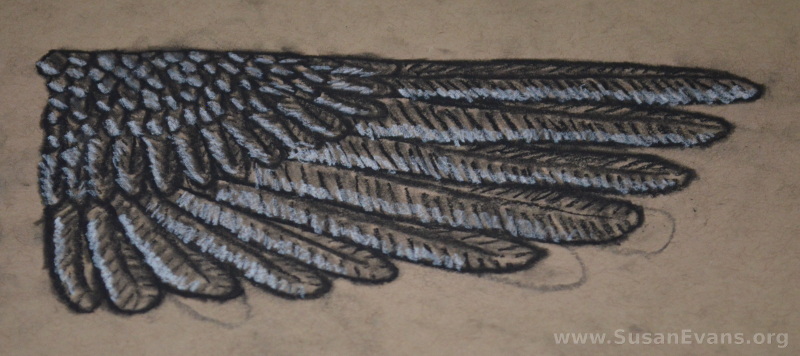
The second art project was charcoal on tan sketching paper. (You can stain some computer paper with tea if you don’t have any tan paper, or use tan card stock paper or construction paper.) We also used a blending stump, which we’ve never used before, and a white charcoal pencil for highlighting. My children watched the video demonstration and did each step. Their wings came out great! And my artist son gained new skills in shading and in using a medium he had never used before.

da-vinci-wing

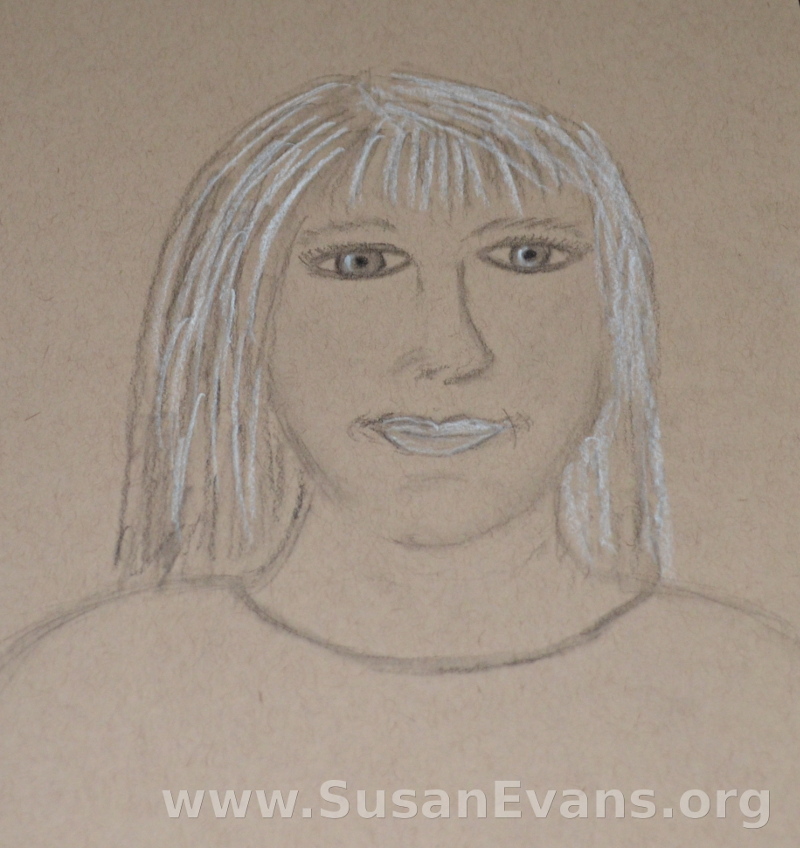
After the video demonstration, when my children were finished with their Leonardo da Vinci wings, I grabbed some tan paper, looked into a mirror, and I drew a self portrait:

charcoal-self-portrait

I think it came out great, considering I’m not an artist!

Last Supper Fresco

last-supper-fresco

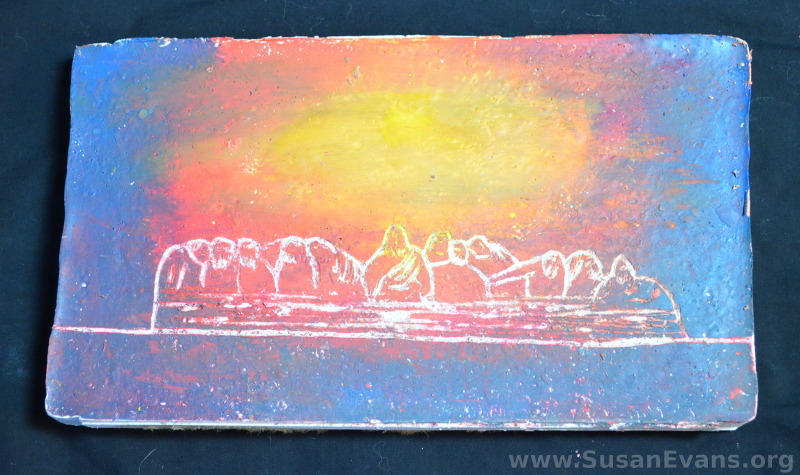
The third project was a Last Supper fresco. My kids were familiar with the famous painting because we made the Last Supper in LEGO last year. Ha! My son did a great job positioning Jesus and the disciples in the exact same postures as the famous painting!

For the Last Supper fresco, Alisha did a close-up of some pewter dishes on the table with the robe of Jesus in the background. We decided to do a sunset and an etching of the Last Supper:

  • Day 1: We poured Plaster of Paris into a lid of a shoe box.
  • Day 2: The kids painted a sunset, spraying the dry plaster with water as they worked, which melded the colors together.
  • Day 3: We etched the Last Supper with a mechanical pencil with no lead. It showed the Plaster of Paris underneath.

We thoroughly enjoyed this class and gained new skills. If you can’t afford to buy the whole class (the set of 6), you can always buy this class separately if you are studying the Renaissance in history. Who could study the Renaissance without doing art?

Mixing-with-the-Masters-600