Posts Tagged ‘painting’

Date Night: Paint a Canvas

Monday, February 3rd, 2020

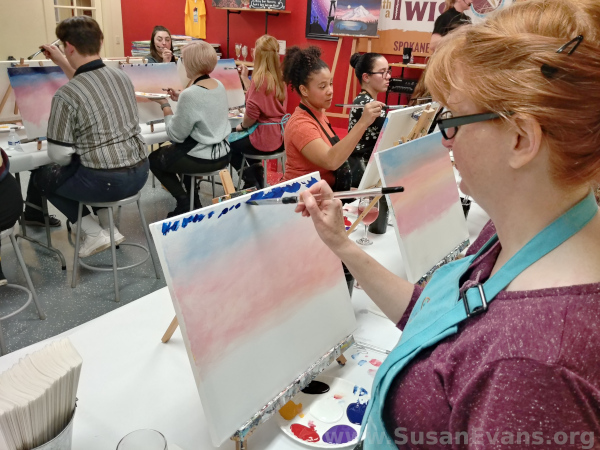
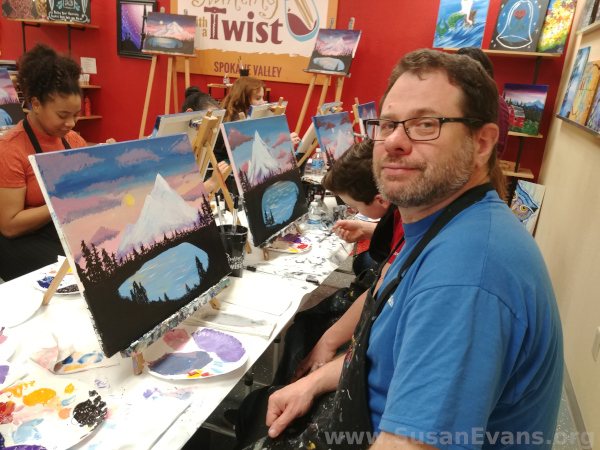
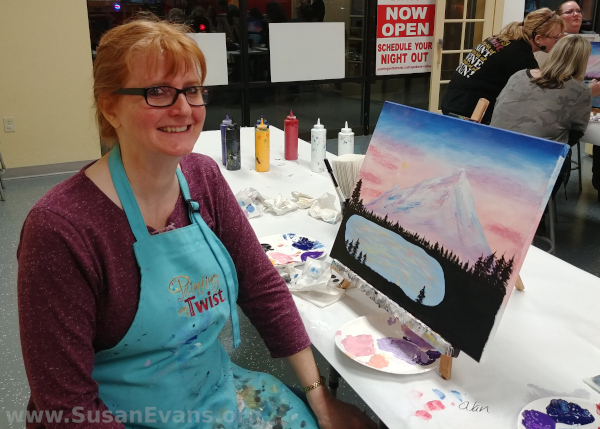
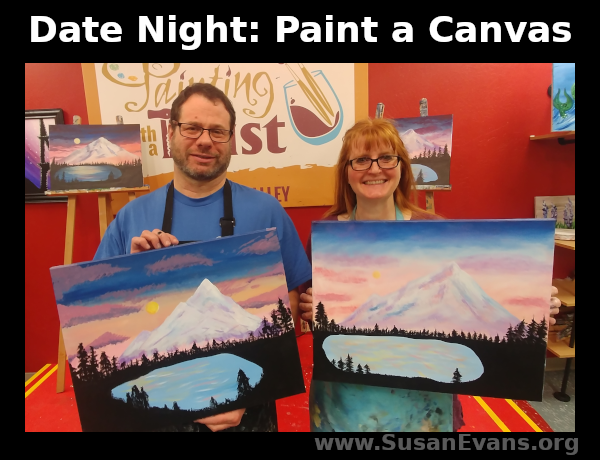
Last weekend my husband and I went on a date night to paint a canvas. It was so much fun! My sister gave us a gift card for Painting with a Twist for Christmas. I had been wanting to go on this creative date for several years now, so we finally did it. I chose a mountain scene with a lake and forest.

Both Alan and I have always liked the idea of painting on canvas, ever since watching Bob Ross as children. There is something relaxing about watching someone paint. And Bob Ross always made it look so easy. This painting class was the same way. The instructor took us step-by-step through the painting: first the sky, then the lake, the forest, and the mountain last.

painting-a-canvas

The sky was interesting. We painted a white line for the horizon. Then we created a sunset, using reds, pinks, yellows, and blues. We added “fluffy little clouds.”

Next we painted the lake, along with its multi-colored ripples. Around the lake were the silhouettes of trees. Alan knew how to paint awesome trees, so he showed me how to zig-zag down the trunks of my trees.

painting-on-a-date

Finally we painted the mountain. We used white paint to go from the peak downwards on the mountain, looking like layering of snow. We created purple and pink shadows along the length of it, always moving the brush downwards.

painting-date

It was a really unique experience, as far as date nights go. I love how our paintings turned out!

I’m looking for more ideas for fun nights out as a couple (besides dinner), so in the comments, let me know: What are some unique date nights you’ve had with your spouse?

Georgia O’Keeffe Art Projects for Kids

Friday, September 23rd, 2016

o-keeffe-art-projects-for-kids

This post contains affiliate links. I was given access to the class to blog about it, which I was very glad to do.

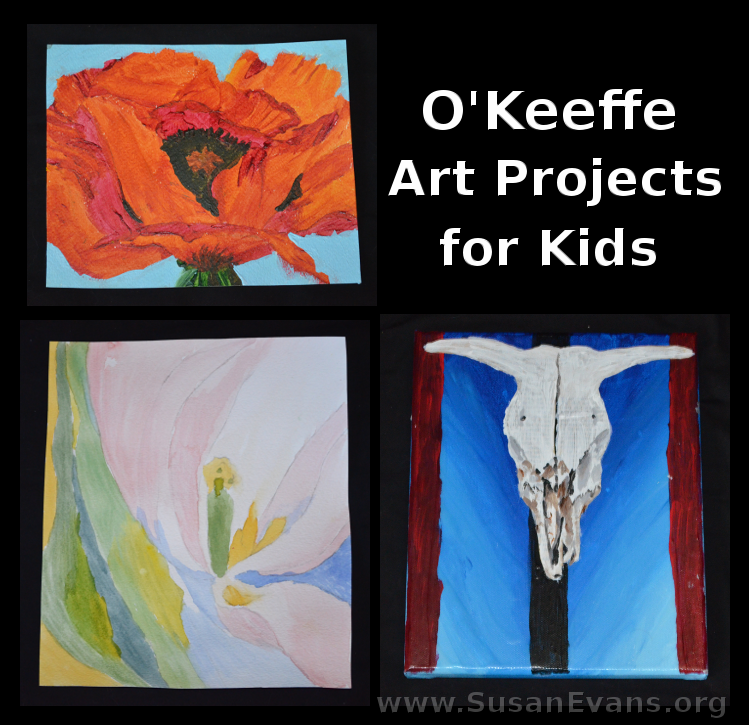
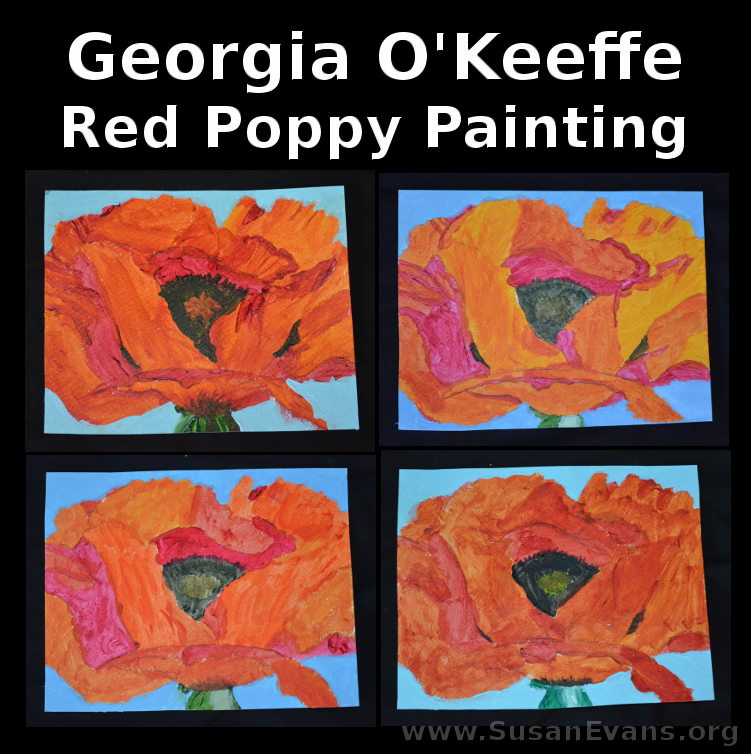
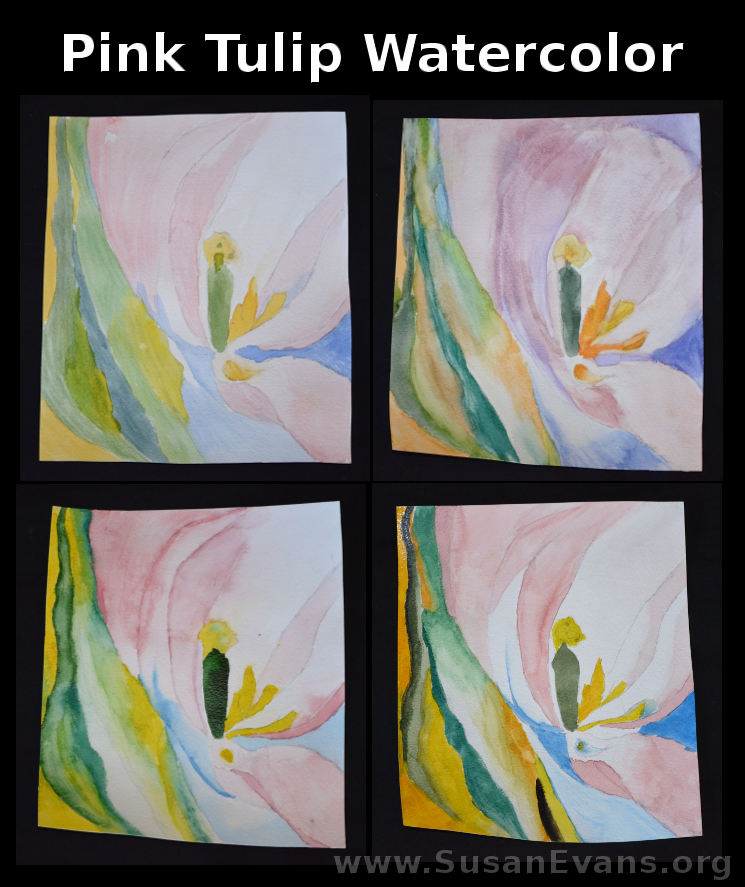
This is the sixth and final week of Mixing with the Masters, and we are creating some fabulous Georgia O’Keeffe paintings. We created the famous “Red Poppy” with gradient painting techniques in acrylic. Our second art project was a watercolor of a delicate tulip, using advanced blending techniques from the demonstration video. Third, we painted a cow skull with mixed media. The background of the cow skull also contained blending and using various tones of one color.

Red Poppy Gradient Painting

o-keeffe-red-poppy-painting

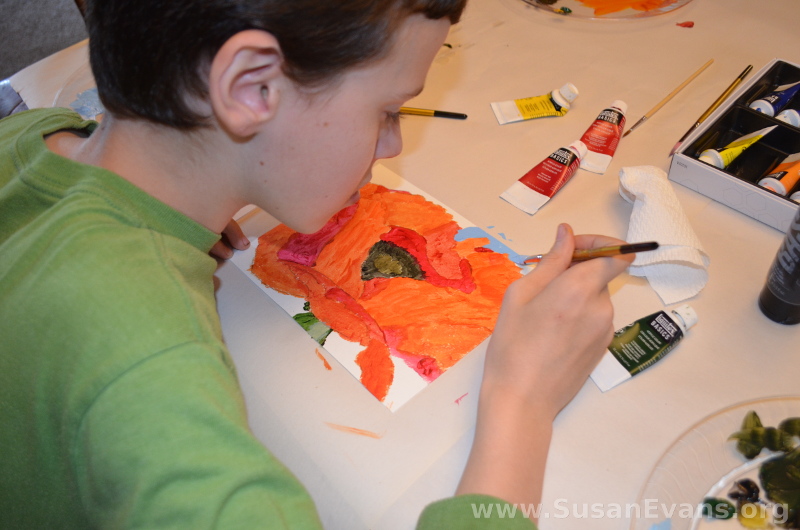
Alisha (the video instructor for the course) shows us how to paint this beautiful “Red Poppy” painting, using gradients, or blending the reds into the oranges. She helps us to see the endless variety of color in an enlarged flower. Georgia O’Keeffe painted many enormous flowers and was famous for causing people to enjoy details that were normally hard to see or notice.

painting-red-poppy

You could use a canvas for this project, or you can save money by painting it on watercolor paper. You will want to trim the paper to the size of the flower, if you use the printable template that is provided in the course.

Pink Tulip Watercolor

pink-tulip-watercolor

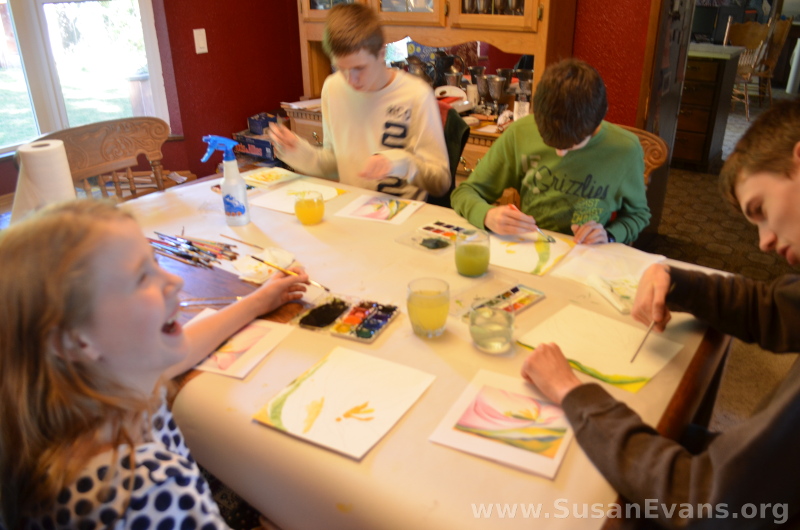
Alisha taught us how to blend different colors in watercolor, which is hard to do unless you understand that you need to control both the pigment and the amount of water that you are using. Also, if you make mistakes, nothing is permanent, because even dry watercolor can have water added, and then the paper towel can blot it enough that you can mostly remove the color and paint on top of it.

painting-pink-tulip

When my daughter shouted that she dripped the wrong color accidentally on her paper, we were able to remove it easily because of Alisha’s instructions.

Cow Skull Mixed Media

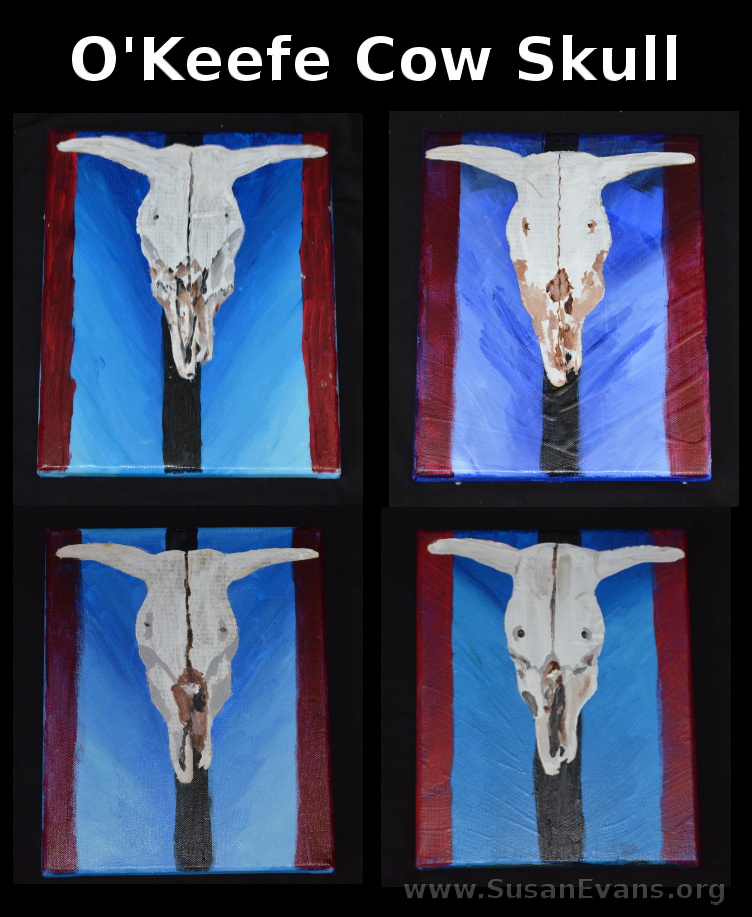
o-keefe-cow-skull

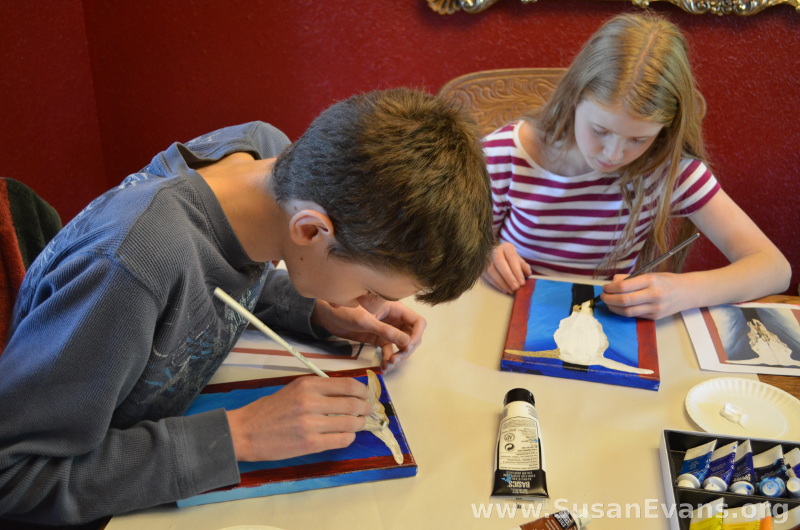
Georgia O’Keeffe moved to a desert, so she no longer had flowers to paint. Instead, she saw bones buried in the sand, so she began painting those bones with all their details. One famous painting was of a cow skull, and this is the painting we made with mixed media. We painted gradients of blue in the background the first day. The second day we painted the red and black stripes. The third day we decoupaged the skull shape to the painting with mod podge. I cut the skull out from the worn yellow pages from a book, using the template Alisha provided in the course. We painted on top of the skull, and then we added the details of the skull.

painting-cow-skull

I was astounded by how much detail my oldest son was able to add to the skull! (It’s the first painting in the cow skull picture above.) I’ve been floored by the amount of art skills my kids have acquired through this Mixing with the Masters art class, and I highly recommend it! We focused on six of the most famous painters from history, and we learned their techniques and became even more familiar with their most famous works. My kids have also learned the background of the different art movements throughout history as well as a little about each artist’s life, enough to inculcate a greater love for art!

Mixing-with-the-Masters-600

Picasso Art Projects for Kids

Friday, September 16th, 2016

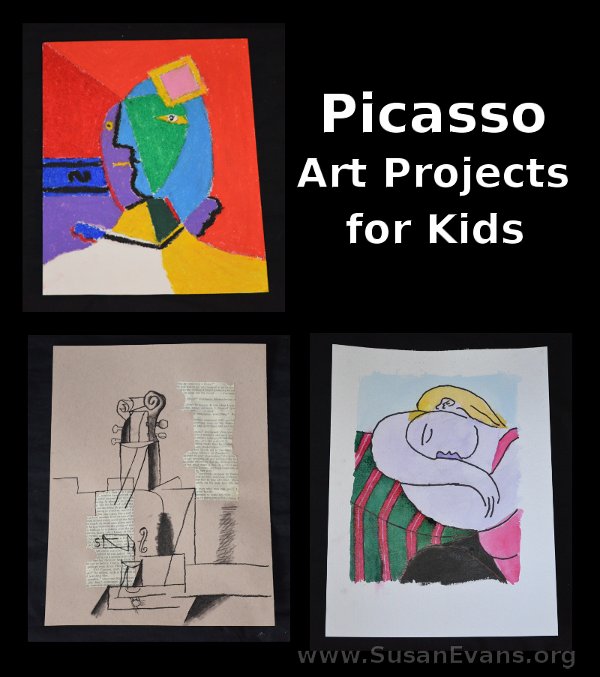
picasso-art-projects-for-kids

This post contains affiliate links. I was given access to the class to blog about it, which I was very glad to do.

This is the fifth week of Mixing with the Masters, and we are creating several Picasso art projects. The first is with oil pastels, the second with charcoal (mixed media), and the third with watercolor. Picasso was one of the founders of the Cubist movement, where objects are broken up and reassembled as abstract art. Picasso also invented the collage, where various different materials make up the artwork.

Woman with Cap Oil Pastel

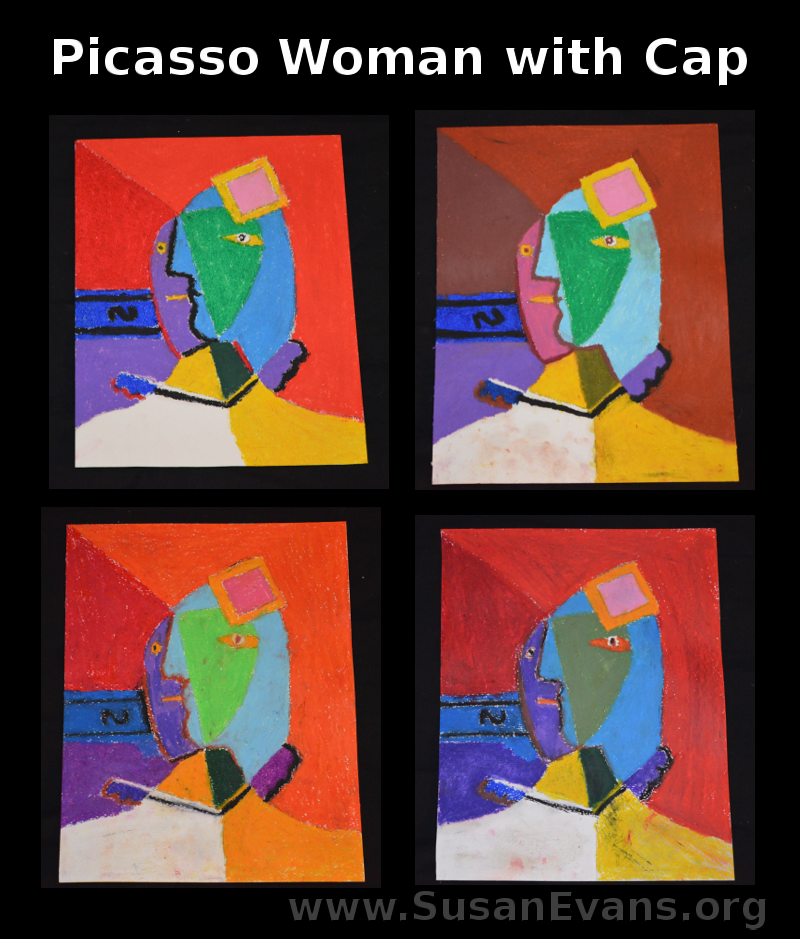
picasso-woman-with-cap

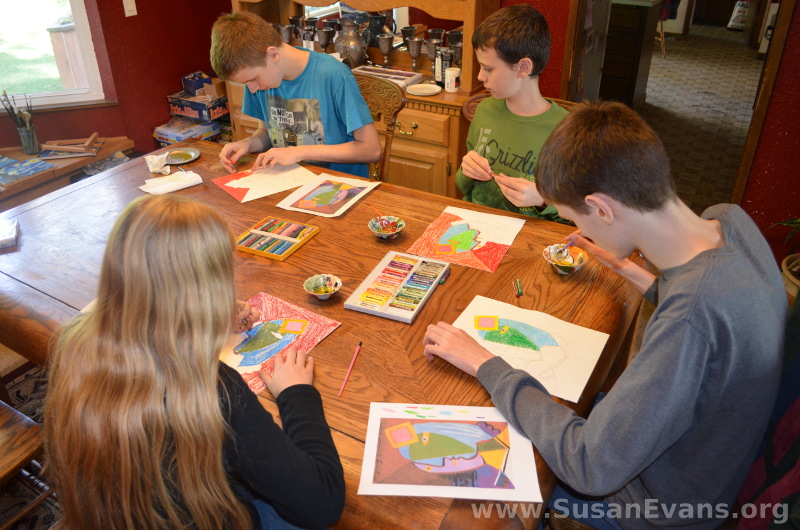
The first art project for Picasso was a “Woman with Cap” oil pastel. My children enjoyed coloring such bright colors with their oil pastel crayons, and then going back over it with olive oil. Alissa (the art instructor) provides a printable to transfer onto the watercolor paper to enable your young artists to get the bizarre de-constructed shapes. Is this woman looking to the front or to the side? It’s almost an optical illusion.

picasso-painting-with-kids

I placed the oil in little Asian dipping sauce dishes that my sister got me for Christmas one year.

The Violin Cubist Collage

violin-cubist-collage

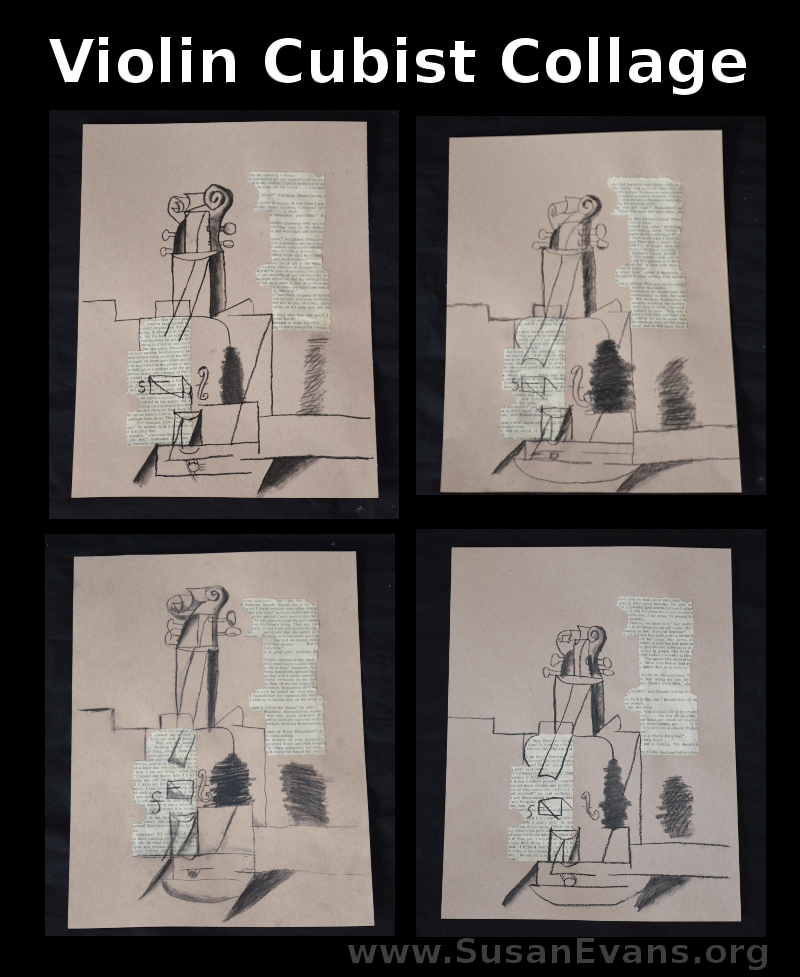
This collage was created by gluing old book pages in the shape of the figures in Picasso’s famous “The Violin” collage. The instructional video shows you how to re-create this famous charcoal sketch around the two pieces of book pages.

cubist-drawings-with-kids

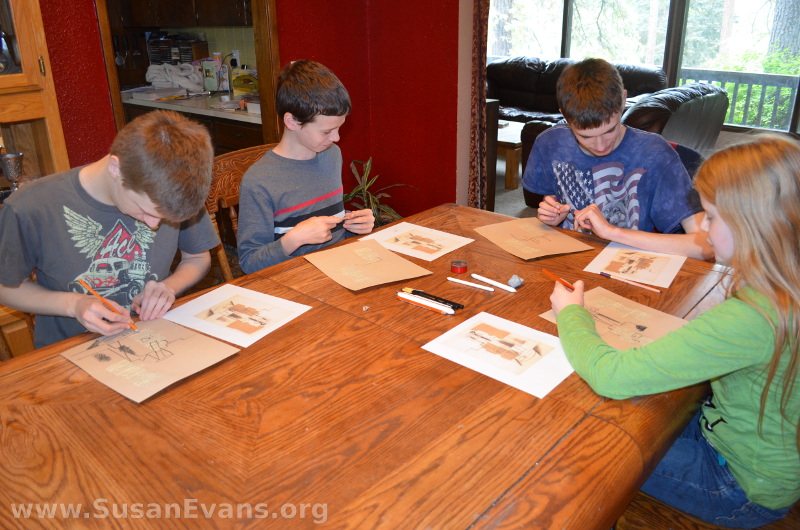
My children’s art skills are increasing as Alisha instructs them how to blend and shade this famous artwork. The other charcoal drawing we did in this series was Leonardo da Vinci’s charcoal wing.

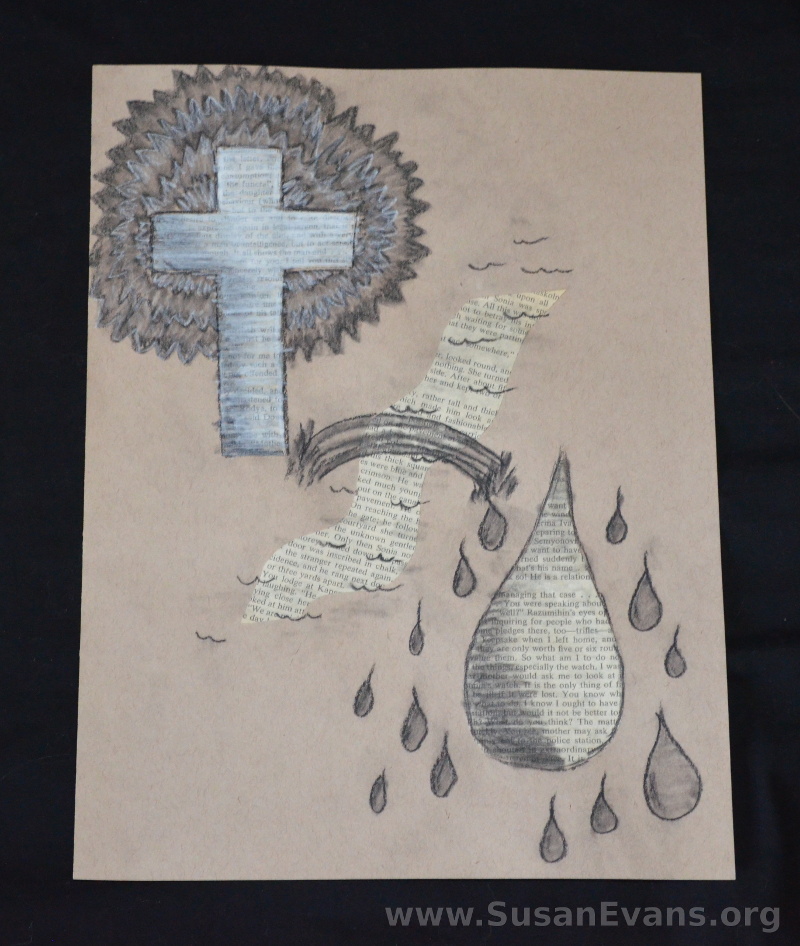
I invented my own charcoal and book-page collage. It shows the despair of the soul without Christ, and how His death on the cross bridged the gap to restore our relationship with God and bring us life and joy rather than despair.

cubist-collage

The river is the gulf separating sinners from a holy God. The love of Christ bridged the gap for us by paying for our sin on the cross.

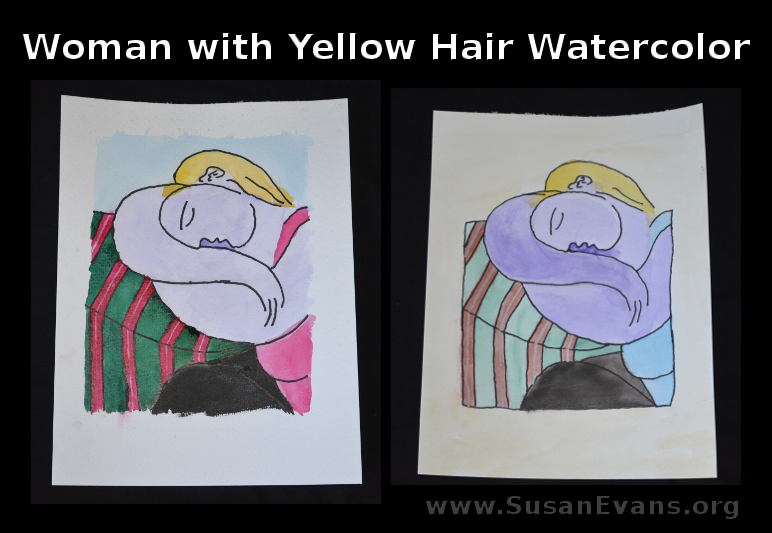
Woman with Yellow Hair Watercolor

woman-with-yellow-hair

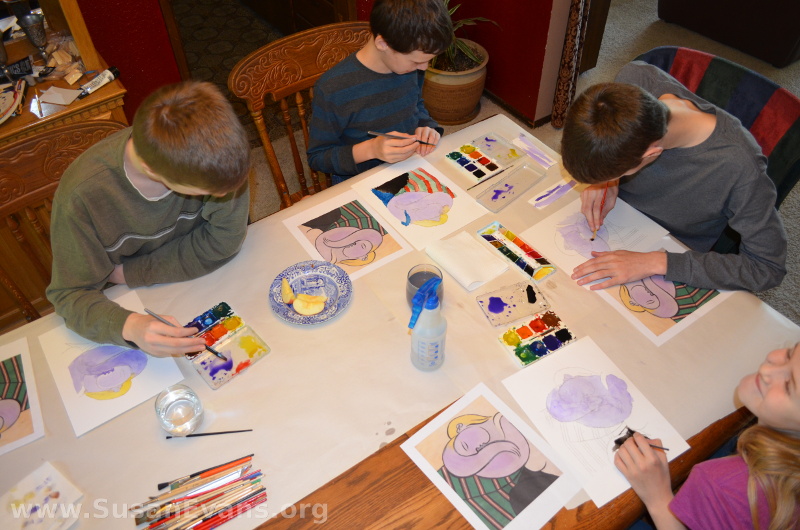
Yes, the woman’s skin is supposed to be purple. Picasso was so weird. One of my sons watercolored this “Woman with Yellow Hair” with light purple arms and face, and another chose to go for the darker purple. We changed the color of the shirt from white to “any other color” to make each of their watercolors unique.

picasso-woman-with-kids

I hope you enjoyed our Picasso art projects. In next week’s Mixing with the Masters art class, we will be doing Georgia O’Keefe!

Mixing-with-the-Masters-600

Van Gogh Art Projects for Kids

Friday, September 9th, 2016

vincent-van-gogh-art-projects-for-kids

This post contains affiliate links. I was given access to the class to blog about it, which I was very glad to do.

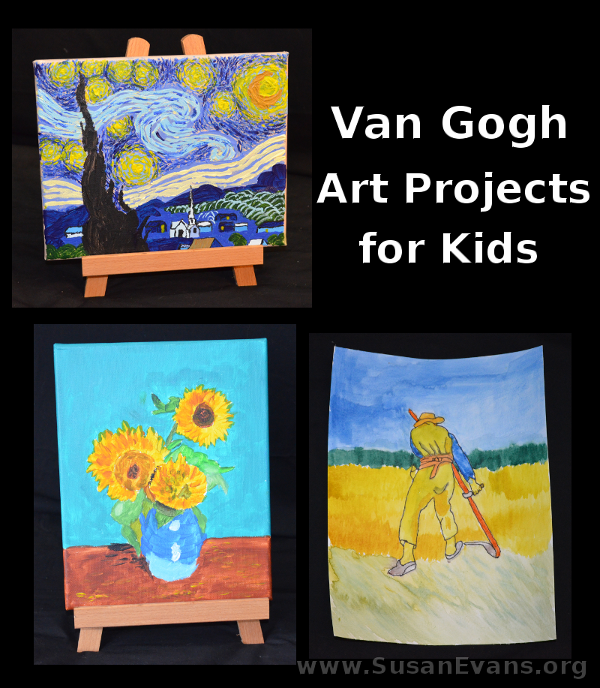
This is the fourth week of Mixing with the Masters, and we are creating some fun Van Gogh art projects. One of my favorite paintings of all time is “Starry Night,” so I was overjoyed to have the opportunity to paint this myself! The “Sunflowers” and the “Autumn Reaper” are also famous, and I enjoyed watching my kids create these pieces.

Sunflowers
sunflowers-by-van-gogh

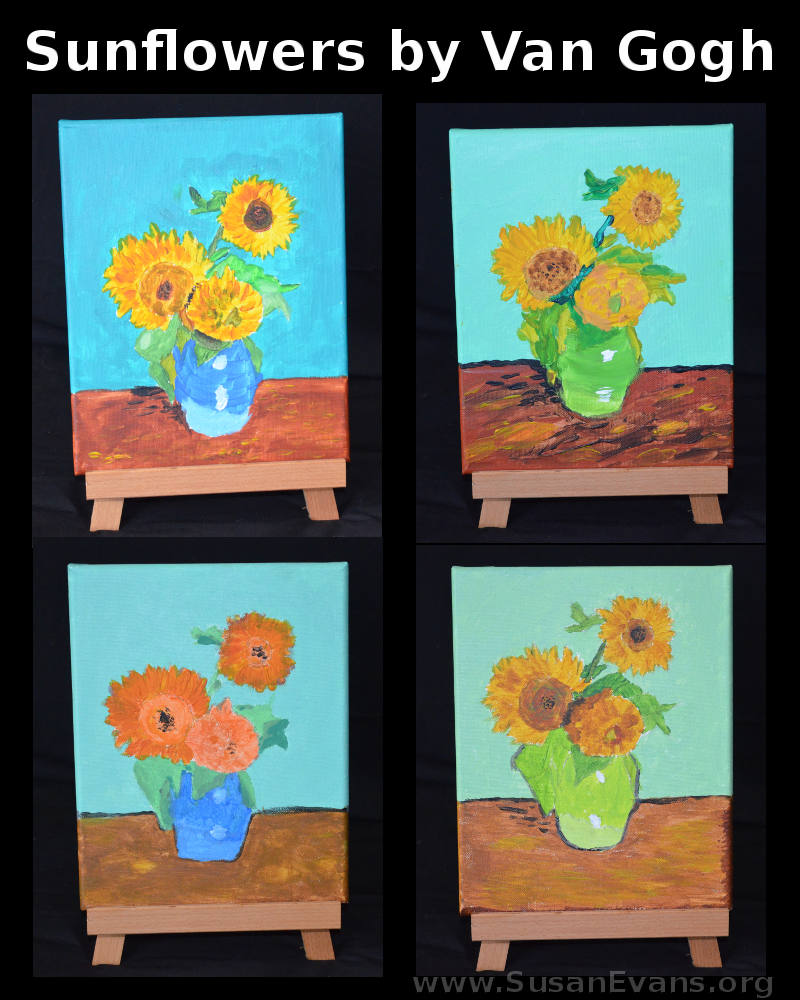
It’s interesting how different artists will paint flowers. Last week we saw Monet’s paintings with waterlilies, and they were created in a completely different way than Van Gogh’s. Monet’s flowers were smaller and painted in a quick way to give a general impression, whereas Van Gogh’s many sunflower paintings contain more detail. He also used thicker paints, which added texture to the painting. Alicia (the art instructor) shows you how to thicken your paint to create the same effect on your canvas.
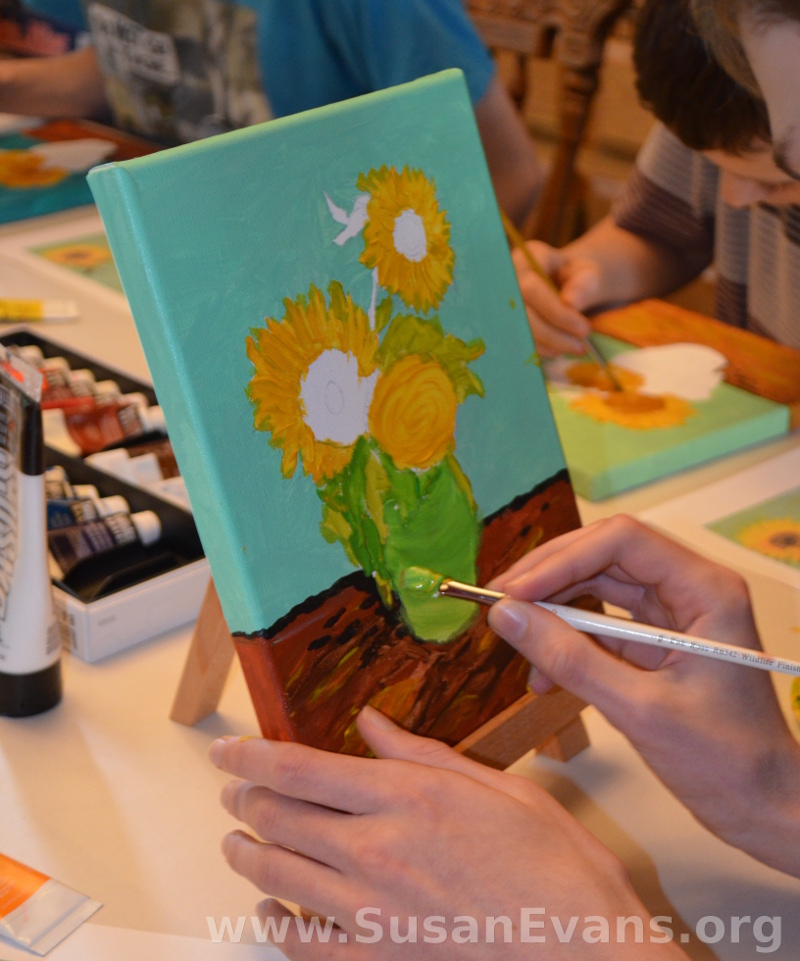
painting-sunflowers

Once again, she provides a printable to help you get the general shape of the flowers before you begin to paint. I love how each of my kids had a slightly different interpretation of the sunflowers. One of my children saw mostly orange rather than yellow, and one of my sons painted a darker background. Two of my children wanted to change the color of the vase, and the table is vastly different in each of my children’s paintings.

Autumn Reaper Watercolor

autumn-reaper-watercolor

This watercolor piece requires you to learn more advanced techniques of watercolor. You use different shades of yellow, and you learn how to make visible brush strokes. The wheat field looks different in each one of my children’s watercolor paintings, and each has its own personality.
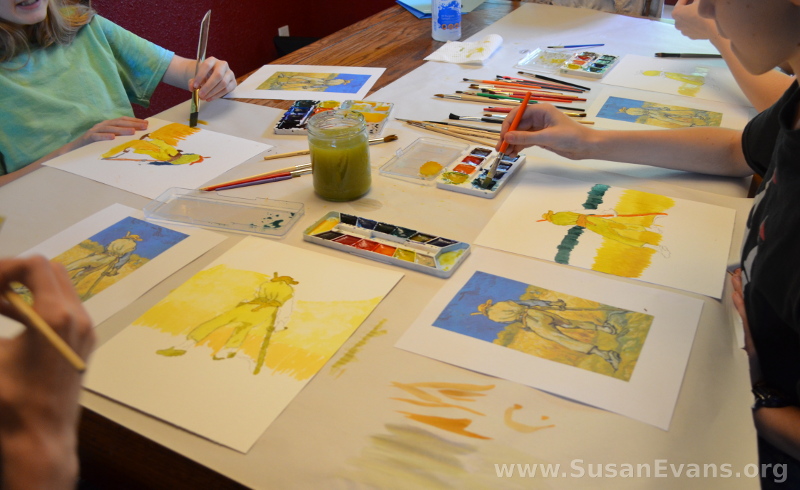
painting-autumn-reaper

It’s helpful to have a paper towel available to each child, in case they have too much water puddle up on the paper, or if they make a mistake. Alisha (the instructor) shows you how to “erase” your watercolor mistakes in her demonstration video. It enables the kids to have a greater confidence in painting: they don’t have to worry about mistakes because those mistakes can be corrected.

Starry Night
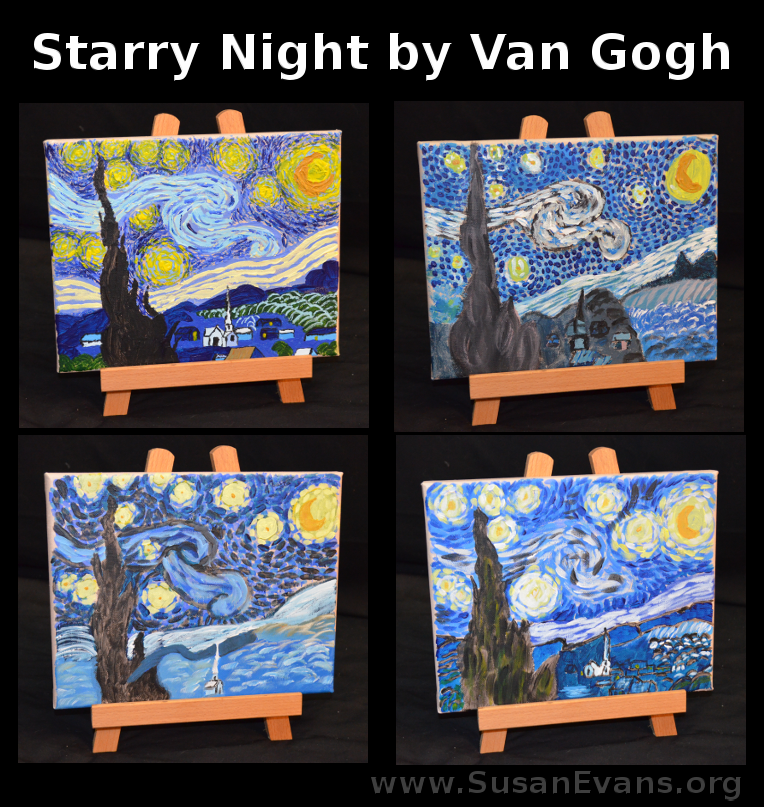
starry-night-by-van-gogh

I loved this “Starry Night” painting! This art project is best done over the course of a week. Before the first day, you paint the canvas tan. This is because Alisha is going to show you how to make a grid and transfer the pattern from a printout of a famous painting onto a canvas of any size. Yes, if you wanted to paint this on  the wall of a Sunday School kids’ room, you could make a grid on the wall and follow the instructions that Alisha gives in the video to transfer the pattern onto the wall.
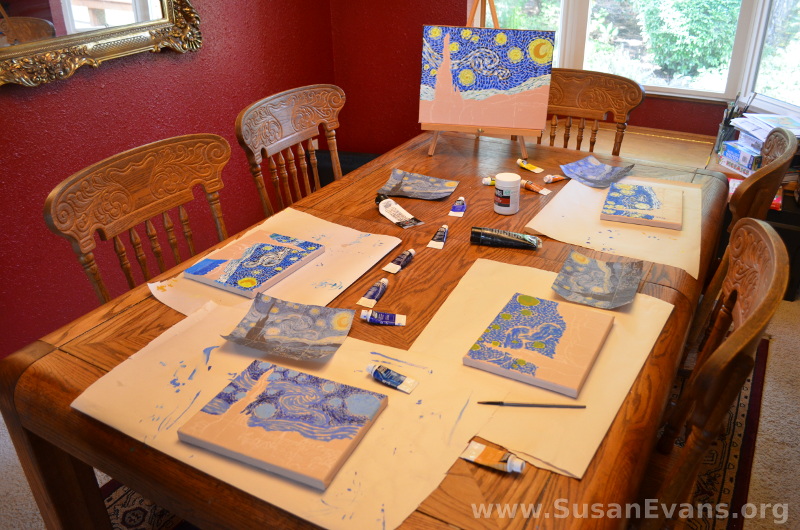
starry-night-sky

The second and third days will be for painting the sky, and the fourth and fifth days can be for the town and tree. You can paint the sky in one day if you have a big block of time available. I have to say that even though this was the most time-consuming art project of this course, it was the most fun, and it was definitely worth the time investment! It was relaxing for me to paint this picture in the evening after the kids went to bed (in short installments), and the kids could see how much they needed to do the next day.
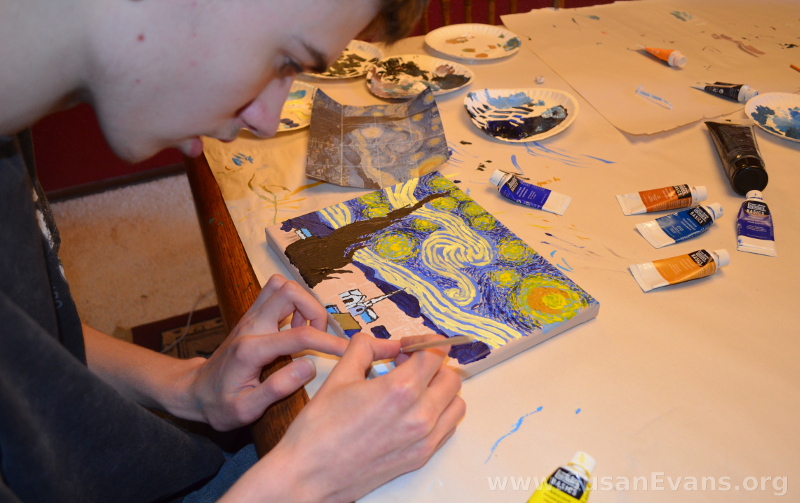
van-gogh

The dashes over the entire painting made me happy. I can’t explain it, but the process of creating art is open-ended and refreshing–it’s like an expression of who you are.
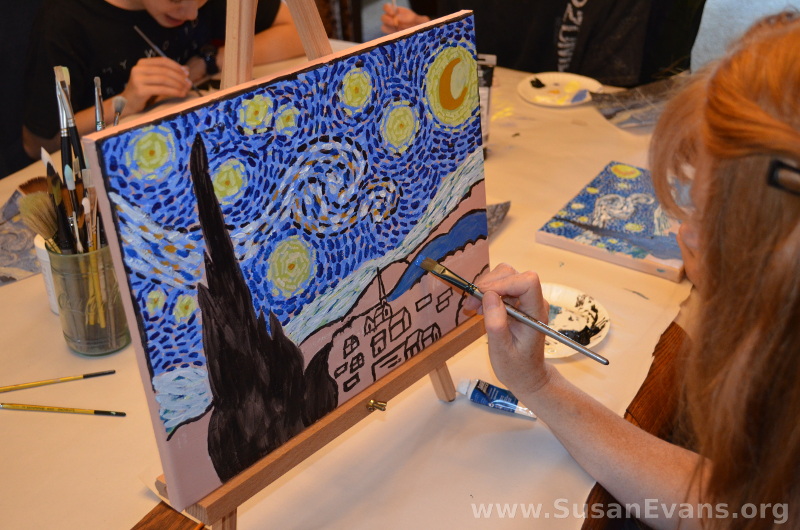
van-gogh-town

If you want to see my finished painting, I posted it here. (Years ago, I posted a song on my blog about Vincent Van Gogh called “Starry Night” by Don McLean, the same guy who sang “American Pie.” Now I have a picture to introduce the video!)

I love how my kids are able to reproduce so much famous artwork, using the same techniques of the famous artists. In next week’s Mixing with the Masters art class, we will be doing Picasso!
Mixing-with-the-Masters-600