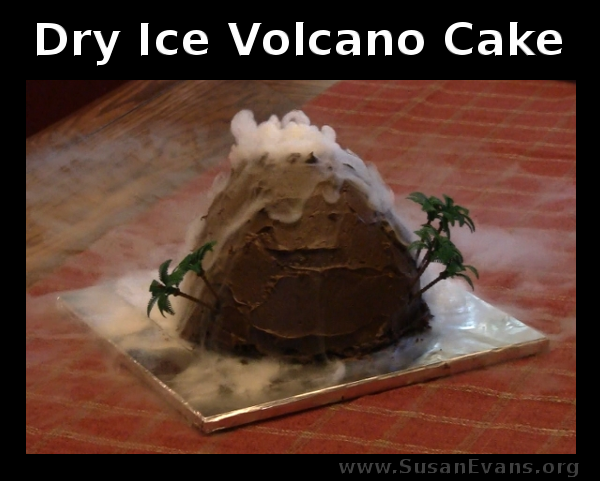
Look at this super cool dry ice volcano cake we had for my son’s natural disasters themed birthday party! I was brainstorming different ways to make a volcano cake, and I’ve never seen this done before, so I thought it would be fun to make. I wasn’t disappointed, and it was fairly easy to make!
Start by baking two cake boxes, for a total of four round cakes. Cool the cakes and place them in the fridge.
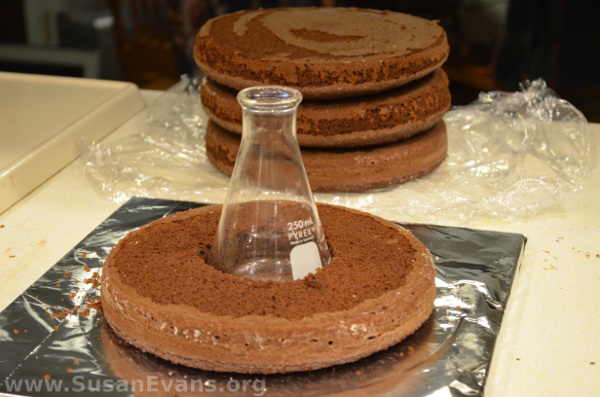
Put foil on a square piece of wood or cardboard, and tape the back. Up-end one round cake onto the center of the foil. Grab a chemistry flask and cut a circle with a knife around the edge of the flask. Remove the small circle of cake, and place the flask inside.
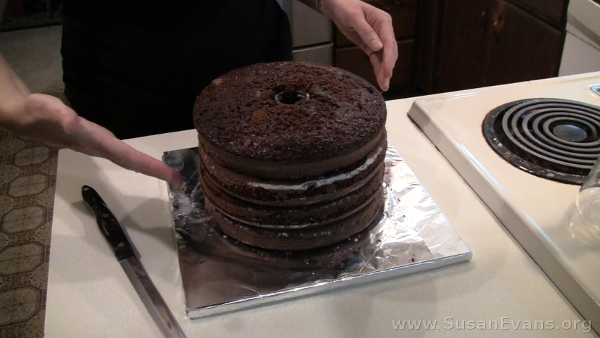
Cut circles into the other cakes, and slide them like stacking rings on top of the flask until the entire flask is hidden. If you have a taller flask, you will have to bake more cakes. This will result in a taller volcano.
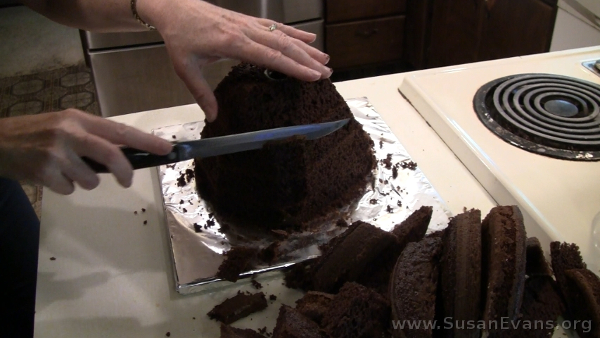
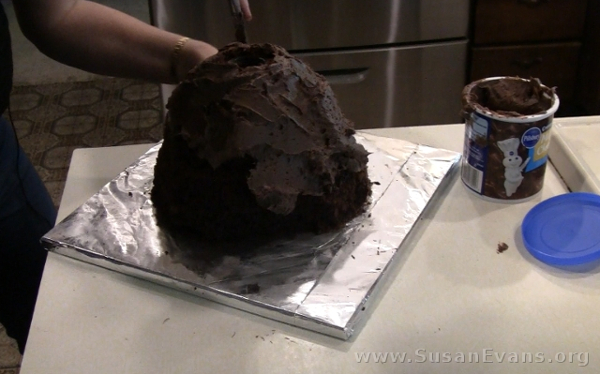
Place the entire stack in the fridge to cool. Then you are ready to sculpt the volcano. Look at the video demonstration to see how I shaped it:
You can do whatever you want with the scraps of chocolate cake that you cut off the volcano. At this point, you want to place the cake back into the fridge before frosting it.
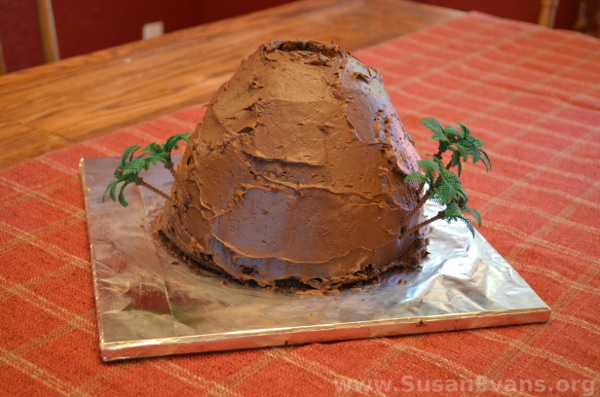
Frost the cake with chocolate frosting, spinning the cake to get the icing to be smooth. You can cover up any mistakes you made with the icing.
Feel free to poke in plastic palm trees at the bottom of your volcano to add authenticity. This was my husband’s idea, since they were left over from a Hawaiian themed party we did for my daughter years ago. You can buy plastic palm trees at a party store.
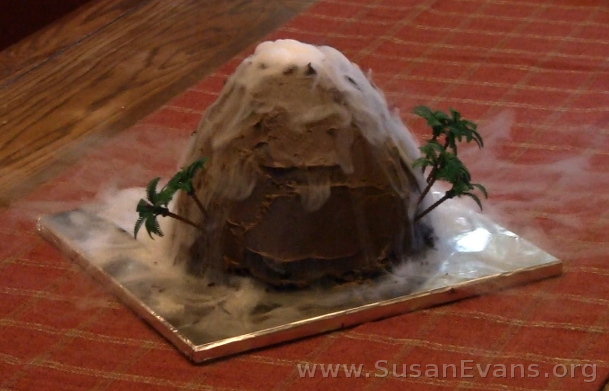
Pour hot water into the volcano. Plop dry ice chunks into the volcano. (You can buy dry ice at most grocery stores, and it’s inexpensive.) Now you will see the volcano smoking downward in an incredible way!
Make sure to watch the video above to see how cool this dry ice volcano cake turned out!
