Posts Tagged ‘science’

Make Your Own Nest

Monday, March 21st, 2016

make-your-own-nest

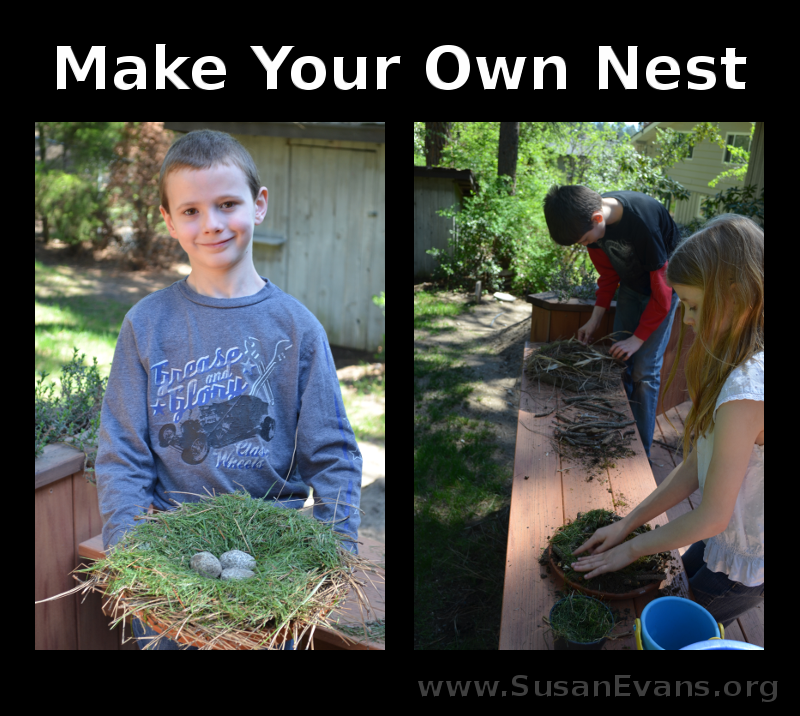
When you are learning about birds in the spring, a fun activity you can do with your kids is to make your own nest. Your kids can “fly” around the yard as if they were birds, searching for materials from which to build their nest.

You want to start with a base, or a place to build your nest. You can grab one of those pottery dishes that go under a large potted plant. Or grab a tray from your kitchen. Or you can just build your nest on the ground or in a tree.

nest

Materials you can gather to make your own nest:

  • twigs and sticks
  • dead leaves
  • moss and lichen
  • wheat stalks
  • dead grass
  • bark from trees
  • dead weeds
  • fluff from flowers
  • wet mud

How to put together your nest:

You will want to mix some dirt and water to create your glue. Birds sometimes use spider webs or other sticky plants to keep their nest together instead of mud, but many birds use mud.

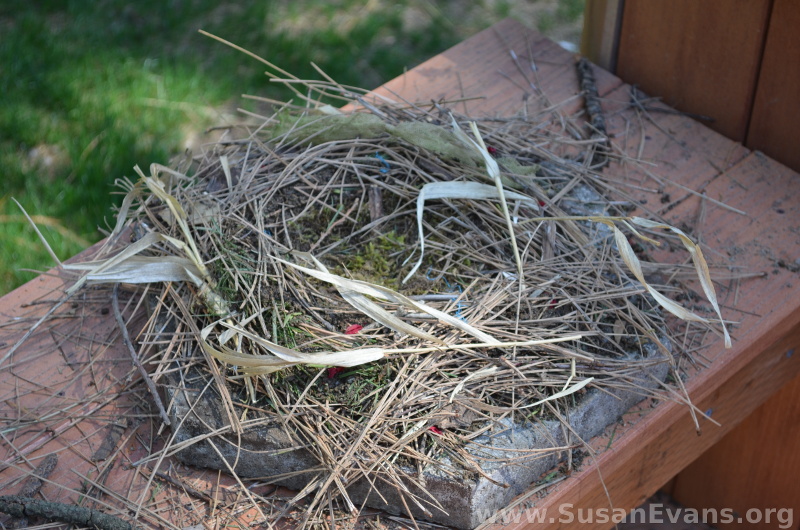
Start arranging your dry grass, leaves, pine needles, twigs and other debris into a nest shape. Use the mud to glue it all together. Make it nice and soft by adding moss and fluff to line the inside of the nest.

Now you can place some oval-shaped rocks into the nest to make it look like a bird laid eggs there.

More bird activities for a bird unit study:

I hope you enjoyed putting together your own nest. For more hands-on learning ideas, join the Unit Study Treasure Vault.
Eye Model Cake

Monday, February 22nd, 2016

eye-model-cake

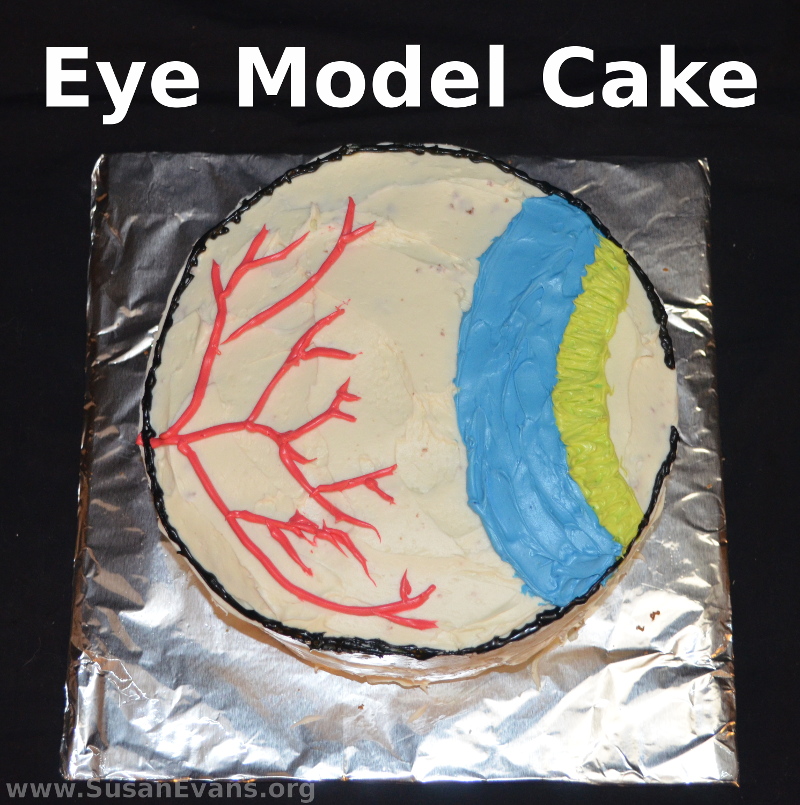
When you are studying the eye in human anatomy, why not make an eye model cake? First you will need to bake a circular cake with two baking tins. I recommend yellow cake with strawberry jelly between the two layers. (Don’t try to place jelly in the middle until the cake has completely cooled!)

How to Decorate an Eye Model Cake

  1. Frost the cake with white frosting.
  2. Open another bucket of vanilla frosting and divide it into four bowls, using food coloring to get the colors you want. (I only used three bowls: one for red frosting, one for blue, and one for green. I had a tube of black frosting left over from an Ugly Sweater Cookie Kit from Christmas, so I used that for the black.)
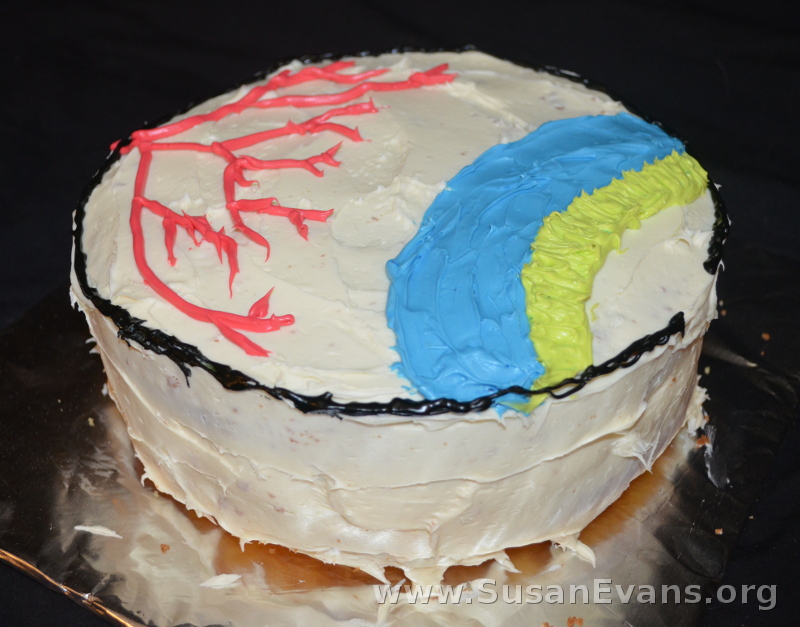
  3. Spread the blue frosting like a rainbow, and the green frosting next to it. The blue would represent the ciliary body, and the green the iris. Leave the lens white.
  4. Put the red frosting into a Ziplock bag and cut a hole in the corner. Make veins and arteries throughout the vitreous humor. You can use blue frosting, too, instead of just red frosting.
  5. Surround the entire cake with a black outline, except for the pupil, which is where the light comes into the eye.

You are now finished making your eye model cake. Have fun eating it!

eye-cake

Skin Diagram Collage

Monday, February 15th, 2016

skin-diagram-collage

When studying the integumentary system, why not make a skin diagram collage? This art activity will help your students to remember the different parts of the human skin.

You will need the following materials:

  • a rectangle of black felt (or any other background color)
  • pink felt, yellow felt, and brown felt
  • red, blue, yellow, and white yarn
  • black pipe cleaner
  • white school glue
  • hot glue gun

How to Assemble a Skin Diagram Collage

  1. Set the black felt rectangle on the table in front of you. This is the background of your skin diagram.
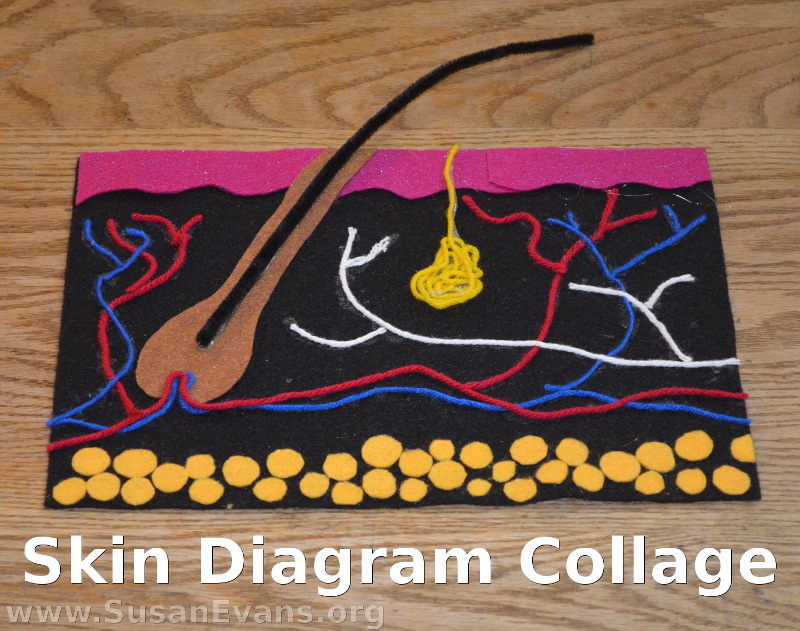
  2. Cut an onion bulb out of the brown felt. See diagram for shape. This is the hair follicle.
  3. Cut small circles from the yellow felt. This represents the fatty lipids in the hypodermis, which is not actually a part of the skin. The hypodermis lies under the dermis.
  4. Cut out the epidermis (the top layer of skin) from the pink felt, to make it look like icing on a cake. Glue it down.
  5. Glue down all your other felt figures with white school glue.
  6. Make a sweat gland by wadding up some yellow yarn into a blob of spaghetti. Glue it down, with the yarn going up to the epidermis.
  7. The red and blue yarn are veins and arteries. If you make a shape with glue, then you can shove the yarn into the glue. Distribute the veins and arteries evenly, along with the white yarn nerves. They should look like plant roots.
  8. Hot glue a black pipe cleaner to the brown hair follicle. This represents the human hair, which grows from the bottom of the follicle.

Now your skin diagram collage is complete. Enjoy your masterpiece.

Human Anatomy Game

Monday, February 1st, 2016

human-anatomy-game

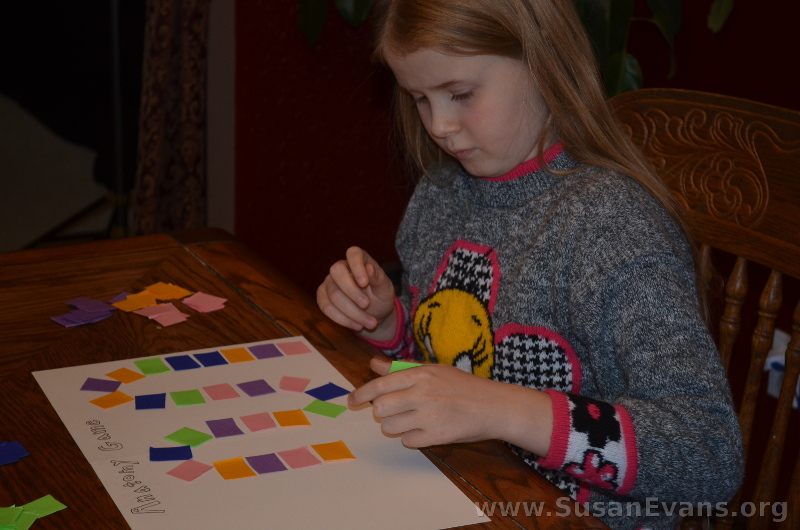
Why not create your own human anatomy game to review the body systems? My elementary-aged daughter and son created their own board games with a deck of cards. My daughter chose a rectangular board, and my son wanted his to be circular. We already had a circle of cardboard bouncing around the house, but if you don’t, you can use a large lid and outline a circle onto cardboard and cut it out.

My son drew a brain, outlined it with black marker, and colored it with crayons. Then he glued down circles to the game board.  My daughter cut out small rectangles of card stock paper in various colors. Each color represented a different body system. She made a stack of cards for each color. Then she glued down a colorful path on her game board, doodling around the edges of the path.

make-your-own-anatomy-game

Questions for a Human Anatomy Game

Here are some of the questions my kids came up with for the human anatomy game:

Skeletal System

  • What are the finger bones called?
  • True or False: Bones make red blood cells.
  • What is the center of the bone called?
  • Where are your radius and ulna located?
  • What is another name for the scull?
  • Do bones have nerves in them?
  • Is the spinal cord made up of bones?

Muscular System

  • What is the muscle that opens and closes your mouth?
  • True or False: Glucose is used to fuel muscle cells.
  • Where are the biceps and triceps located?
  • Your intestines have what type of muscle?
  • Where is the cardiac muscle located?
  • What muscle do you sit on?
  • What kind of joint is in your shoulder?

Digestive System

  • The tube that connects your mouth to the stomach is called the ____.
  • The first step to digestion is ___.
  • What is the meeting place of the esophagus and the stomach called?
  • The teeth at the back of your mouth are called your ____.
  • Your stomach is lined with what kind of muscle?
  • What sucks up nutrients in your small intestines?
  • What does the liver produce?

Integumentary System

  • What are the two layers of the skin called?
  • What do you call a person with no skin pigments?
  • If you eat too many carrots, what makes your skin orange?
  • True or False: Hair is dead at the root.
  • Which parts of your body have the thickest skin?
  • When you are hot, liquid comes out of your ____.

Nervous System

  • What is the Central Nervous System?
  • What is the Peripheral Nervous System?
  • What connects your brain to your spinal cord?
  • The nerves send signals to the ____.
  • True or False: Muscles move because of neurons.
  • The gap between neurons is called the _____.
  • What would happen if your brain had no folds in it?

Feel free to use these questions, or make up other questions for your cards. Then play your human anatomy game, and have fun reviewing the body systems!