This post contains affiliate links. I was given access to the class to blog about it, which I was very glad to do.
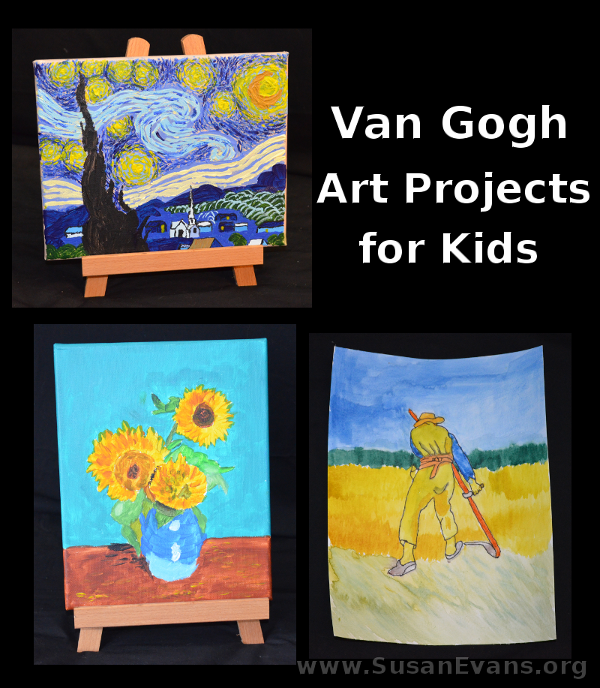
This is the fourth week of Mixing with the Masters, and we are creating some fun Van Gogh art projects. One of my favorite paintings of all time is “Starry Night,” so I was overjoyed to have the opportunity to paint this myself! The “Sunflowers” and the “Autumn Reaper” are also famous, and I enjoyed watching my kids create these pieces.
Sunflowers
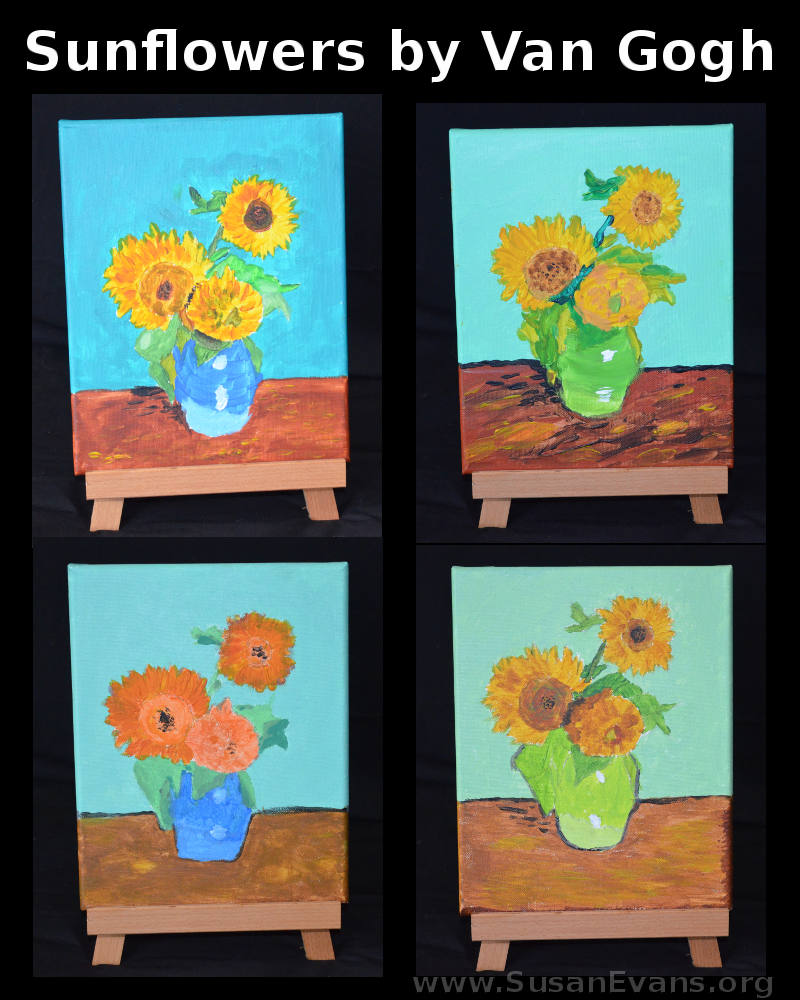
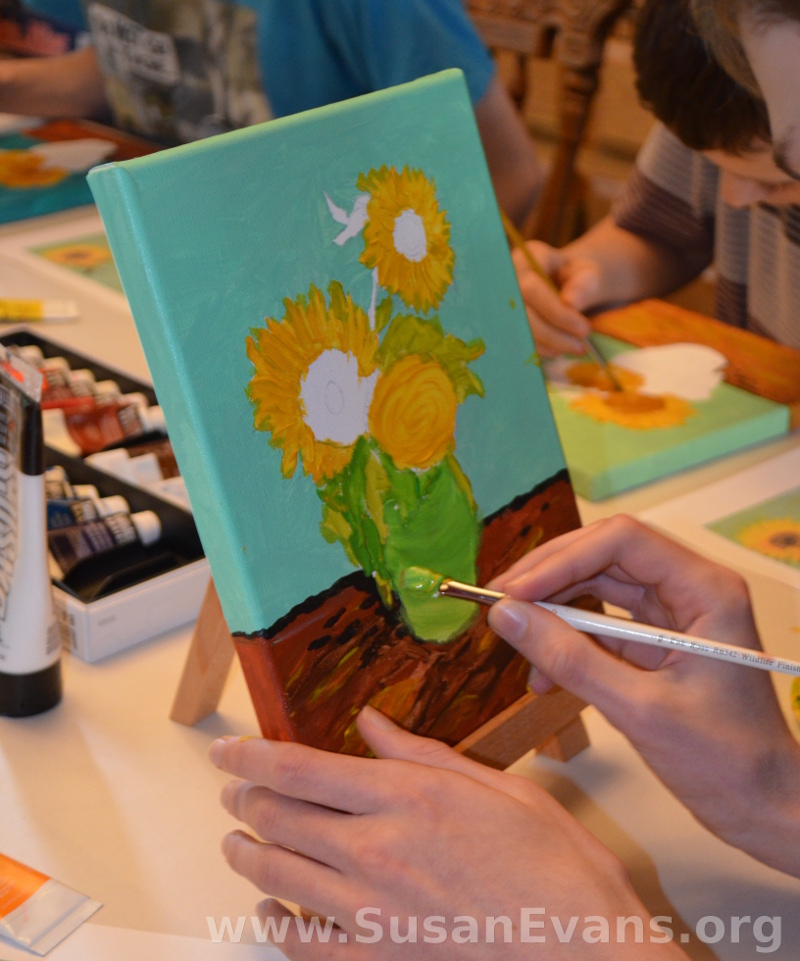
It’s interesting how different artists will paint flowers. Last week we saw Monet’s paintings with waterlilies, and they were created in a completely different way than Van Gogh’s. Monet’s flowers were smaller and painted in a quick way to give a general impression, whereas Van Gogh’s many sunflower paintings contain more detail. He also used thicker paints, which added texture to the painting. Alicia (the art instructor) shows you how to thicken your paint to create the same effect on your canvas.
Once again, she provides a printable to help you get the general shape of the flowers before you begin to paint. I love how each of my kids had a slightly different interpretation of the sunflowers. One of my children saw mostly orange rather than yellow, and one of my sons painted a darker background. Two of my children wanted to change the color of the vase, and the table is vastly different in each of my children’s paintings.
Autumn Reaper Watercolor
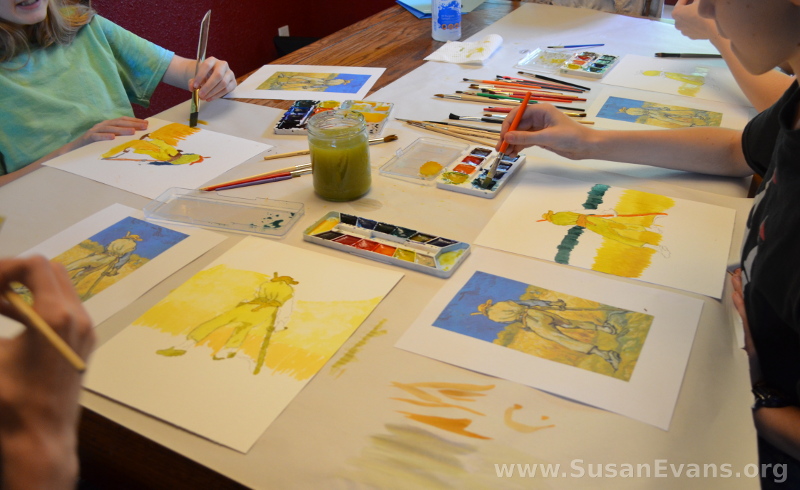
This watercolor piece requires you to learn more advanced techniques of watercolor. You use different shades of yellow, and you learn how to make visible brush strokes. The wheat field looks different in each one of my children’s watercolor paintings, and each has its own personality.
It’s helpful to have a paper towel available to each child, in case they have too much water puddle up on the paper, or if they make a mistake. Alisha (the instructor) shows you how to “erase” your watercolor mistakes in her demonstration video. It enables the kids to have a greater confidence in painting: they don’t have to worry about mistakes because those mistakes can be corrected.
Starry Night
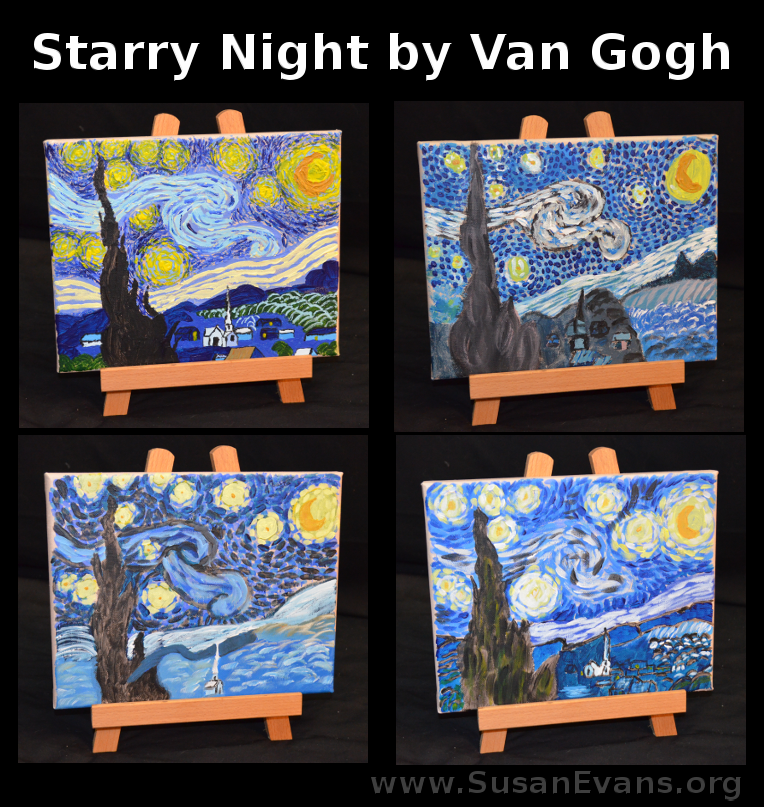
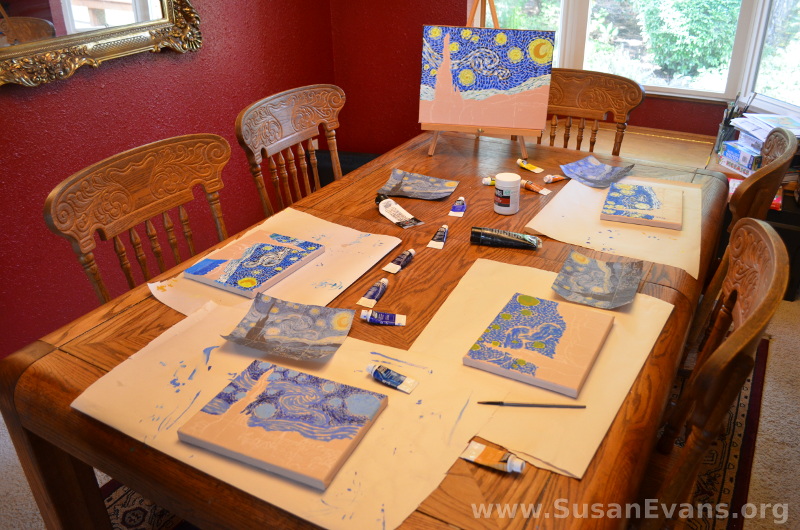
I loved this “Starry Night” painting! This art project is best done over the course of a week. Before the first day, you paint the canvas tan. This is because Alisha is going to show you how to make a grid and transfer the pattern from a printout of a famous painting onto a canvas of any size. Yes, if you wanted to paint this on the wall of a Sunday School kids’ room, you could make a grid on the wall and follow the instructions that Alisha gives in the video to transfer the pattern onto the wall.
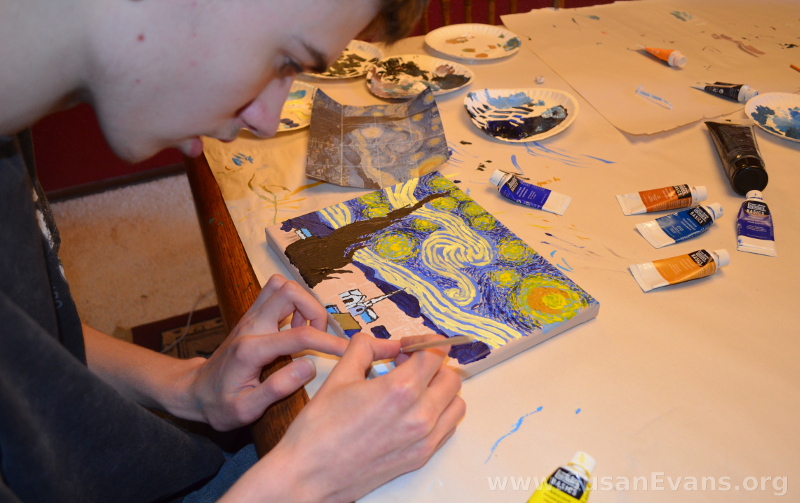
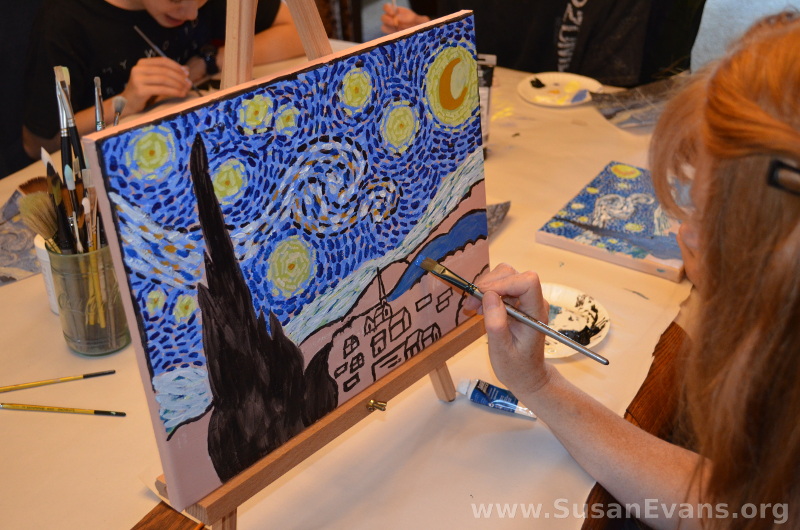
The second and third days will be for painting the sky, and the fourth and fifth days can be for the town and tree. You can paint the sky in one day if you have a big block of time available. I have to say that even though this was the most time-consuming art project of this course, it was the most fun, and it was definitely worth the time investment! It was relaxing for me to paint this picture in the evening after the kids went to bed (in short installments), and the kids could see how much they needed to do the next day.
The dashes over the entire painting made me happy. I can’t explain it, but the process of creating art is open-ended and refreshing–it’s like an expression of who you are.
If you want to see my finished painting, I posted it here. (Years ago, I posted a song on my blog about Vincent Van Gogh called “Starry Night” by Don McLean, the same guy who sang “American Pie.” Now I have a picture to introduce the video!)
I love how my kids are able to reproduce so much famous artwork, using the same techniques of the famous artists. In next week’s Mixing with the Masters art class, we will be doing Picasso!
