 This post contains affiliate links. I was compensated for my work in writing this post.
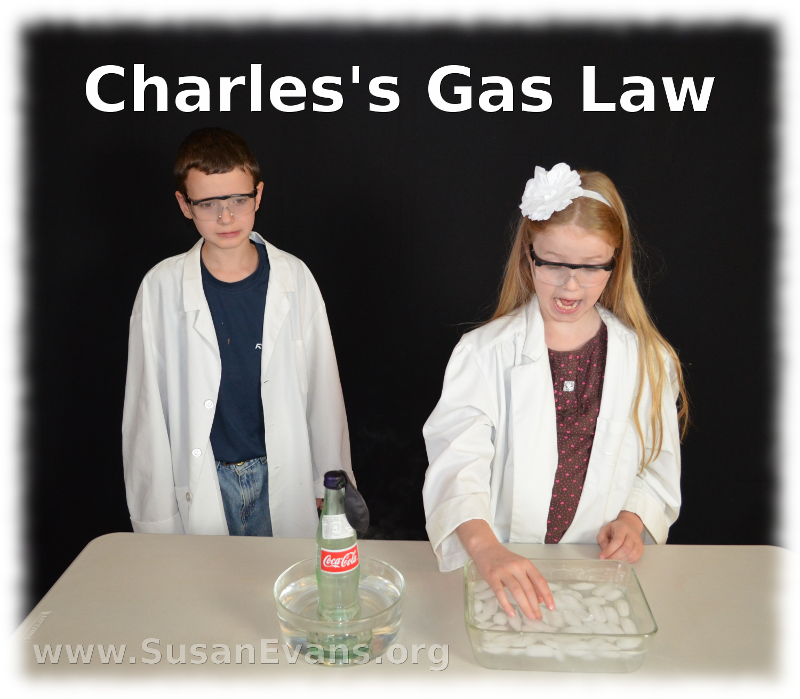
My kids tested Charles’s Gas Law with a fun experiment involving a glass soda bottle and a balloon. We are using Christian Kids Explore Chemistry by Bright Ideas Press. This is one of the experiments in the book.
What is Charles’s Gas Law?
I suppose we should define Charles’s Gas Law before we conduct our experiment. Charles’s Gas Law: If the temperature of a gas is increased, the volume of the gas will increase.
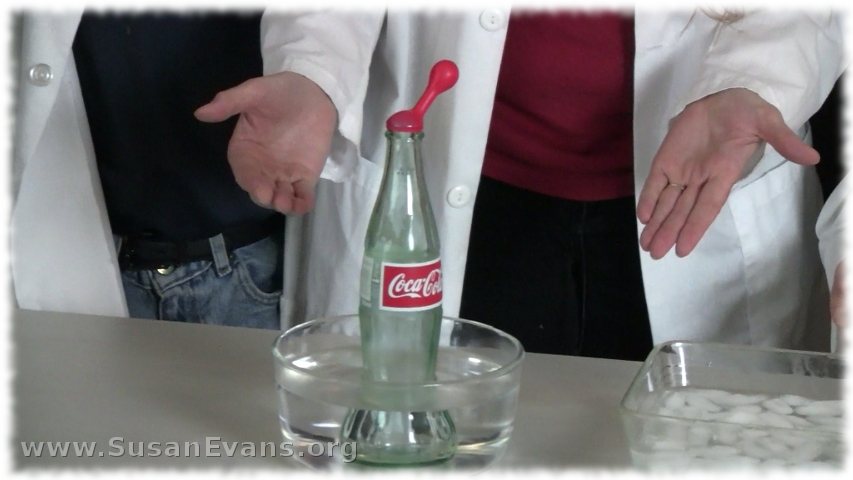
Knowing this law will help you predict what will happen when you place a glass bottle in the refrigerator, then set it in a bowl of boiling water with a balloon over it. The gas inside the bottle went from cold to hot, which means the air inside the bottle is expanding. This is the reason the balloon immediately stands up, because the expanding air needs to go somewhere.
Then you place the bottle into ice water, and see the balloon deflate again. You might need to place it in the refrigerator to see the full effect of the deflated balloon.
Steps for Charles’s Gas Law Experiment
- Place a glass bottle into the refrigerator for at least one hour so the air inside it is nice and cold.
- Place some hot (not boiling–it melted our first balloon!) water in a bowl, and place ice water in another bowl.
- Grab the bottle out of the refrigerator and put the balloon on the top of it.
- Place the bottle into the hot water and watch the balloon stick up suddenly.
- Now place it into the ice water. Wait for a while, and notice there is less air pressure in the balloon.
- Place the bottle back into the fridge, and an hour later, voila! A limp balloon will cause your kids to squeal and point. Indeed, Charles’s Gas Law is correct!
Video of the Experiment
Take a look at the experiment:
The bottle is too small to actually inflate the balloon for real, but I’ve done a similar experiment, throwing dry ice into the bottle and placing a balloon over the top. The air expands way more explosively, and the balloon actually inflates!
*Always make sure to wear gloves when touching dry ice.*
Tags: Bright Ideas Press, chemistry, Christian Kids Explore Chemistry, hands-on science, Homeschooling, science


I love your science project posts! Pinned. 🙂
My oldest daughter watched this with me and immediately said, “WE HAVE TO DO THIS!”
So there you go… your science video posts get 2 thumbs up from my 6-year-old.
Thanks for sharing.
xoxo
That’s great! I’m glad I’m inspiring children to want to do science!
Oh yeah, this is a good one!
I love how they have lab coats!
But I remember learning this in school and it’s still just as fun to watch as it was all those years ago.
I found the lab coats at Goodwill. Doing experiments in a lab coat makes the experiments seem even more fun!
I love this!! Science is so much fun, it’s a shame that schools don’t do these great projects with kids. BUT it gives us a chance to do it instead 🙂 I will definitely be doing this with my little one. Thanks for the lesson 🙂
Oh yes, we enjoy this one. Pinning.
How neat! I’m always on the lookout for some cool science experiments to do with my little one. We’re going to have to give this one a try!
This is so fun! We did a similar experiment this year with our Apologia Physical Science book. The kids were fascinated!!