Archive for the ‘Cooking and Baking’ Category

Homemaking for Teens

Thursday, May 27th, 2021

homemaking-for-teens

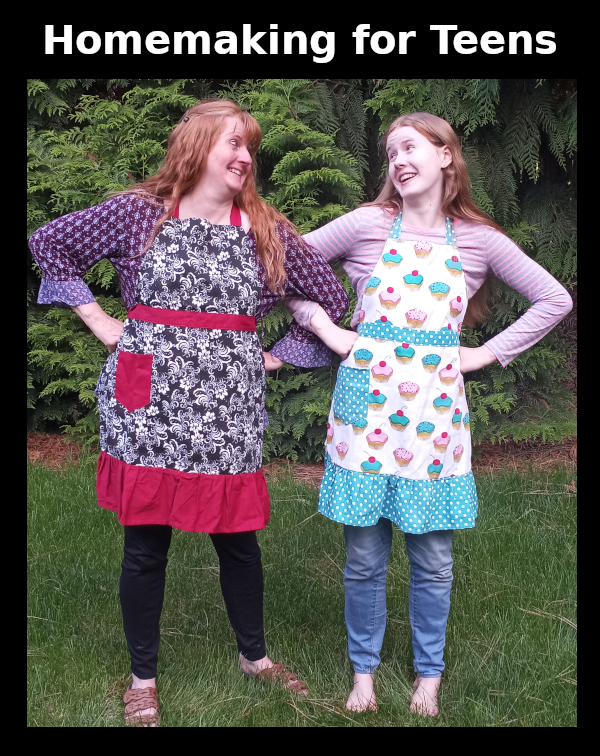
Are you looking to teach your homeschooled kids how to run a home? Today I’m going to show you some of the homemaking materials that we used in our homeschool.

My daughter has been learning more advanced homemaking skills for the past year, as she is more involved in the management of the home. One of the electives for high school is home economics, which includes cooking, baking, sewing, cleaning, and taking care of children. When I was gone for several weeks last month, my daughter managed the home perfectly, cooking meals from scratch, keeping up with the laundry, and tidying up the house. I was impressed.

My three sons also learned the basic skills of cooking, cleaning, and doing laundry before going to college, so that they would not squander their money by eating out every meal. They learned a lot of these skills through Cub Scouts when they were younger, including basic sewing skills. So home economics is good for anyone to learn.

We also did Dave Ramsey’s Foundations in Personal Finance: High School Edition for Homeschool. This personal finance course is a one semester high school course that has DVD’s and a workbook, where you learn all the basic financial skills to manage money well, including staying out of debt and budgeting. It goes really well with a homemaking course, since it includes skills needed to run a home.

stuffed-bell-peppers

One of the homemaking materials we loved was The Homemaker’s Journal: Practical Instruction for the Keeper at Home. It’s an online PDF, which we printed and had spiral bound. It’s a simple e-book that has information on how to maintain a home. It’s not curriculum, though. But if it was the only book you had, along with teaching the practical skills beside you, that would be enough for a home economics course. Not everything has to have written tests. PE doesn’t, for example. Most practical skills are learned best through hands-on learning.

However, there is something charming about a proper curriculum for home economics that has vocabulary, instruction, and quizzes and tests on the information. I found that in the Home Economics high school elective from Christian Light Education. There are 10 workbooks that teach all the skills for maintaining a home. We did not do all the workbooks, but instead, we did whatever we wanted. We spent 2-3 hours a day on homemaking this year, and we used a lot of materials, not just this set. So we flipped through the workbooks and did whichever ones we needed. For example, we did not do the health workbook because I had already done a full year of high school health from Apologia several years ago.

We loved the Introduction to the Kitchen workbook from this set. I flip through some of the pages in this video, so that you can see why we liked it:

There are many black and white sketches and illustrations to show hazards in the kitchen, for example. When my daughter tried to pick out the hazards, we were both laughing hysterically because some of the things, she would never have done instinctively, but other things, she was learning for the first time. We had many conversations we would not have had if we had never gone through these homemaking materials.

We also used another e-book called The Kitchen Primer: A First Textbook on Cooking & Keeping a Proper Kitchen by Martha Greene. We liked it a lot, but it is much more expensive than The Homemaker’s Journal, and most of it is recipes. So in the video, I show this, and I explain how you can use a basic Betty Crocker Cookbook as a textbook for cooking and baking.

We also went through a mother-daughter devotional called Beyond Beautiful Girlhood Plus Companion Guide, where we answered the questions aloud instead of writing it down. It took us a full year to get through the book, even though it only has 7 chapters. We did a little bit most mornings before doing anything else. I loved how the questions were often a springboard for deep conversations with my daughter that deepened our mother-daughter bond. And it had to do with homemaking.

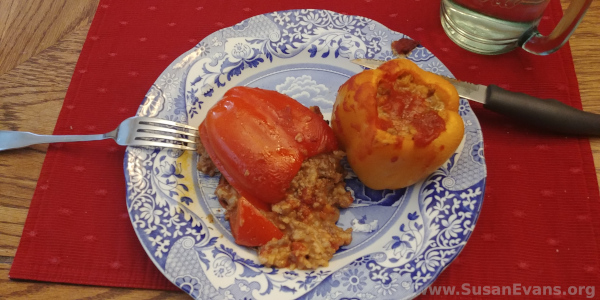
I don’t know if I mentioned the fact that we didn’t write in any of the books or workbooks, but that we went through them together. I love the fact that my daughter now knows how to run a home way more effectively than I ever did at her age! My husband snapped a picture of my daughter’s stuffed bell peppers she made from scratch while I was gone on a two-week road trip. I was delighted to come home to a clean house with laundry all caught up and put away. Home economics is definitely worth teaching your teens!
How to Make a Turkey Cake

Monday, November 6th, 2017

turkey-cake

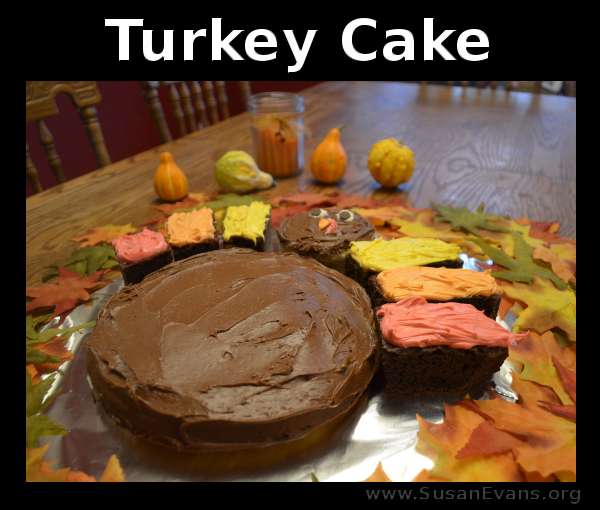
Isn’t this a cute turkey cake? It’s perfect for celebrating Thanksgiving with family and friends! You will need two cake boxes, chocolate icing, vanilla icing, and food coloring. You will also need a foil-lined piece of cardboard to place under the cake, and silk autumn leaves to decorate around the finished cake.

turkey-cake-unfrosted

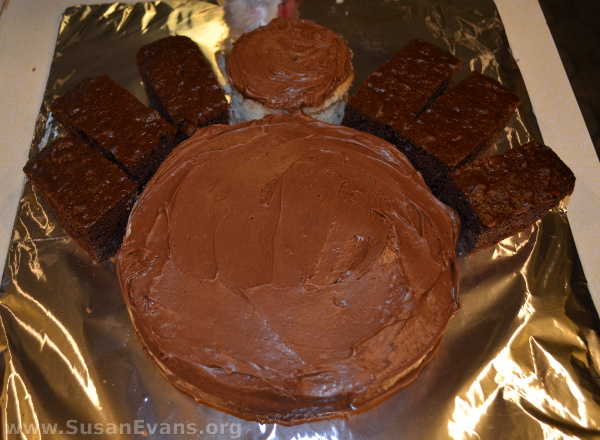
First you will bake two circle cakes. The second cake will be rectangular. After baking and cooling the cakes, you will want to put cellophane on them and place them into the fridge. Cold cake is easier to cut and sculpt than room-temperature cake.

Up-end one circle cake onto the bottom of your foil-lined cardboard. You will want to frost this with chocolate frosting.

Then cut a smaller circle out of the other circle cake. I used a round dish that would be the right size for the head of the turkey. Frost the head with chocolate frosting, too.

From the rectangular cake, cut feathers in the shape of rectangles, while slightly rounding the edges of the tops of the feathers.

how-to-make-a-turkey-cake

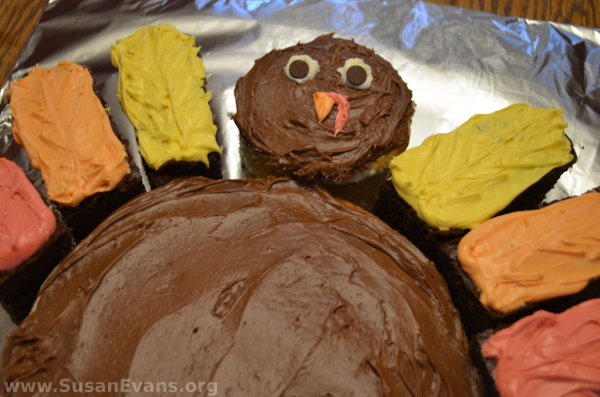
Take out one tablespoon of white frosting and set aside for the eyes. Divide the remaining white frosting into three bowls: add yellow, orange, and red food coloring to the bowls. Stir the colors in, and frost the feathers of your turkey cake.

thanksgiving-cake

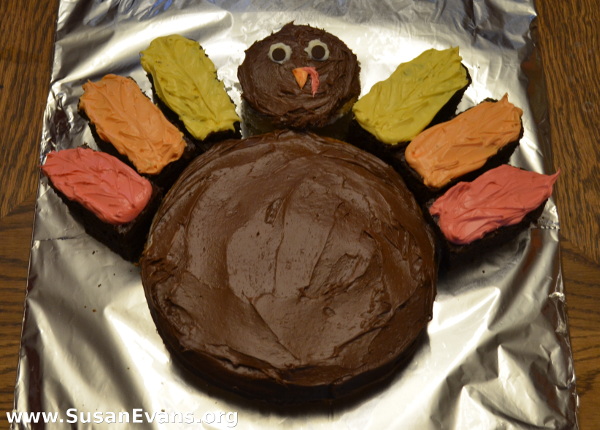
With a table knife, run the blade down the middle of each feather and out to the sides, adding texture like real feathers. Add a beak and white circles for eyes. You can use chocolate chips for the pupils of the eyes, or just use a glob of chocolate frosting.

Now your turkey cake is complete! Happy Thanksgiving!

Ancient Greek Vase Cake

Monday, October 31st, 2016

Greek-vase-cake

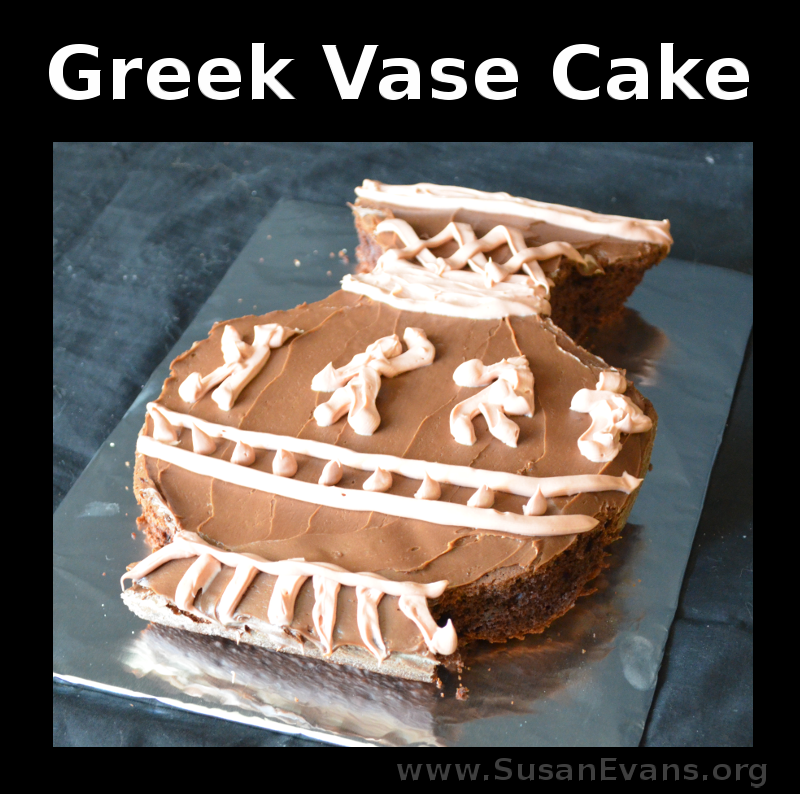
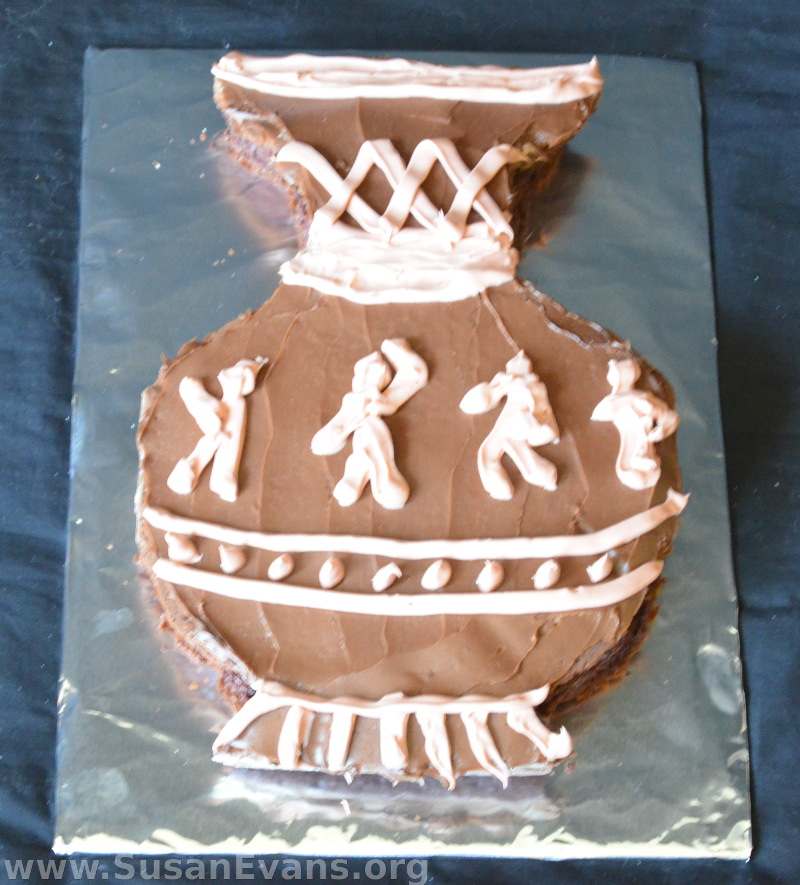
If you are studying Ancient Greece, why not make an Ancient Greek vase cake? It’s super easy to make, and your kids can pay closer attention to the artwork on Greek vases.

First we baked a chocolate rectangular cake. We grabbed a piece of cardboard and covered it with foil, taping it down in the back. Then we placed the cake upside-down on a cutting board and cut the shape of the vase.

ancient-greece-cake

I picked up the cake and placed it on the foil. We iced the cake with chocolate frosting. Then we mixed some skin color icing by putting a couple of drops of yellow and red into white frosting until the shade was right.

Now comes the fun part. I placed the icing into a plastic bag and cut a hole in the corner. I decorated the vase with various patterns. We have a Greek vase, so I looked at the vase while I was working. If you don’t have a Greek vase, you can look up a picture online and print it out.

The figures can be a thick version of stick figures, and you can make stripes or other patterns across the cake. If you want to play with different patterns on construction paper first, you can do this art activity:

This Ancient Greek vase cake is a perfect finale for a Greek feast. Here is a video demonstration of a Greek feast we celebrated as a family:

For more hands-on activities for Ancient Greece, including unit studies on Greek mythology, The Iliad, and The Odyssey, join the Unit Study Treasure Vault!

Clock Cake

Friday, October 28th, 2016

clock-cake

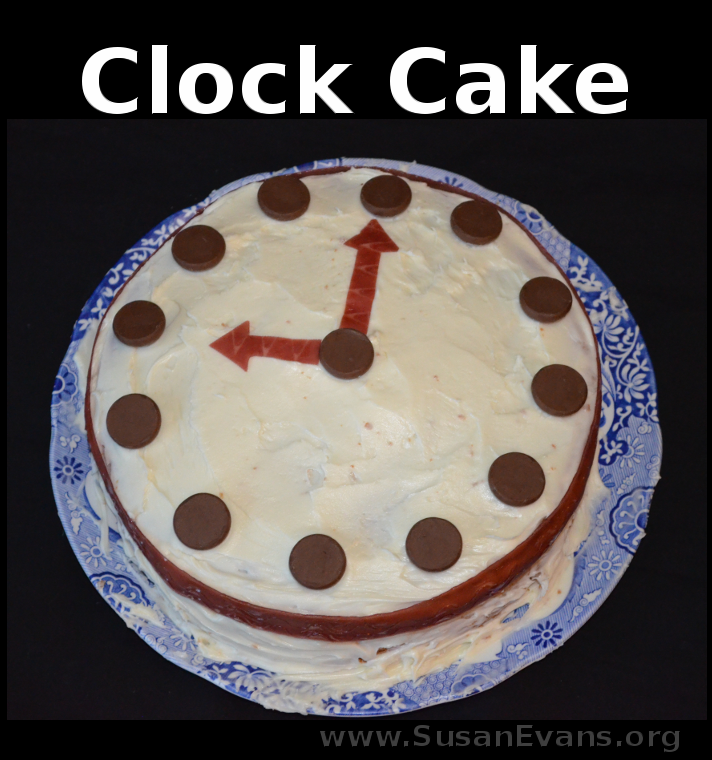
If you have a friend who loves math, or someone who is constantly late and you want to give them a hint to start being on time, then you can bake this fabulous clock cake.

To make this super cute cake, you will need two round cake pans. I used one cake mix box. You can bake whatever flavor you want. When the cake is cool, place the cake on a plate, cover it with cellophane, and put it in the fridge. A cake is always easier to frost when it has been in the refrigerator.

Frost the cake with white frosting. If you want to be fancy, you can put strawberry jam in between the two layers. Then grab some Hershey’s kisses, turn them upside-down, and use one for the center of the clock. Place one on the top, one on the bottom, one on the right, and one on the left. Then place two Hershey’s kisses equidistantly between the others, so that you have twelve kisses going around the clock where the numbers should be.

Grab some Fruit by the Foot or other Fruit Roll-up-type candy. Cut out the arrow hands with scissors and place them on the cake. Then put a “ribbon” of Fruit by the Foot around the entire cake to give it a polished look. Now your clock cake is complete. Enjoy!