Archive for the ‘Bible’ Category

Ten Commandments Clay Craft

Thursday, October 10th, 2013

Ten-Commandments-Clay-Craft

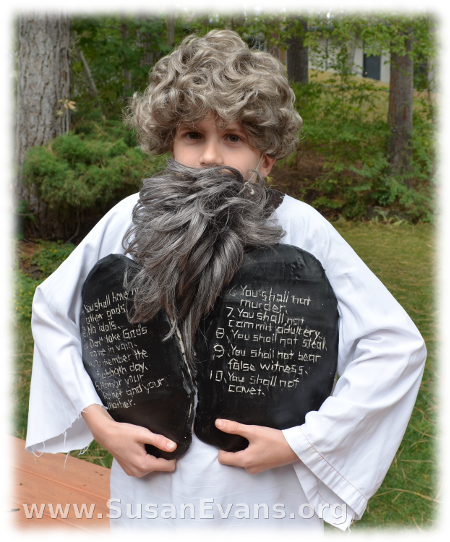
When you are studying the Ten Commandments with your children, a fun art activity to make is a Ten Commandments clay craft. You will need the following items for this activity:

  • 10 pound box of white self-hardening clay
  • butcher knife (for cutting the clay in half)
  • cutting board
  • rolling pin
  • table knife
  • black acrylic paint
  • toothpicks
  • wax paper

ten-commandments-clay-craft-2

First you will cut the block of white self-hardening clay into two pieces with a butcher knife. I like to put wax paper on top of the cutting board for easy clean-up. Unroll another two pieces of wax paper on the table. Place one hunk of clay in the center of each piece of wax paper. Roll it out with a rolling pin.

Yes, it is hard at first, but it gets easier. You (an adult) can get the rolling started by standing above it and using your weight to press down on the rolling pin. After it’s somewhat flat, it’s much easier to roll out, so kids can take over at this point. Roll the clay into large tablets that look like the Ten Commandments.

ten-commandments-clay-craft-3

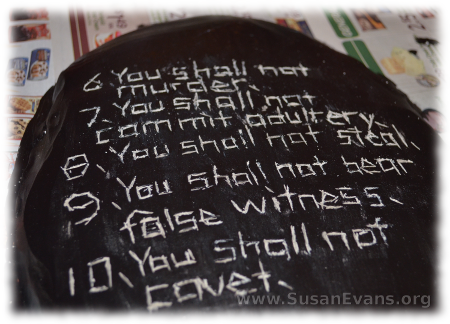
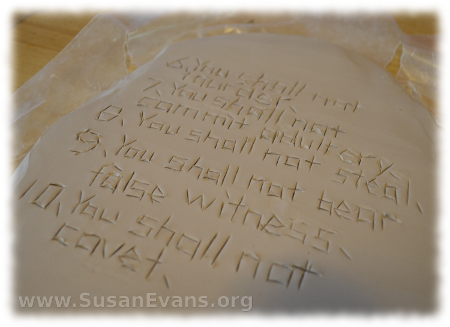
Now use a table knife to carve the Ten Commandments into the clay. Let it dry for about a week. Usually self-hardening clay dries in two days, but these Ten Commandments are so large and thick that they take longer to fully harden.

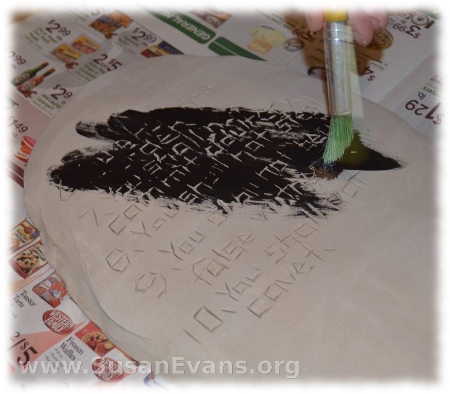
Now brush black paint on top of the tablets, trying not to get any paint in the grooves.

ten-commandments-clay-craft-4

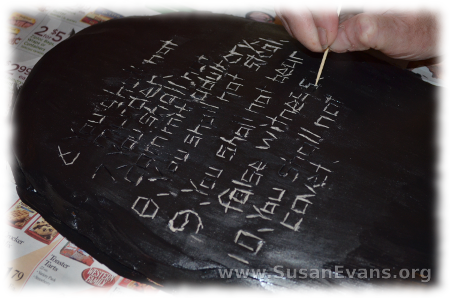
It’s no big deal if you get paint in the grooves of the words, because you can just use a toothpick to carve out the words again. This is easy to do, since you just follow the indentations that are already there. Now your Ten Commandments clay craft is complete.

ten-commandments-clay-craft-5

Sign up below for a free printable e-book of this Bible crafts series!

If you enjoyed this Ten Commandments clay craft, you will love Using Simple Costumes and Props to Teach the Bible. You receive this 2-hour video for free when you sign up for the Unit Study Treasure Vault, which has an enormous Bible section!
Joseph’s Coat of Many Colors

Tuesday, October 8th, 2013

Joseph's-coat-of-many-colors

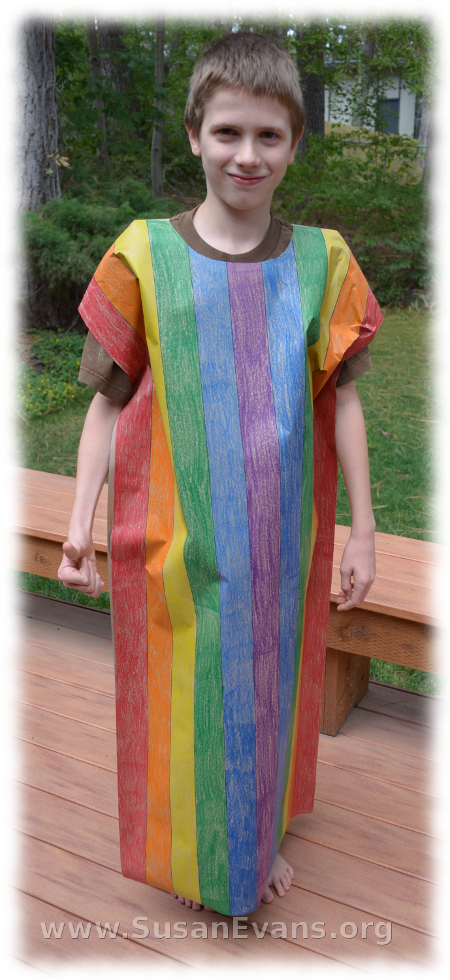
Joseph’s coat of many colors can be made easily with a large roll of paper and some crayons. You will also need scissors, a black marker, a ruler, and a stapler. I used a roll of brown packing paper, which you can find at office supply stores for around $5, but you can also use teacher’s bulletin board paper found at teacher supply stores. End rolls from newspapers are too thin for this project, tearing too easily.

Joseph-3

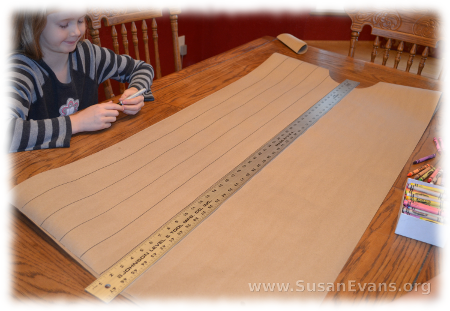
Check the height of the child who will be wearing this coat of many colors. Hold the paper up to his body, and cut it to whatever length you want. Fold the strip of paper in half before cutting. Then cut a hole at the top for the head.

Joseph-6

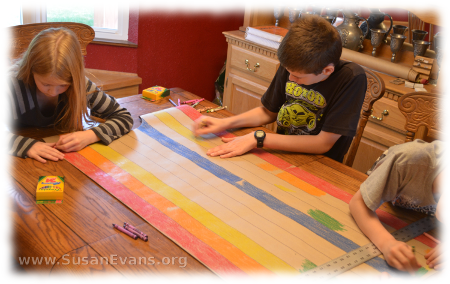
Grab a black marker and a long ruler, and draw stripes down the tunic. Have the kids color the stripes in different colors of the rainbow.

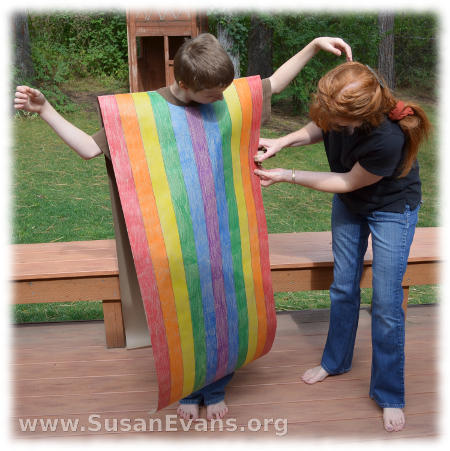
Have the child put Joseph’s coat of many colors over his head. He should hold his hands to his sides while you staple down the sides. Now smash the top of the tunic, putting the child’s arms down, wrinkling the top so that Joseph doesn’t have to look like a scarecrow. Joseph’s coat of many colors is now complete.

Joseph-7

Every time I read the story of Joseph in the last 13 chapters of Genesis, I get choked up because Joseph forgave his brothers for the horrendous suffering he had to endure for years because of their actions. His brothers had wanted to murder him. Just let that sink in. Imagine living in a house where people wanted to murder you. They had so much hatred because their father gave Joseph a coat of many colors, showing his favoritism. His brothers decided to make themselves some money, so they sold him as a slave instead of murdering him. They lied to his father, allowing his father to scream in anguish at the death of his son.

Years later, after working as a slave, being falsely accused and thrown into prison, and then rotting there for years, he was finally given a position of power in the government because he was able to interpret Pharaoh’s dream. He knew that there would be a 7-year famine in the land after 7 years of abundance, so he stored up grain.

His brothers came to Egypt because of the famine, only to find the one that they had injured now had the power of life and death over them! (The dream that Joseph had about his brothers bowing down to him came true!) But he chose to forgive them instead, telling them what they intended for evil, God intended for good. I just love this story of forgiveness!

Sign up below for a free printable e-book of this Bible crafts series!

If you enjoyed this Bible lesson on Joseph’s coat of many colors, you will love Using Simple Costumes and Props to Teach the Bible. You receive this 2-hour video for free when you sign up for the Unit Study Treasure Vault, which has an enormous Bible section that you will love!

Jacob’s Ladder

Monday, October 7th, 2013

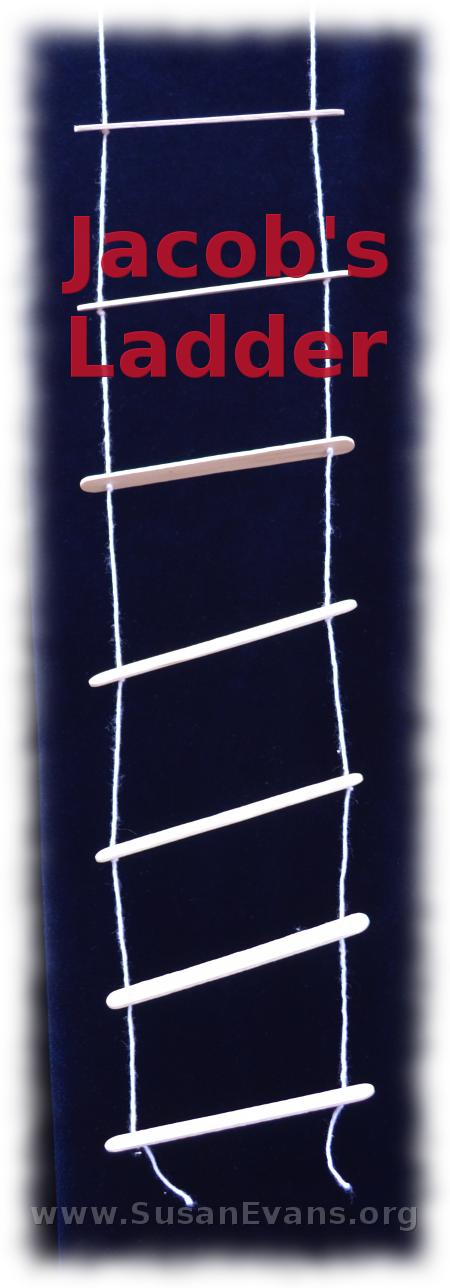
Jacob's-ladderThis craft will help children to internalize the story of Jacob’s ladder from the Bible. God gave Jacob a vision of angels ascending and descending a stairway or ladder into heaven. Then the Lord Himself appeared to Jacob, confirming the same covenant that he would have lots of descendants, just as He had promised Abraham and Isaac.

You will need popsicle sticks and string. You also need a drill and Elmer’s glue. Grab a piece of wood that you don’t care about. (My husband says it’s called a spoil board.) Place that under where you’re going to drill, so that you don’t totally ruin your dining room table.

Drill holes in 10-12 popsicle sticks, one on each side. Make sure that the drill bit is the correct size to fit the string through. You want the hole to be large enough to thread the string through, but small enough to stop the stick from sliding with just one knot.

Cut two equal pieces of string about a foot and a half long. Put some Elmer’s glue on the top of one piece of string. Let the glue dry about 30 minutes until it is hard, making it a “needle” for threading the popsicle sticks. Thread the string through each hole on one side of the popsicle sticks, knotting before placing the stick down the string. Do the same to the other side. Watch the video to see how to do this:

Sign up below for a free printable e-book of this Bible crafts series!

If you enjoyed this Bible craft, you will love Using Simple Costumes and Props to Teach the Bible. You receive this 2-hour video for free when you sign up for the Unit Study Treasure Vault, which has an enormous Bible section that you will love!

Sand and Stars: Abraham’s Descendants

Sunday, October 6th, 2013

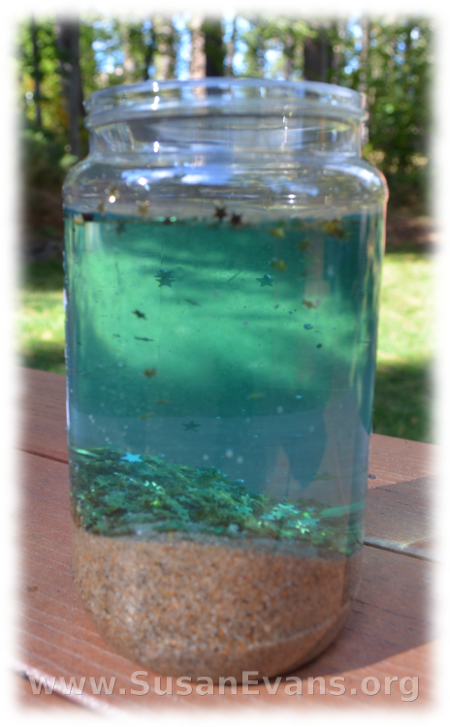
sand-and-stars

Why not make a craft using sand and stars to illustrate Abraham’s descendants? God promised Abraham as many descendants as there was sand on the seashore. God also compared Abraham’s descendants to the stars in the heavens. This promise was made at a time that Abraham and his wife were too old to bear children, so the fact that Isaac was born was a miracle. God indeed fulfilled His promise, and from Isaac came Jacob, and from Jacob came the 12 tribes of Israel. If you would like to see a chart of the genealogy of Abraham, Isaac, and Jacob, click here.

To make this fun craft, you will need the following materials:

  • a plastic jar
  • washed sand
  • water
  • blue egg dye
  • gold stars confetti

Scoop some sand into the jar. Add water to the jar. Put a couple of drops of blue food coloring into the jar to represent the sky. Now pour the star confetti into the jar. Screw on the lid. Your sand and stars craft is complete. You can use this like a snow globe, shaking it to see the sand and stars, remembering God’s promise to Abraham.

Sign up below for a free printable e-book of this Bible crafts series!

If you enjoyed making this Bible craft, you will love Using Simple Costumes and Props to Teach the Bible. You receive this 2-hour video for free when you sign up for the Unit Study Treasure Vault, which has an enormous Bible section that you will love!